Let’s see a pic with it on the kart!
1 Like
This also can be used to zest lemons. ![]()
2 Likes
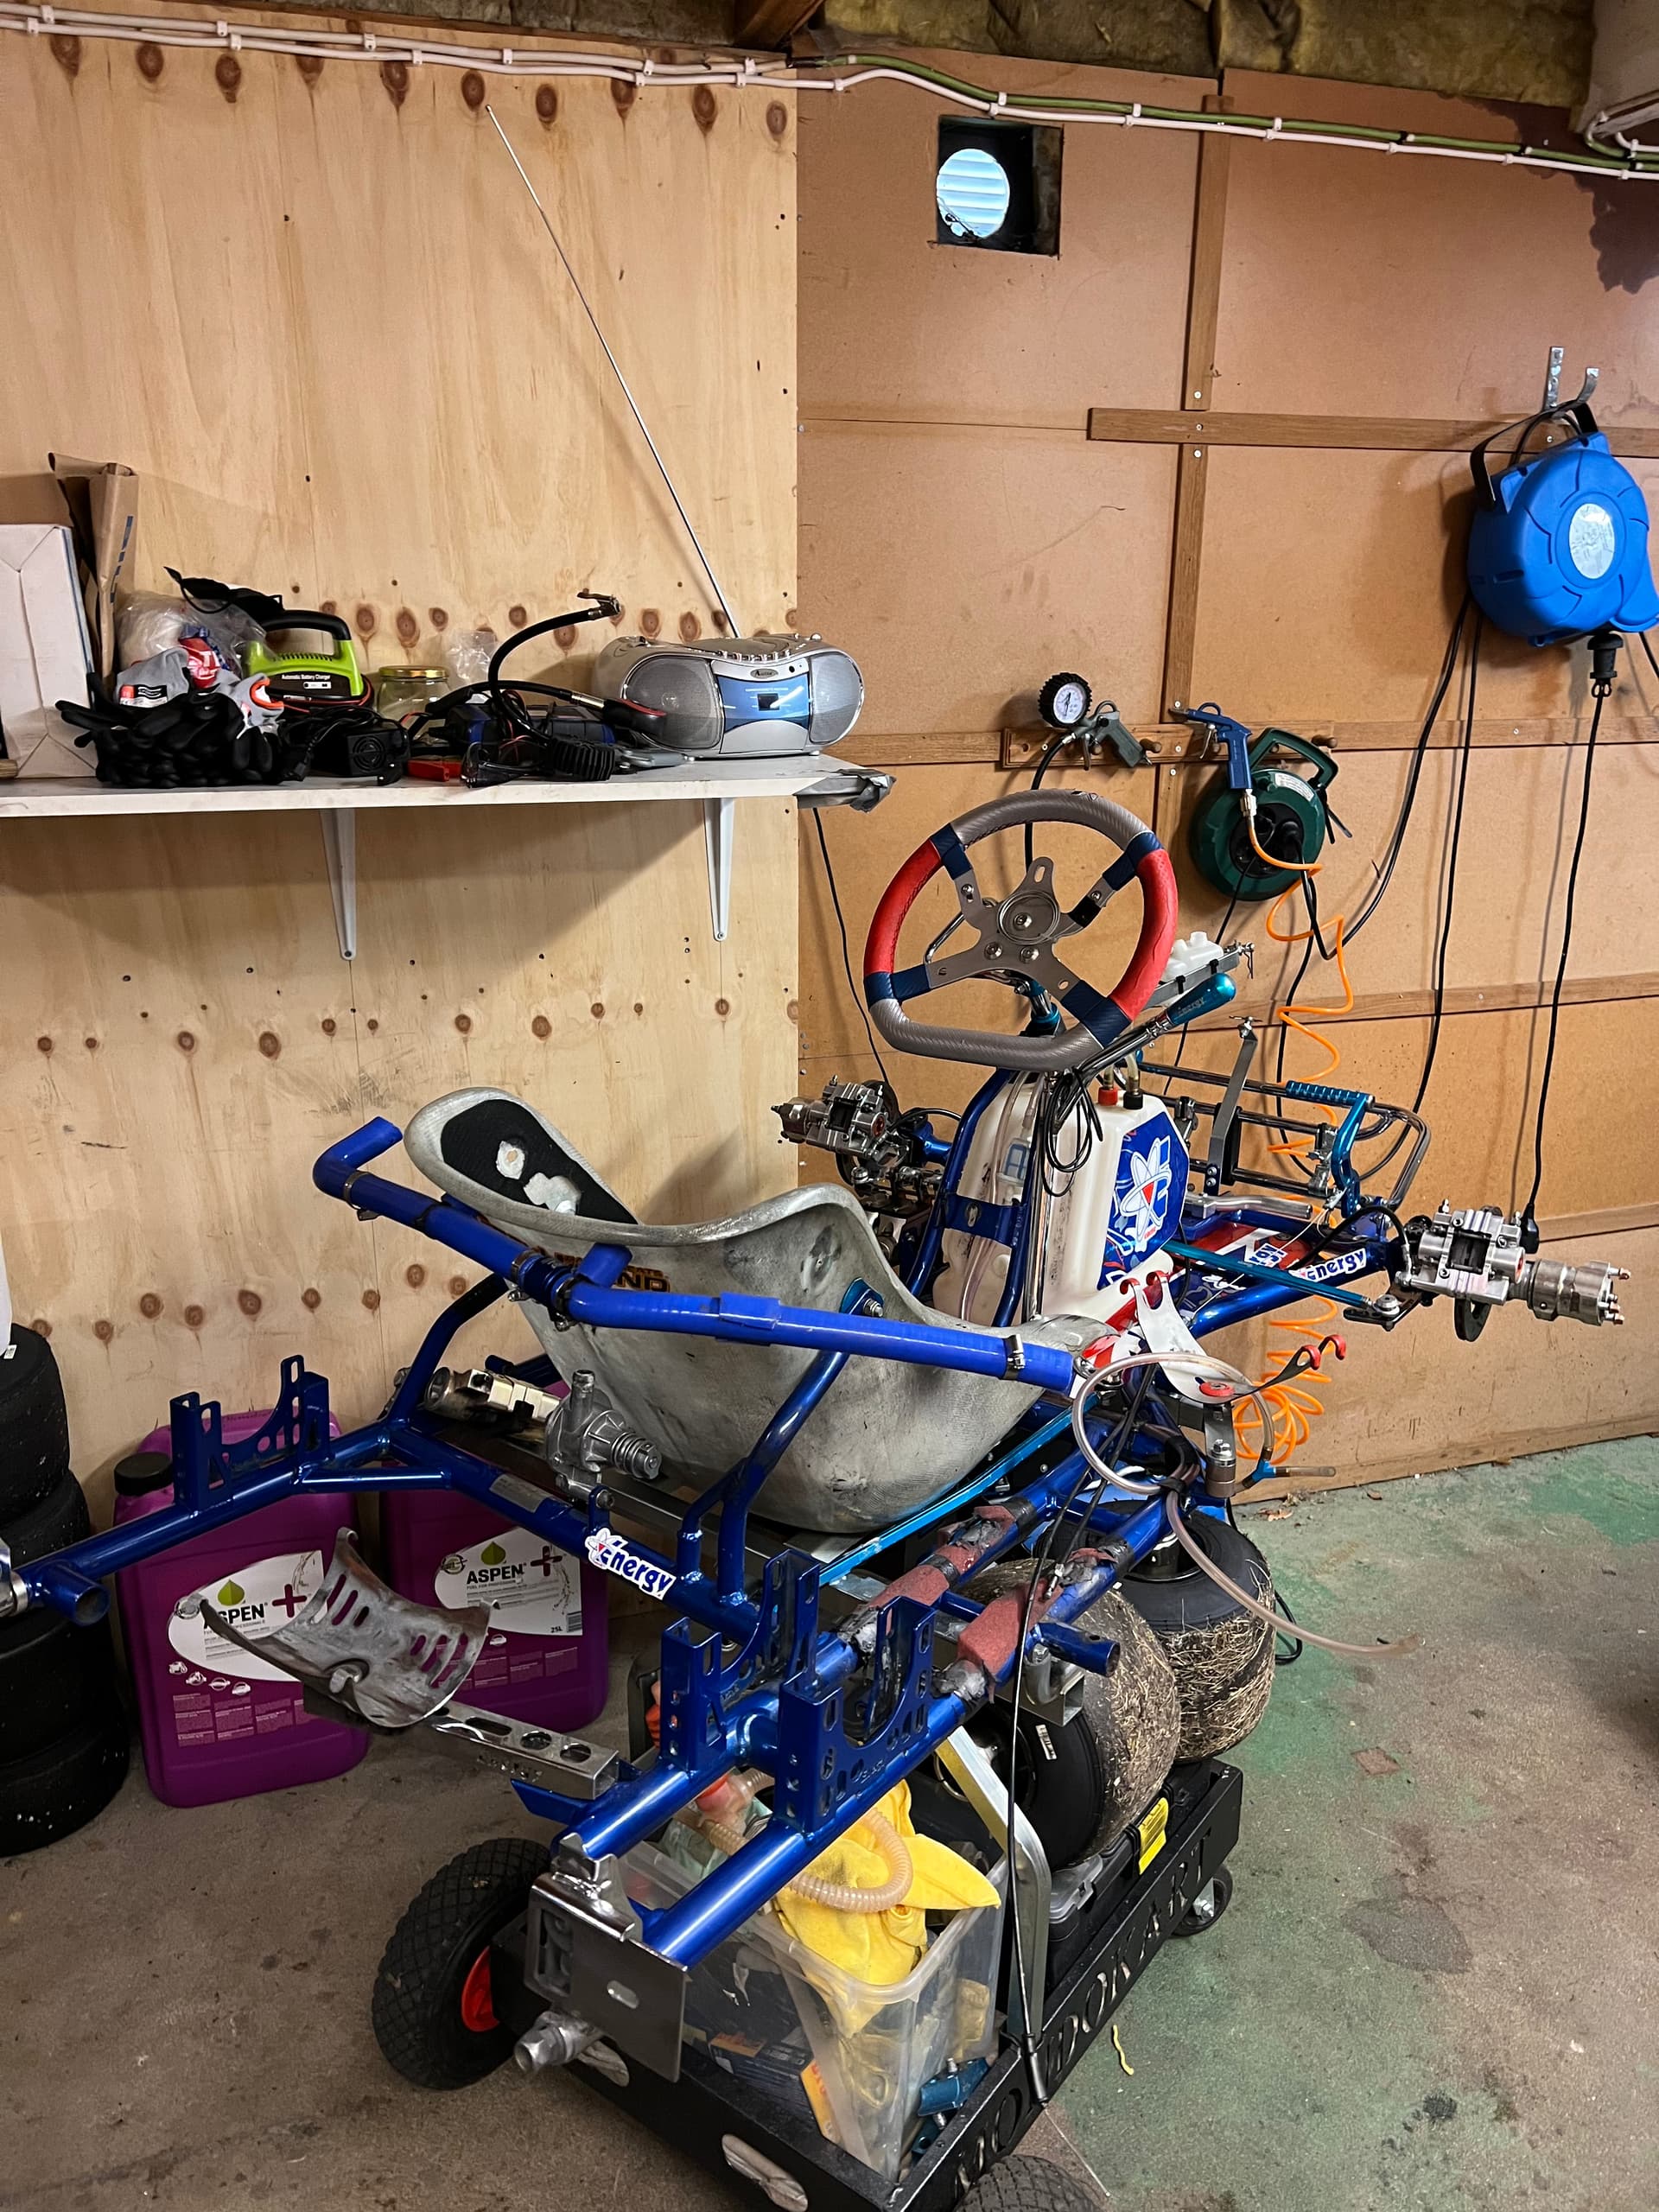
Set my OTK down to stock (not including seat position). Always like to start any weekend on the stock setup and just work from there! Loaded it up in the trailer ![]()
1 Like
Last weekend I took our motors over to Gary Lawson for a refresh (we’re just close enough to make it worth driving instead of shipping) and this weekend the karts finally got cleaned up and made ready to go back in the trailer - after I finish rewiring the running lights. Bright trailer running lights are good!
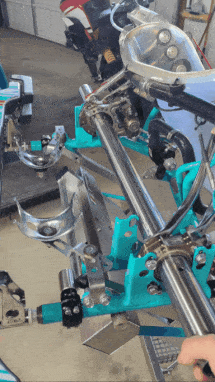
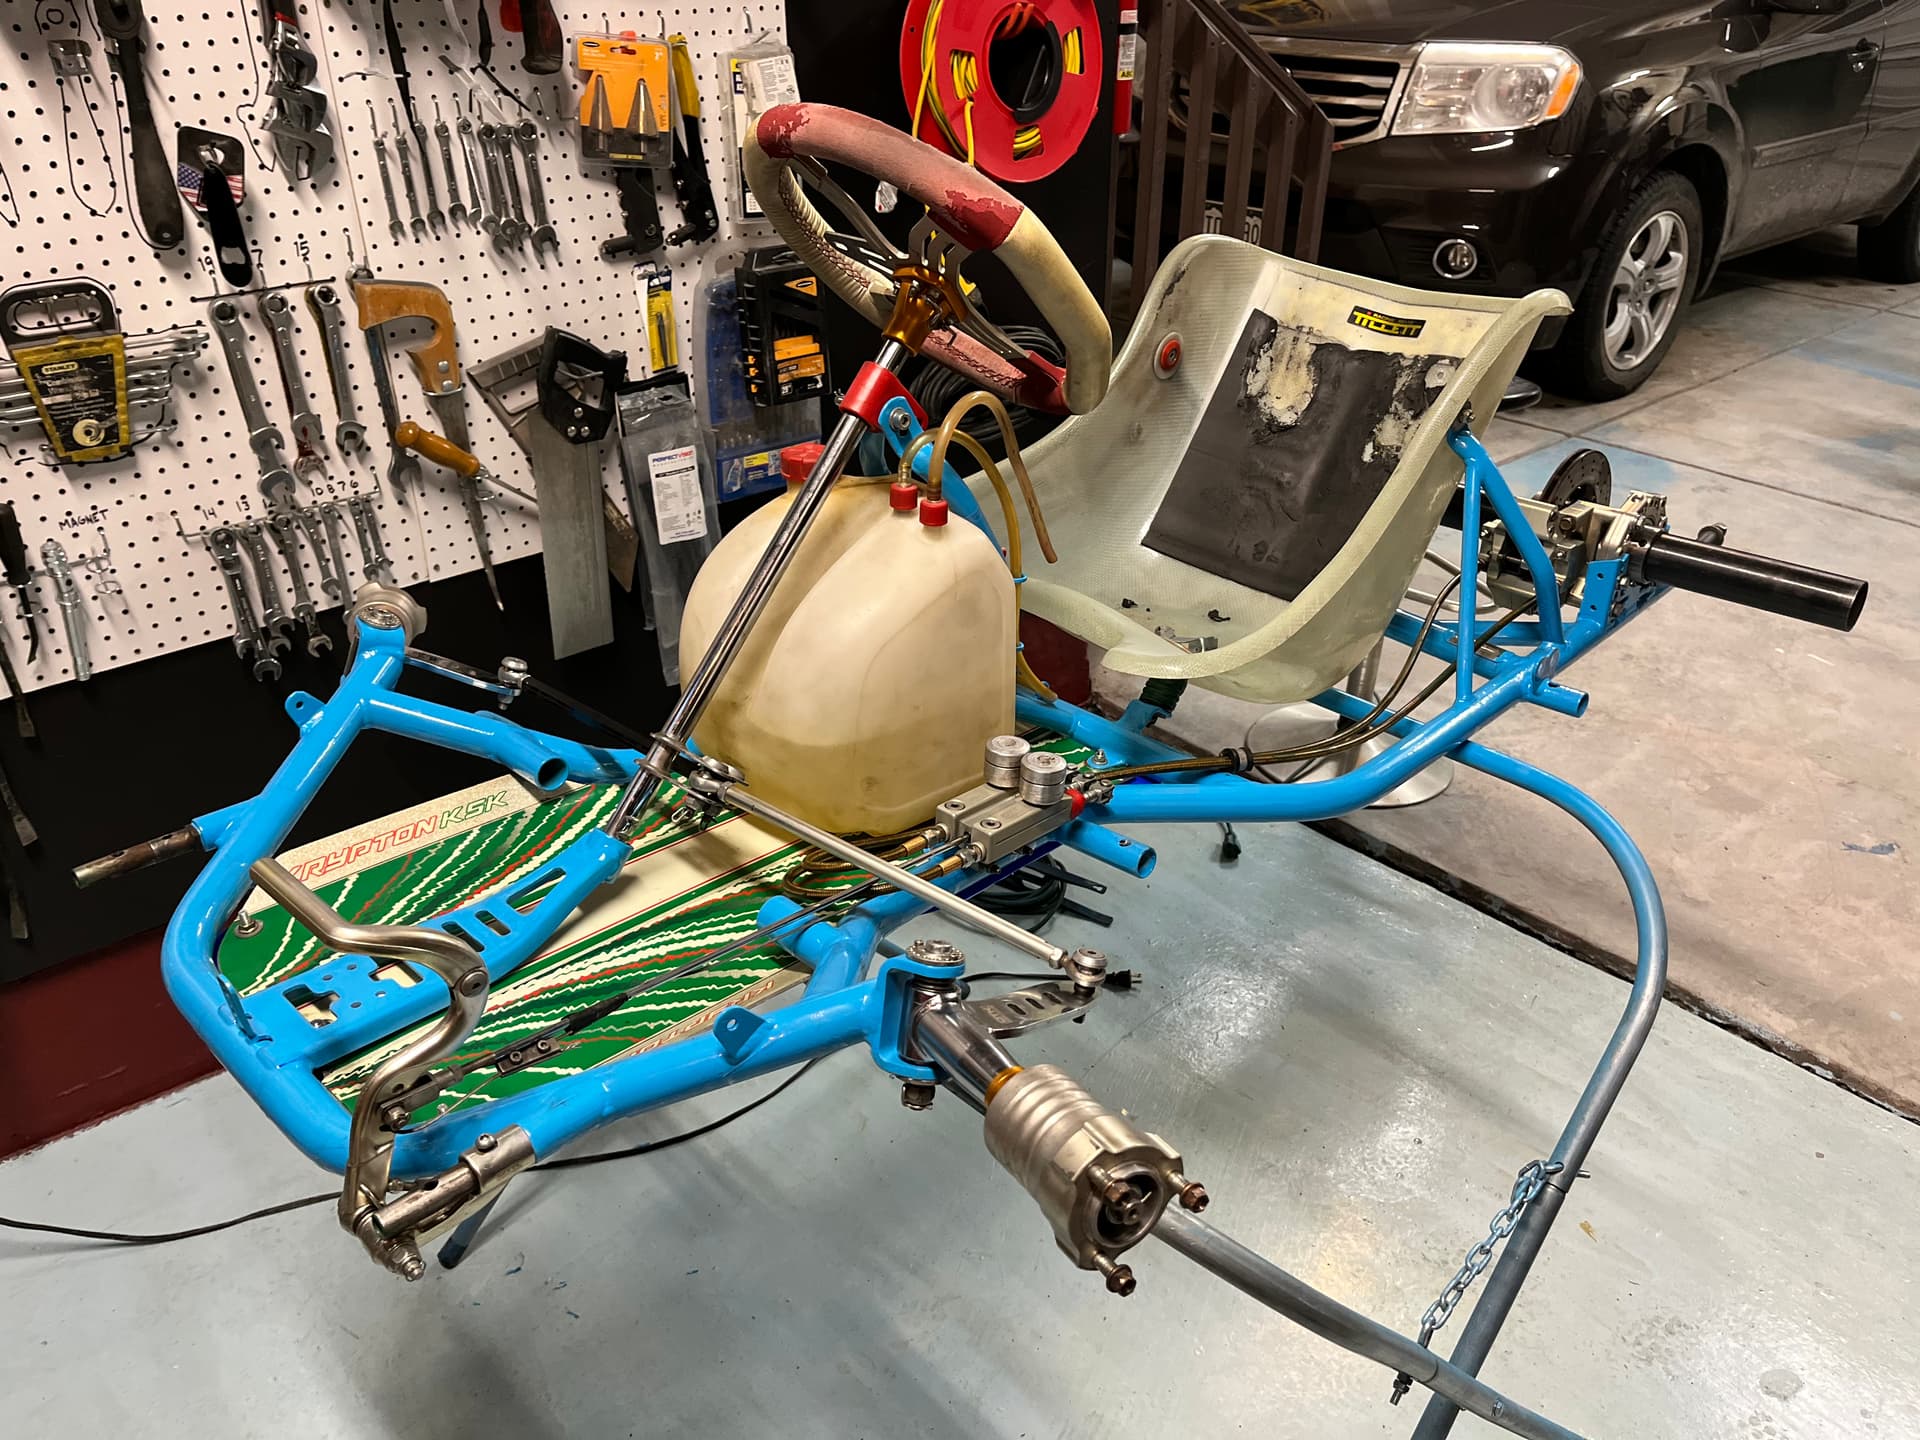
We installed the Inferno Flame clutch on to the Briggs engine, mounted the engine onto the Odenthal engine mount, cinched down the engine mount and installed and tensioned the chain while being mindful that it can be removed is we need to change the rear sprocket.
We discovered that the clearance between the chain and the seat strut is around 15 mm. We punted on reducing the gap until after we get the seat mounted and will most likely wait until we get some seat time.
The throttle cable sheath was trimmed and installed in the chassis guides. The cable was installed in the carb. Of course, we then discovered that we had forgotten to install the metal end caps on the cable sheath that help prevent fretting. So, we’ll do that next and finish the cable install. Then on to torquing items on the rear axle.
1 Like
New axle…price to pay when you overcook a corner
7 Likes
No middle bearing on a shifter? Haven’t seen that before.
1 Like
This is satisfying. ![]()
1 Like
X-rated kart content!
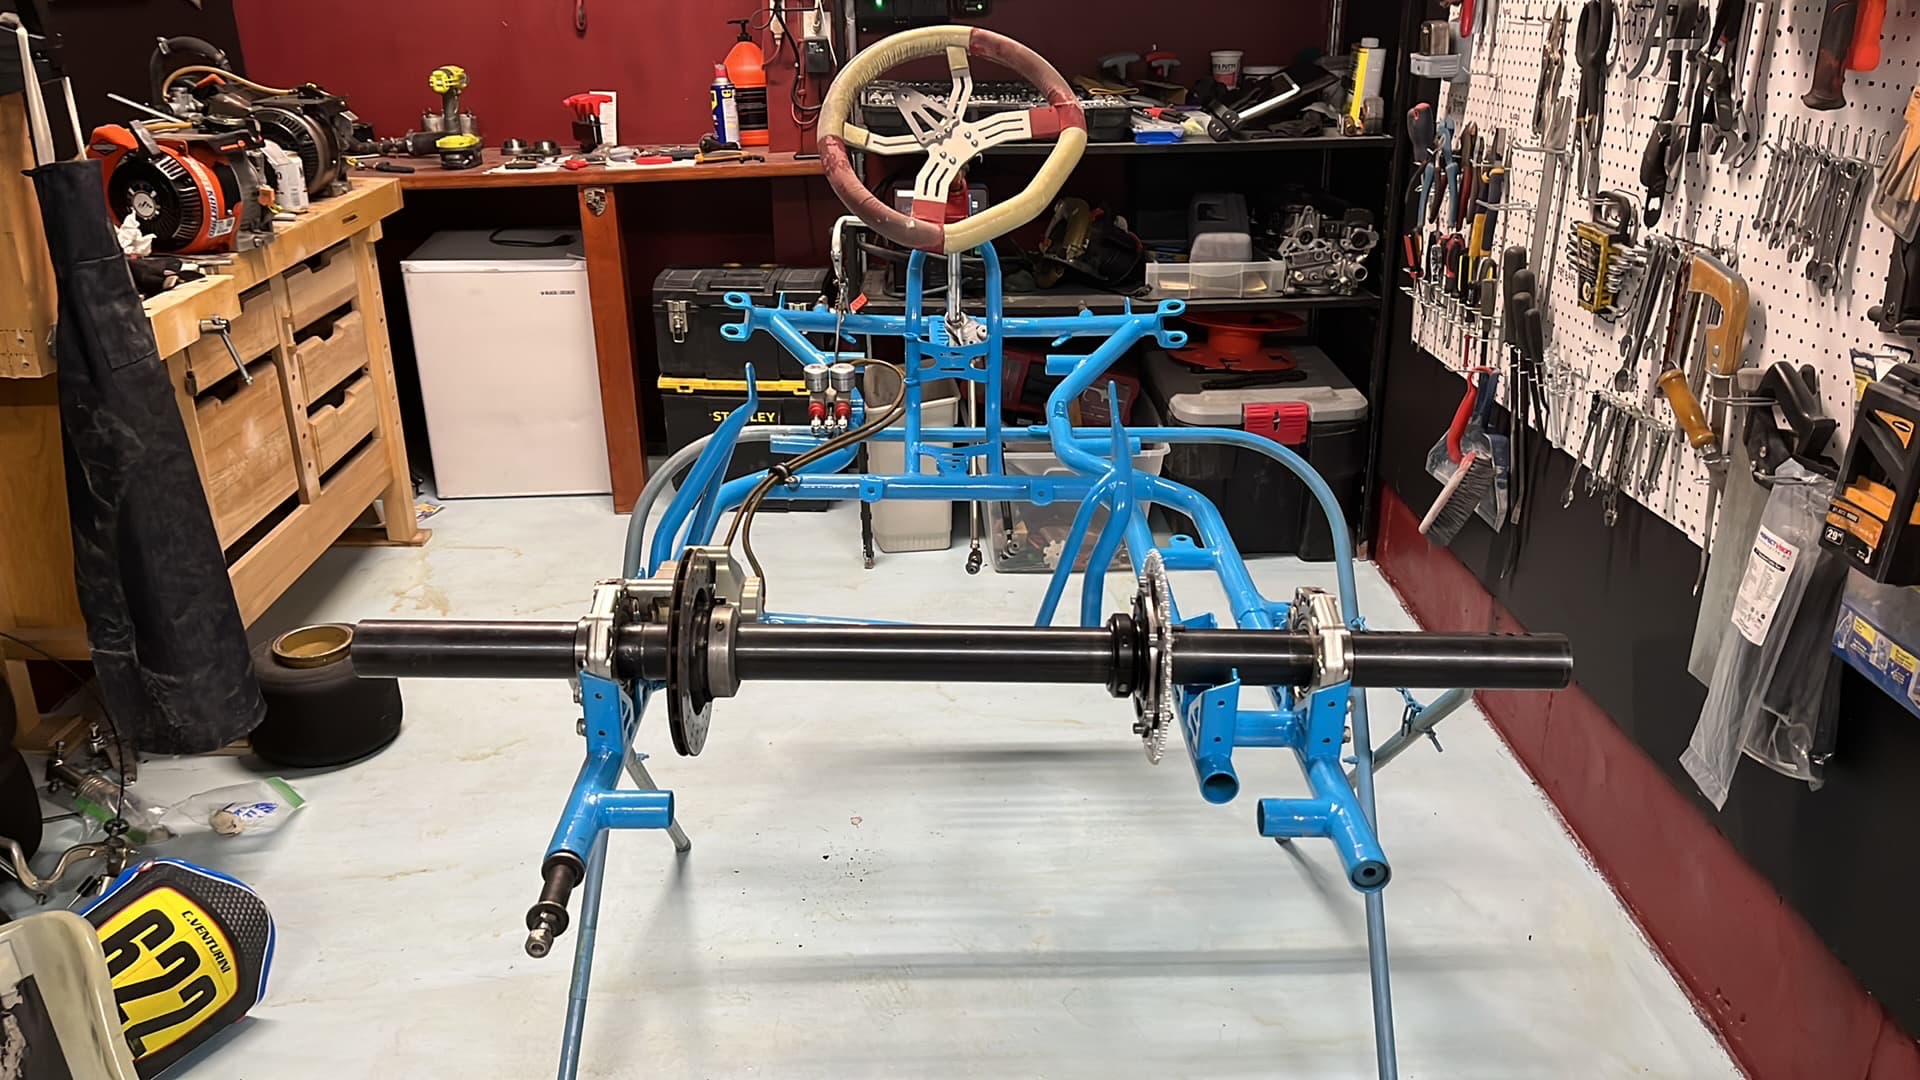
Middle bearing is added as next step…you want to first align the outers, then add the 3rd bearing and align that one to the other 2. At least that’s how I approach it (when I have time on my hands)
3 Likes
Perhaps it is a non-issue, but if you can get the chain off the sprocket without loosening your motor mount, you probably don’t have enough chain tension for normal running. Risking “throwing” a chain running that loose IMO.
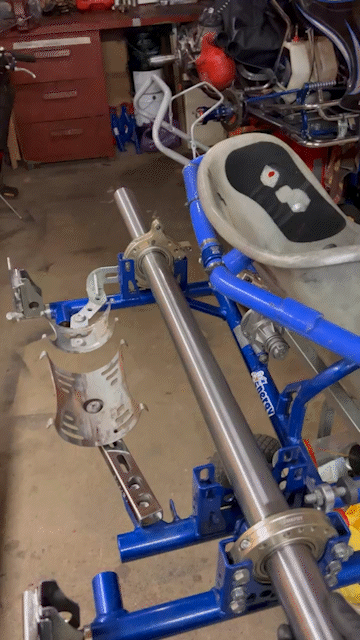
We installed the air filter, fuel lines, overflow container, and throttle cable. Then we tightened all the grub screws on the axle and the screw for the sprocket hub.
Turns out the lo206 accessories package didn’t come with screws and nuts for the sprocket but we had M6 screws and nuts that would work. I may need to buy some replacements with lower profile heads.
We put in oil and fuel. Double checked all screws and fired up the engine for the first time. It took probably 30 pulls to get it started. Initially, we had the choke on but then smelled some gas and so closed the choke and it started in 10 pulls.
During this run (break-in), we noticed that the engine idle increased as the run progressed - presumably, because the temperature was increasing and maybe because of the break-in?
The tape on the exhaust smoked like crazy and stank and this diminished, too.
After the run, power the break in instructions, we pulled the started cord so that the engine was in compression and the valves would be in contact with the head and do shouldn’t warp.
We missed tightening one nut on one rear wheel and it came off.
We’ll do the other two break-in runs tomorrow. We have enough break-in oil to do a change. So, we’ll warm up the engine, change the oil. Finish the second break-in. Then do the third break-in.
Then flush with fresh oil and put in the Briggs oil.
The overflow container didn’t have a good mounting mechanism. So, we’ll make a plate for it.
There’s a lot of conflicting information on how much oil to put in. The engine builder said 15 oz, the instructions sheet from Briggs said 16 oz and the 16 common mistakes article from Briggs said 13 oz. We went with the engine builders suggestion.
A conundrum was that we couldn’t find torque specs for the various bolts. We were tightening M6 bolts to 10.5 ft-lbs. This was based on the torque recommendations for M6 bolts.
1 Like
New axle for me 2 after some contact at last race. New bearings while I was at it and it is off season for now ![]() Will do a complete disassembly and change every screw and nut. Check for cracks and realign everything!
Will do a complete disassembly and change every screw and nut. Check for cracks and realign everything!
3 Likes
More quality axle content!
2 Likes
Soo satisfying when you align it 100% and it goes in like a smooth operator ![]()
![]()
I’m gonna start a collection of axle erotica. Might as well formalize this rather than kink-shame:
6 Likes
Ahhh man now i need to get a new axel and bearing to make a video : )
Putting the kart back together after a complete disassemble, frame stripped, welded cracked seat support, painted. New axle bearings, rebuilt brakes, head freshened up, helicoiled stripped exhaust manifold and intake manifold bolts. Still have a ways to go.
No axle sliding pro here , but I also align the axle with it on the ground and me sitting in it.
4 Likes
Hey Chris! It’s looking good and great seeing another CO guy on here. Look for an email communication this weekend for club updates and… (drumroll)… New tire selection in 206 classes.
Can you please elaborate on how you aligned the axle with you sitting in the kart? Thank you.
Hey Tyler! Looking forward to the next season! Not sure how I feel about a new tire rule but I’ll reserve judgement till I know the details. Guessing that means I can at least run my son’s takeoffs…
As far as my axle alignment methods, huge disclaimer , I am newish to karting (going into our third season, my second as a driver) but come from many years of road racing. I’m hesitant to share my “zany” ideas because there’s already such a broad range of kart setup “theories” I don’t want to muddy the waters further , can’t tell you how much misinformation I’ve heard at the track, so please don’t take my “logic” as factual.
Anyway, my thought goes as such, in a low hp class we are always chasing the least rolling resistance, that being said, I don’t care how freely the axle spins on the stand, frames are designed to flex , and our bodies are by far the heaviest component on the kart . This process requires 2 people, but set the kart in the ground, with the axle bearing “locking” bolts loose, sit in it, roll the kart back and forth a bit to settle everything , then have your buddy tighten the 2 axle bearing set bolts, done. In theory, now the axle is aligned with you on the ground, even this is flawed because the chassis is constantly flexing on track , but it’s better than nothing. This is probably worth 0 real lap time on track, so don’t waste too much energy on it.
1 Like