Last year, I was “commissioned” by a local-ish man to restore his dad’s vintage Margay enduro. He trusted me to make it “race-worthy.” It showed up as basically a bare frame with some rusty components, but mostly complete. I post it here to show what some of our karting heritage is. I started racing in 1988, and this was ‘classic’ by then, so now it’s a relatively rare piece, especially in complete form (tanks, etc.) I only made the mods essential for safety, and look forward to delivering it next week. Without further ado…
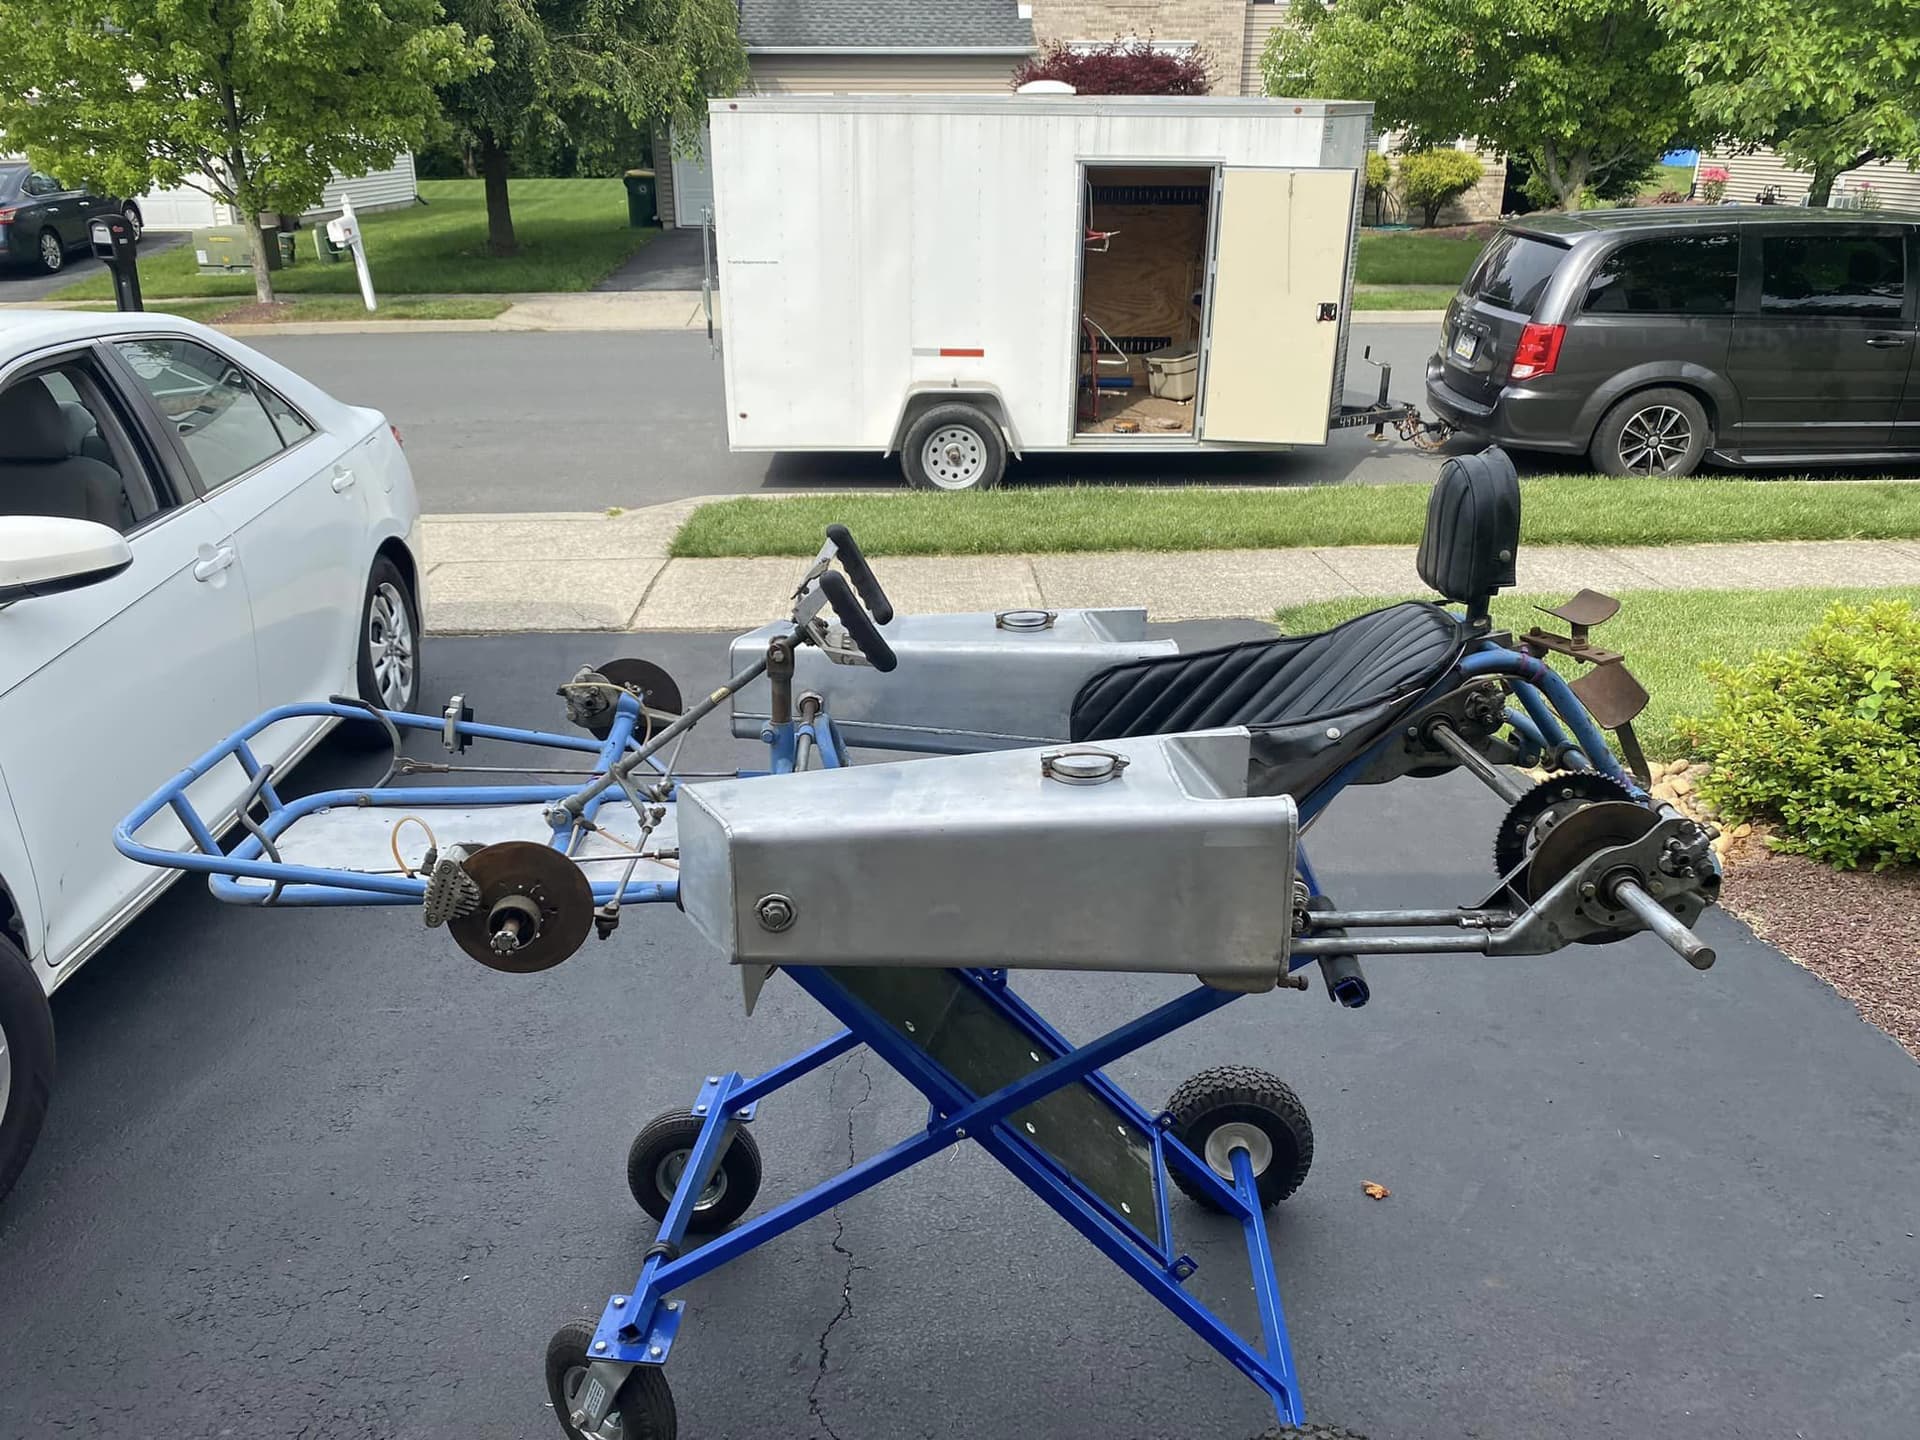
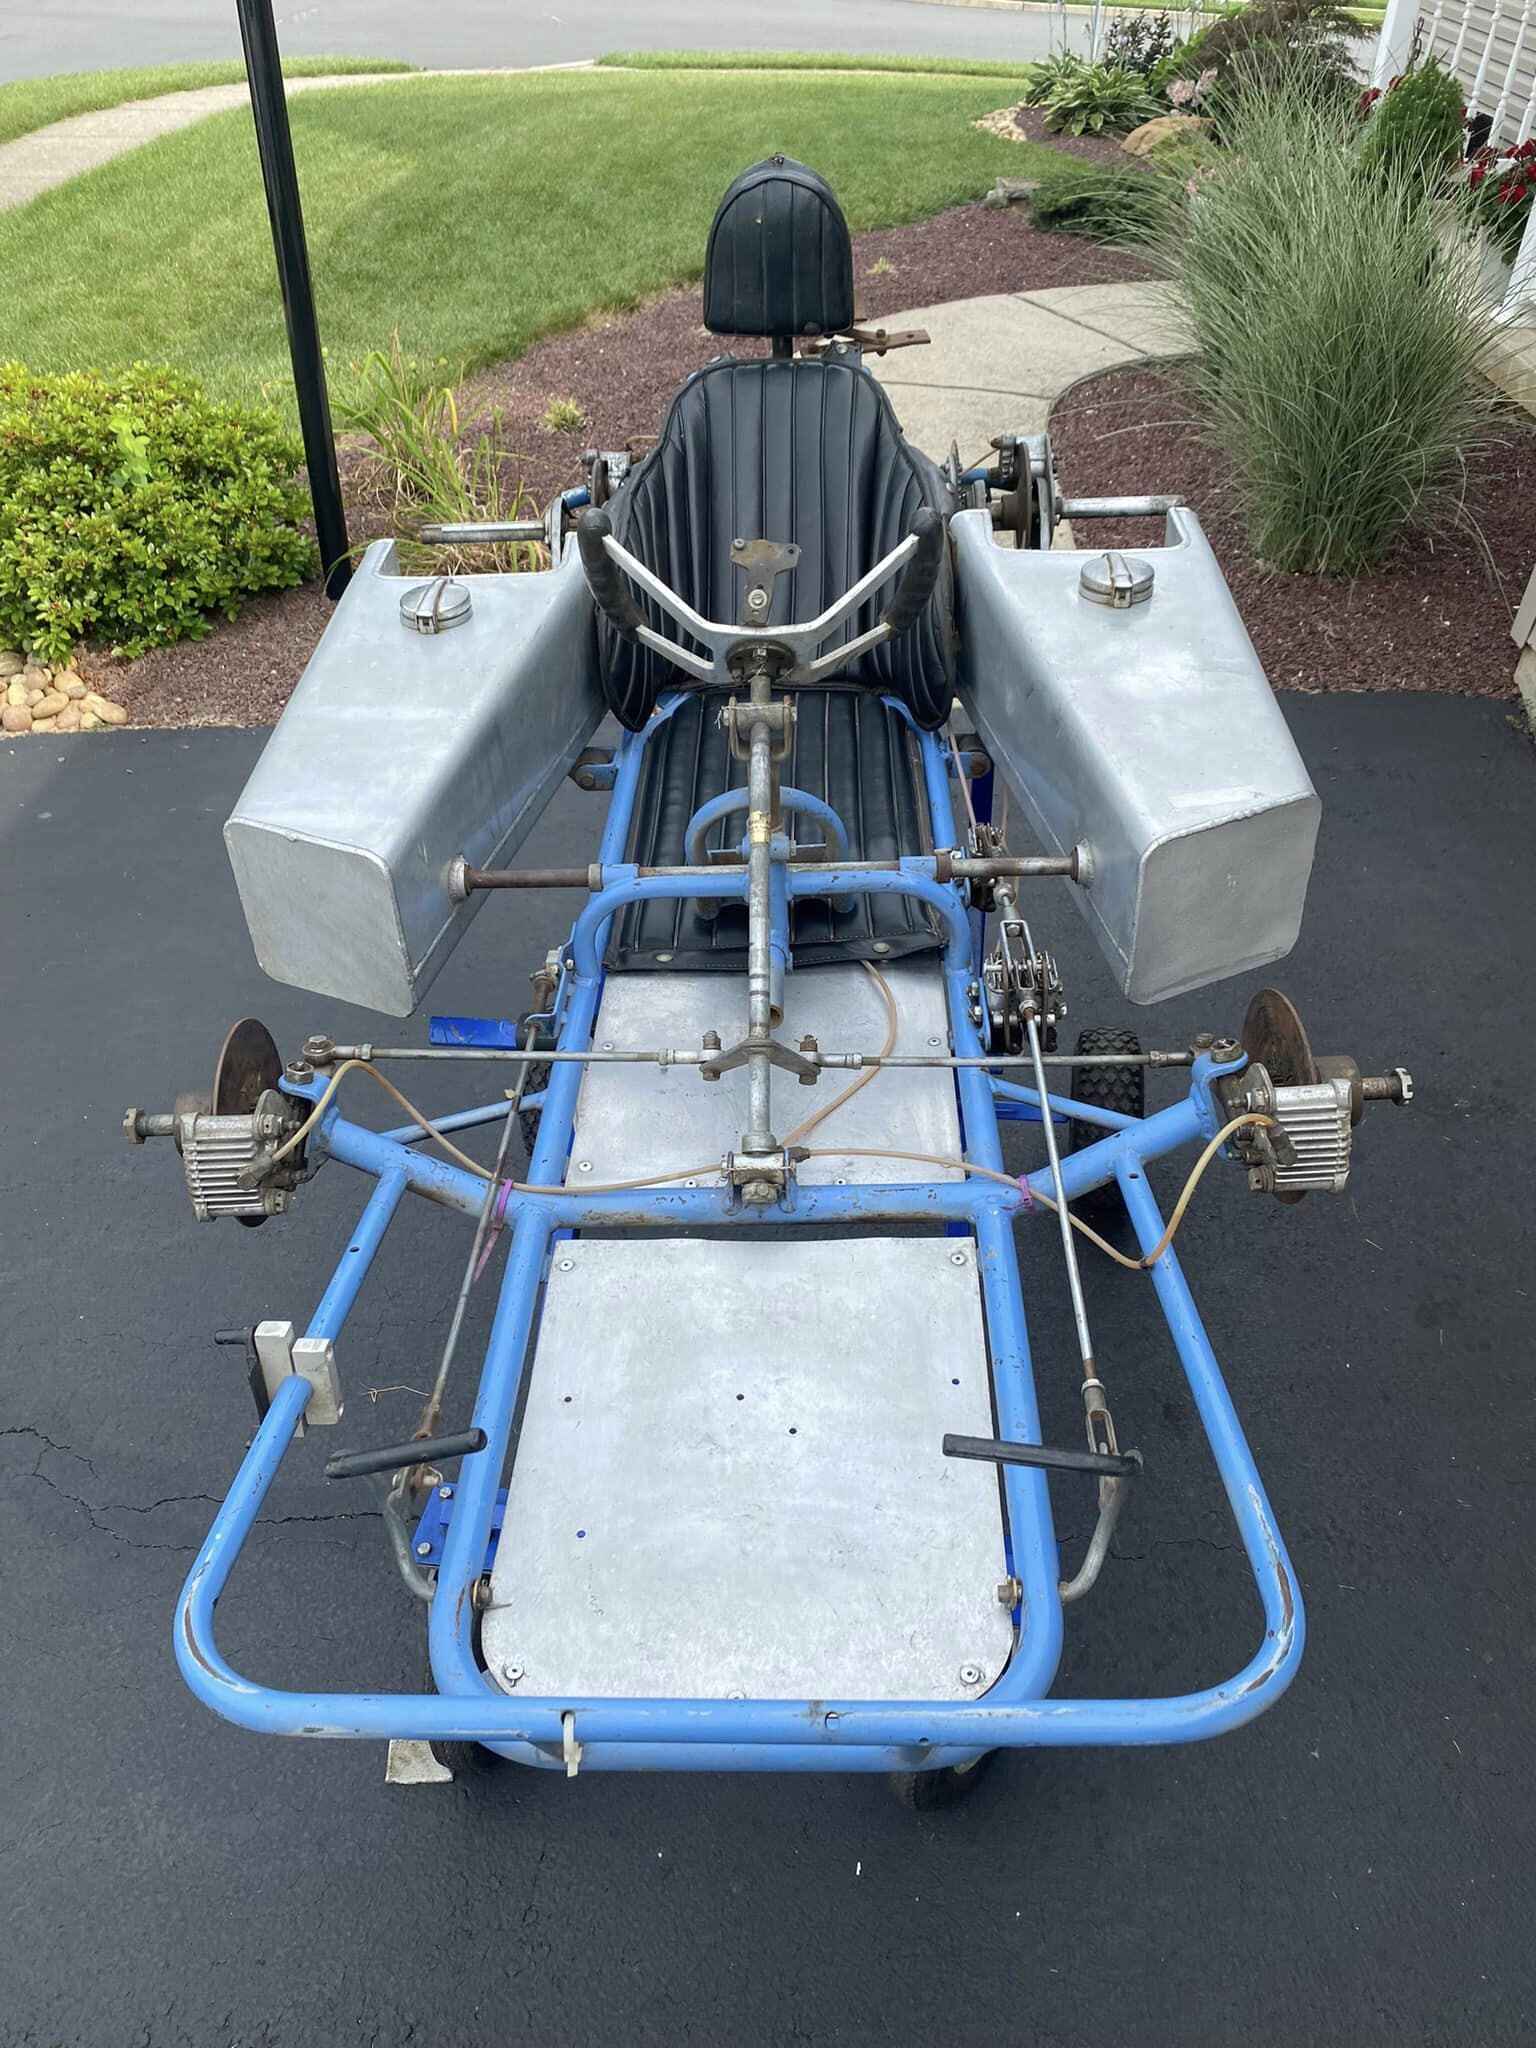
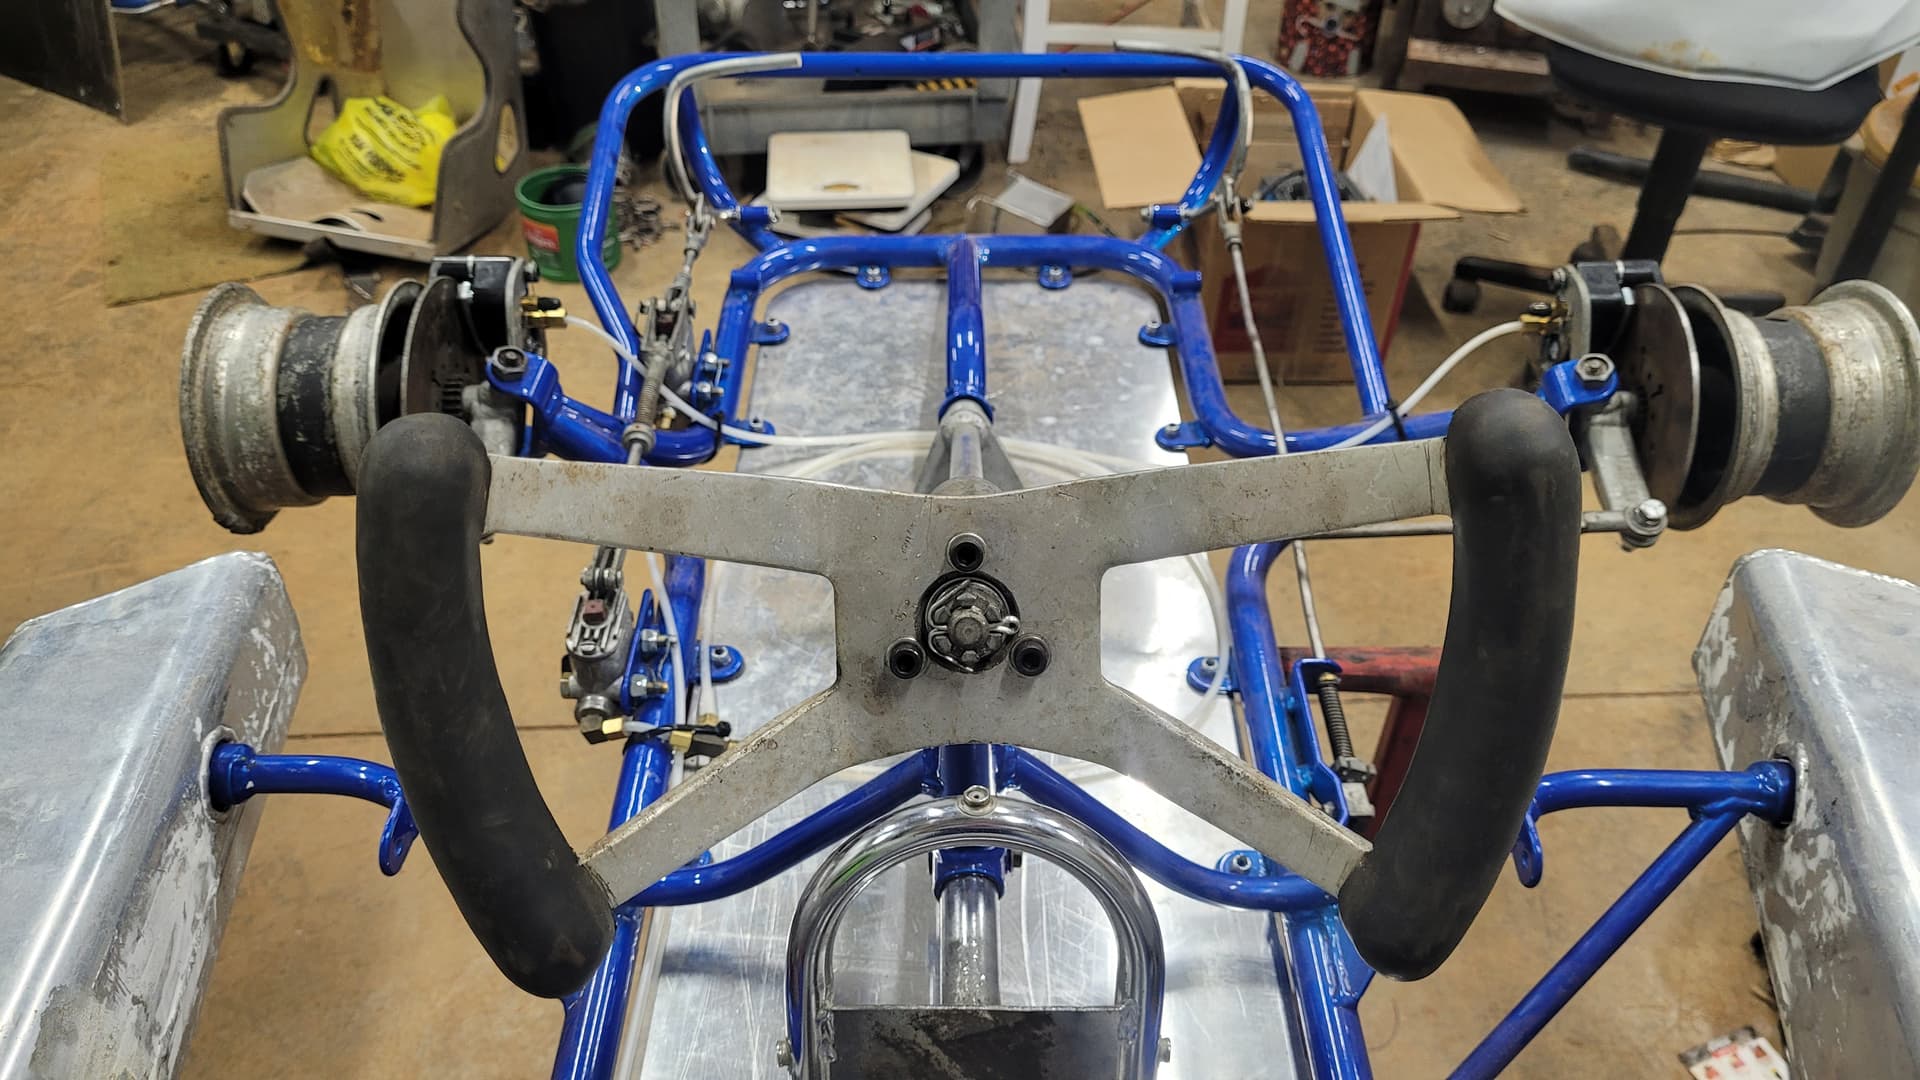
Here’s my first pics of the kart:
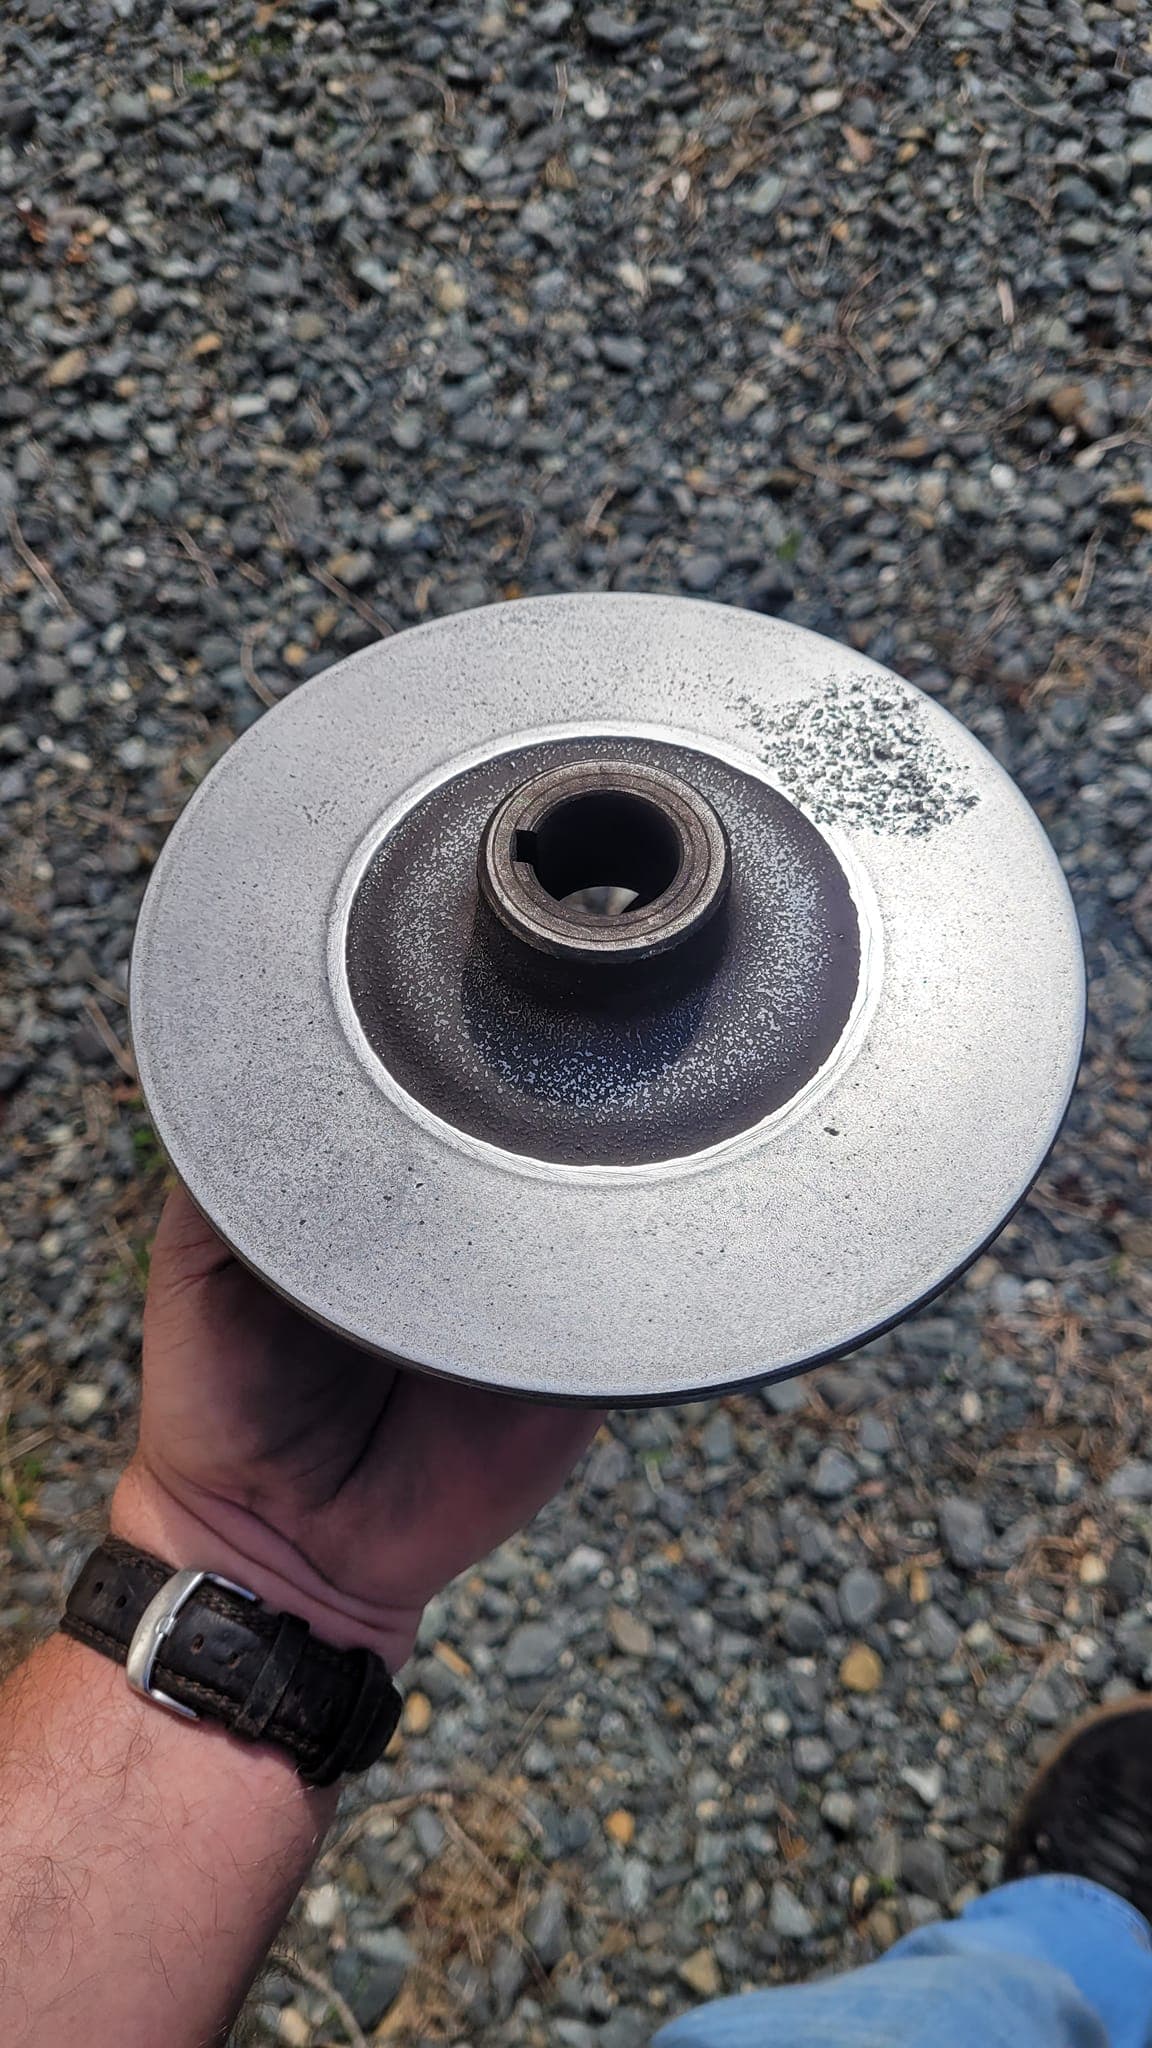
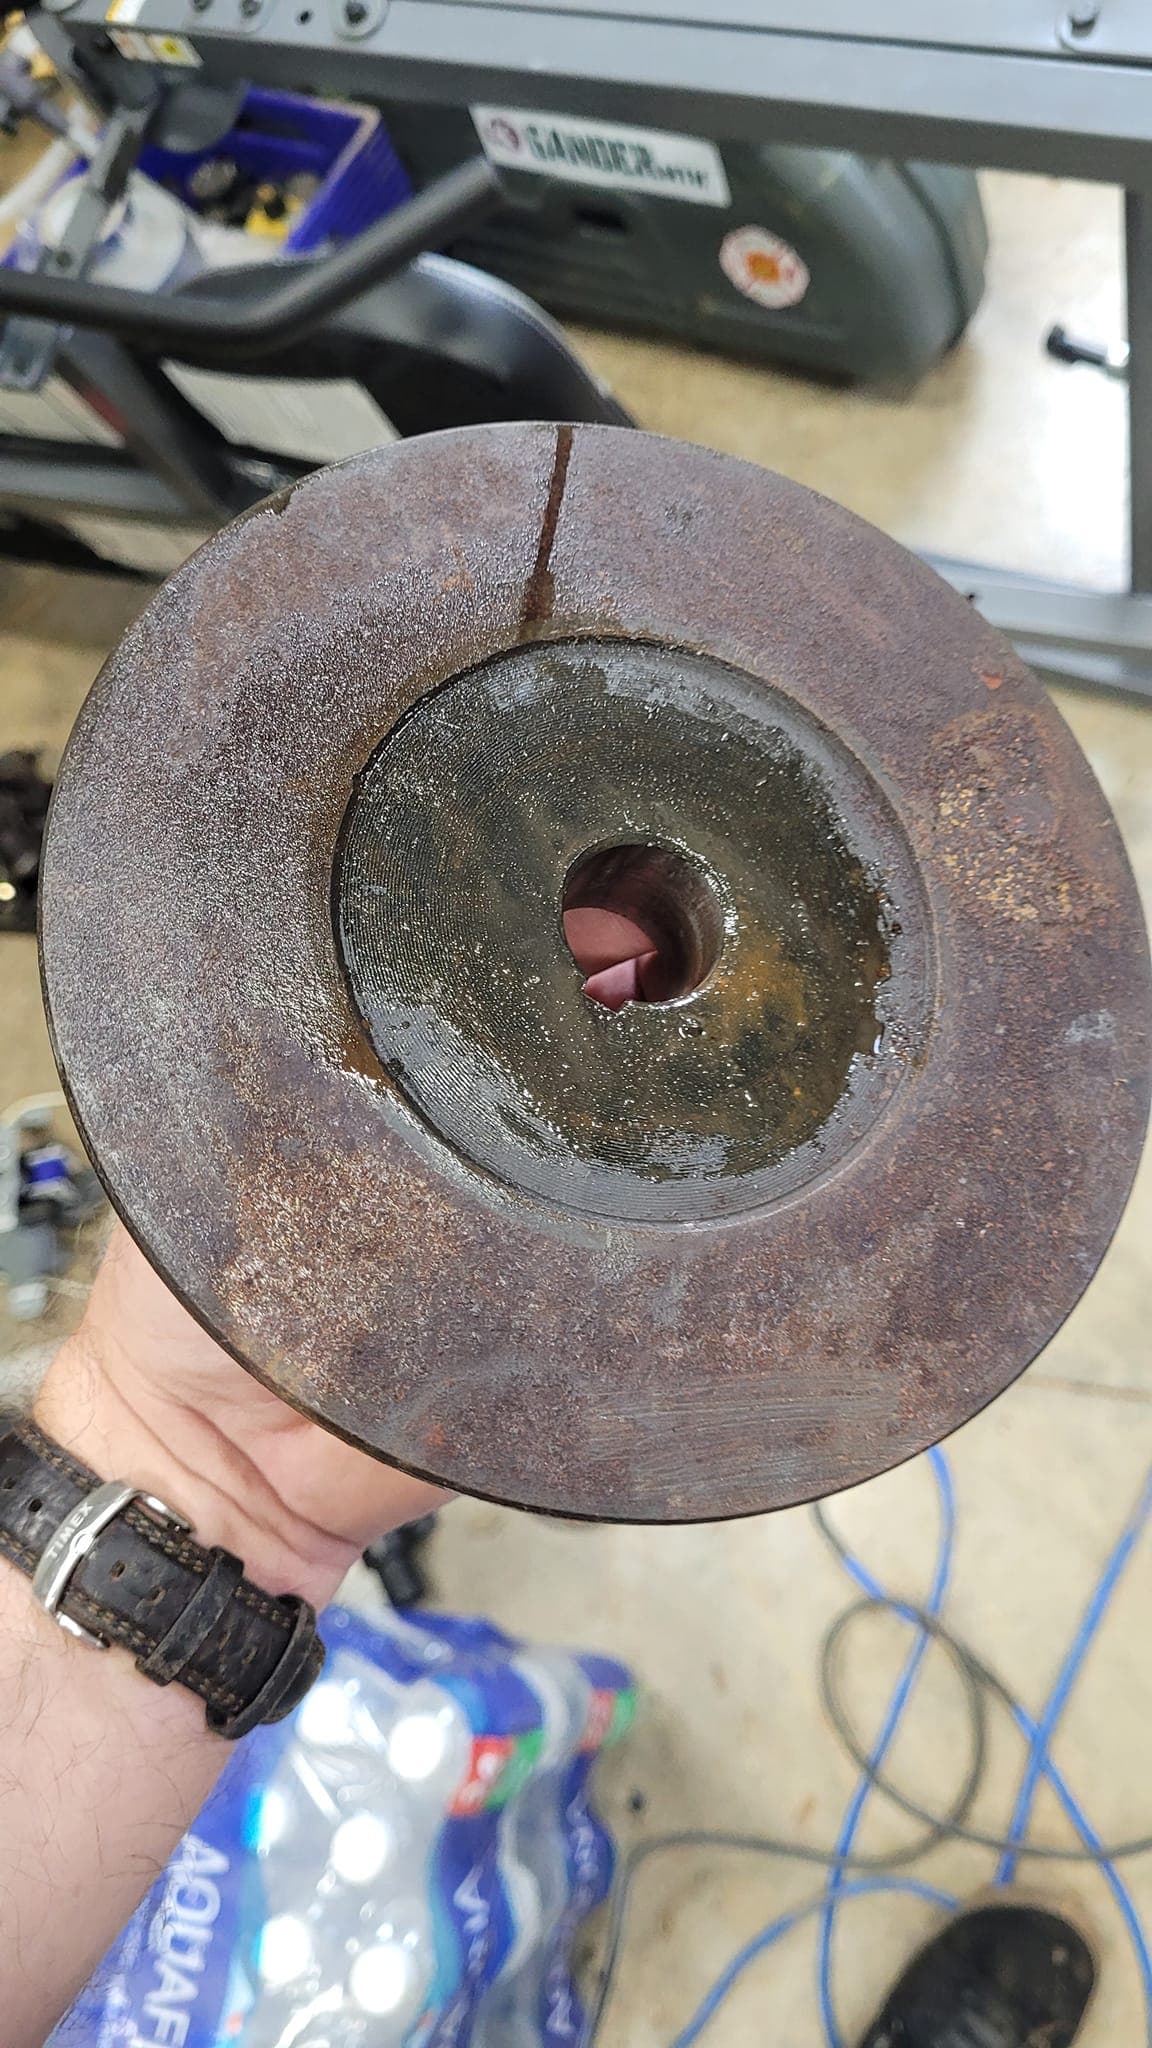
Cast Iron brake disc… heavy, and corroded. Needs to be updated. 1" bore. A little less than today’s diameters also.
1 Like
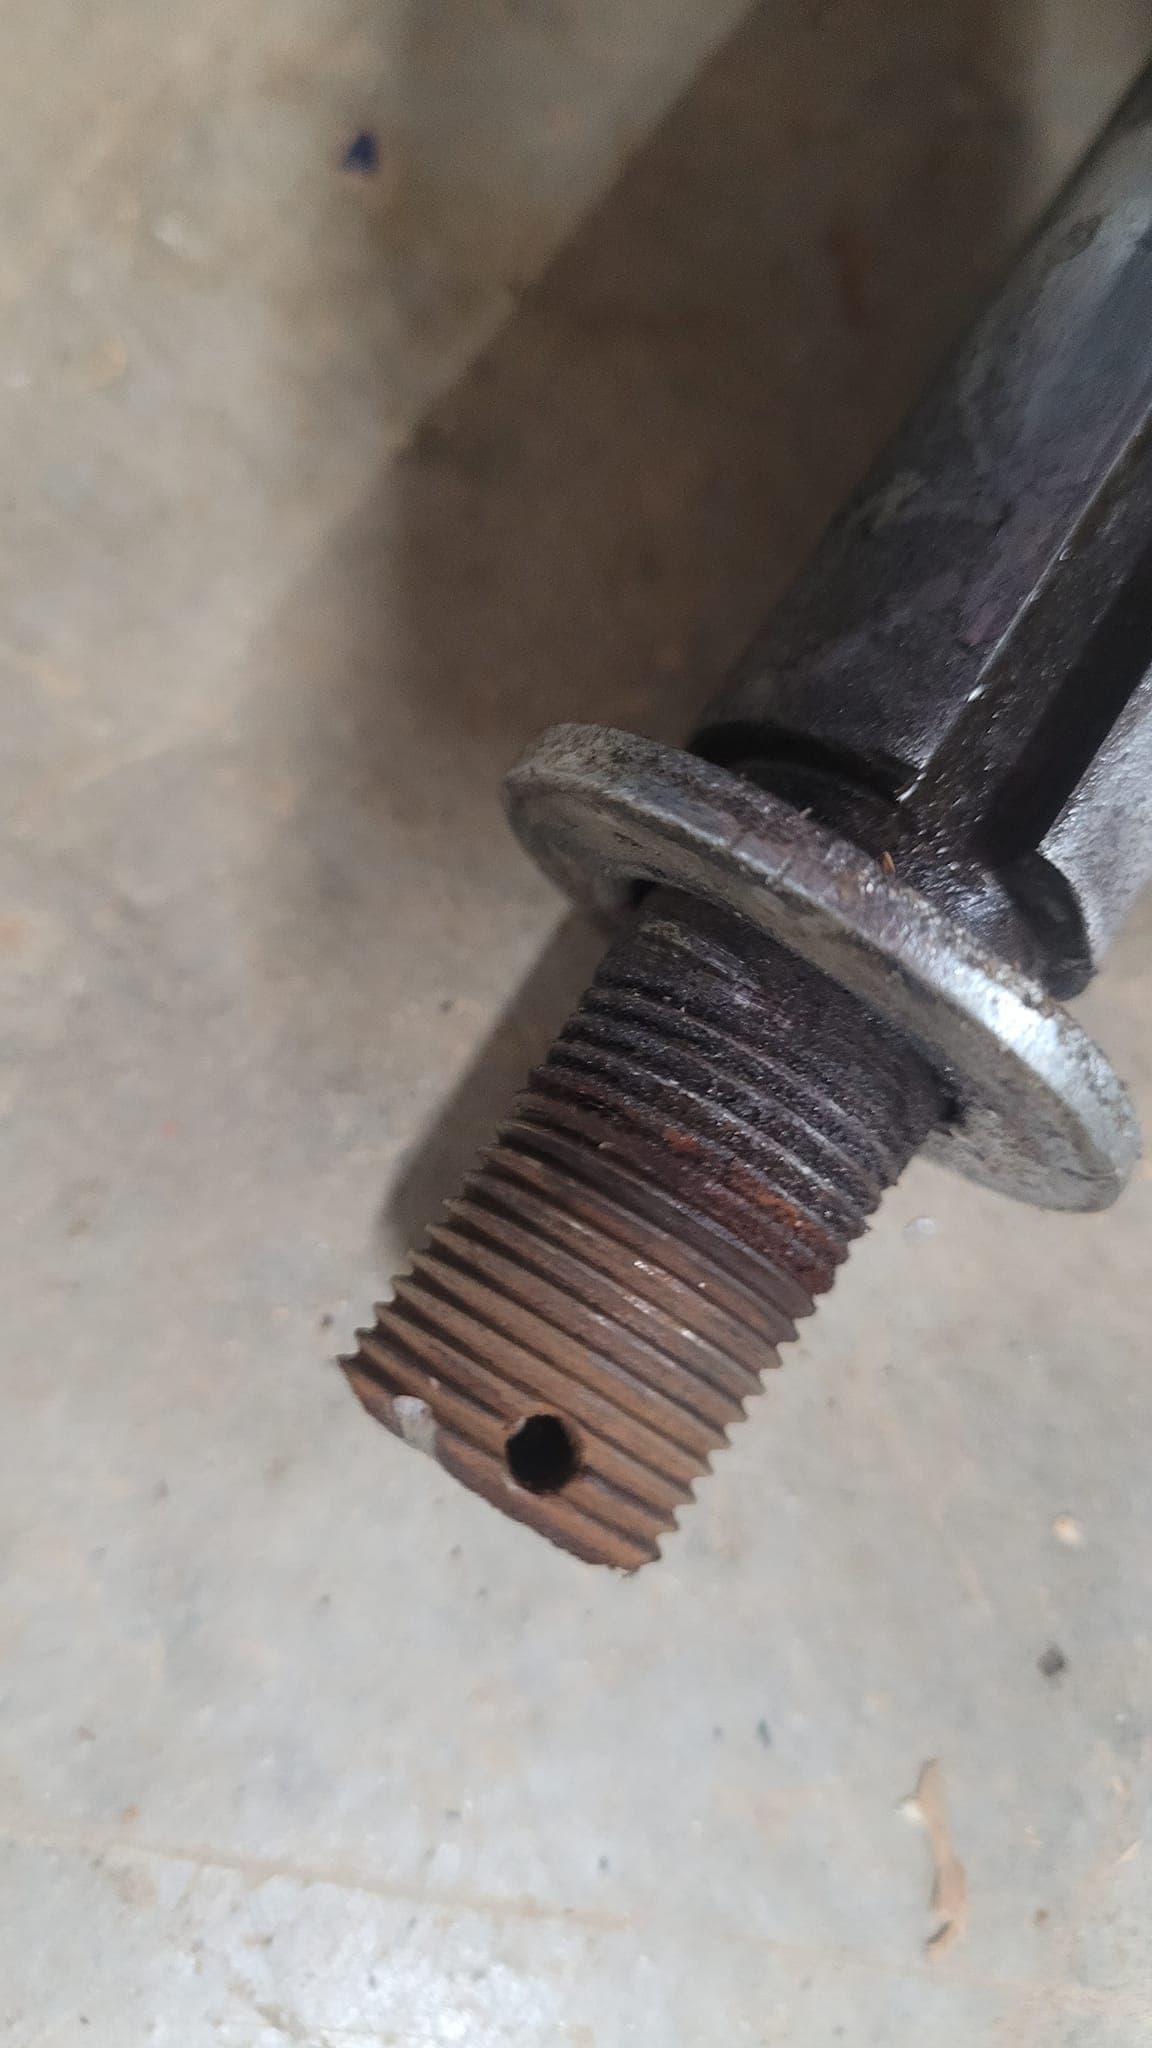
When the 3/4" nuts on the rear axle are rusted on for 40 years, you sometimes get creative. I used a dremel cutoff wheel to cut most of a groove, then a chisel to split the nut and remove:
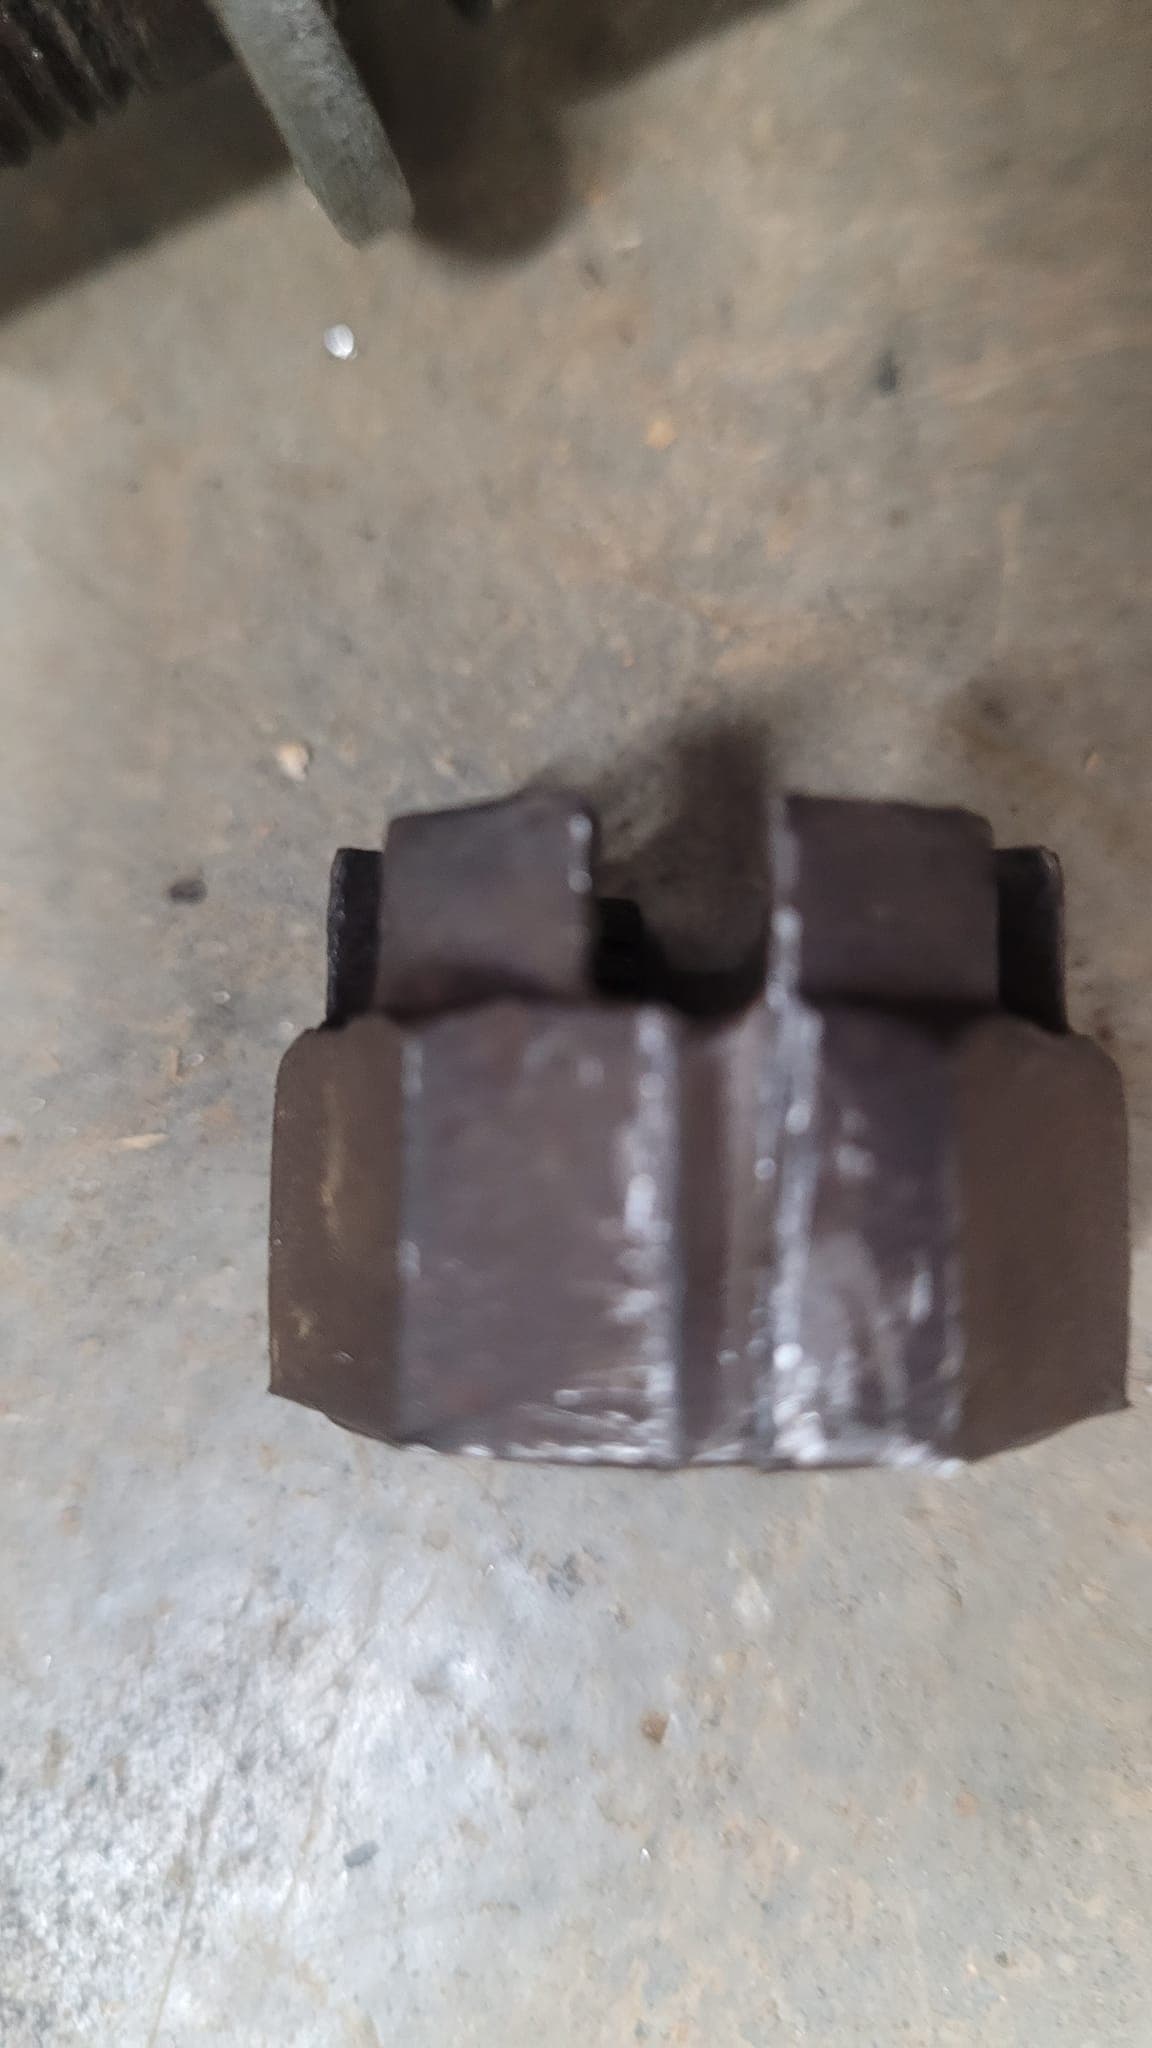
Success:
1 Like
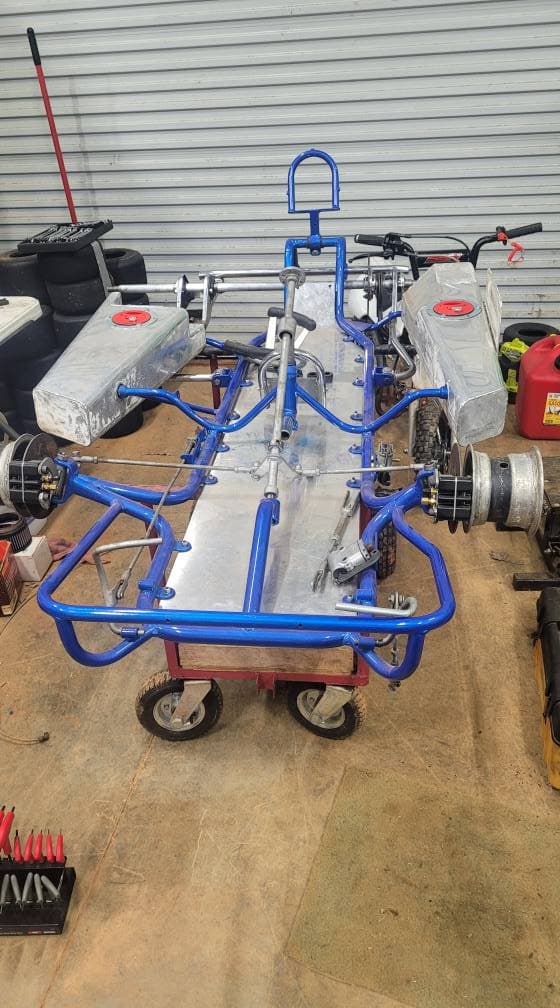
The previous owner had the frame already painted, so that was a time-saver. Coffee was essential while pondering how to sort the parts out and what to disassemble and rehab and what could remain:

1 Like
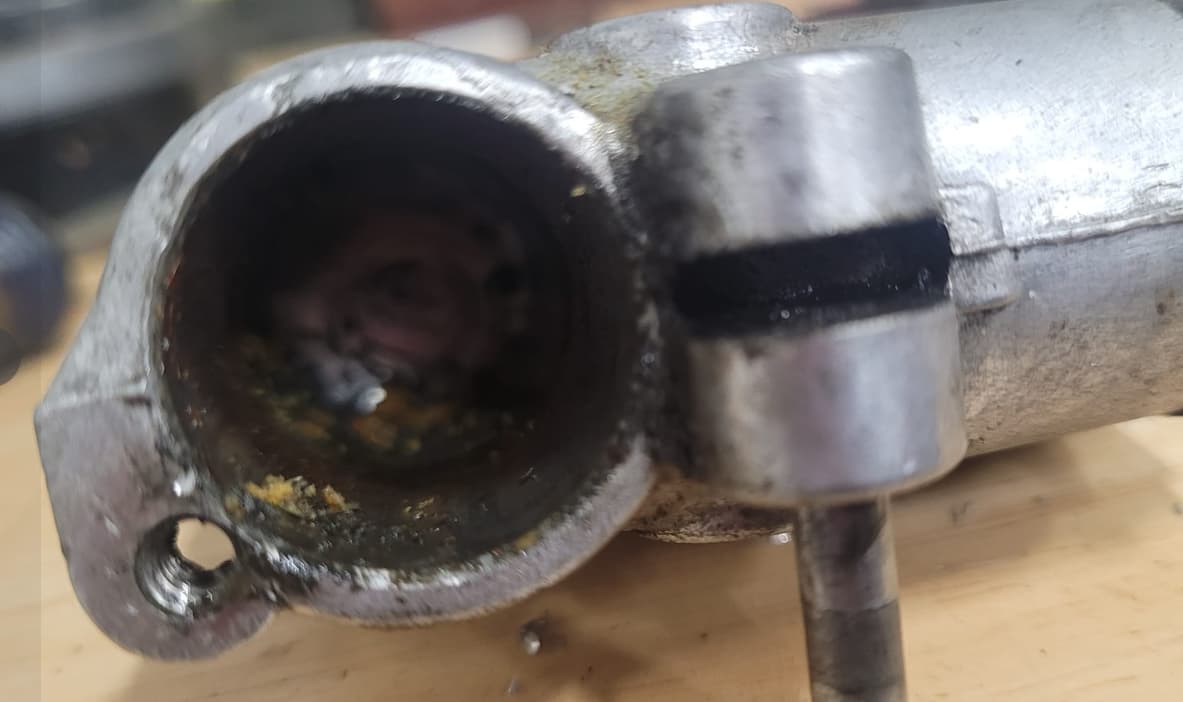
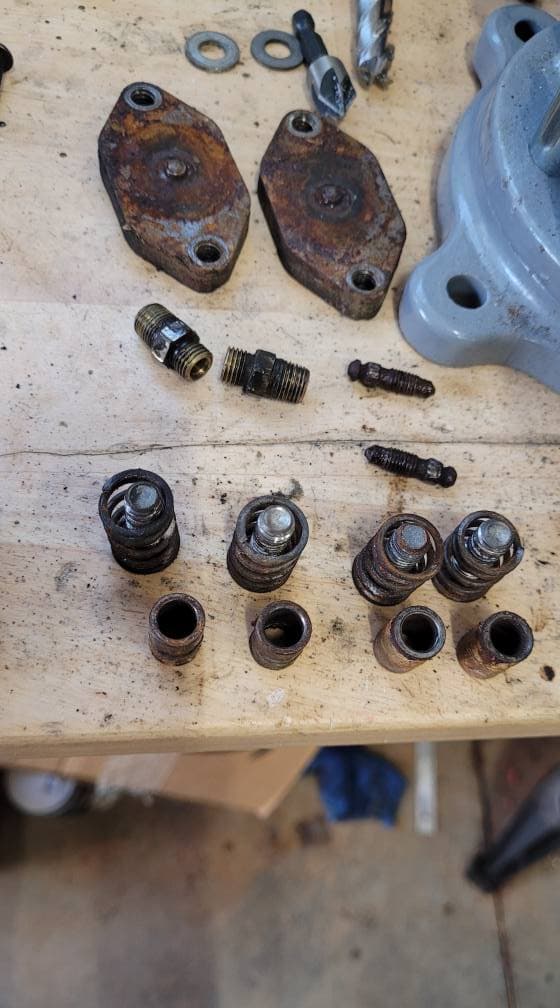
One of the downsides of vintage machinery is the now-obsolete parts. This enduro came with THEN state-of-the-art Airheart masters and calipers. I had to tear them down to see what I was working with:
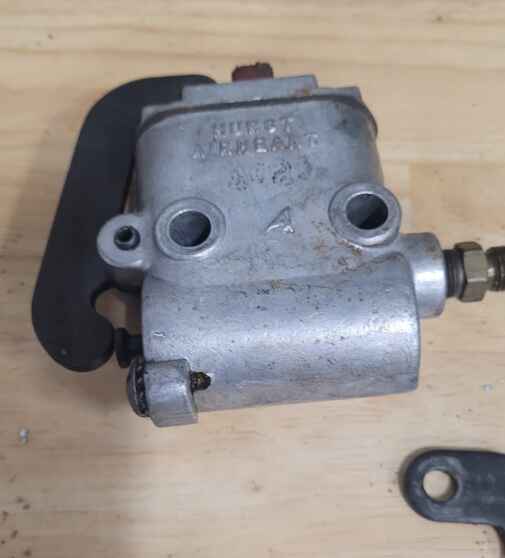
Not pretty:
1 Like
Luckily, the mechanical parts are fine. So, with a new roll pin and some new cup seals, the masters will see life again.
The rims are old-style Margay 3 piece – solid hub and bolt-on rim ‘halves.’
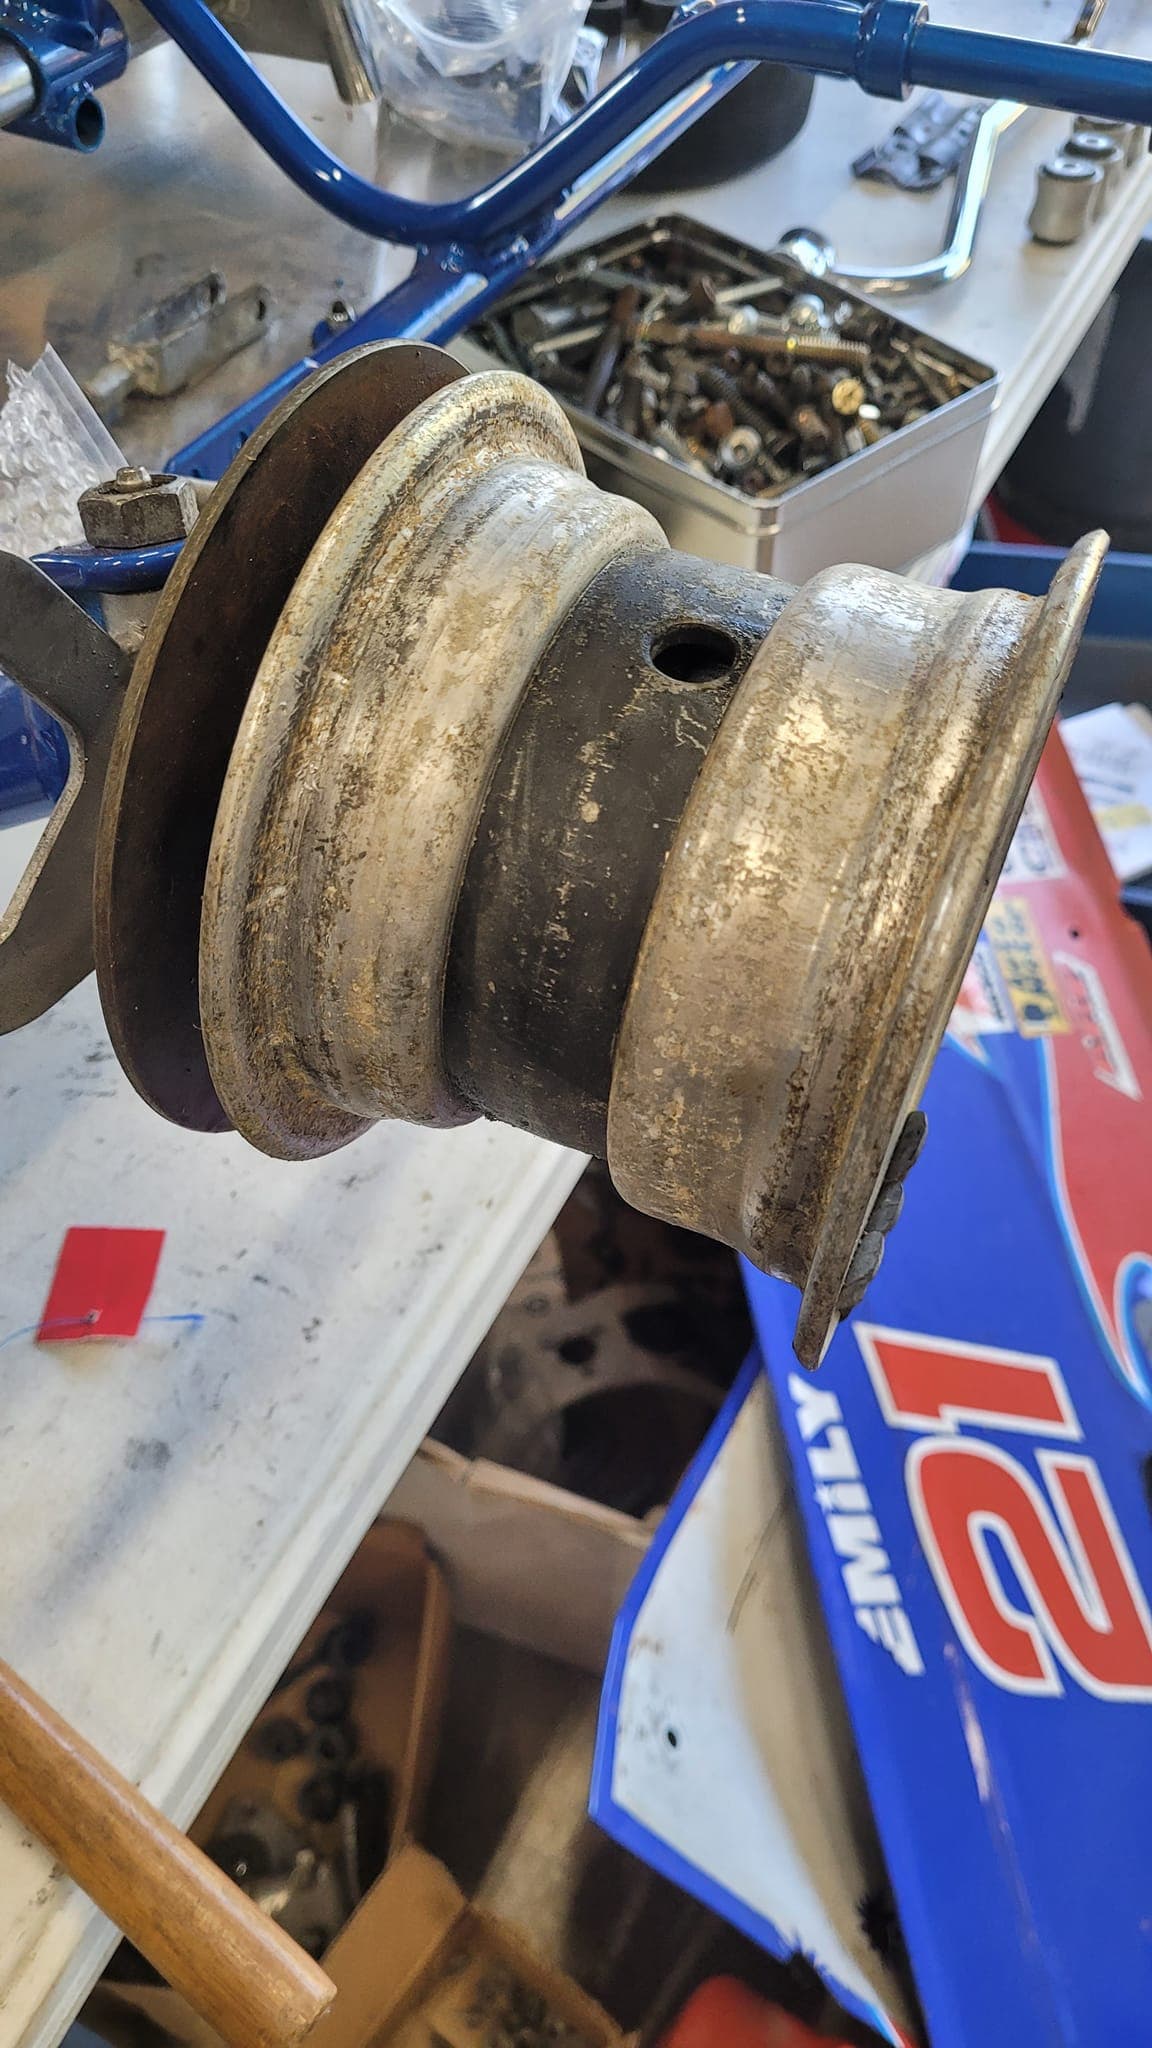
The fronts have a splined section that the ‘floating’ discs ride on.
1 Like
The rear calipers needed to be replaced with something safer than the airhearts. The pucks on the airhearts were shot, and those brakes were marginal when new… Luckily I had an old Enginetics caliper to donate to the cause. It needed rehab as well:
Seemed to clean up pretty well, and the newer MCP pistons fit.
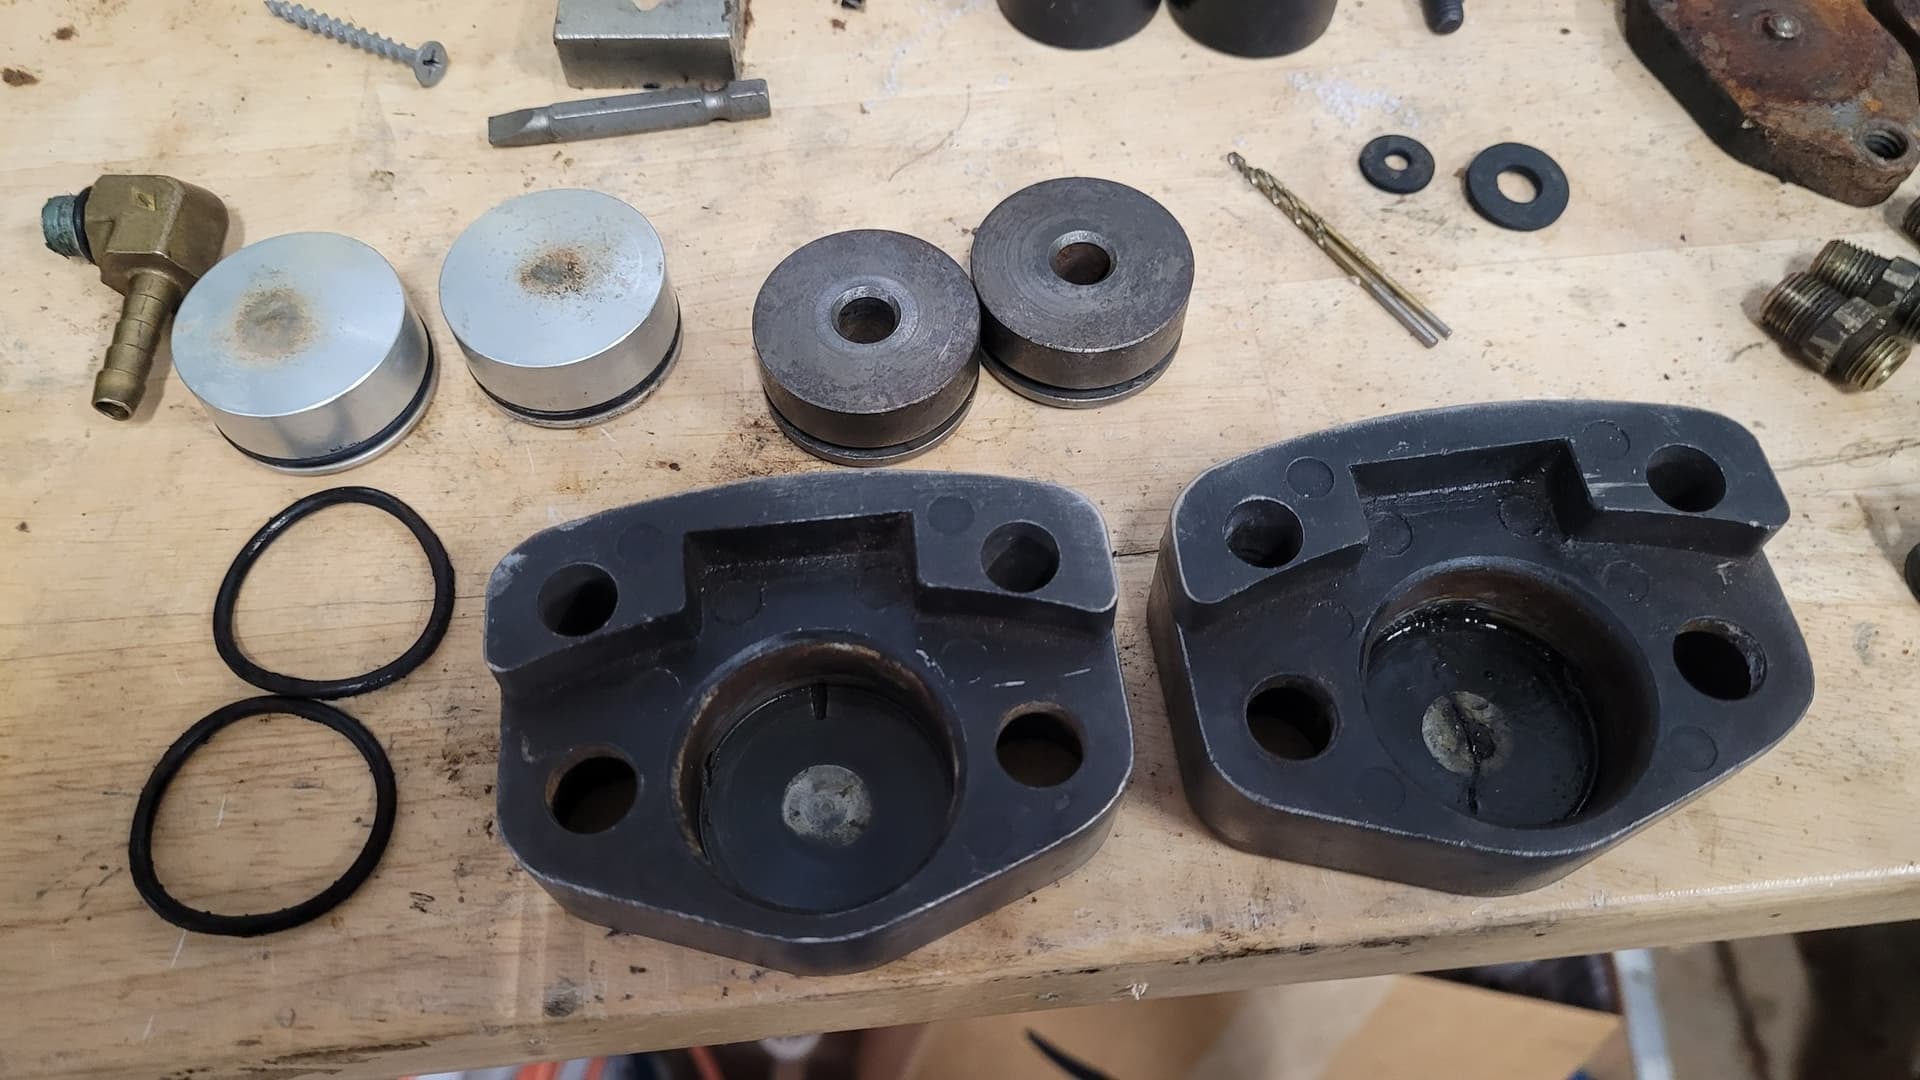
1 Like
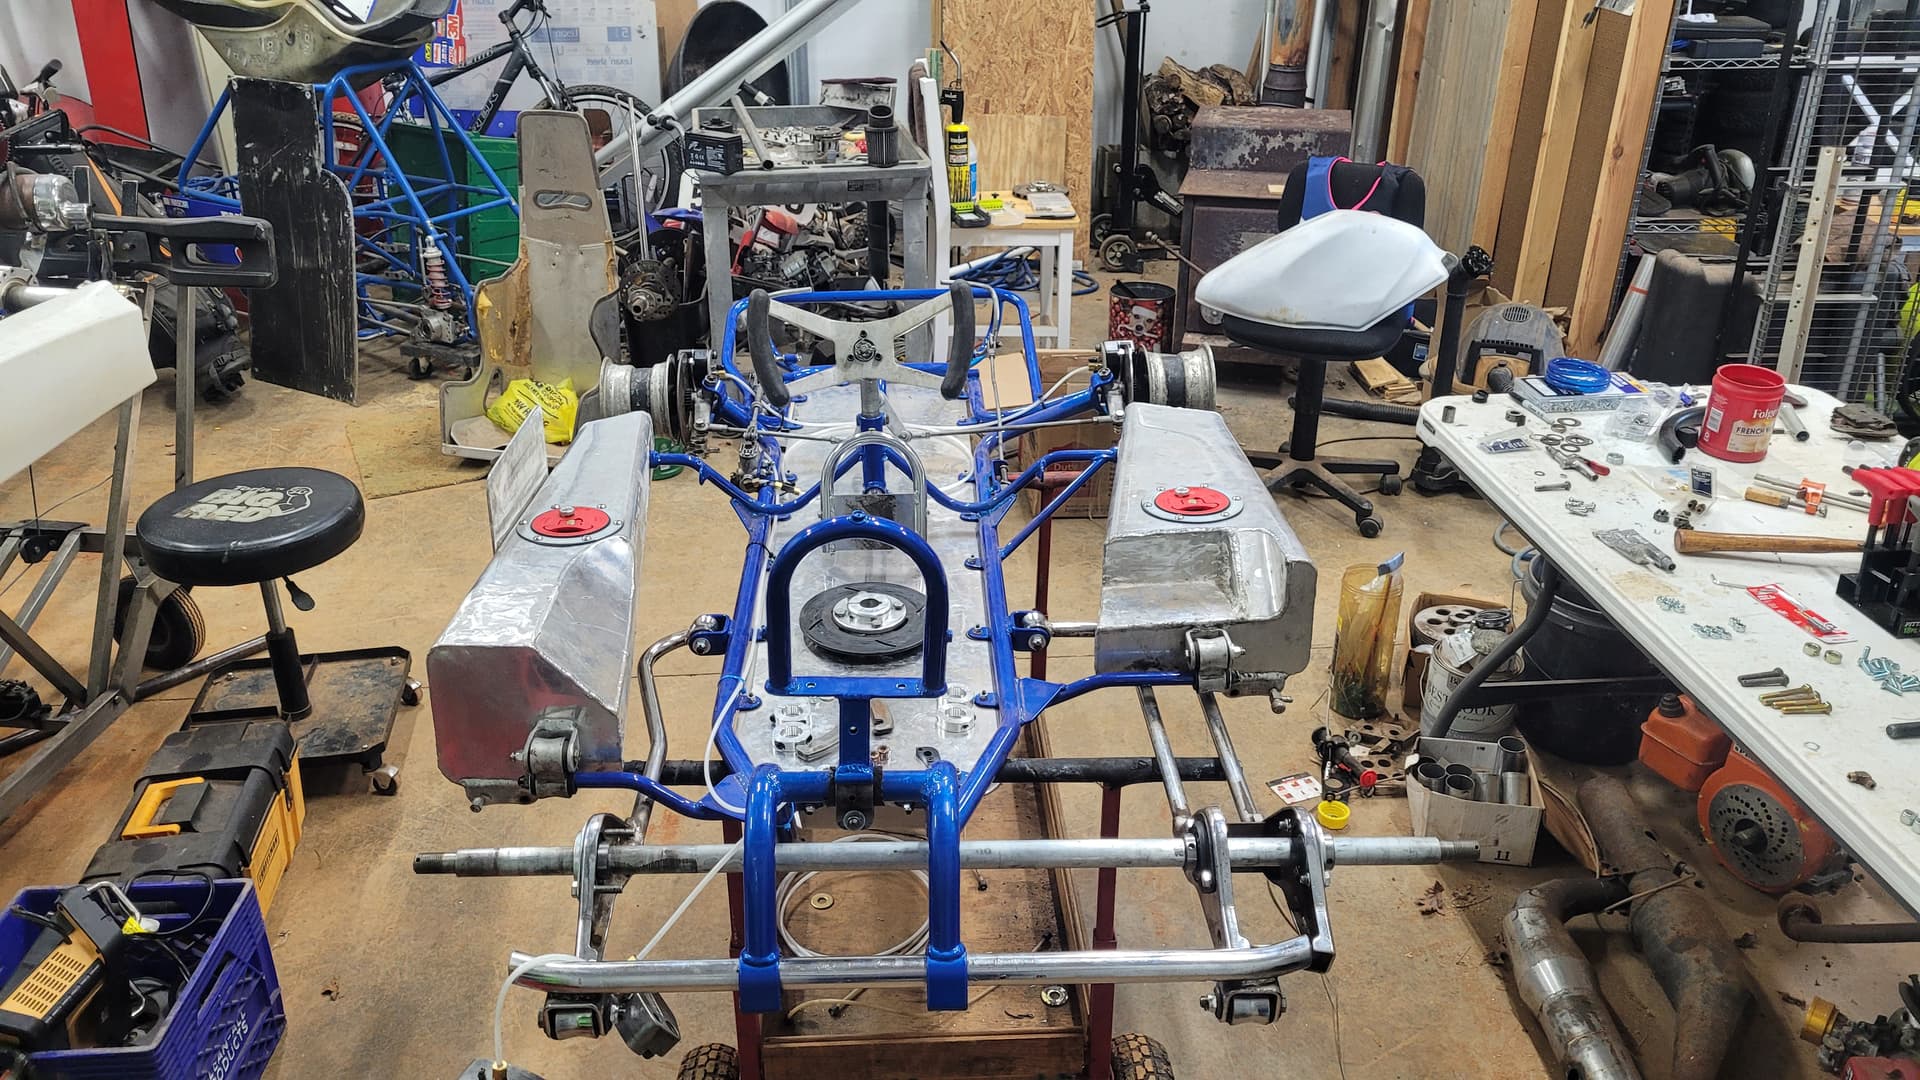
Next order of business was sorting the tanks. The fuel ‘caps’ were spring-loaded Empi hot-rod style caps, press fit onto a filler neck. Hardly safe. After consulting with the owner, I opted to install flush-mount aircraft style filler caps, locking and vented. It was a risk to drill the holes in old good condition tanks…but the end result was tidy.
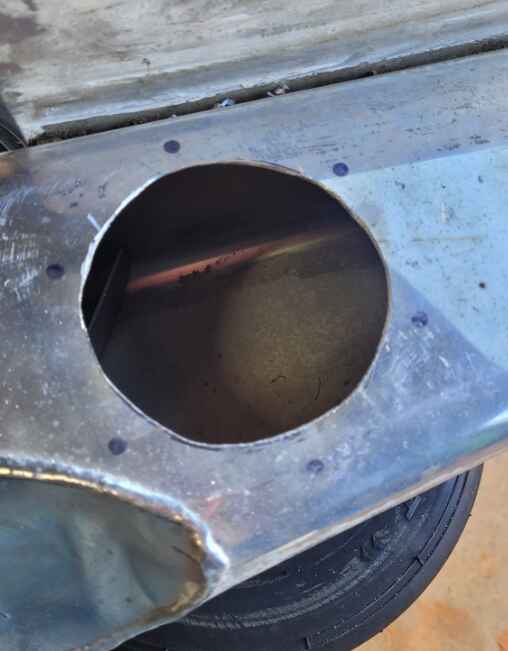
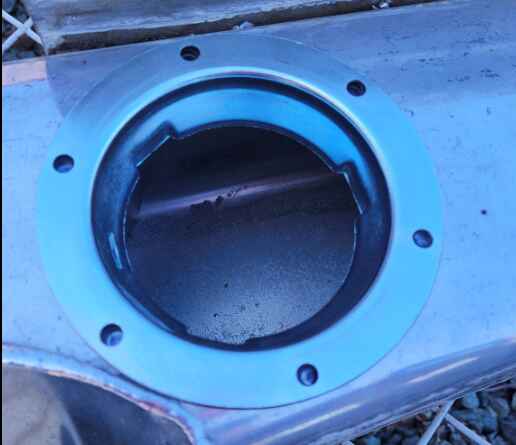
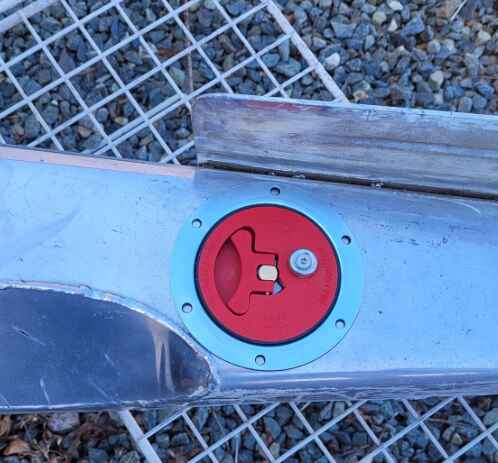
1 Like
To finish out, I opted to order some button-head allen screws, and oriented the caps so the flaps were rear-facing.
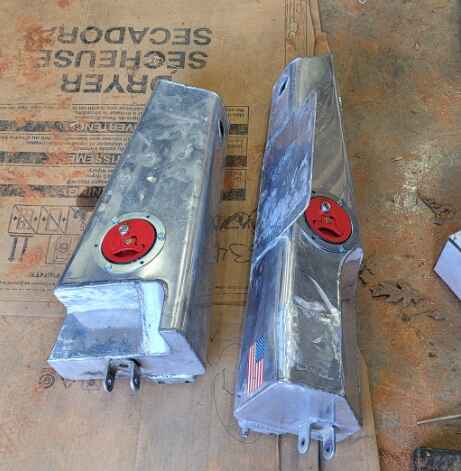
Some professional welding was solicited to relocate the one cap to the tank middle as the filler was too narrow to replace.
Not shown is the process of modifying the front spindles to accomodate the new MCP front brakes. I opted to replace those airheart units for the same reason as the rears…at triple digit speeds, you want reliable brakes. And airheart parts are unobtanium, mostly. New MCP fronts went on, and the arms were cut and welded to accomodate the slightly different bolt pattern.
2 Likes
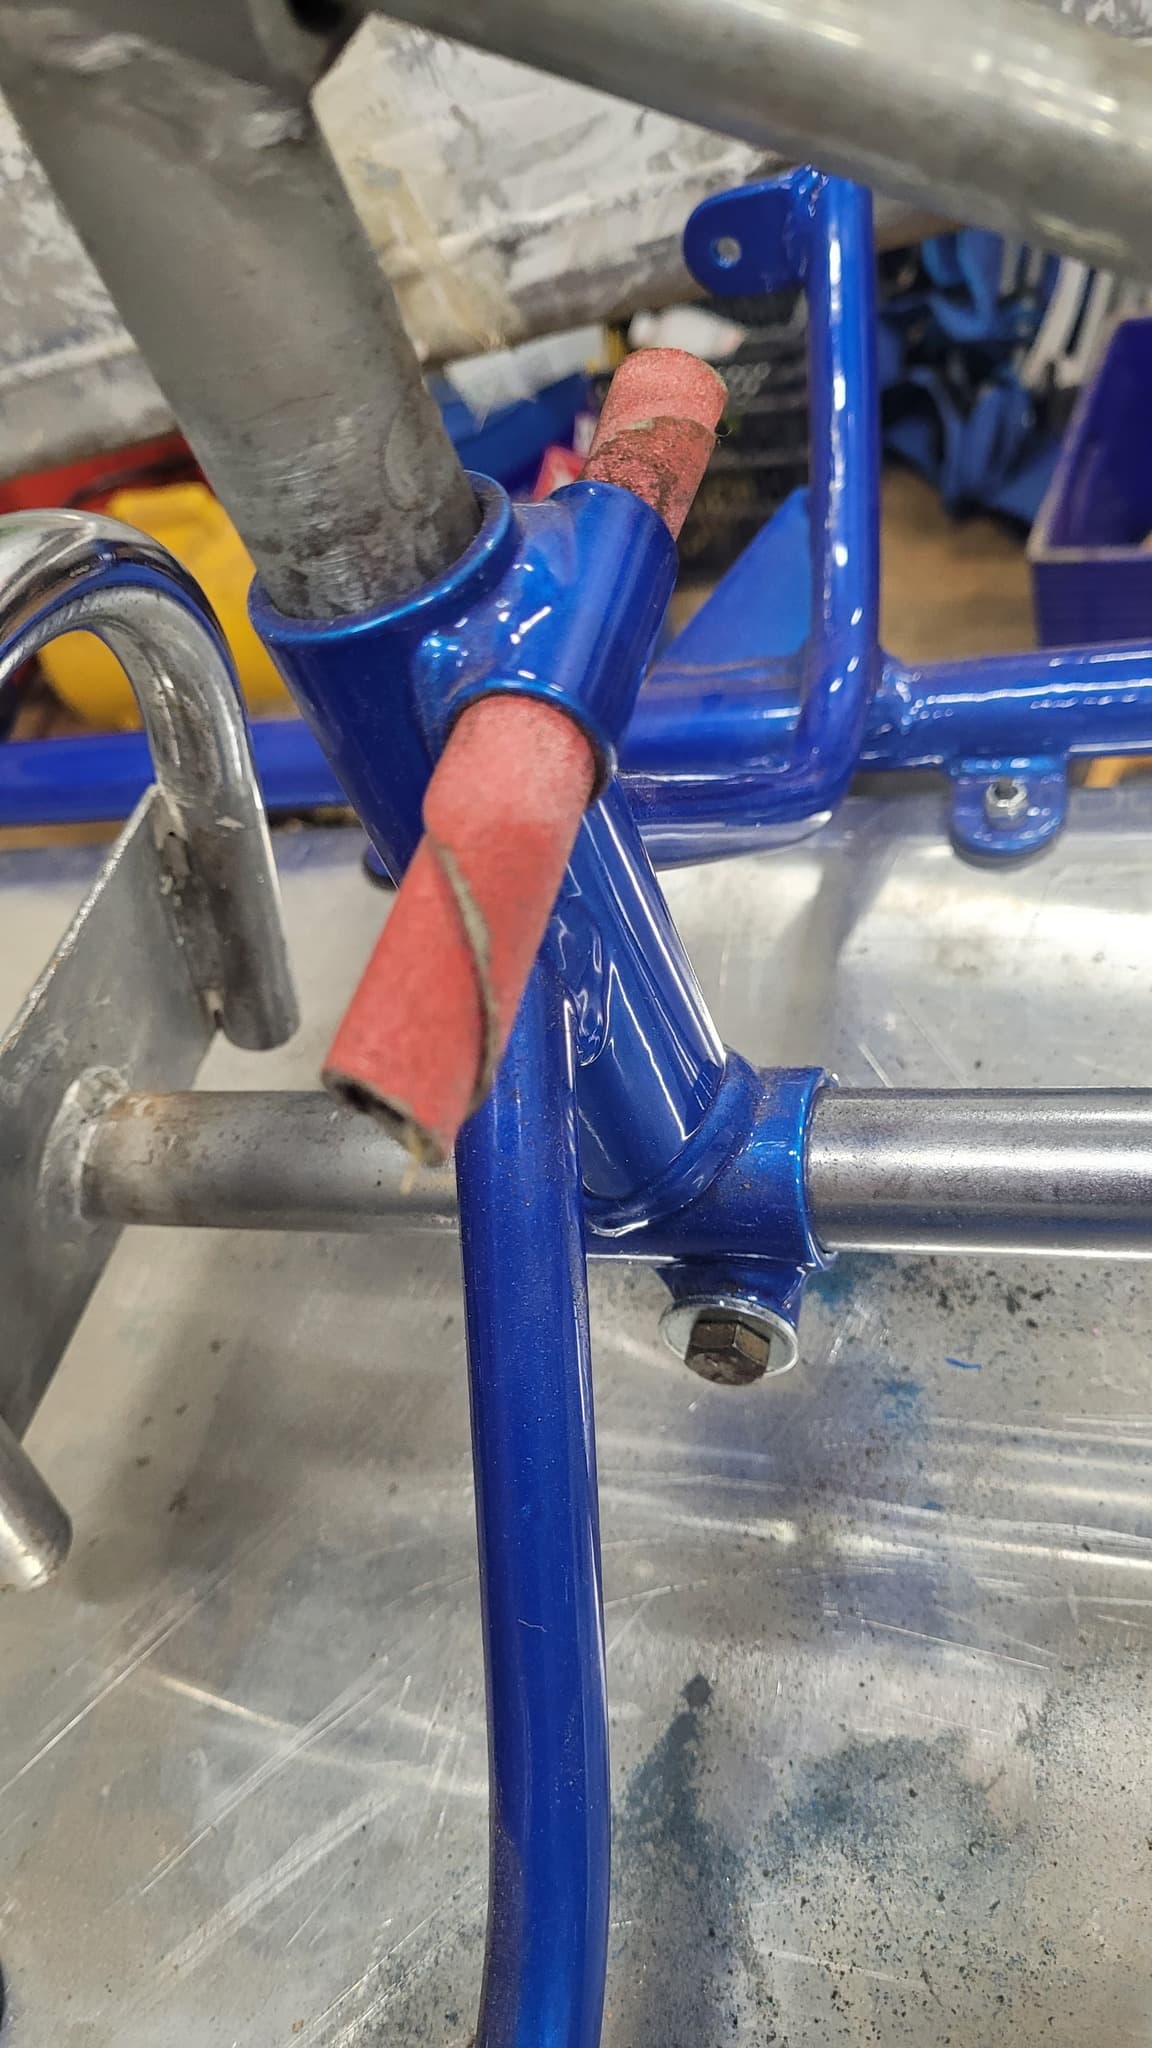
90% done, only 90% to go! It seems like all the little details take forever and consume the most time. Here, the pinch bolt for the crotch pad stop is seen. It had to be sanded out, the wedges polished, a fine thread bolt sourced, and then put together. Almost all the hardware on this kart is fine thread. The greater number of threads provide more secure holding power, but sometimes at less ultimate strength. Depends on the size of the bolt. Nonetheless, I opted to replace with like threads, and anything new I fabbed I kept fine thread as well.
I replaced rubber grommets with Margay OEM units to hold the tanks on, as well as cushion the rear assembly.
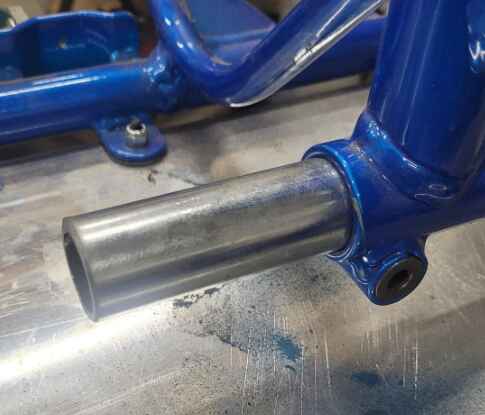
Similarly, the steering column is held by pinch sliders also. Had to sand it out and refit everything. This whole project was an exercise in polishing – most often with my brass wire wheel on the bench grinder. I was fortunate that the owner supplied almost all the hardware originally used. Where it was too far gone, I replaced with like.
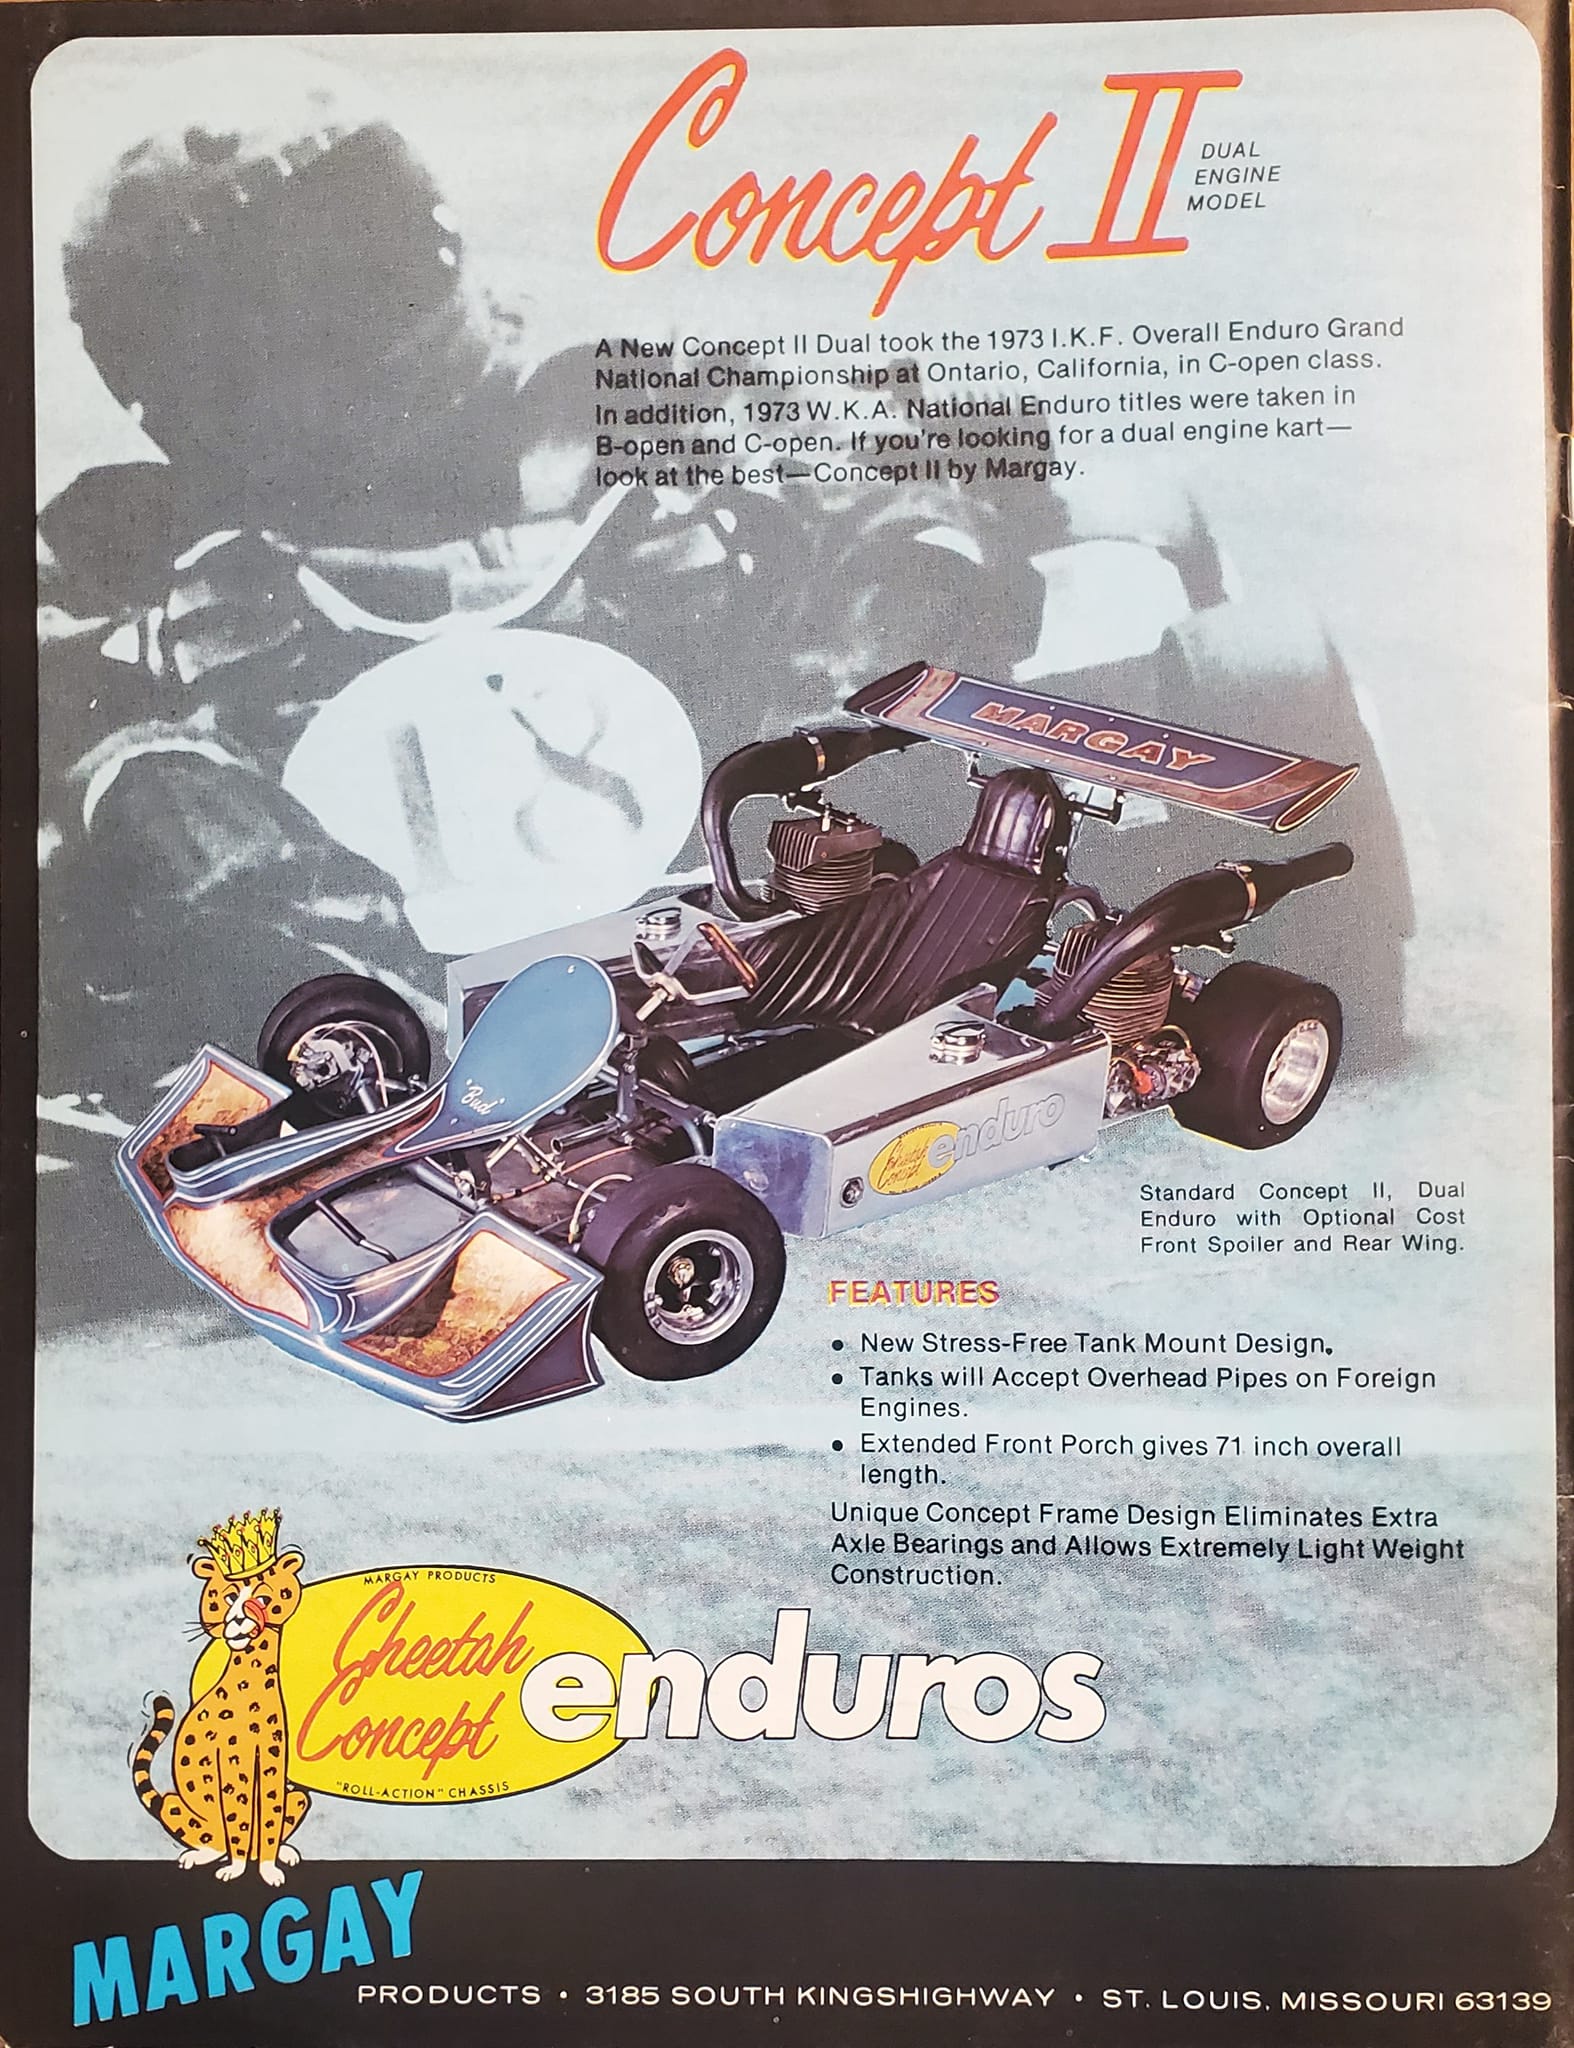
This is a period-correct example of how the kart originally may have looked. This is NOT the one I’m restoring:
2 Likes
It was nice to have several pics online of other examples for reference. What did we ever do before the internet?
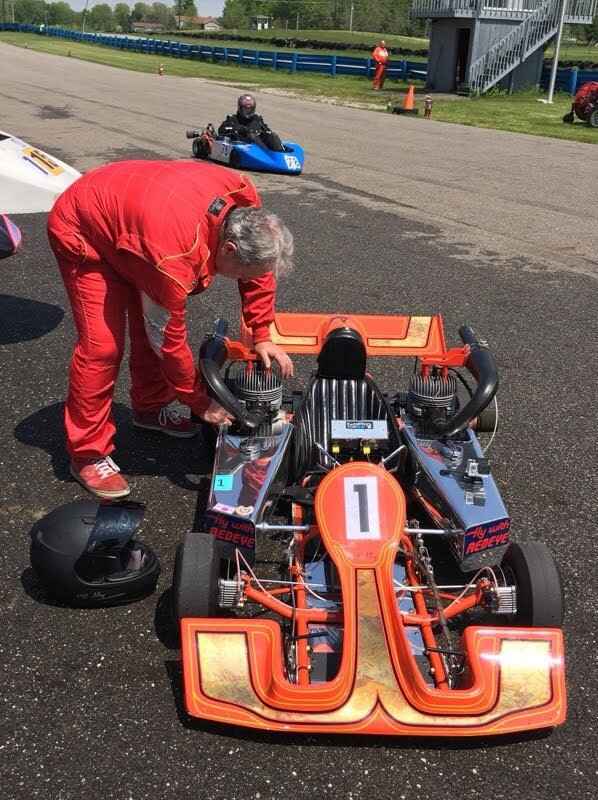
Here’s another example of the same model, slightly different config:
1 Like
This weekend the project will draw to a close, and I’ll post some final pics and a walkaround video. It’s been neat to be a part of preserving karting heritage, and I wish the owner joy and pride in such a fine piece of machinery.
2 Likes
I am also now a Certified Ninja at safety wire drilling.
1 Like
Great work Ted, wow! Really cool project and thanks for sharing all the details.
Wanna come finish up my Fiat next?
1 Like