Who is interested in this? I can post a sort of log of what it means to own it in real life and document what it takes to do a top end and full rebuild, with pictures, including costs etc as a 100% privateer (with few connections, but no direct team or engine builder support). I’m coming around the first top end rebuild of my current engine, if there is enough interest I can share some data, in the hopes of attracting some future drivers (spoiler alert: easier/cheaper than you may think)
I think it would be a good thing to have in forum so we can point to it for folks considering shifter. It would be helpful to have a realistic example other than “it’s expensive, start in lo206”.
PLEASE do!
I have this sitting in my garage:

Component prices are a mouse click away for anyone who cares to research. Inflation & exchange rates are a thing. Prices are definitely up since I built my latest rig. Biggest operating expense is probably going to be tires; mediums seem to be good for 3-4 track sessions (roughly). I’m a TM user, their engines seem to be in the $4.5-5.5K range, version depending. New chassis look to be $5-6K, I’ve found sales on new for several hundred below list, mainly clearance, when “next years model” is coming out. Of course, deals on used are out there. The relatively influx of paddle shift systems on the market is good for this segment of the sport, really up the “F1 vibe” character of the class, & they deliver. Best bang-for-buck ratio on planet Earth.
I think it’s more a case of knowing WHAT to buy in certain circumstances.
ok looks like there is actually some interest, I will post some (hopefully) good stuff. Wrapping up today
For sure “cost of …” in karting is one of the more popular topics that people come to read about.
Agreed! So here it goes, it will be a mix of how-to, costs and pictures so hopefully whoever reads it can get a reality check.
Starting off - this is the first service interval, at 6 hours of running time.
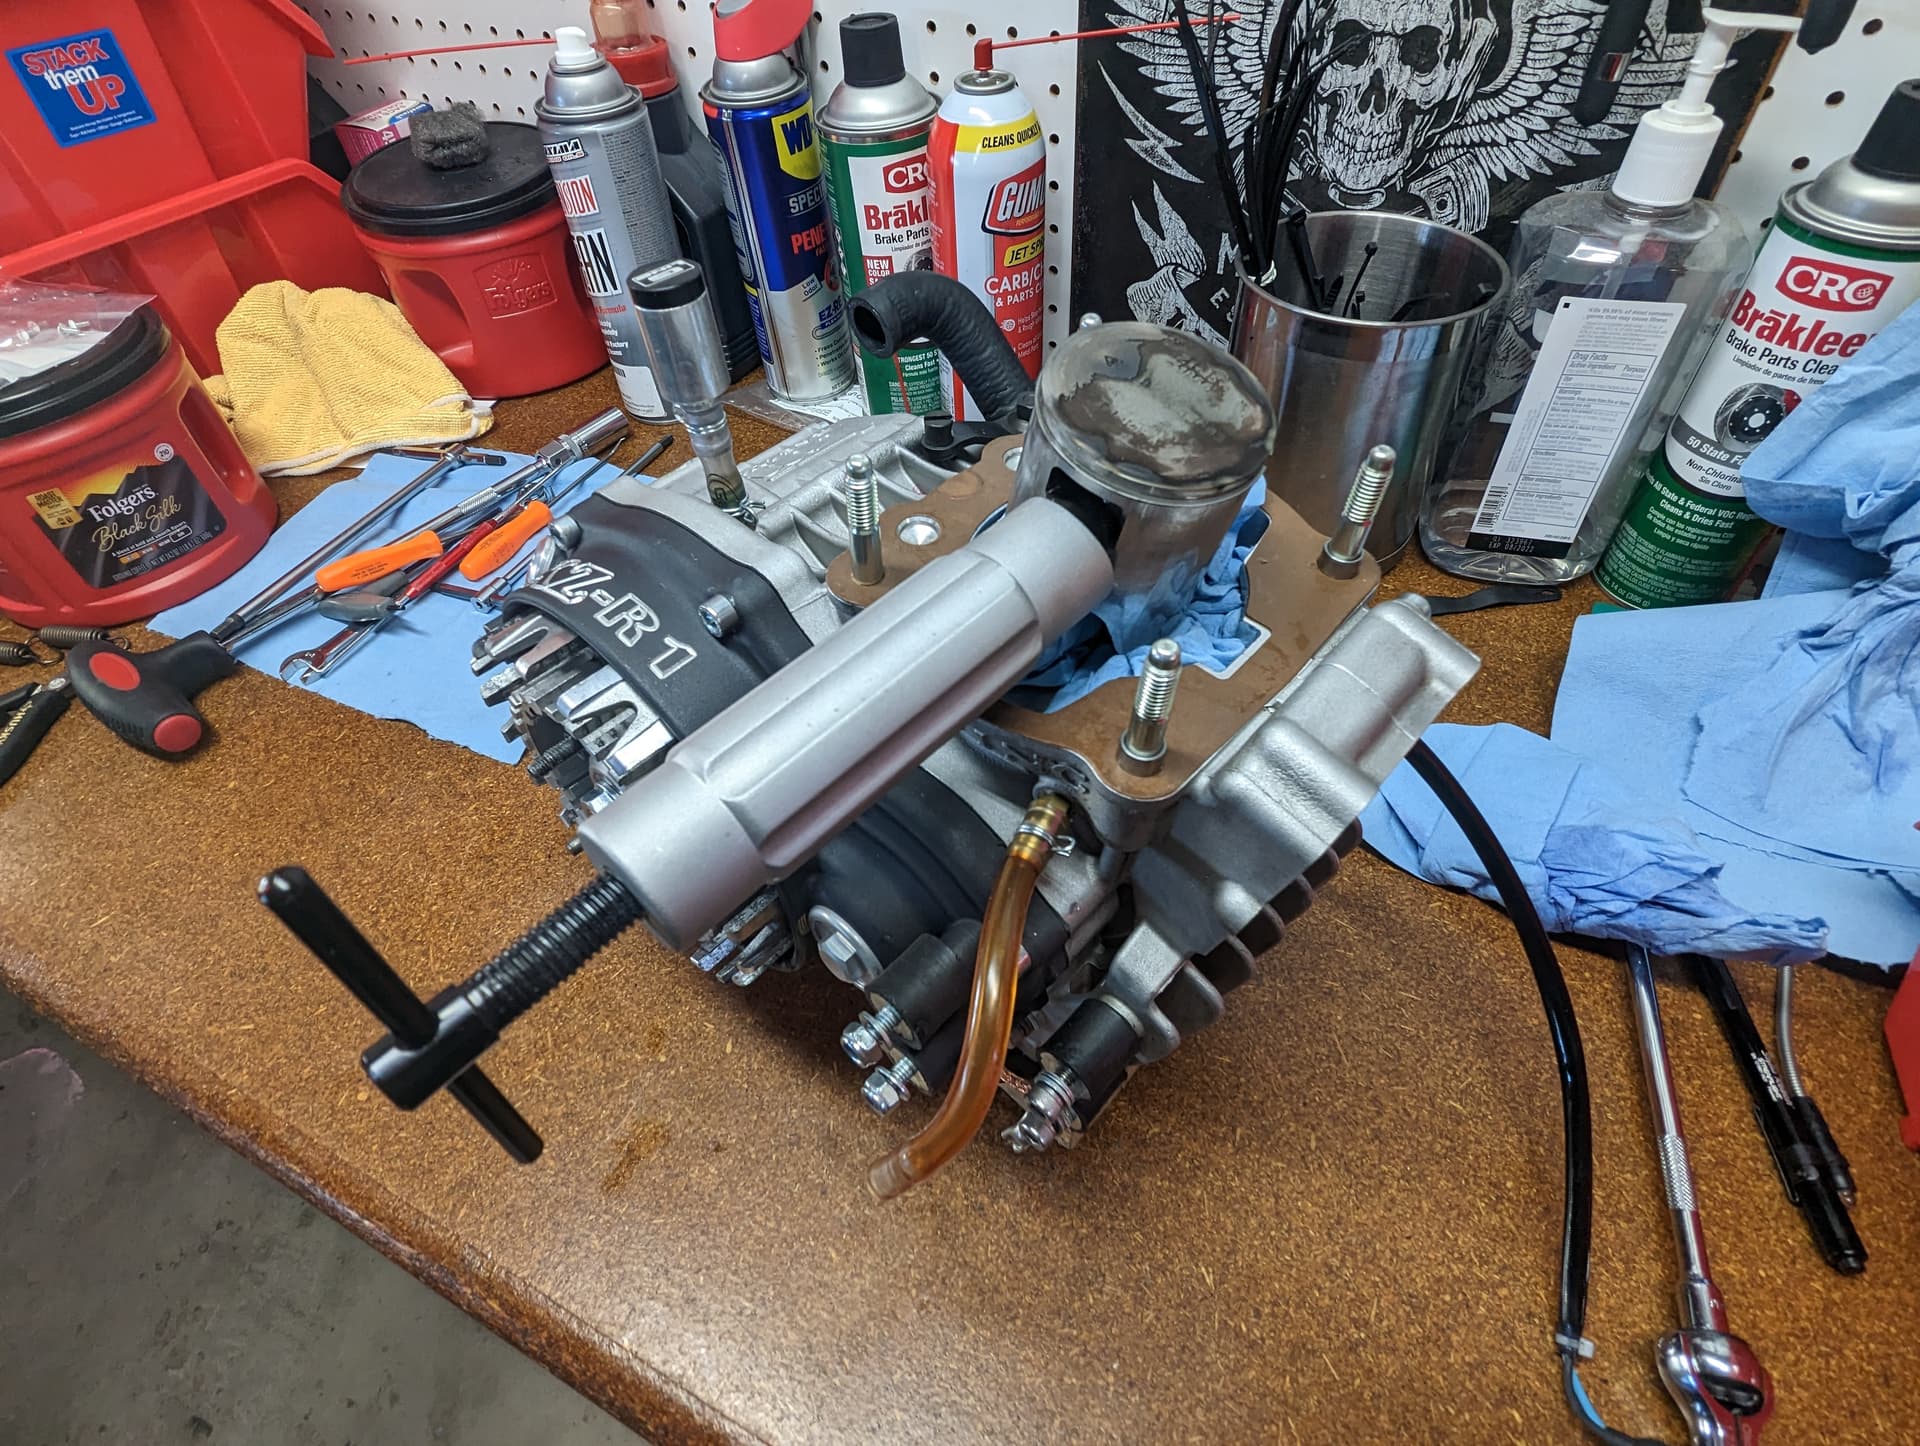
Engine is a TM KZ R1 - Black power edition. It’s identical to the Titan, only difference is the color scheme. Like the Titan, comes with a top prep from the Factory and equipped with a R1-A combustion chamber. It’s the latest evolution of the R1, which is coupled with a “flat top” piston. In reality it’s not flat, the center is, but the outside crown has a 4 degree ramp.
Small digression: if you are in doubt, always pick a factory prep engine. They are really worth the money and a fantastic value (see the pictures later)
Running costs so far:
At 3 hrs: gearbox oil change $5
At 6 hrs: top end job $78 + Gearbox oil change $5
New piston kit - Original TM/Vertex kit $65
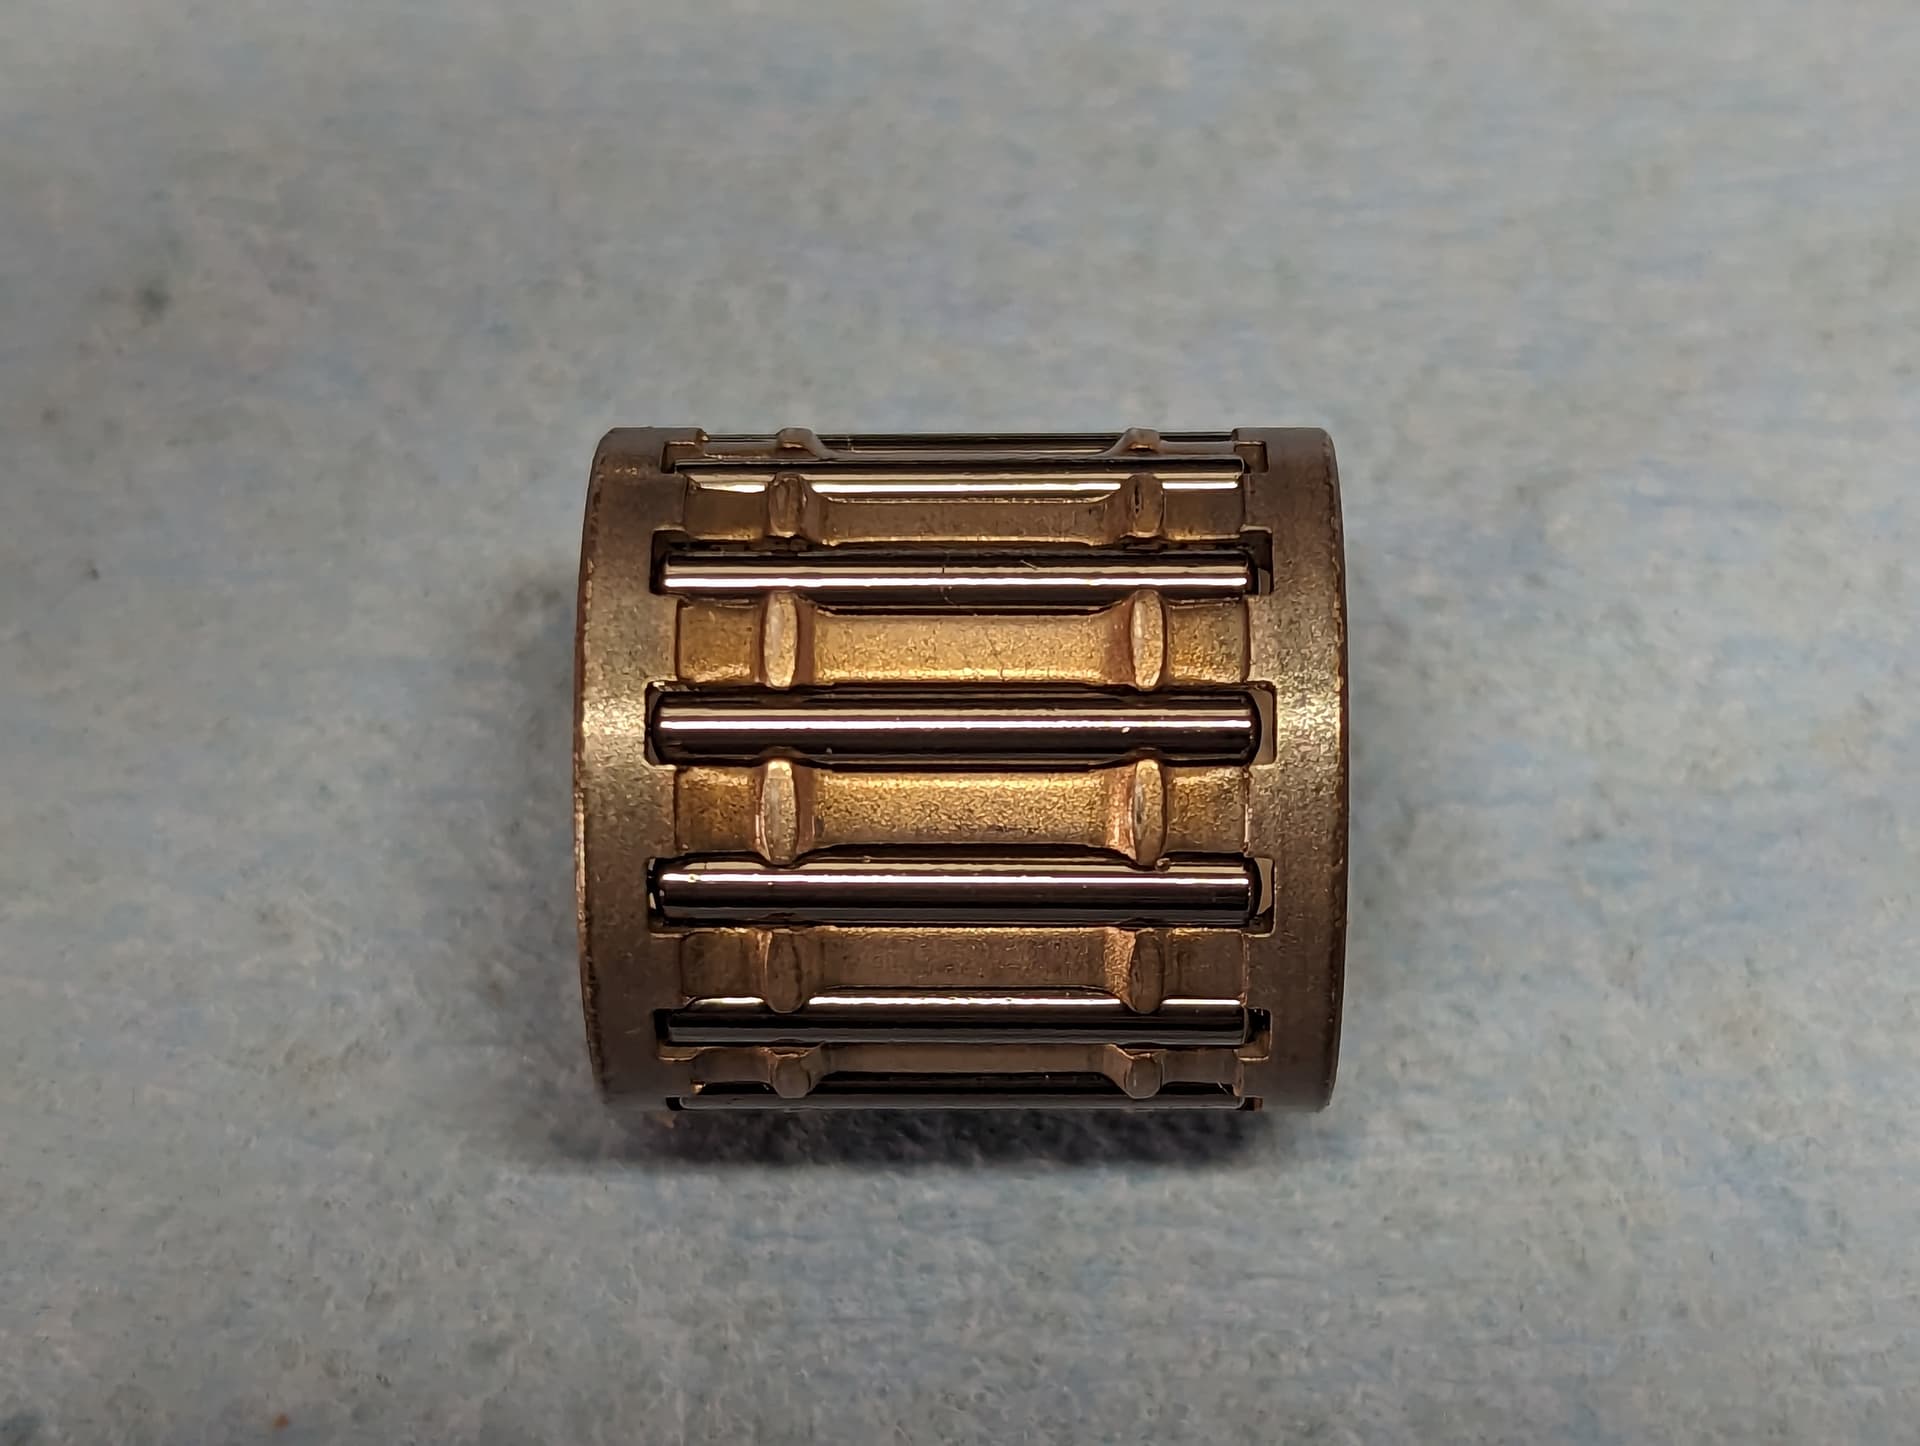
IKO silver needle bearing: $10
New hear o-ring (outer): $1.50
New head o-ring (inner): $1.20
Here below the details and some context
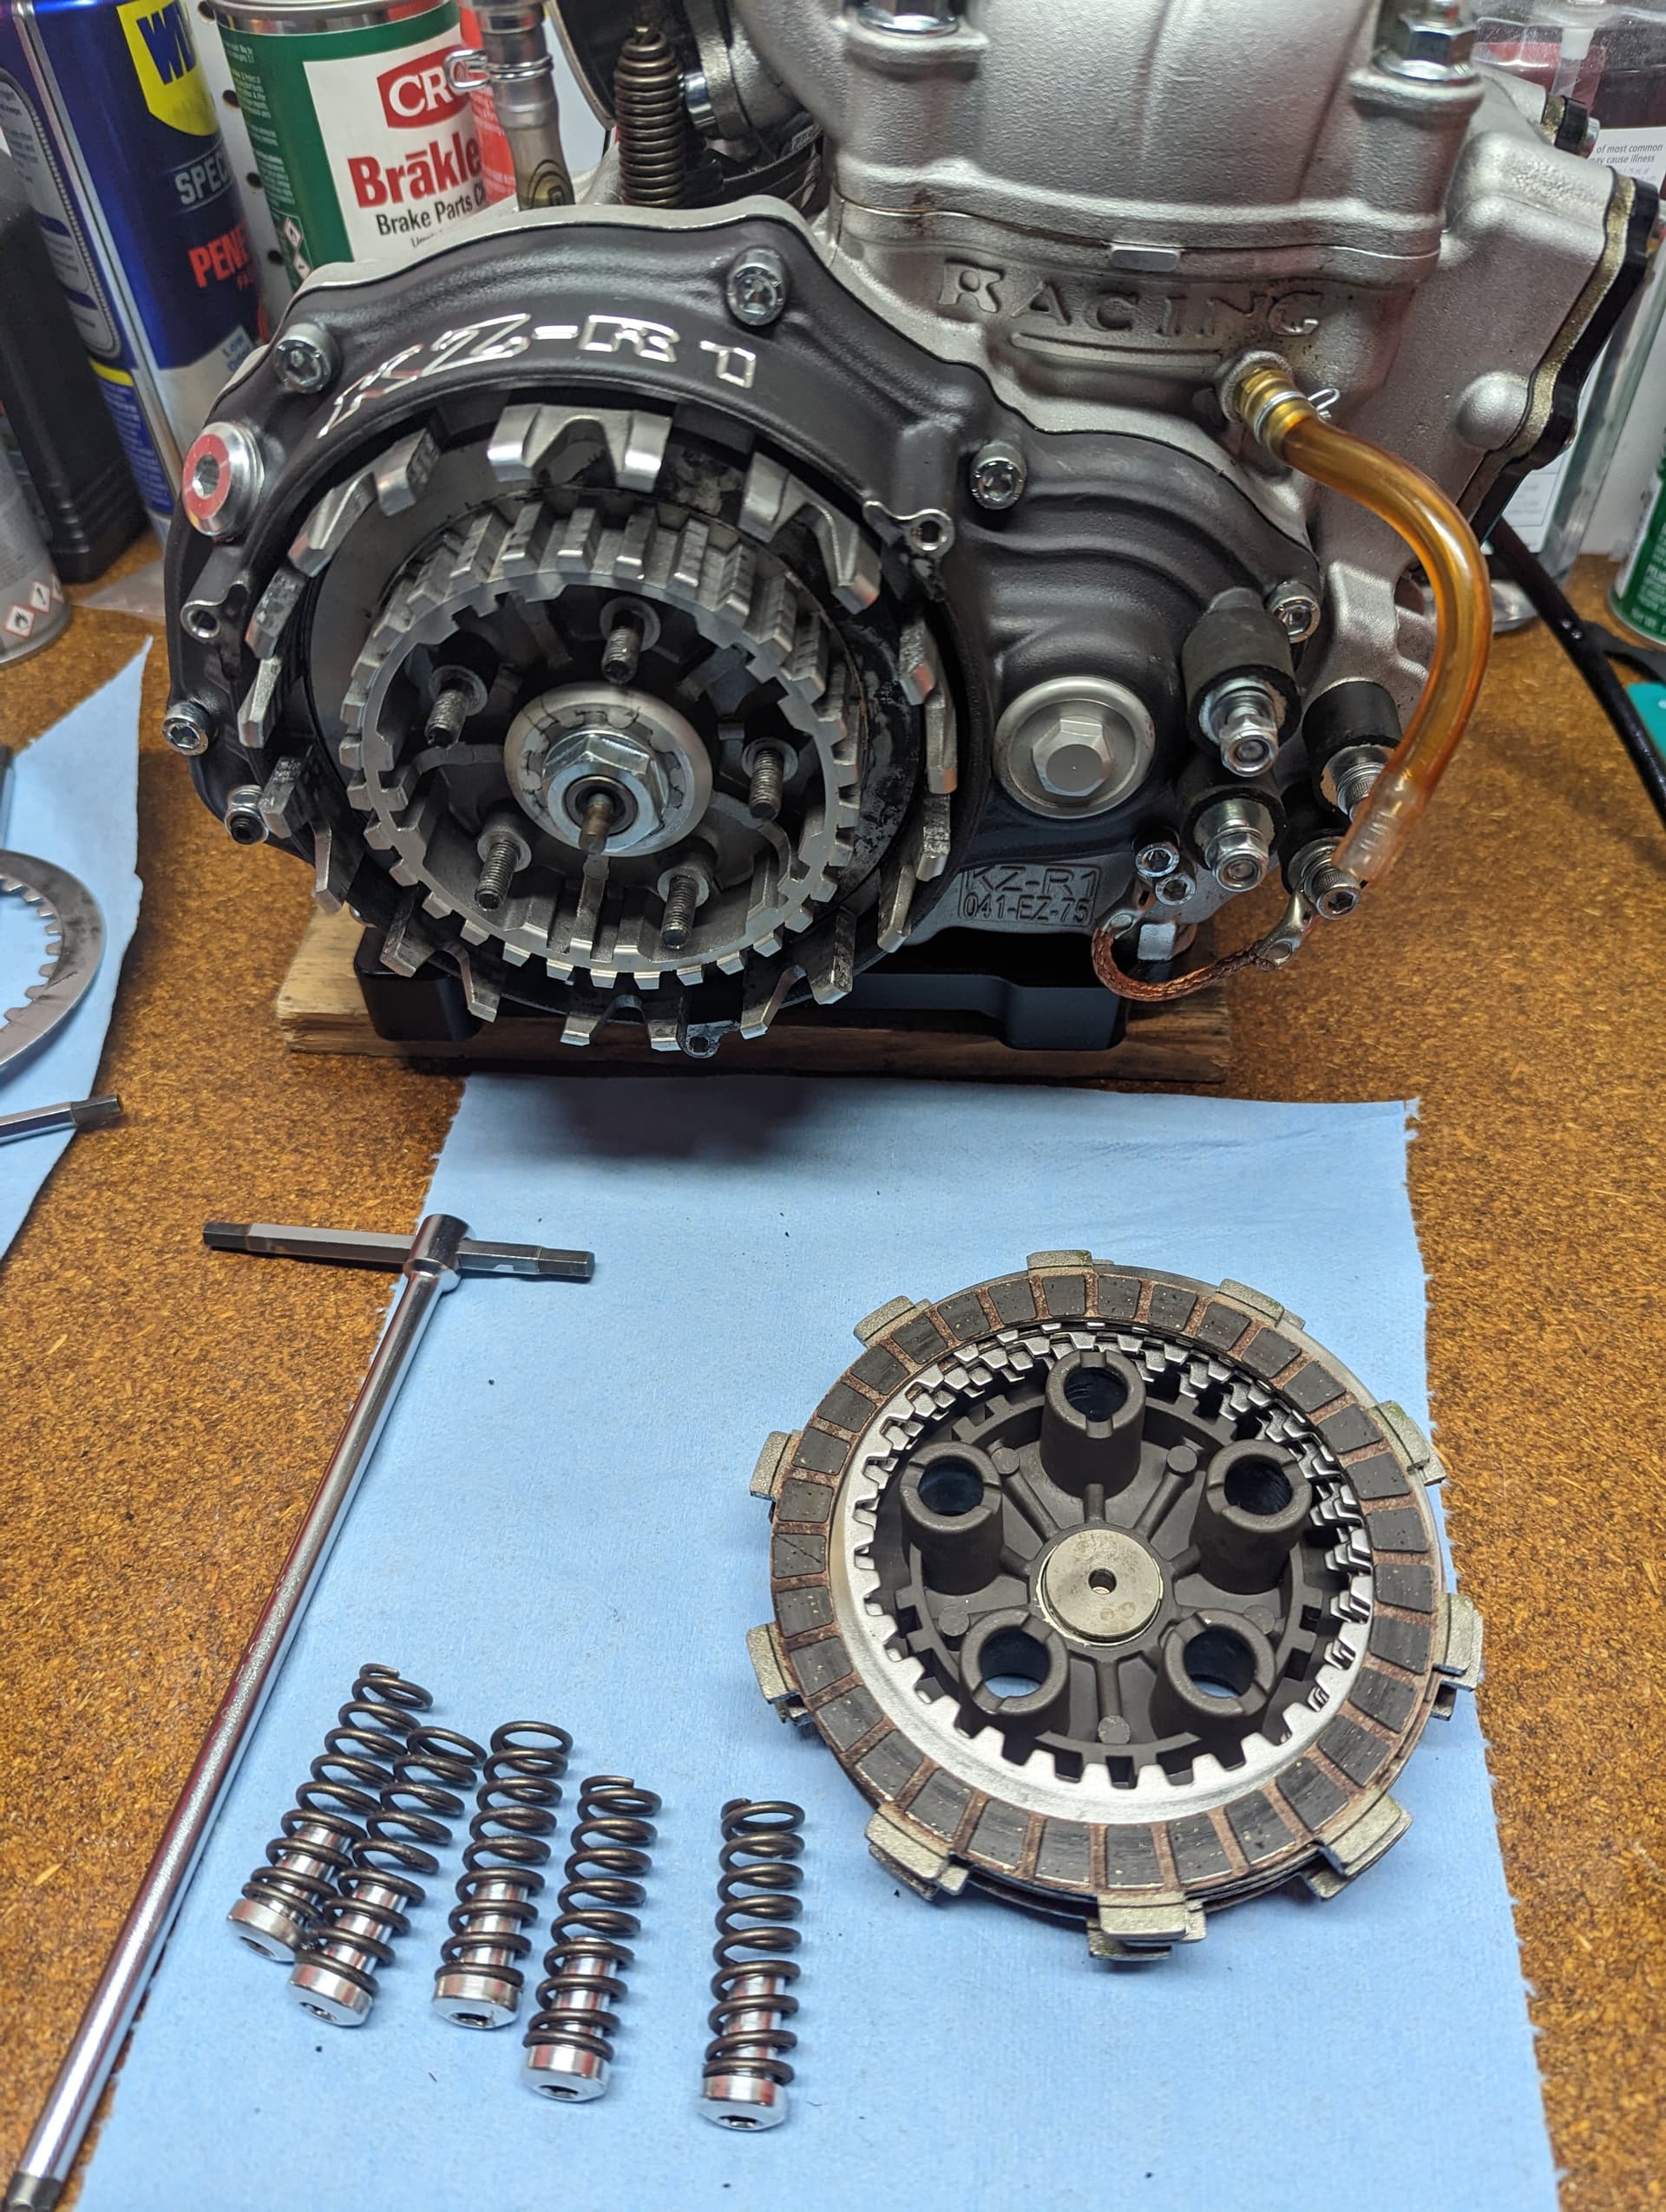
Next is reed pack. Contrary to what I’ve seen in the SSE and in my screamer, there is no noticeable wear on the reeds. I talked to several tuners, it’s pretty common. Always use OEM reeds, they take a lot of abuse. I’ll recheck at 9 hours. Keep in mind this engine regularly sees just south of 16K rpms, I’m not being nice to it. yet there is no sign of chafing or wear on the corners
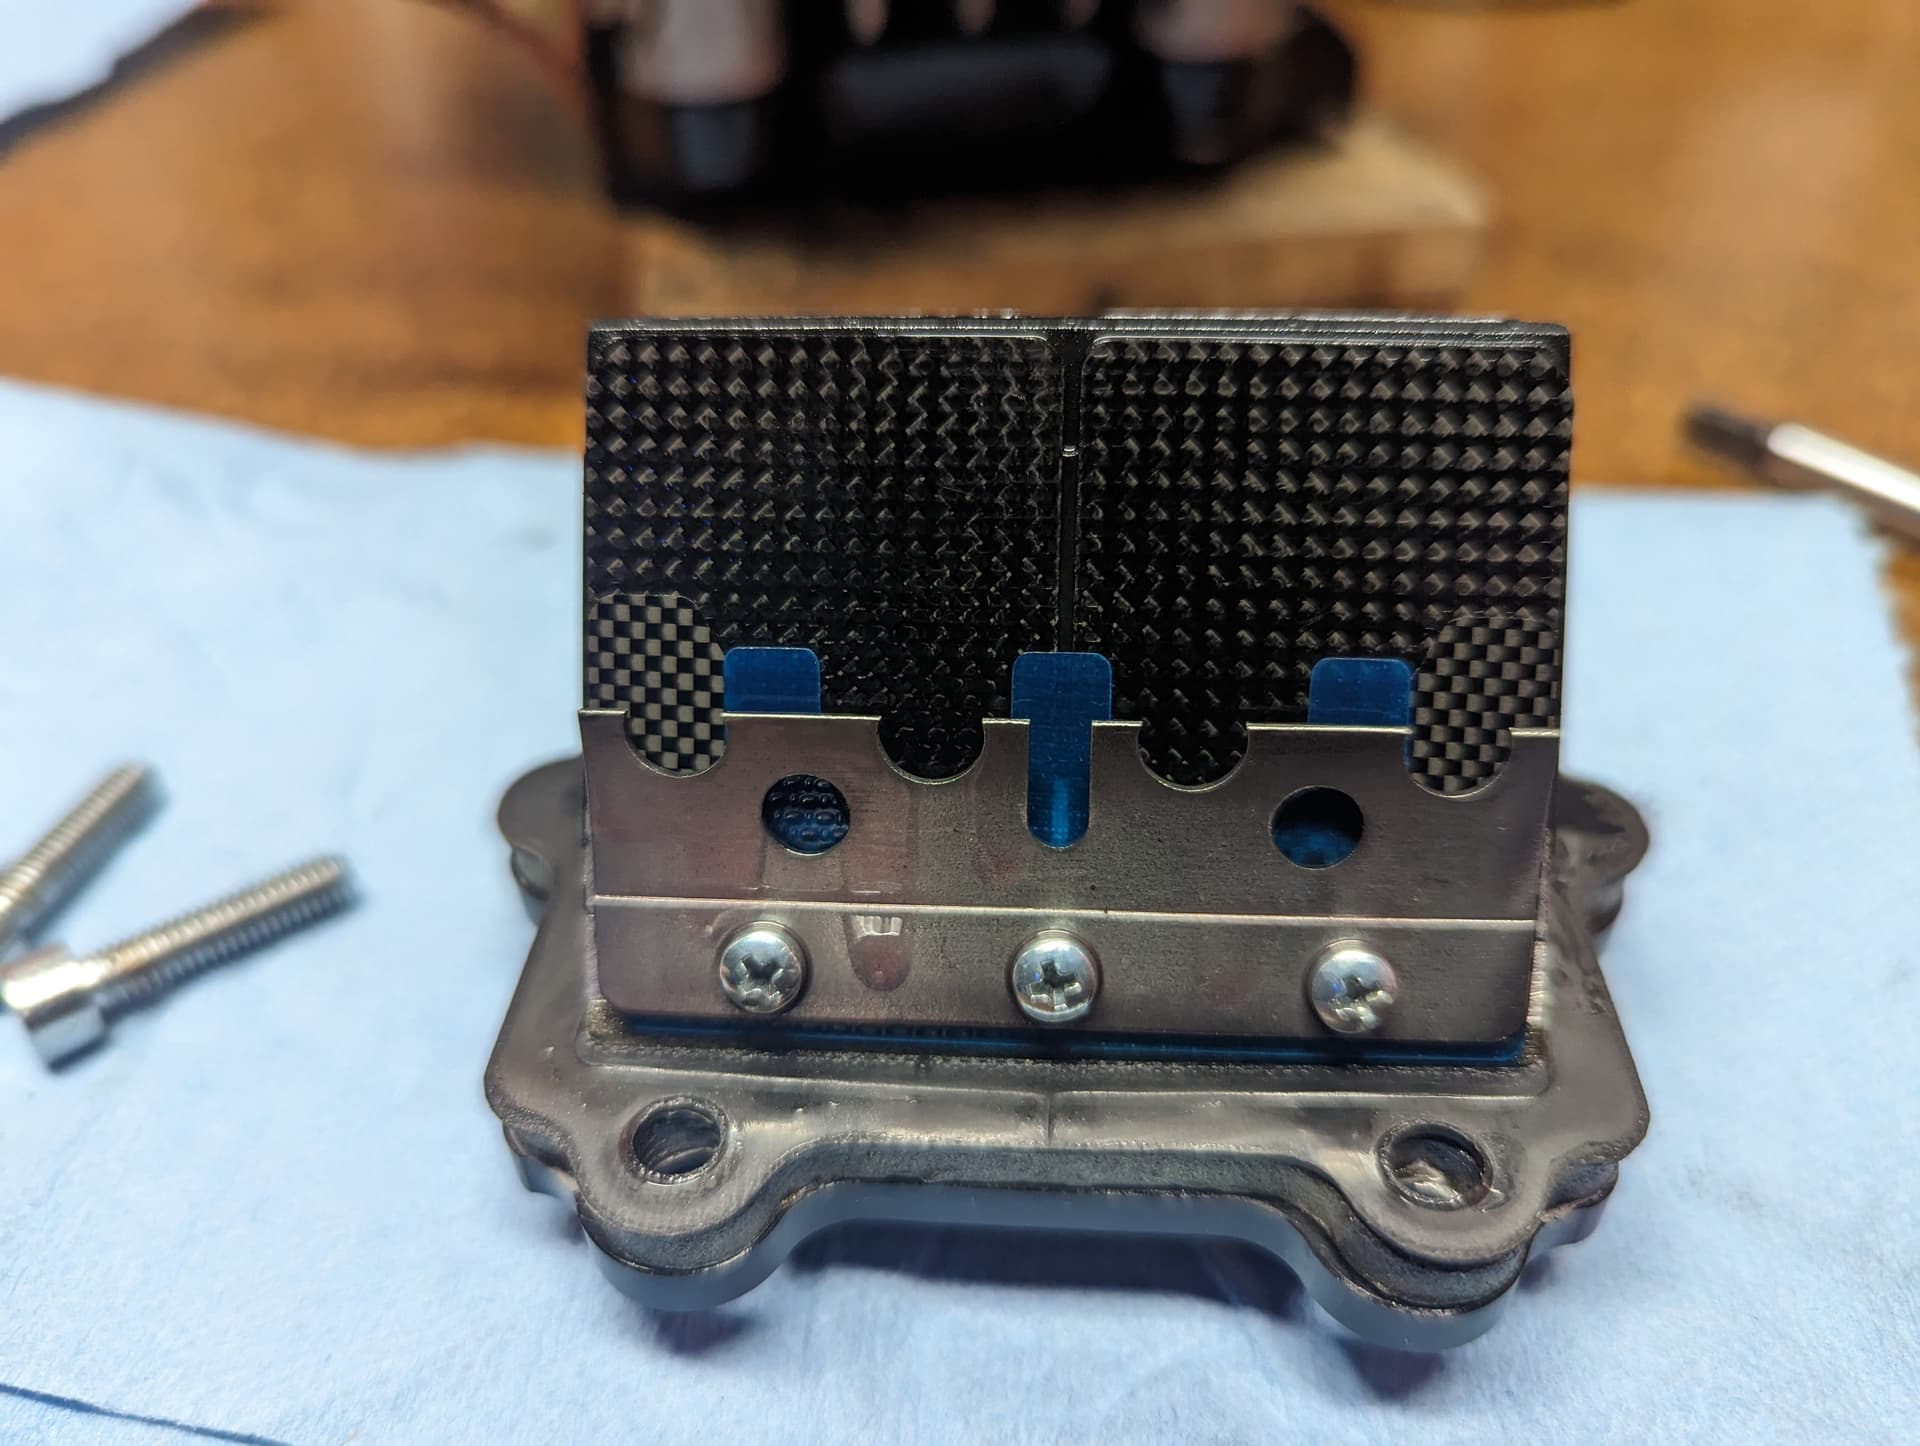
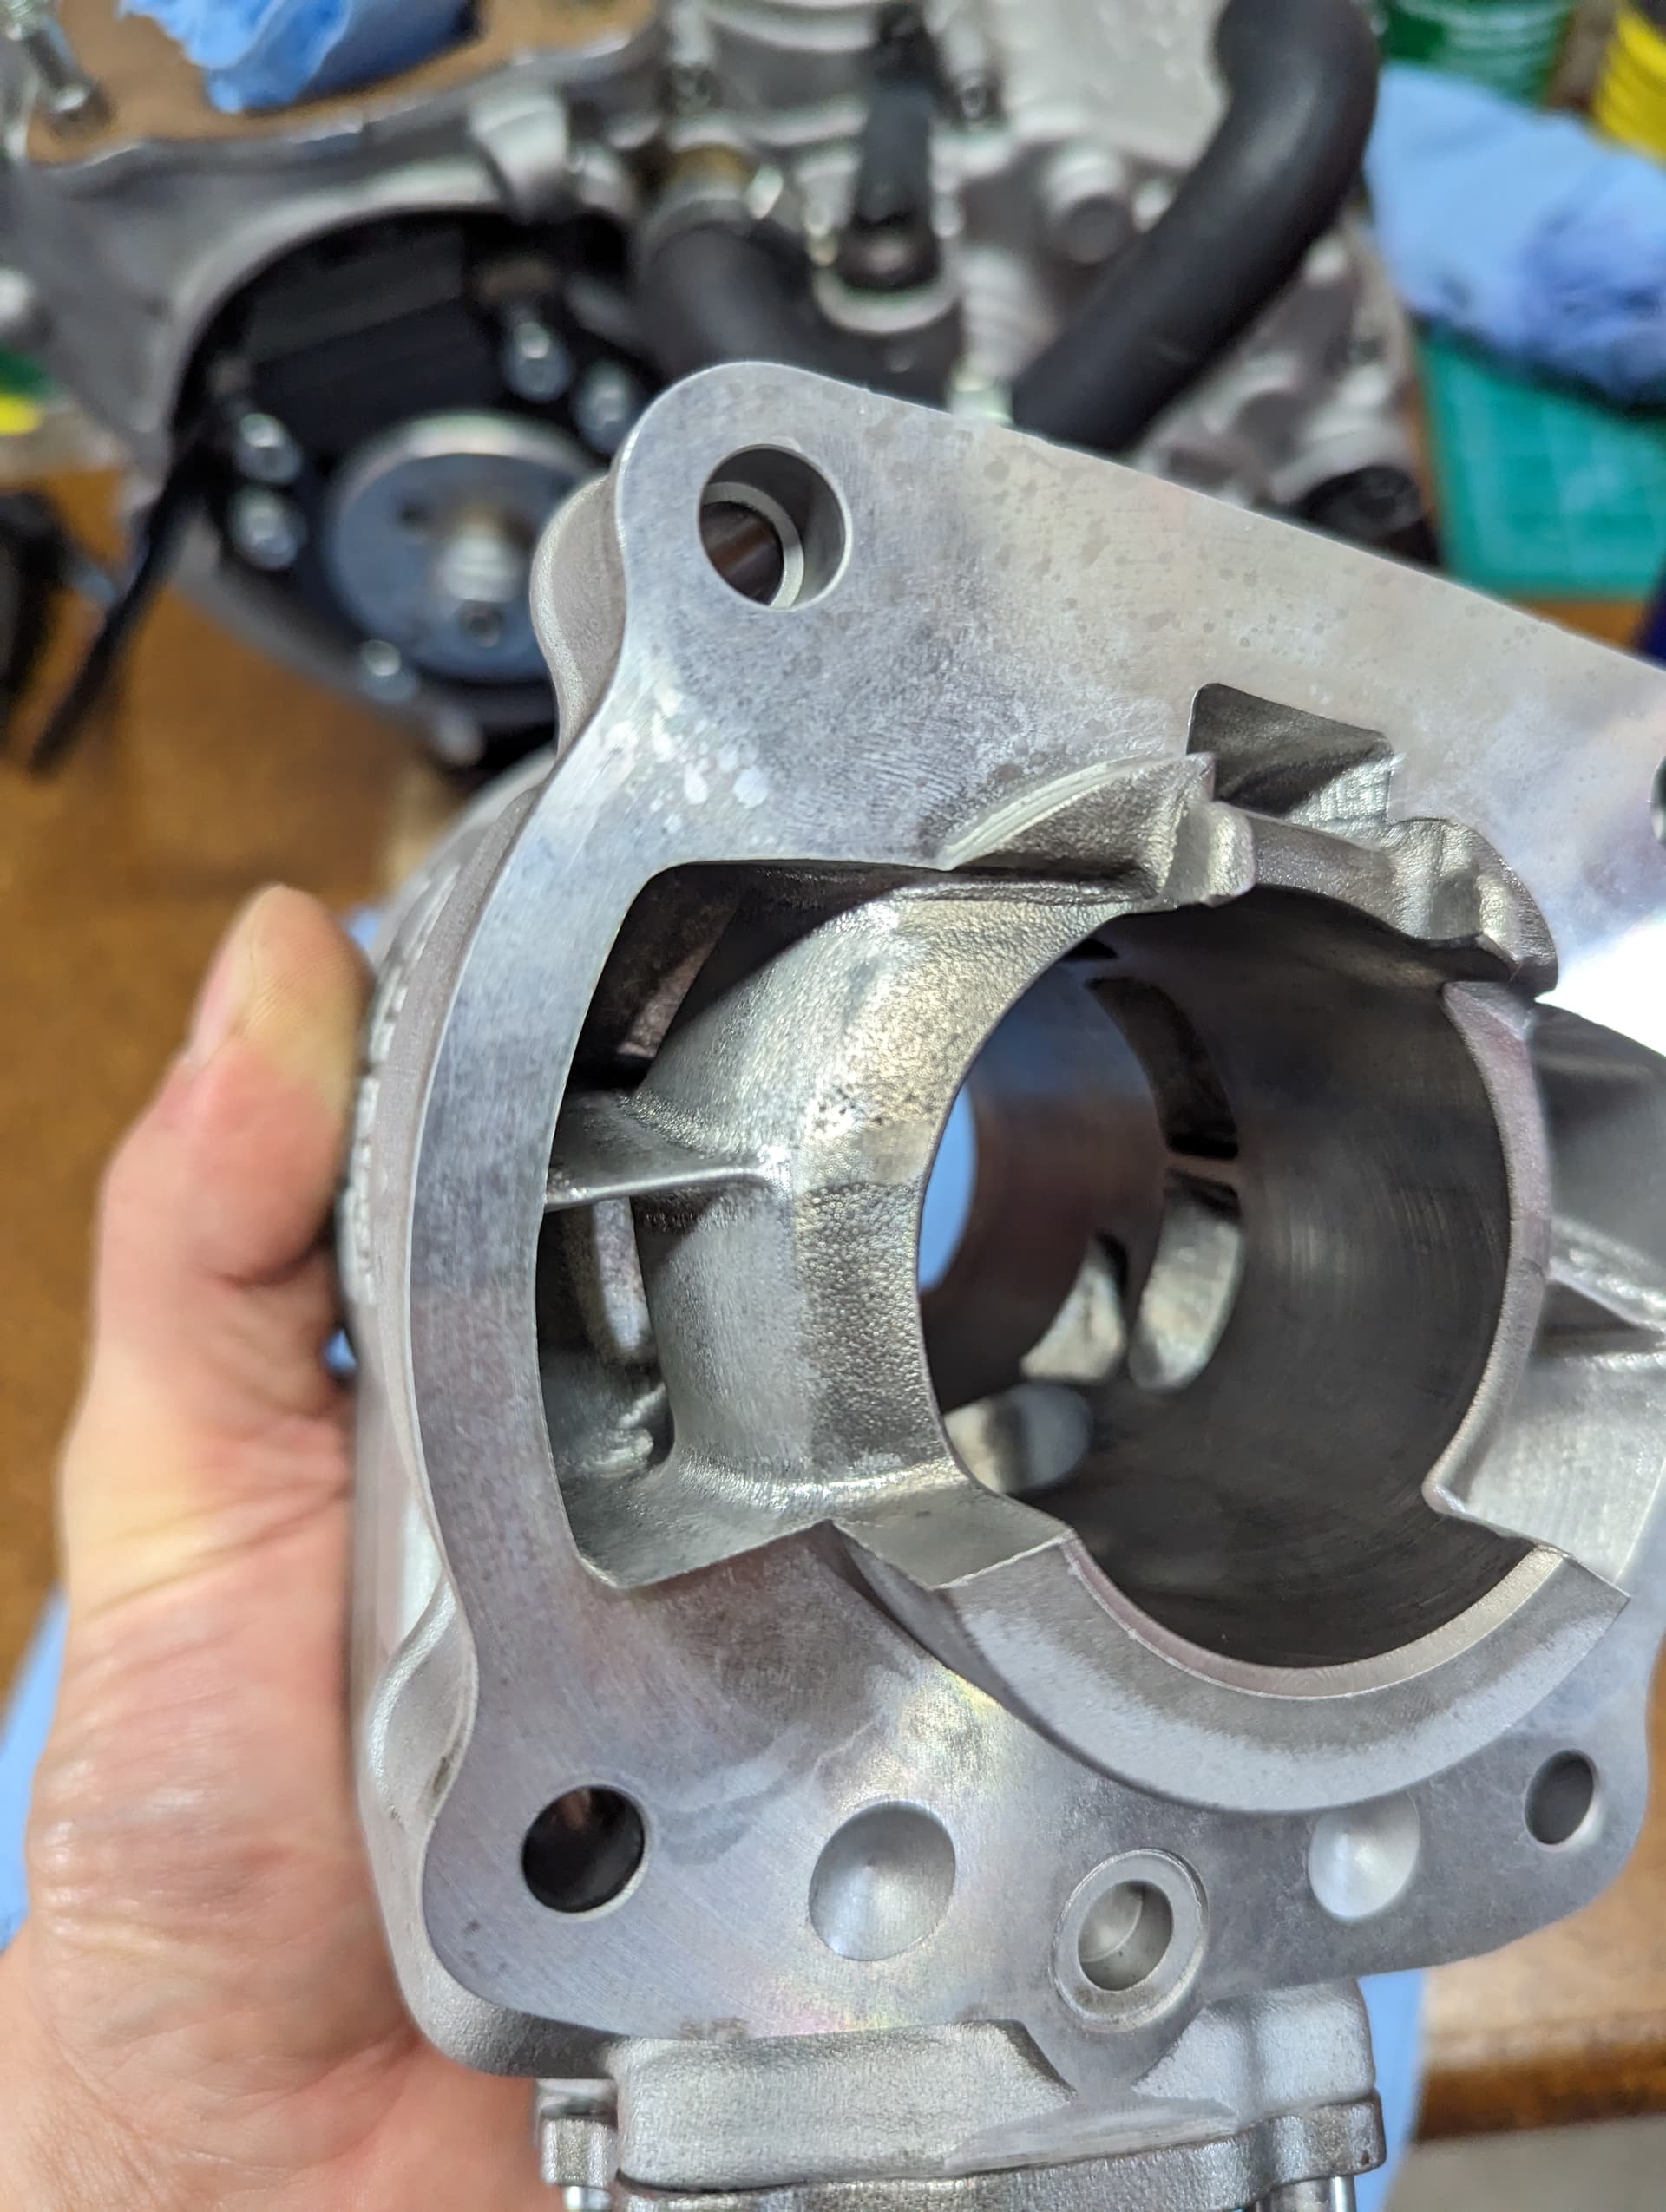
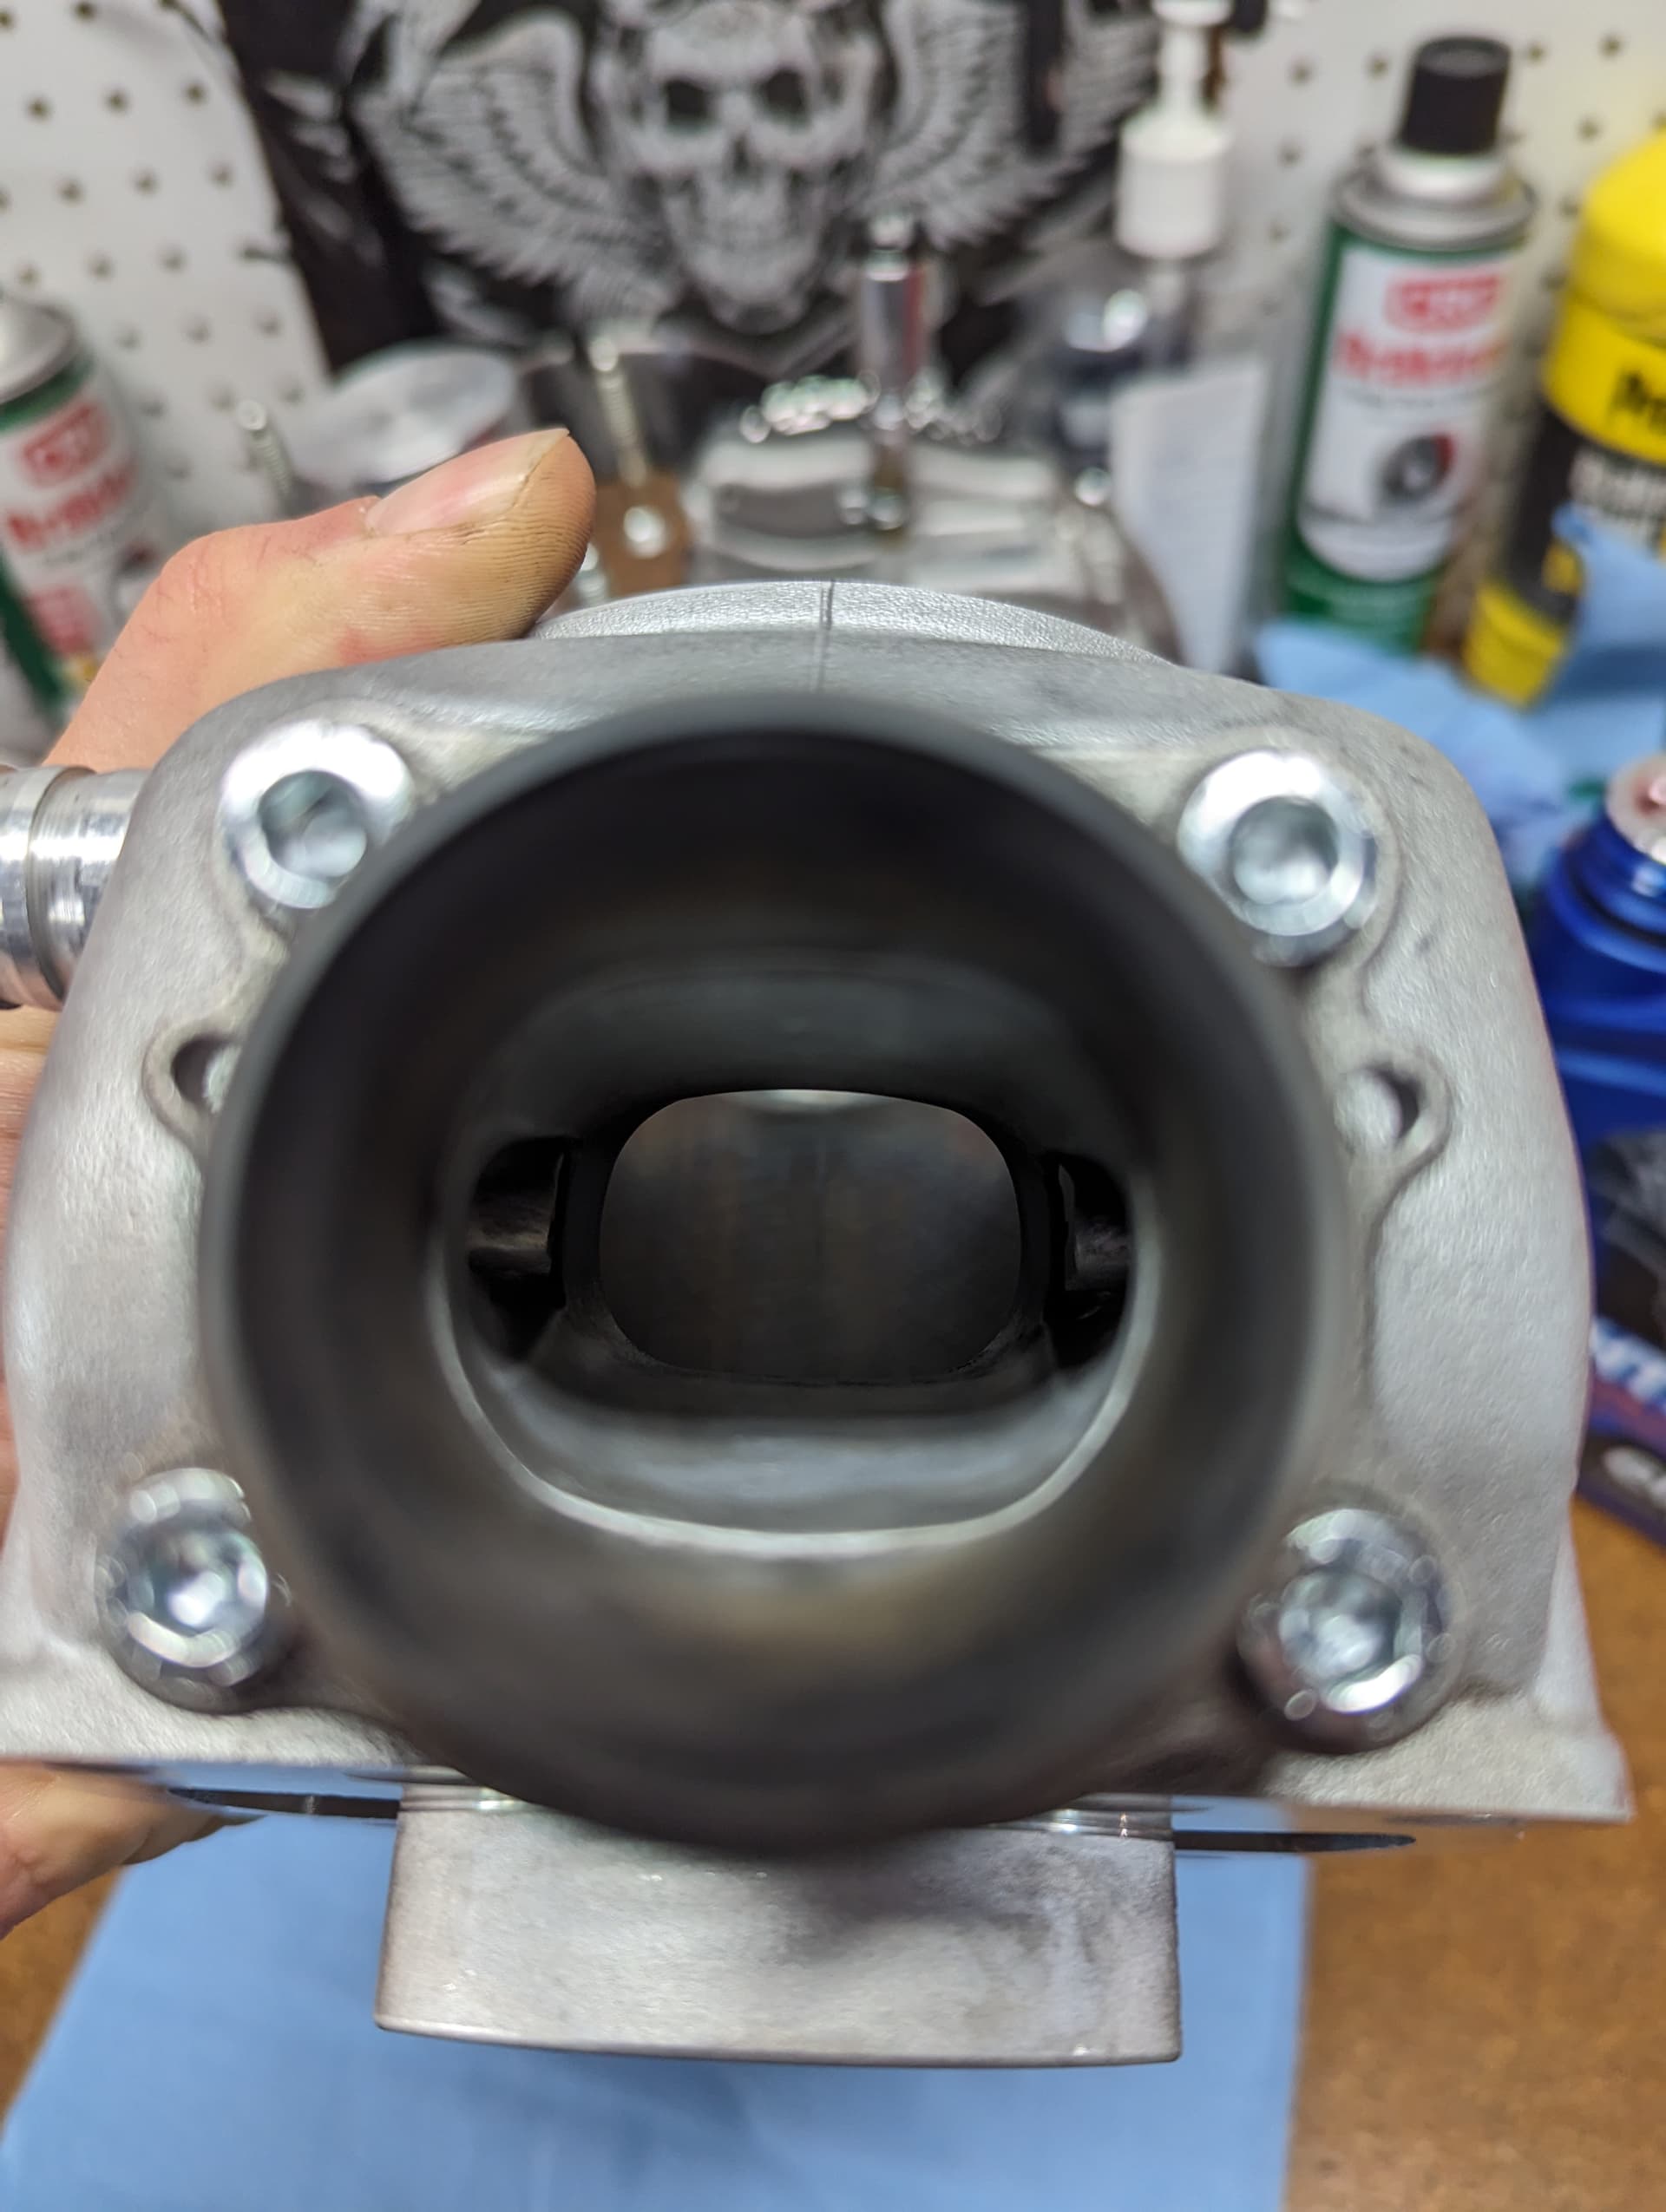
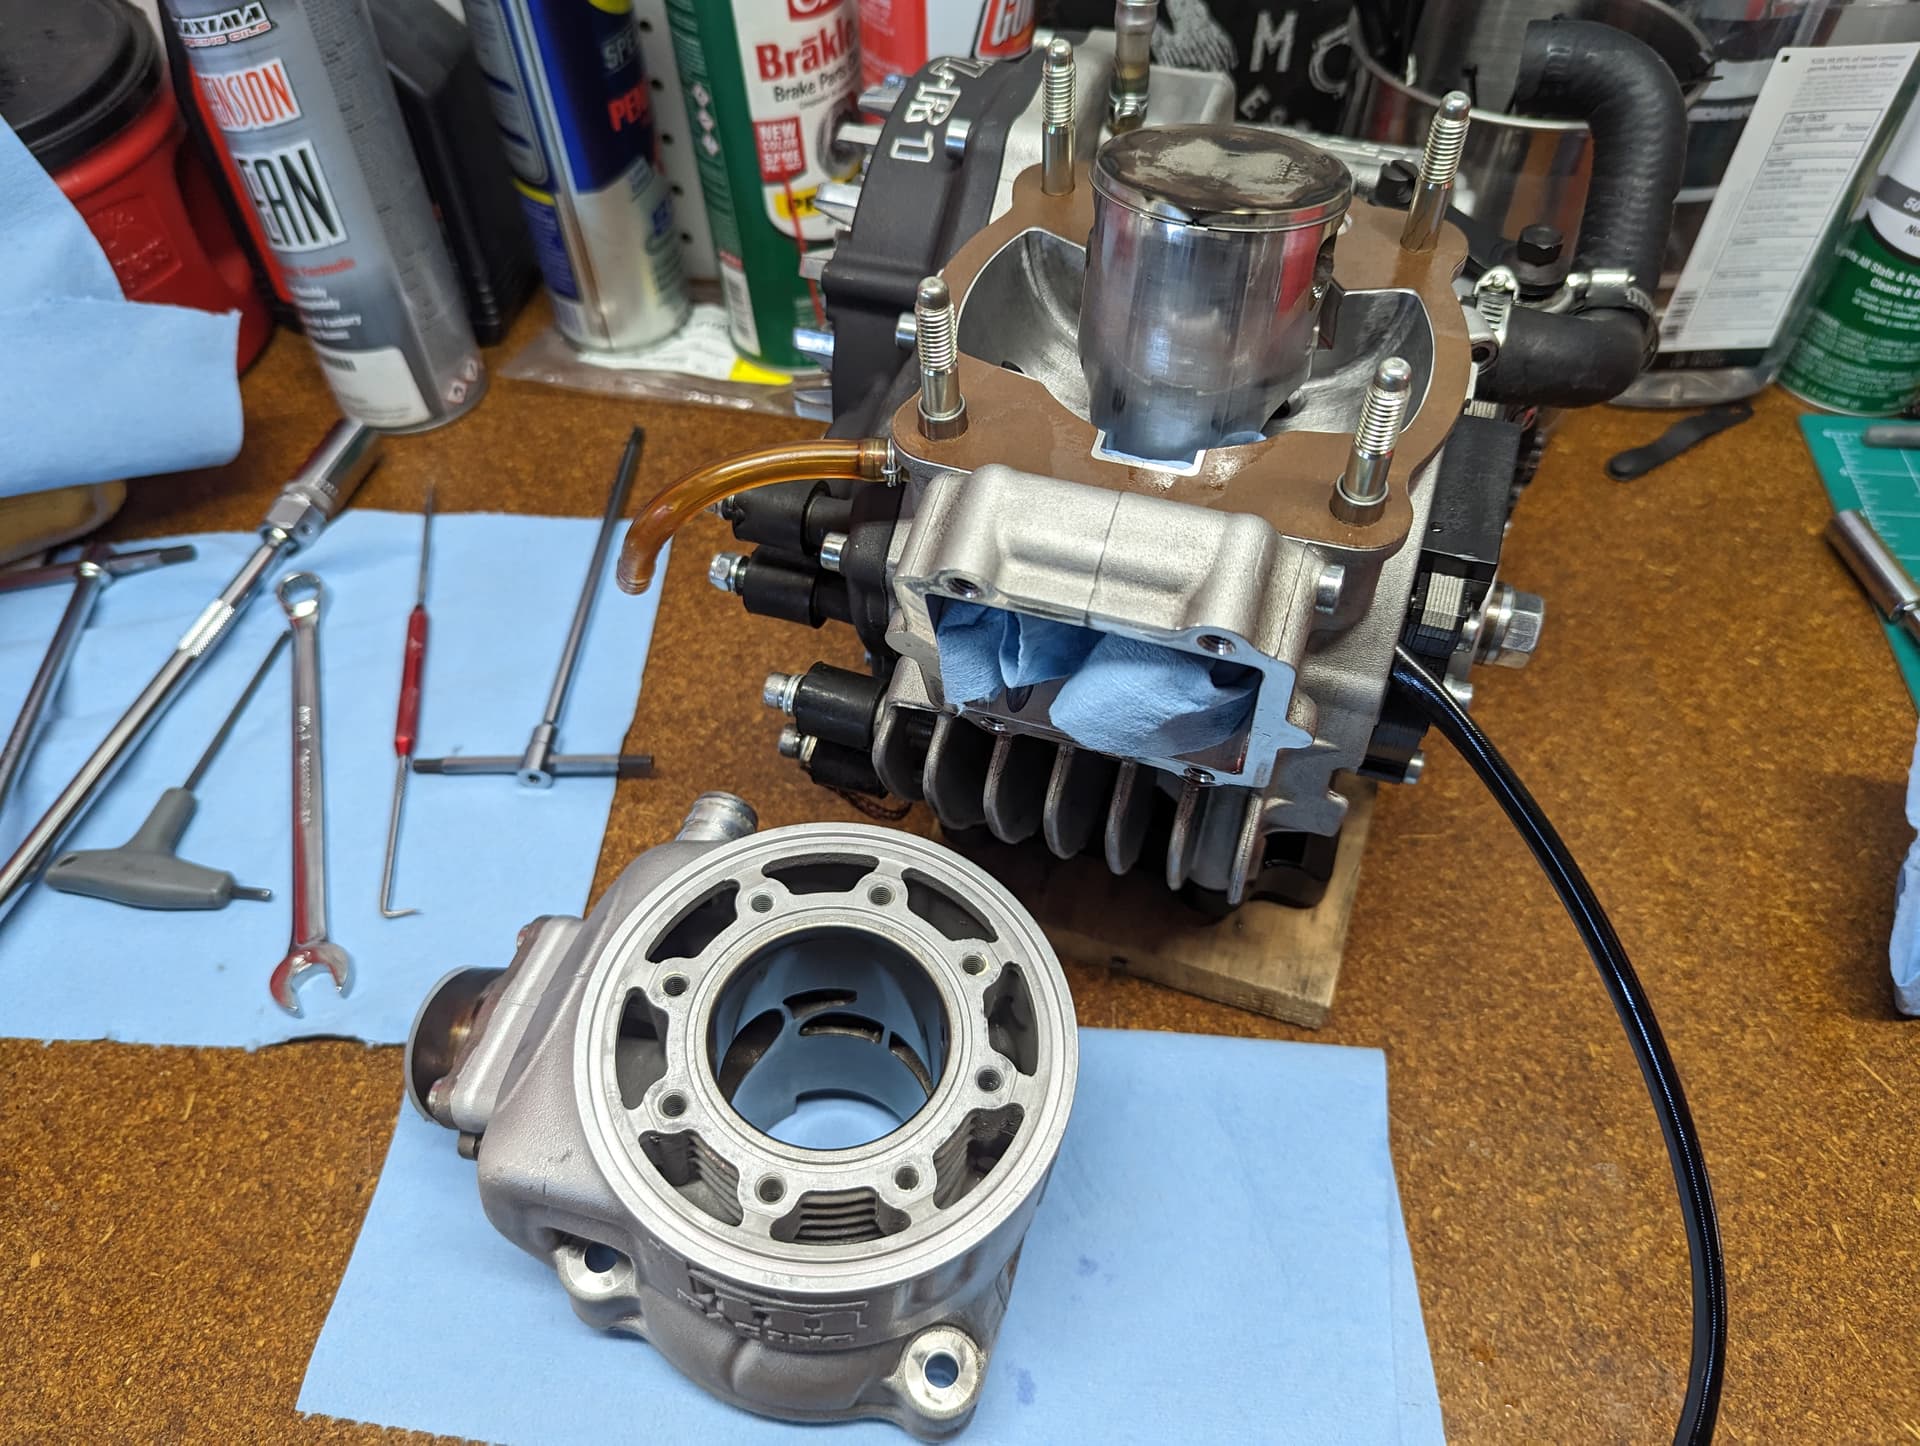
This is straight out of the box, you can clearly see it’s been worked on and optimized, right out of the box. Now onto the top end job itself
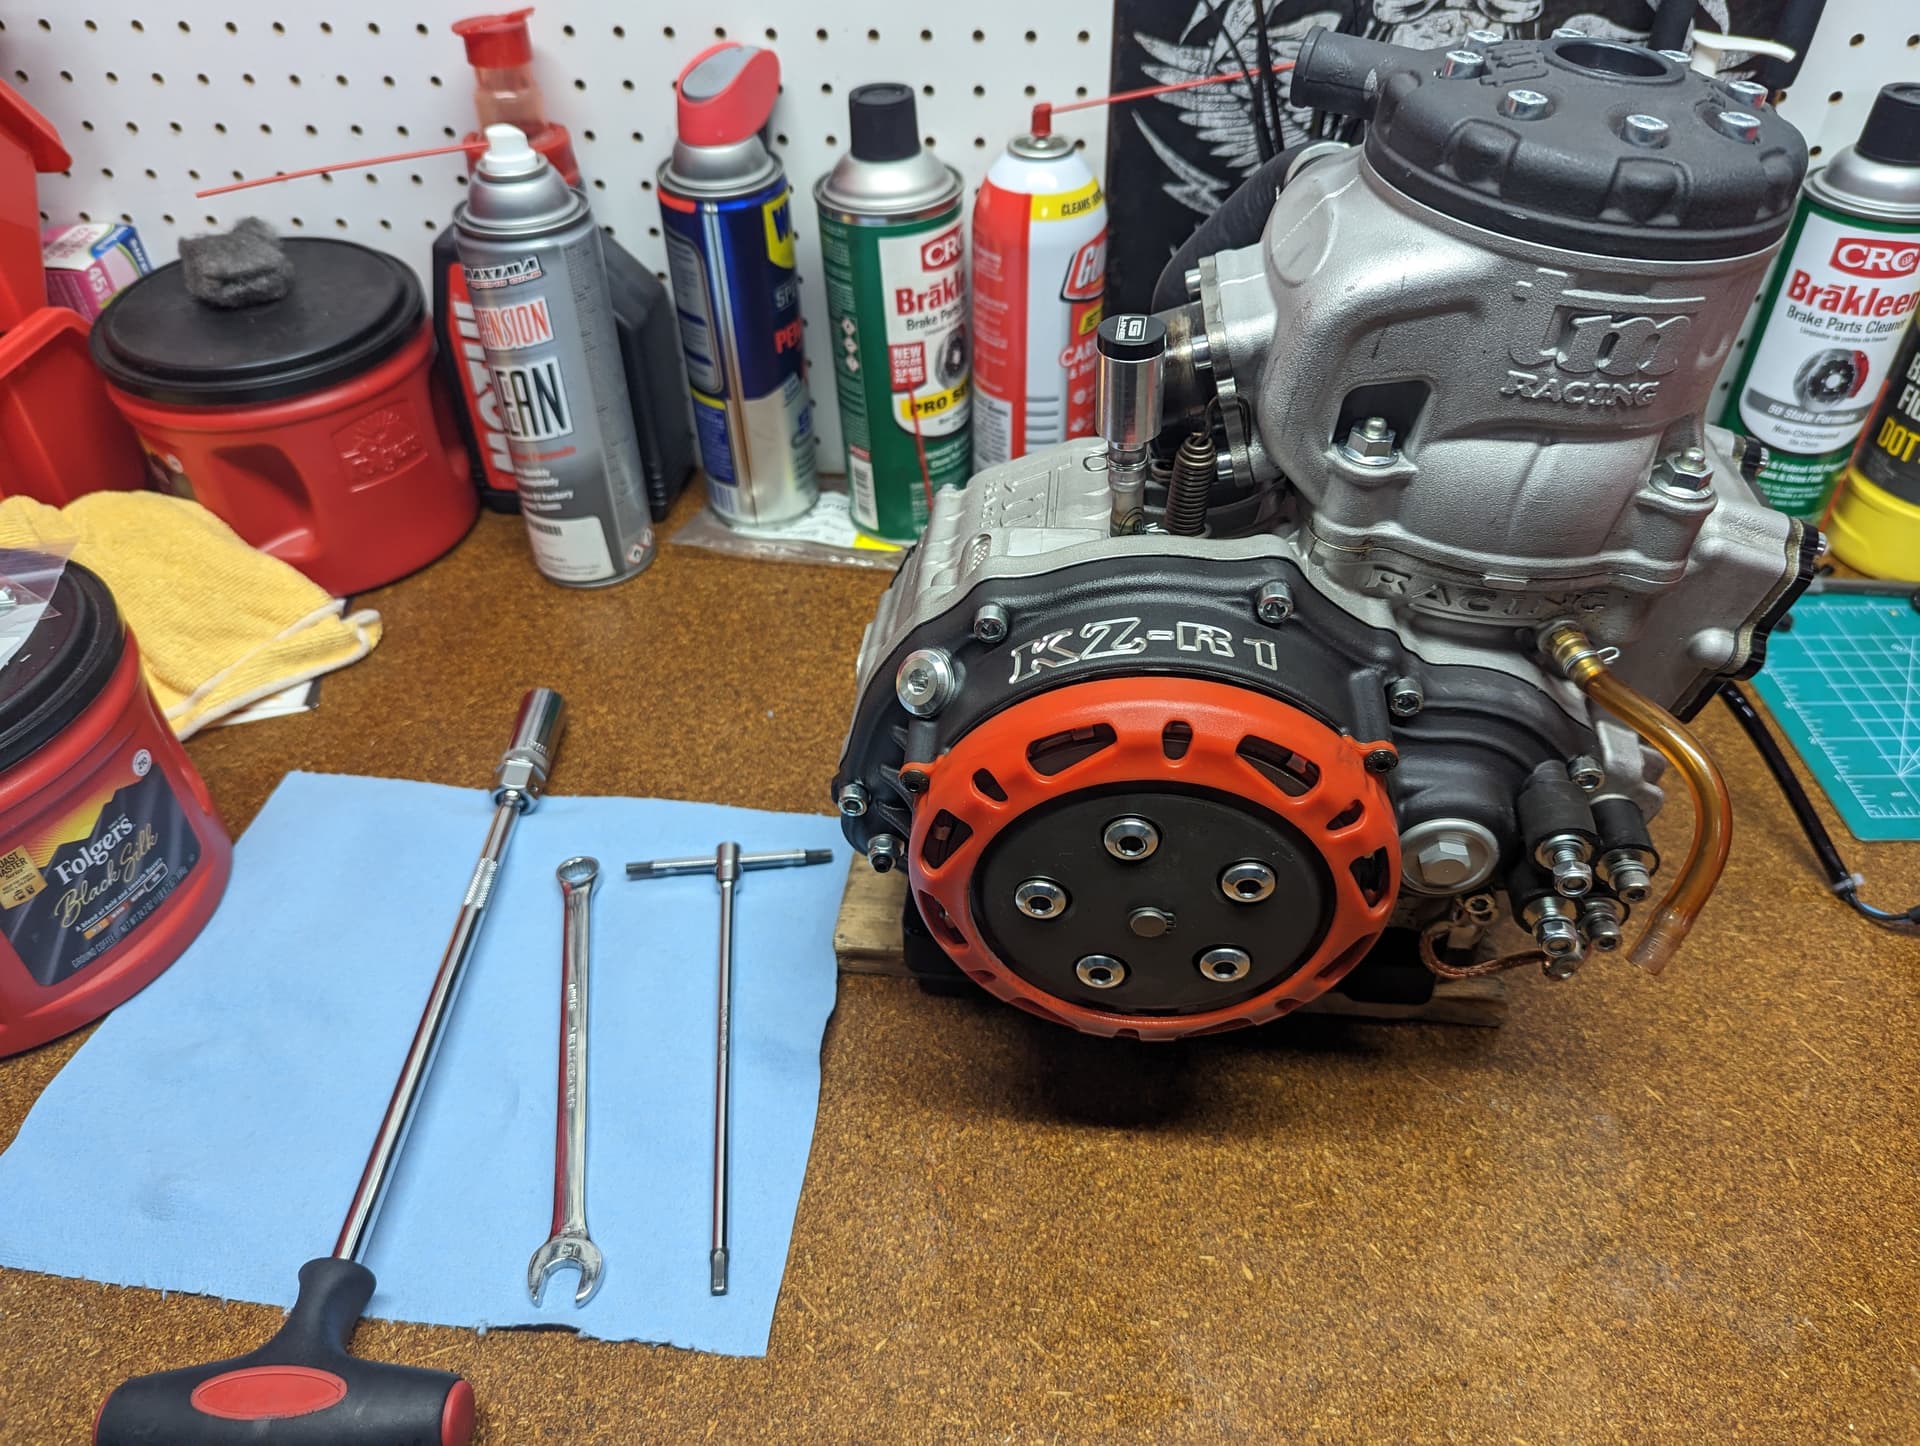
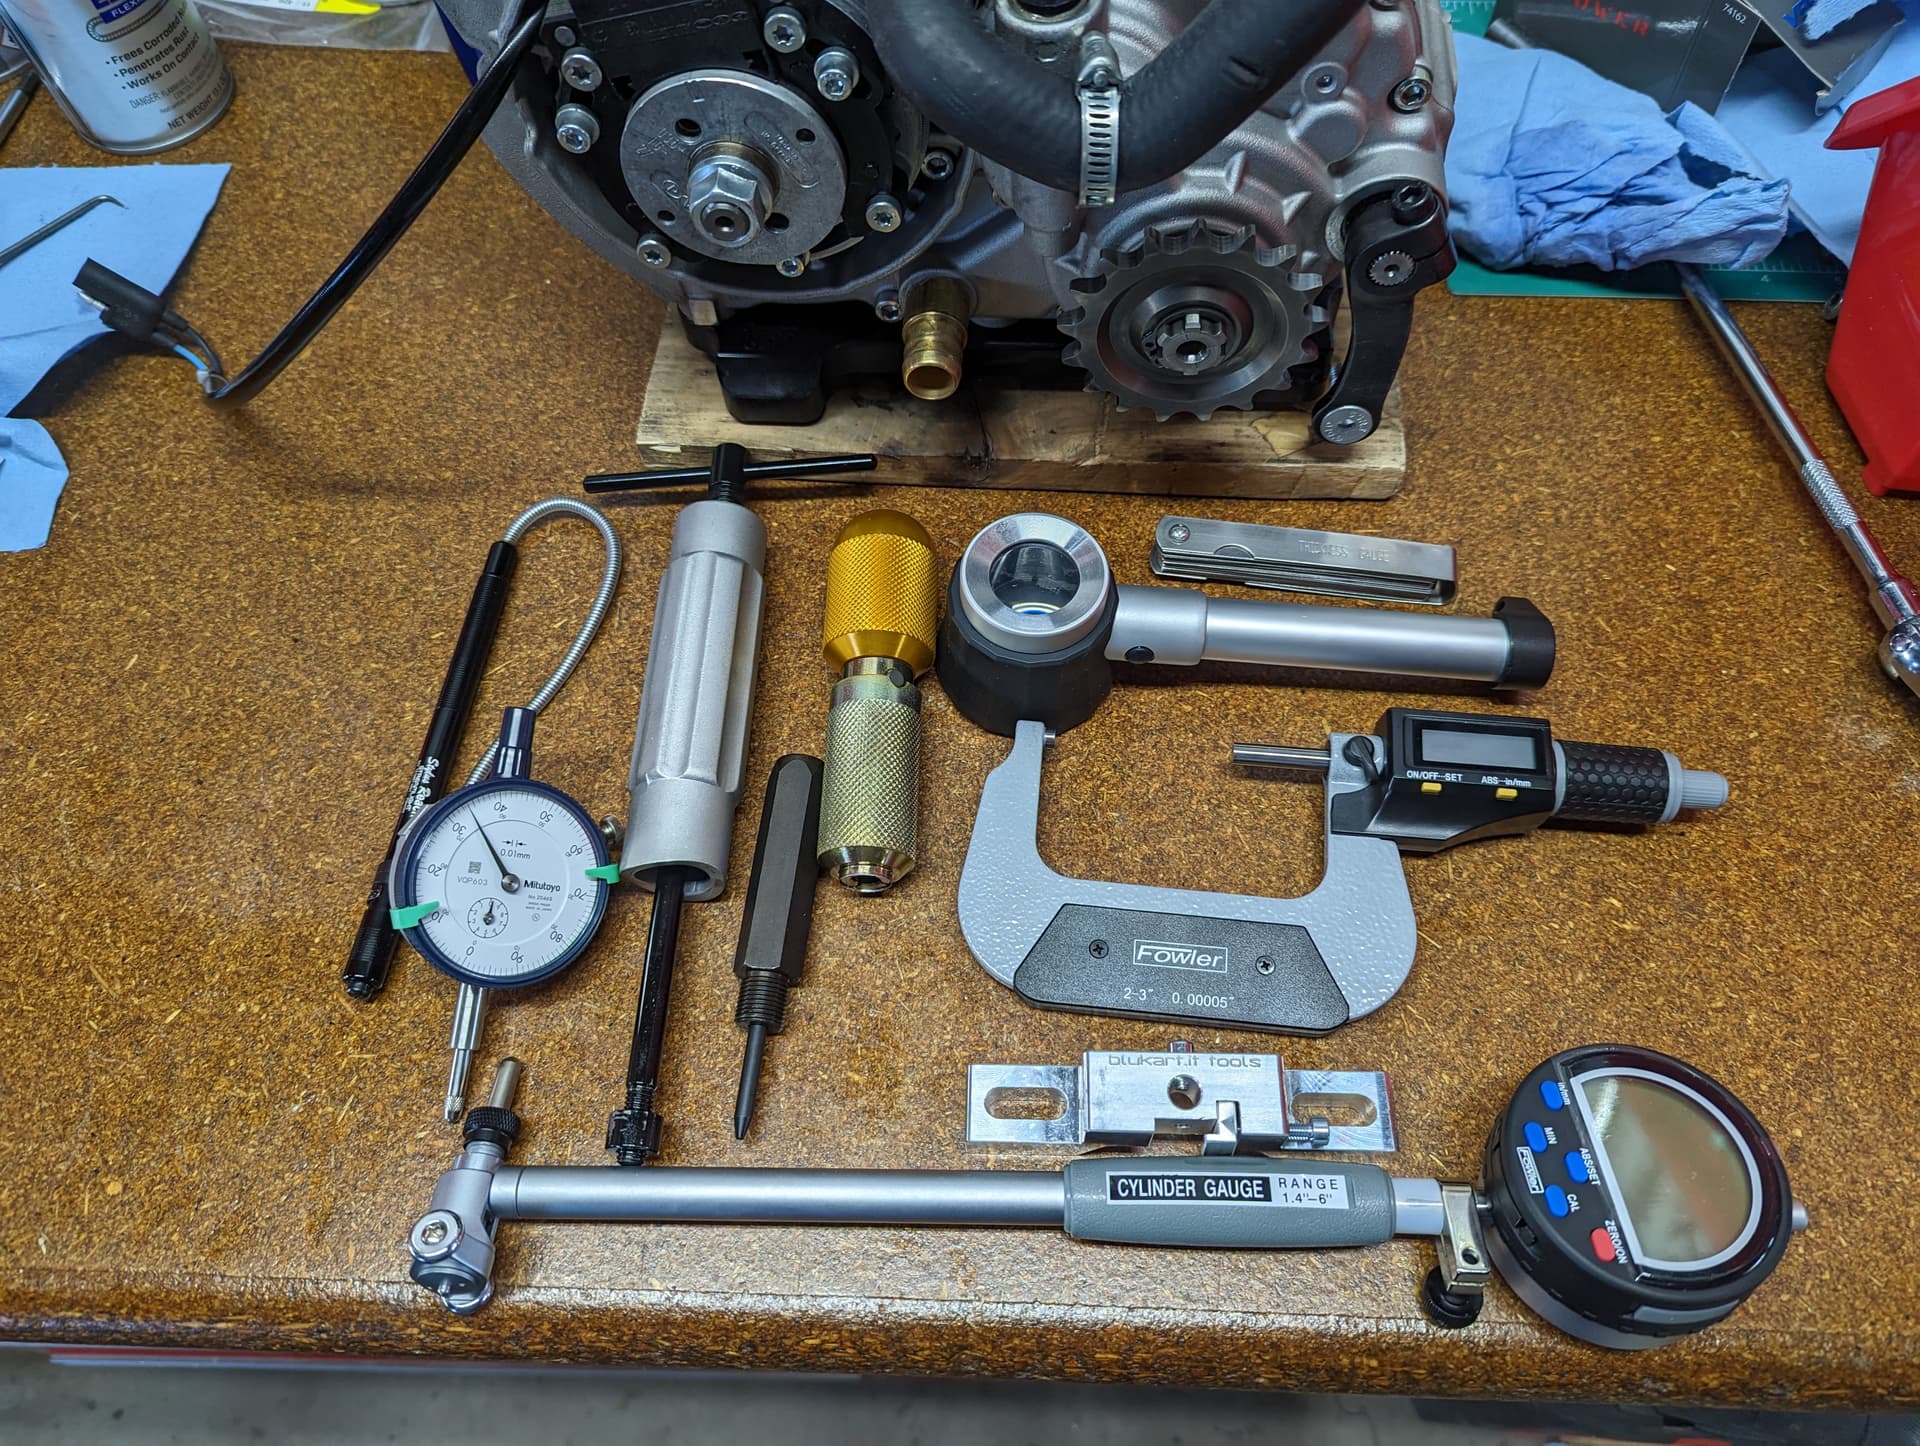
Tools for the job (also, add a digital caliper)
If you stay on top of your intervals, most of the tools pictured below are not really needed. They are if you want to really dial in everything. I’d say you absolutely need:
-Thickness gauge
-Magnifier/loupe
-Wrist pin puller
-Seeger installation tool
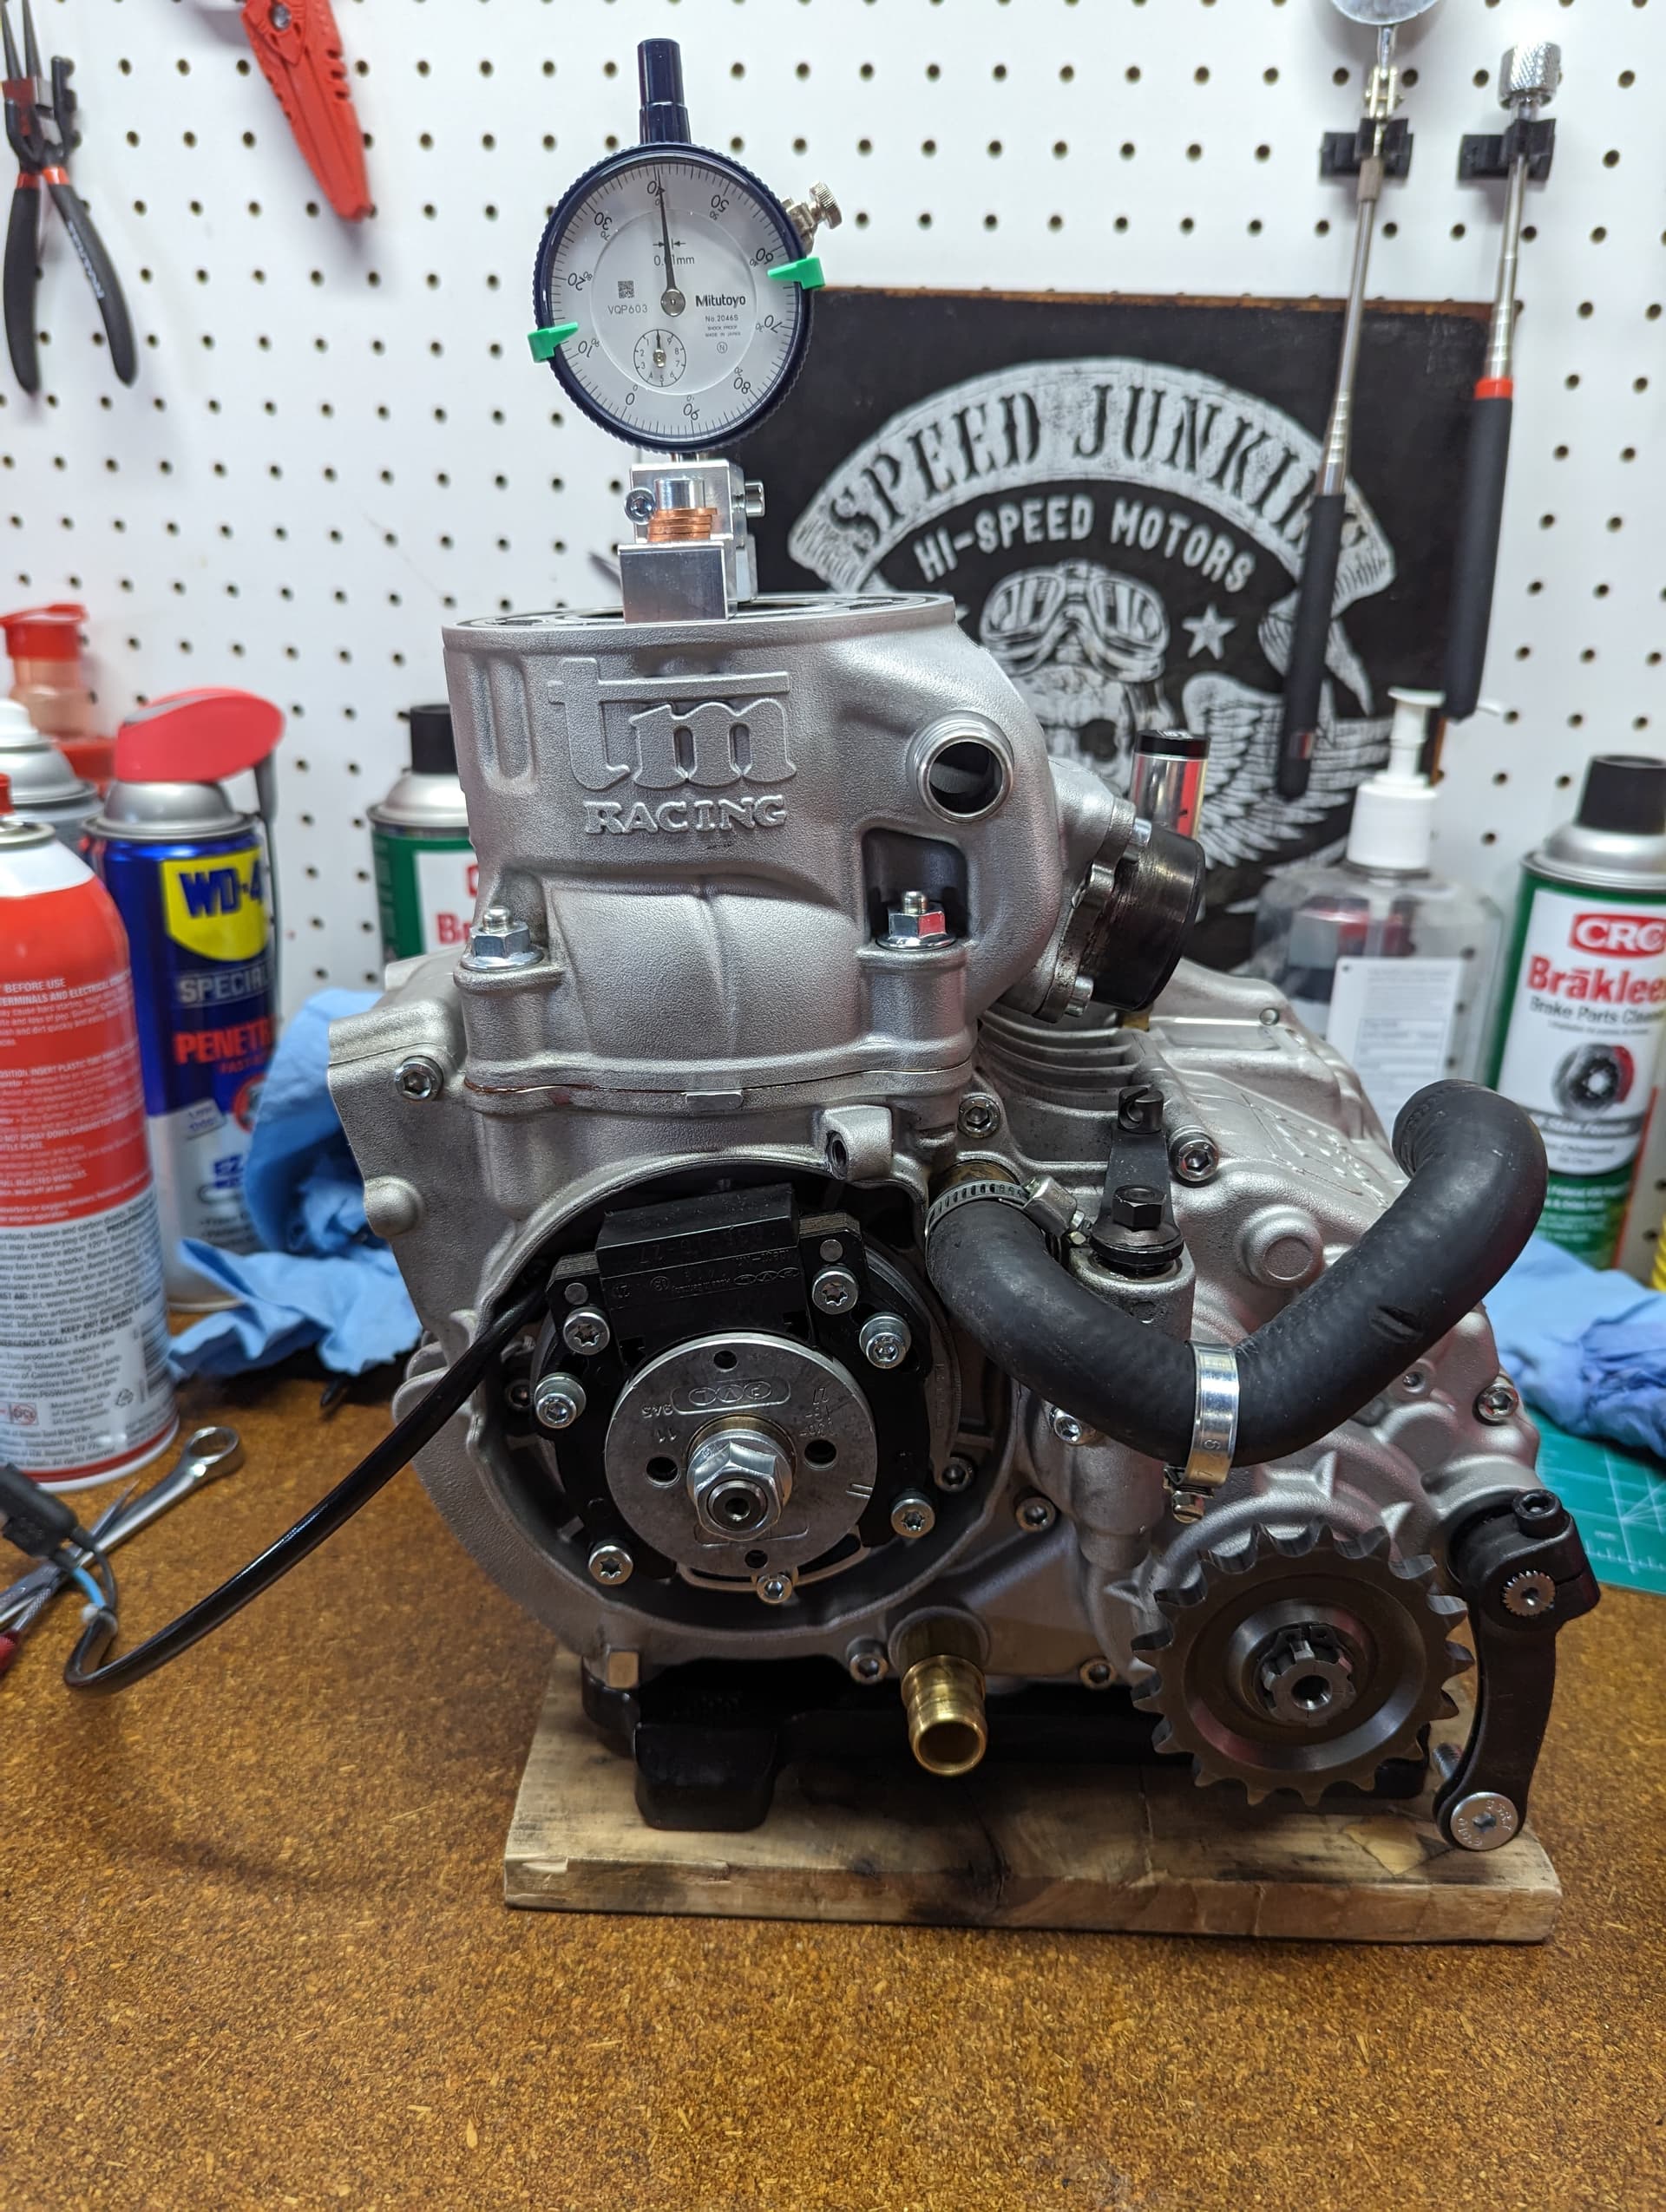
-Dial gauge and support (bridge or spark plug type)
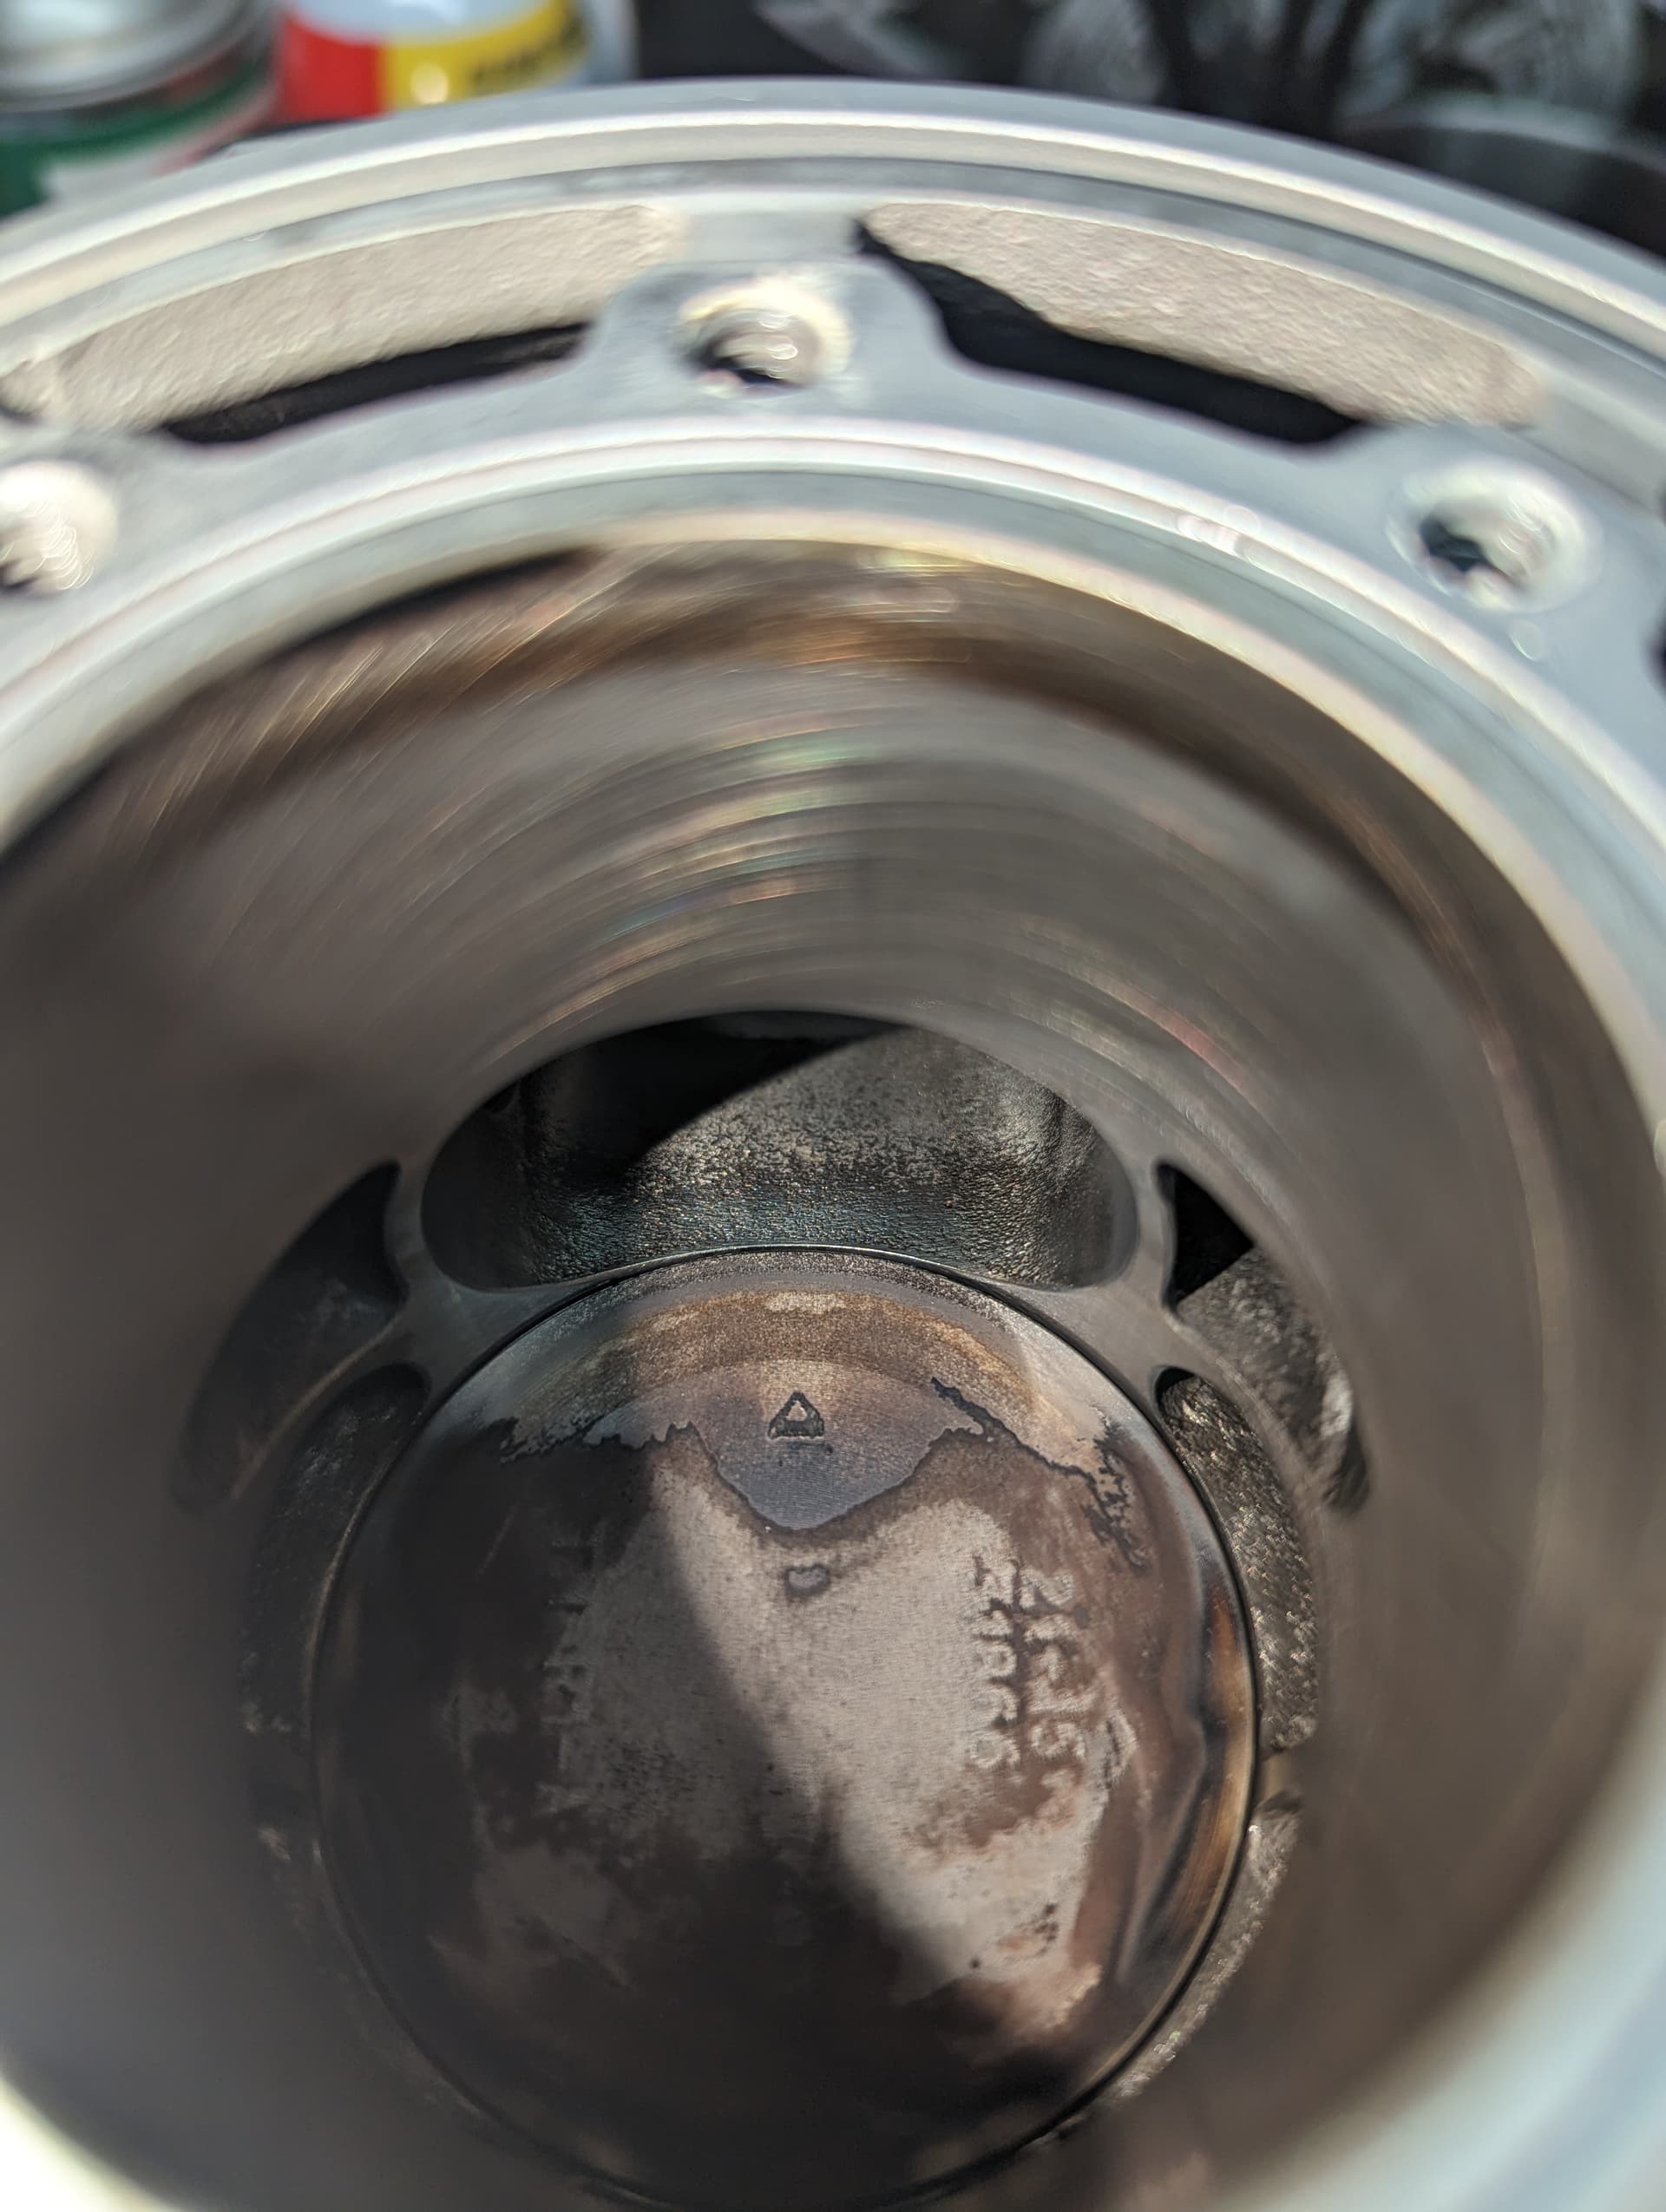

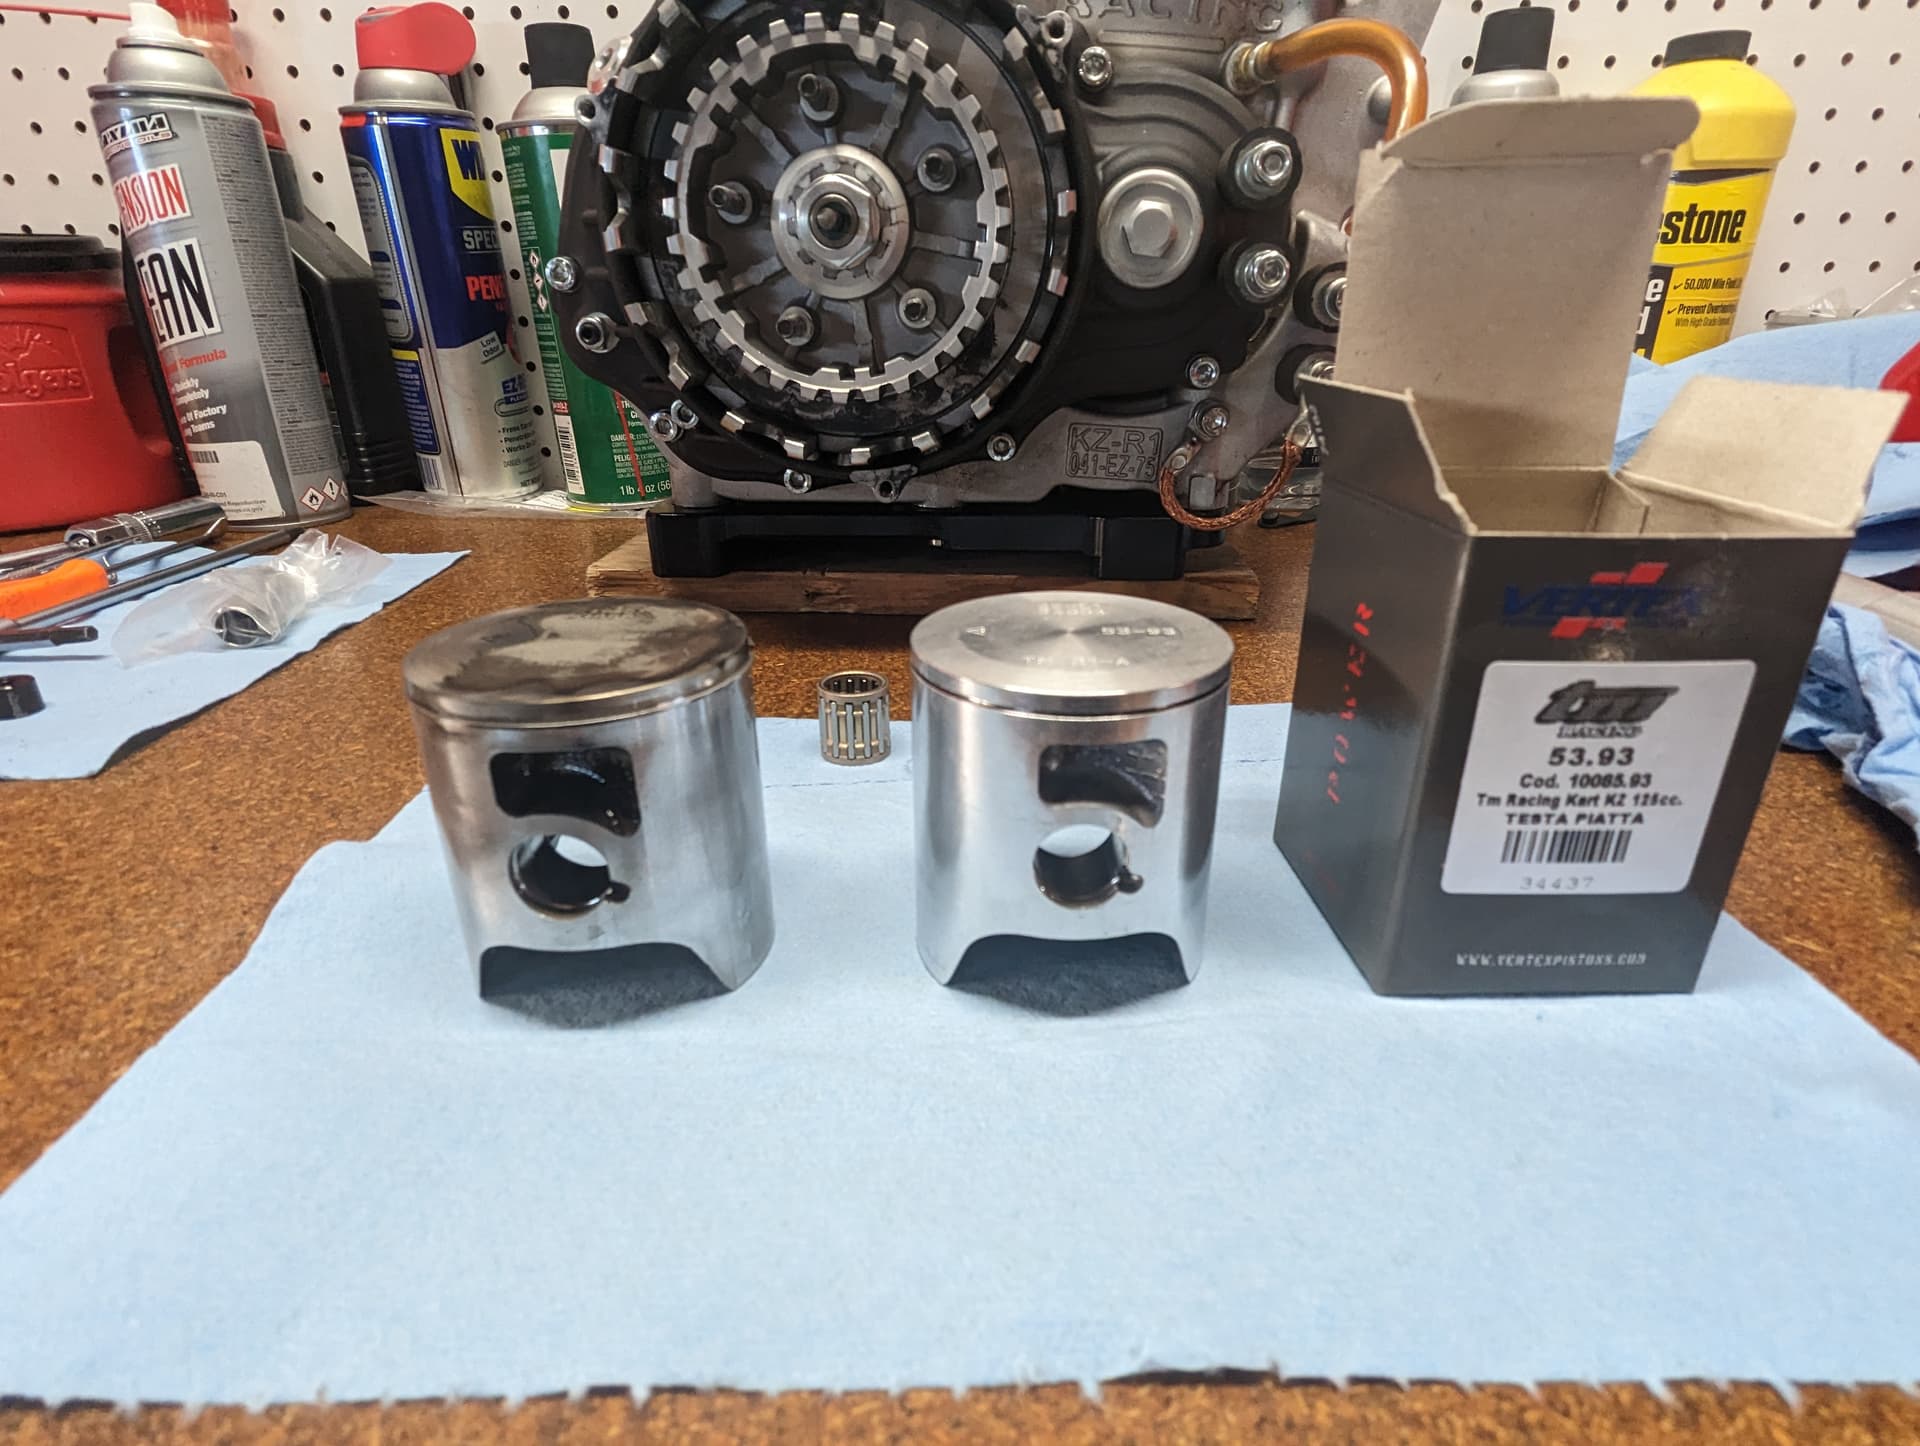
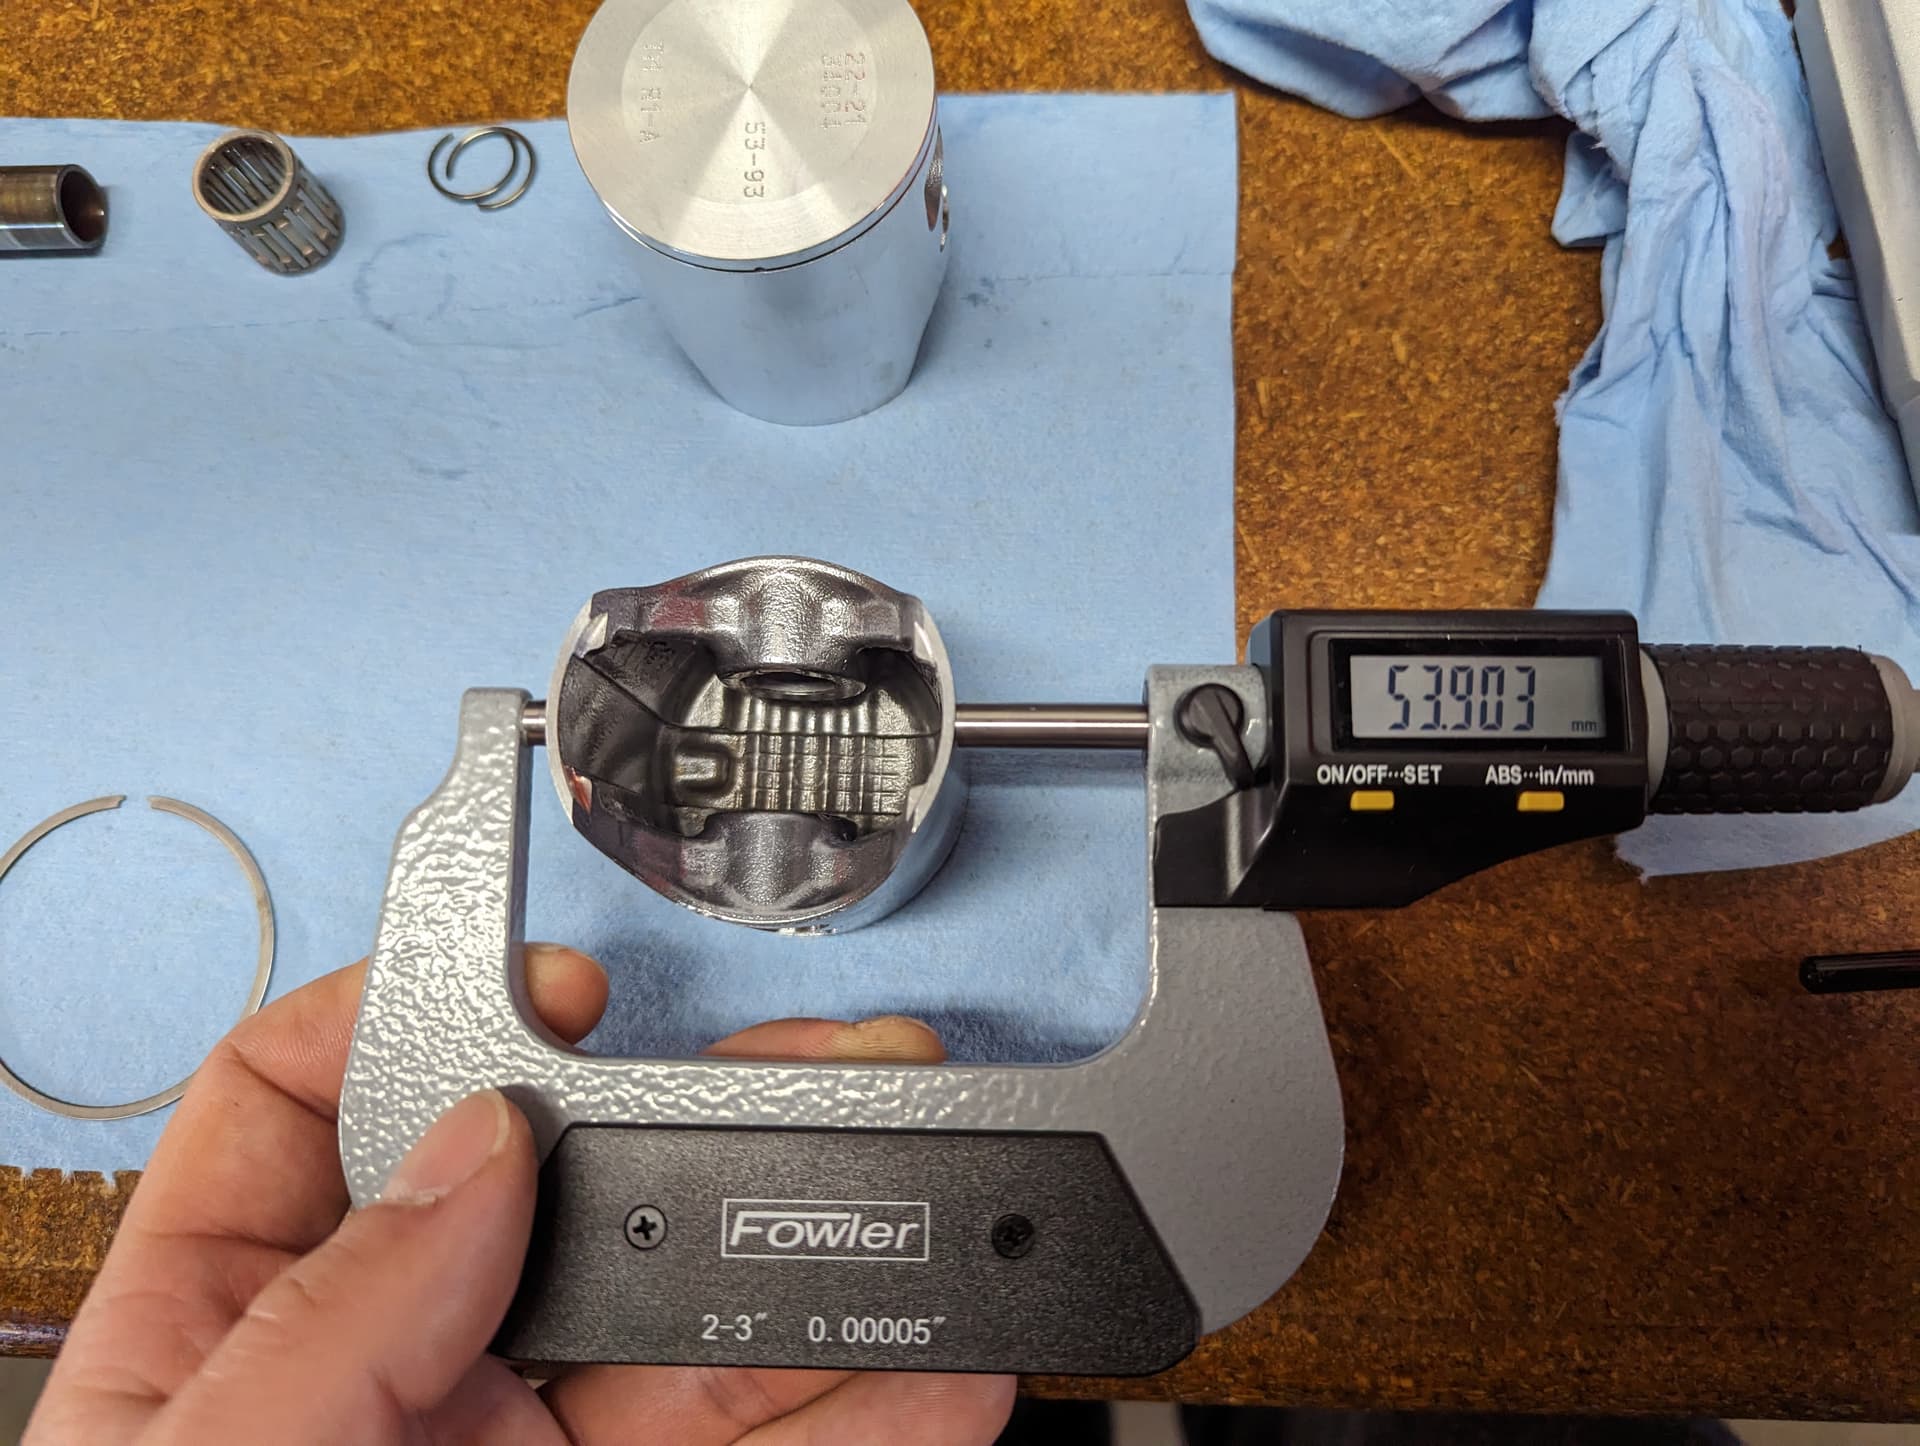
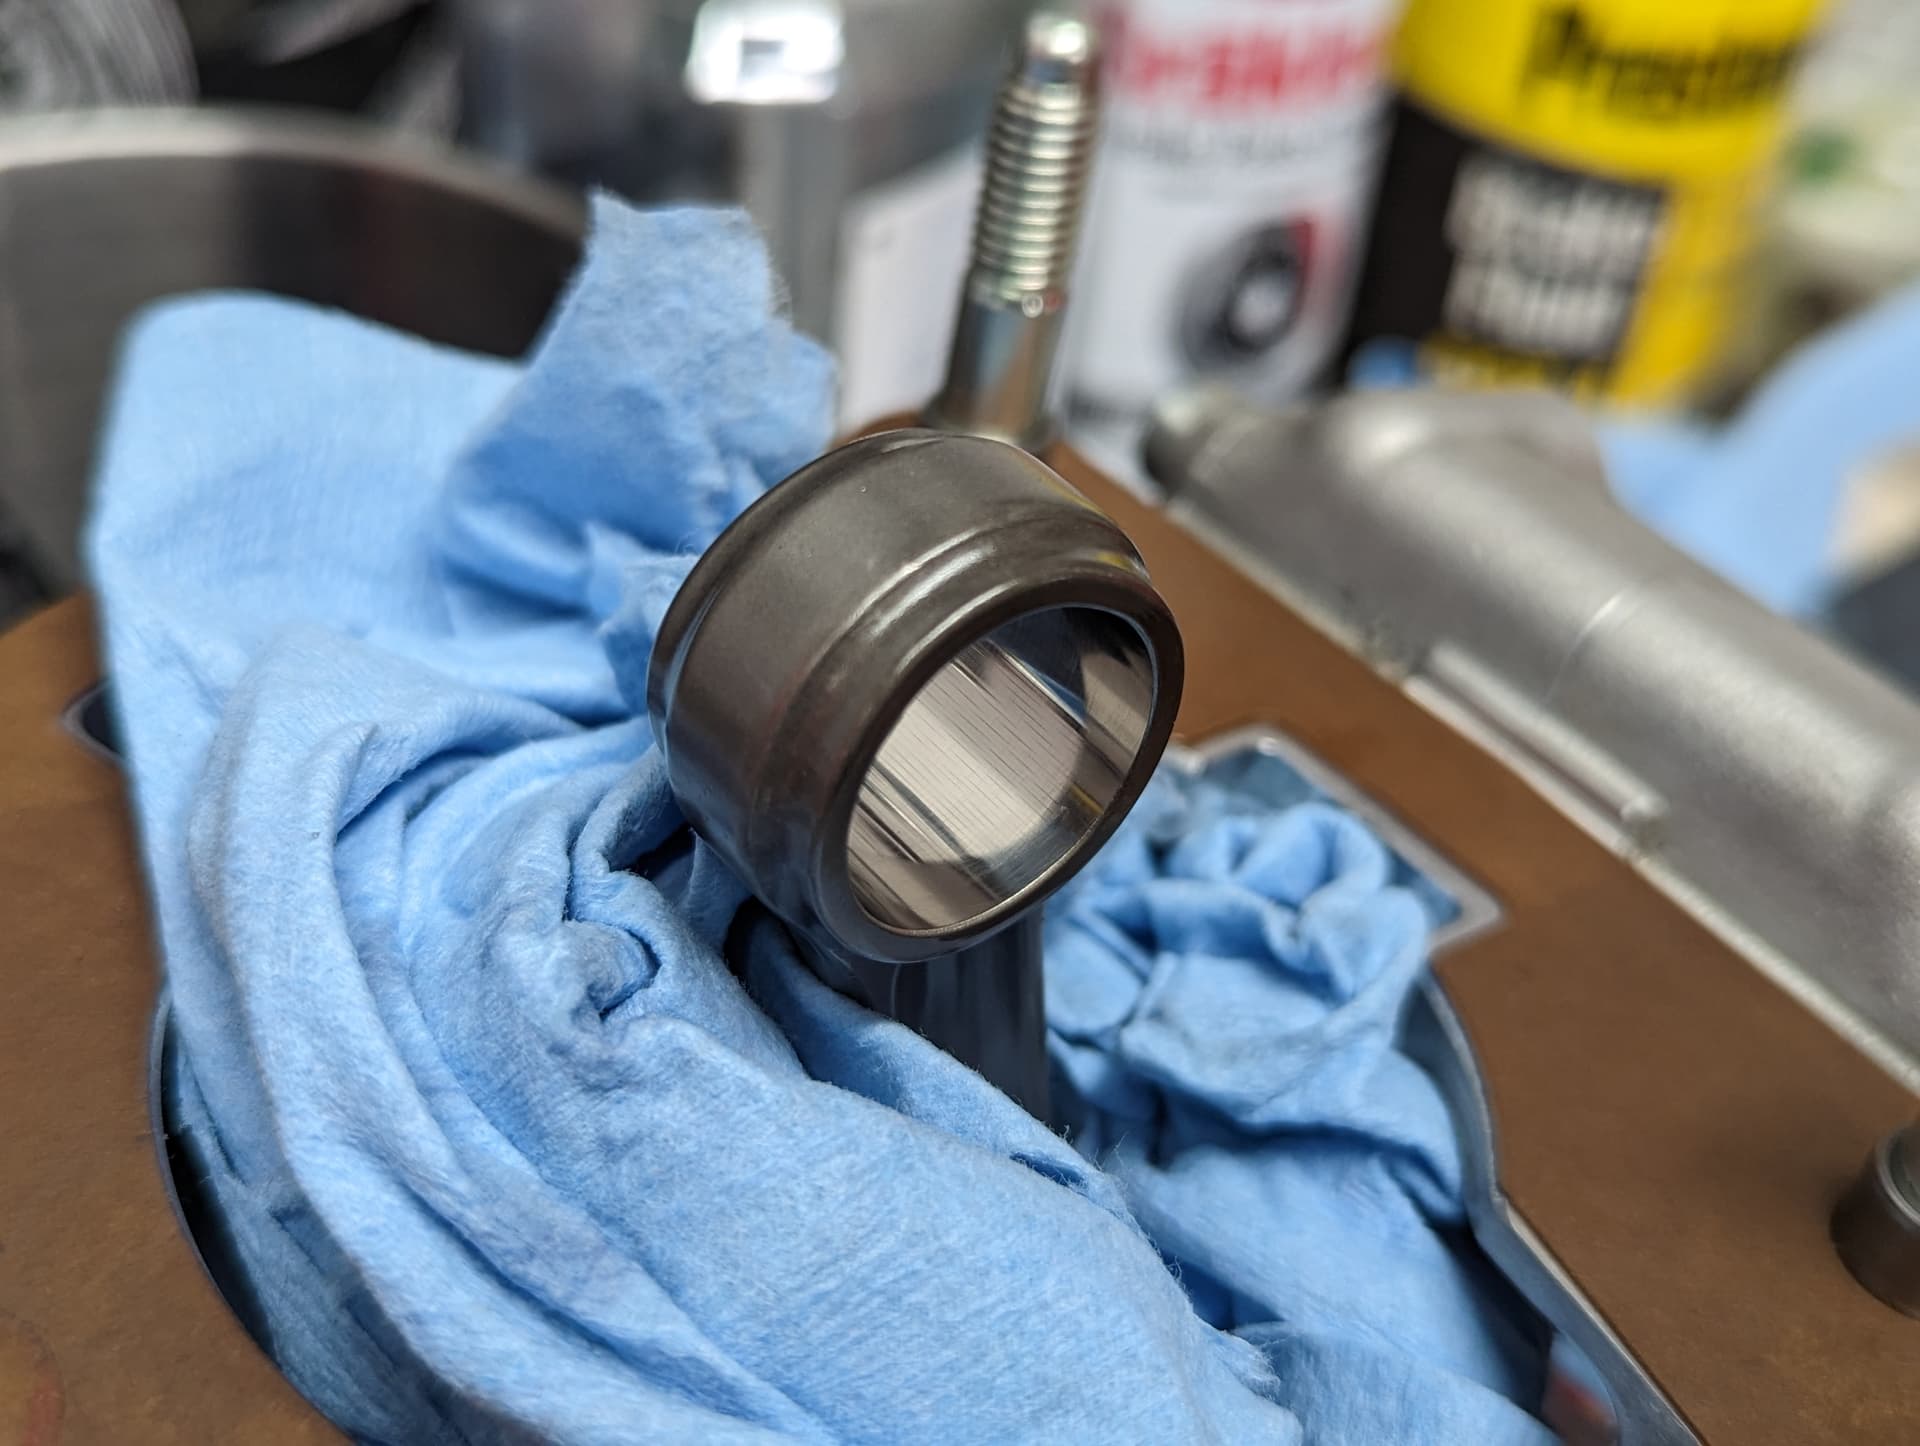
Piston, I’m sticking to first size, 53.93 which is also the same that came with the engine when I bought it new. You will see most stores are always out of them, a good indication so every time I place a random order, I always check for piston availability and get one extra. Don’t mind the top, one of my last days on track was a 60 laps behind my wife (first timer) on a Rotax, so I piled up quite a bit of crud, which is normal when you run low EGT. Other than that, piston has done its work, no burns under the ring so it’s all good.
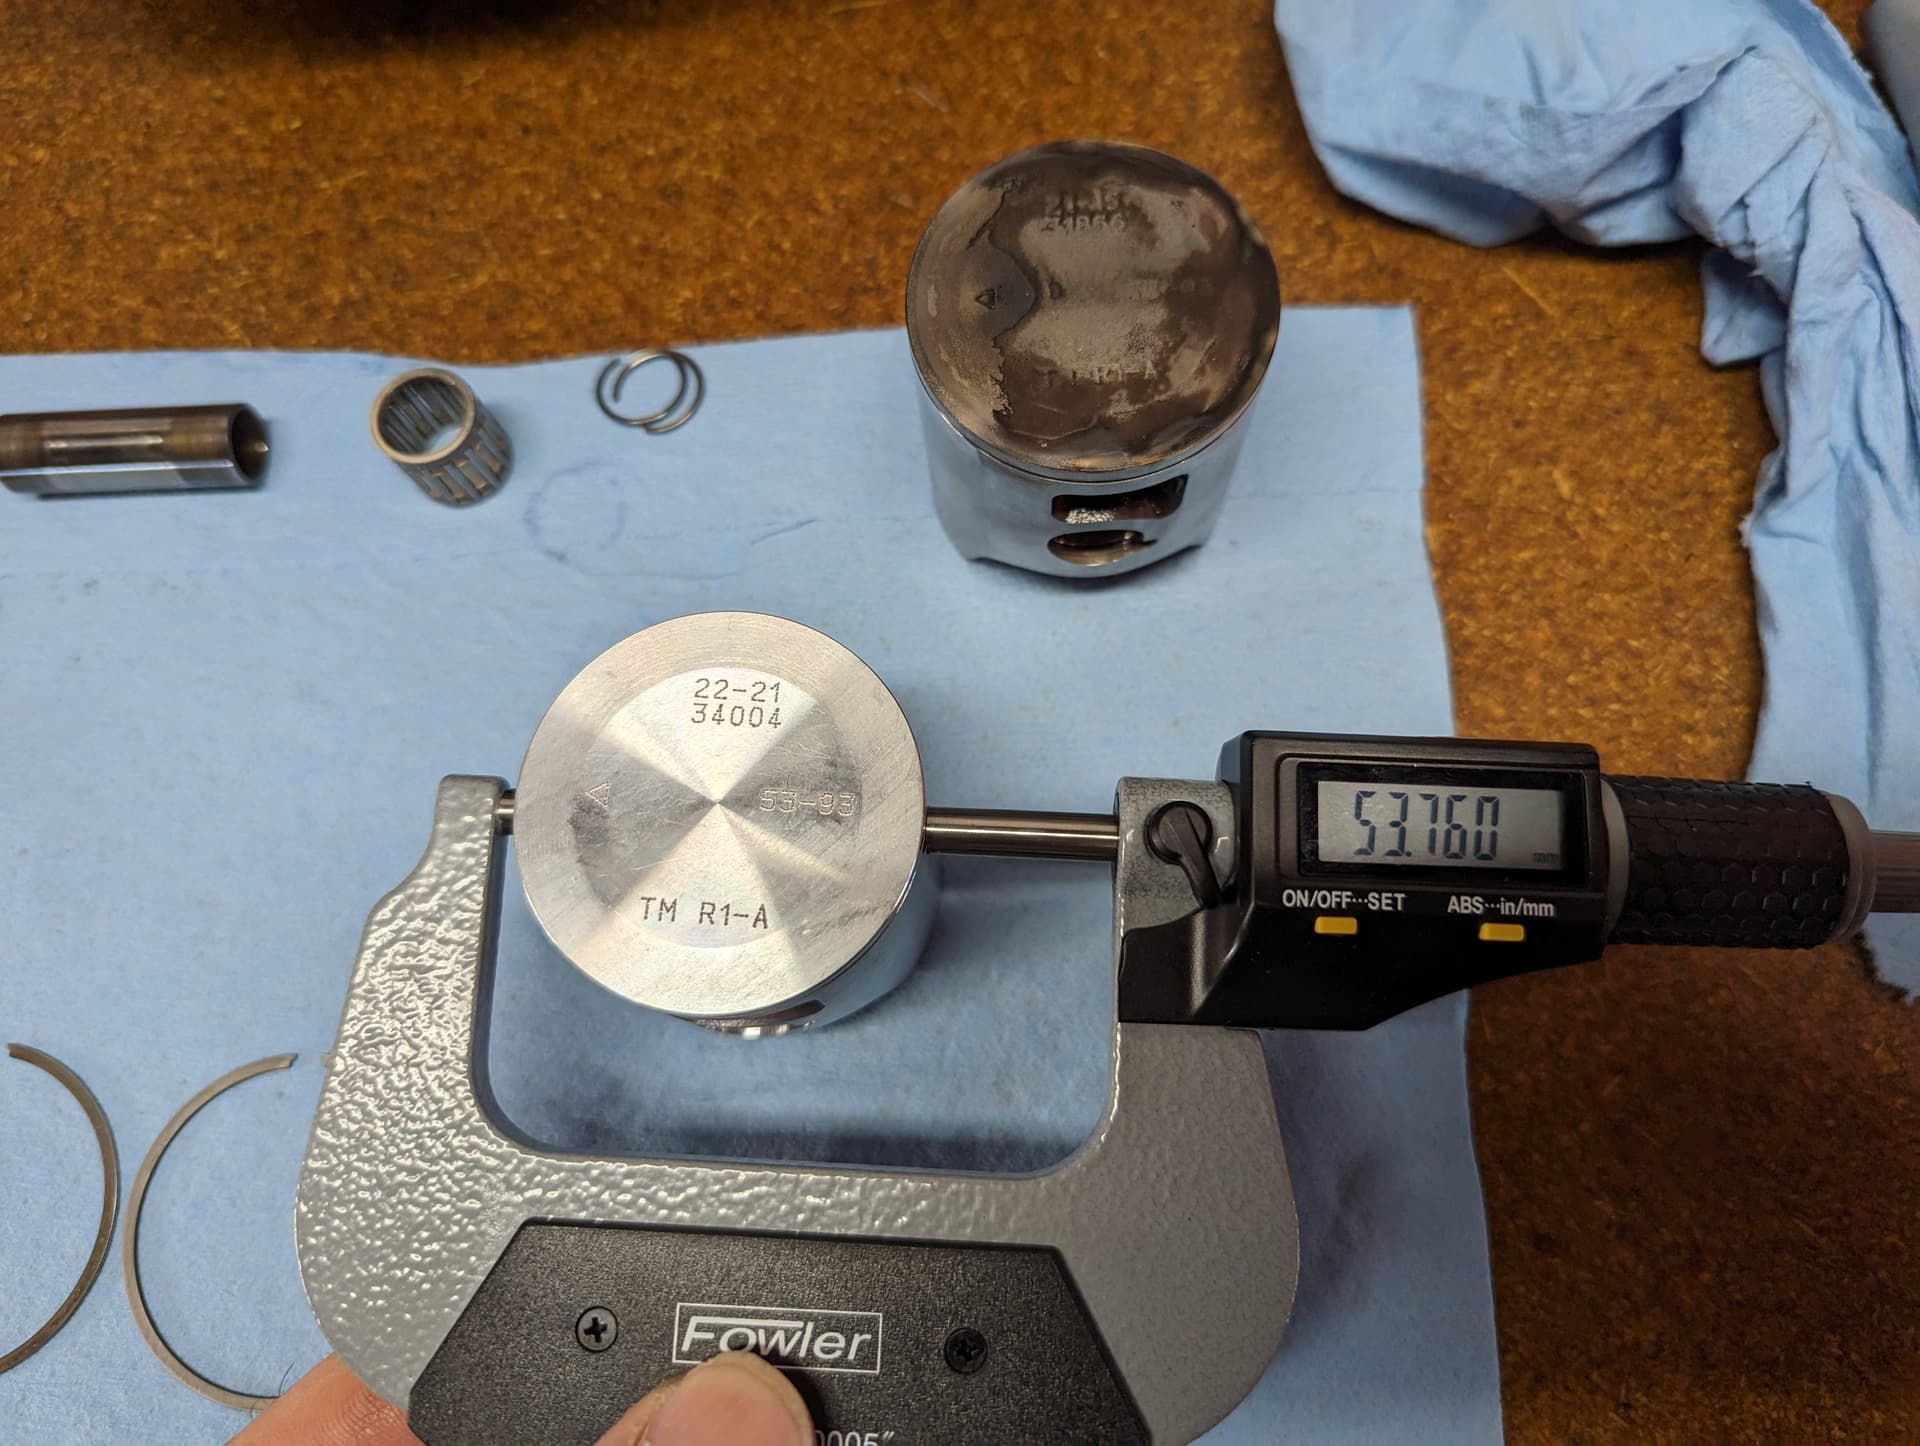
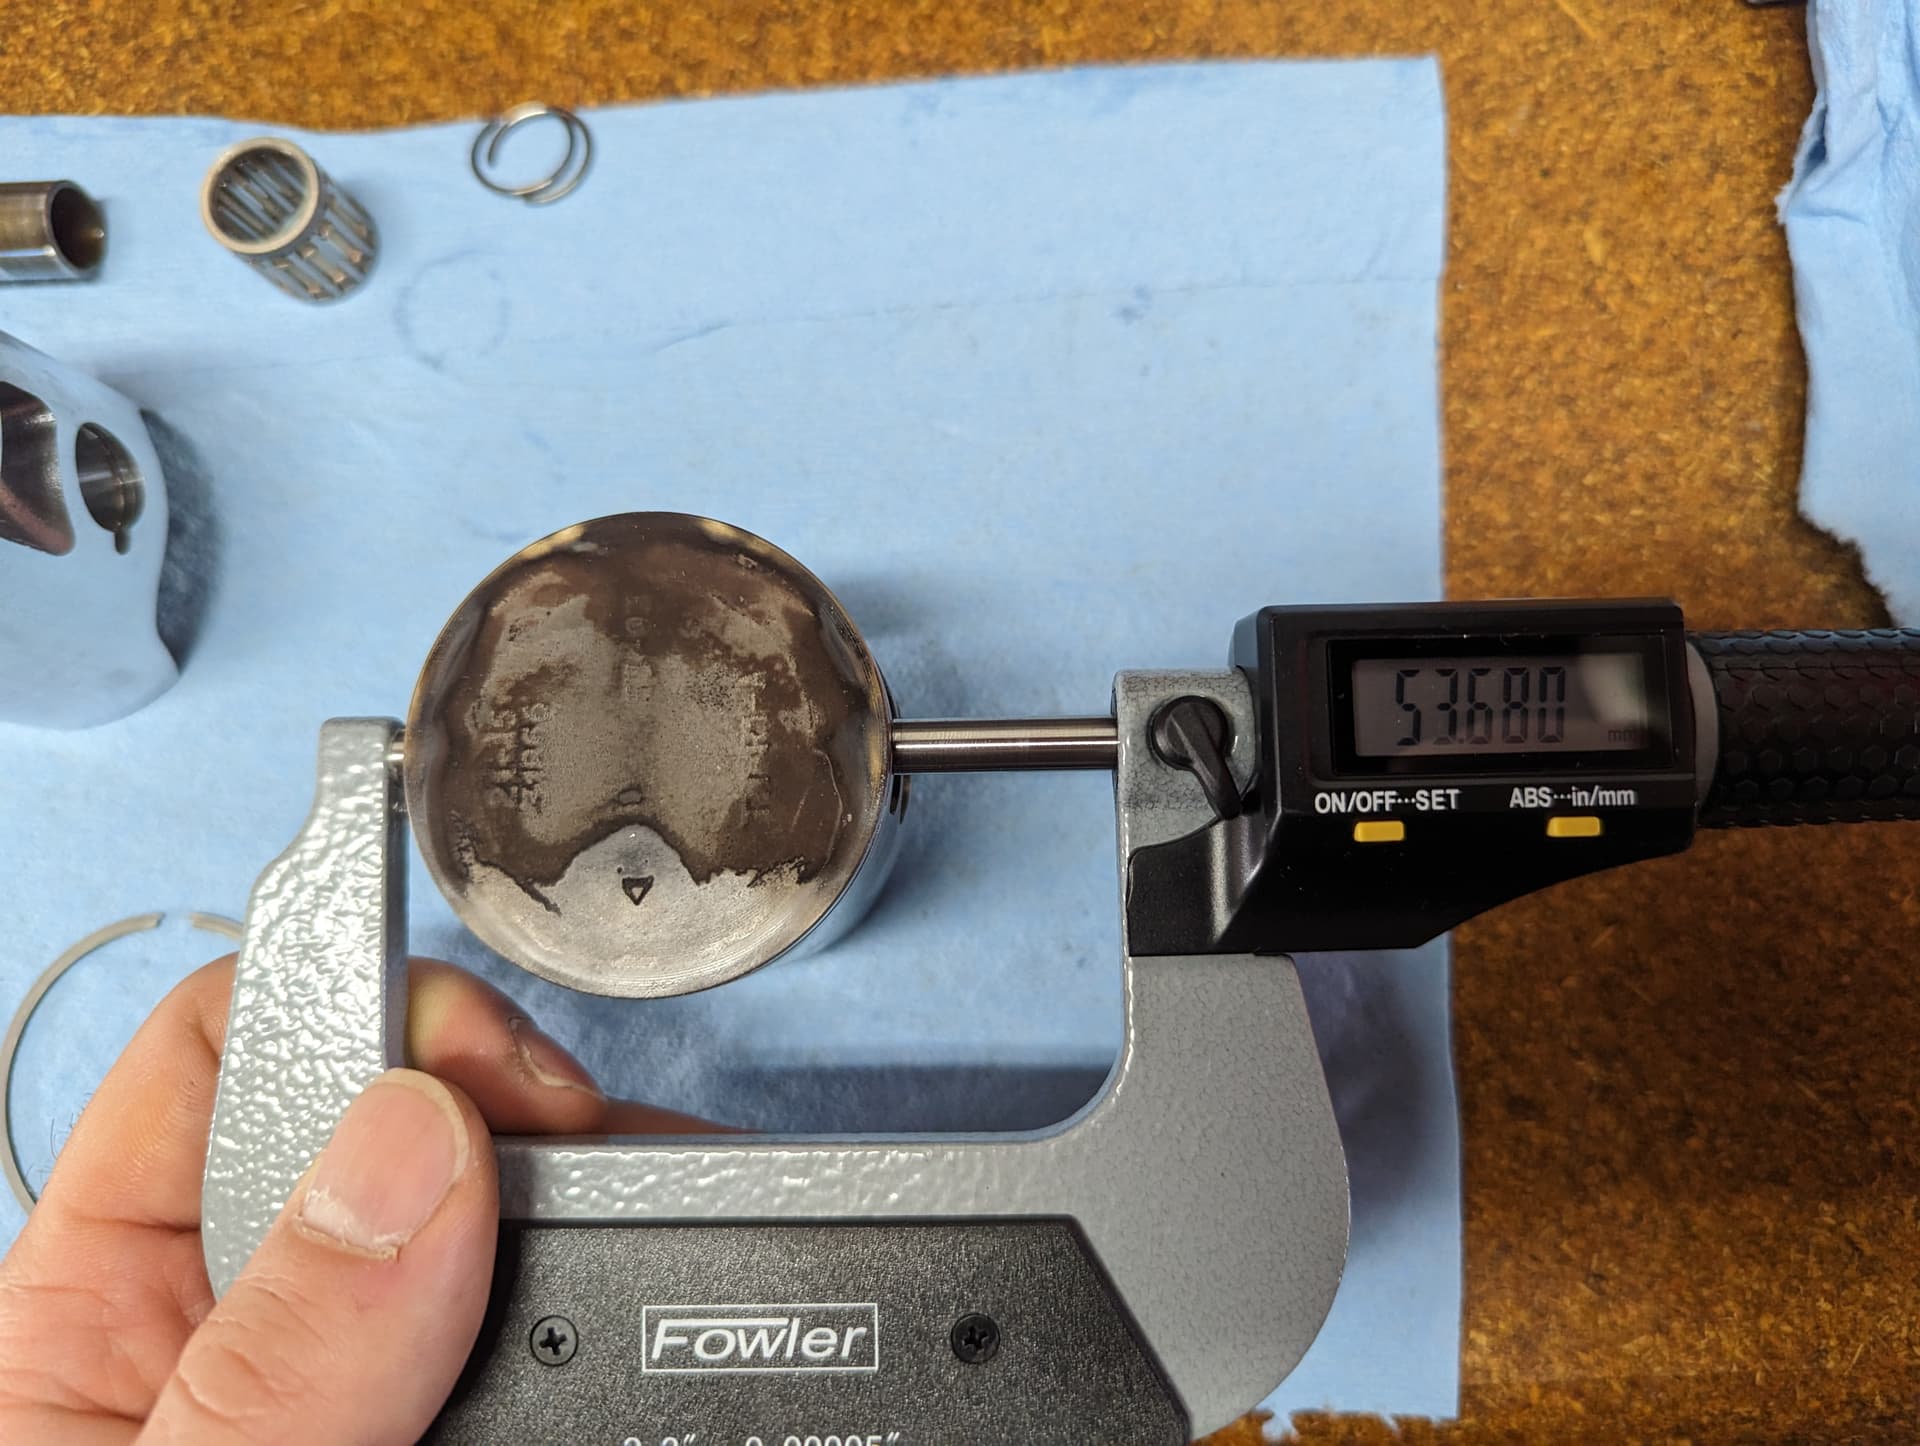
New vs old:
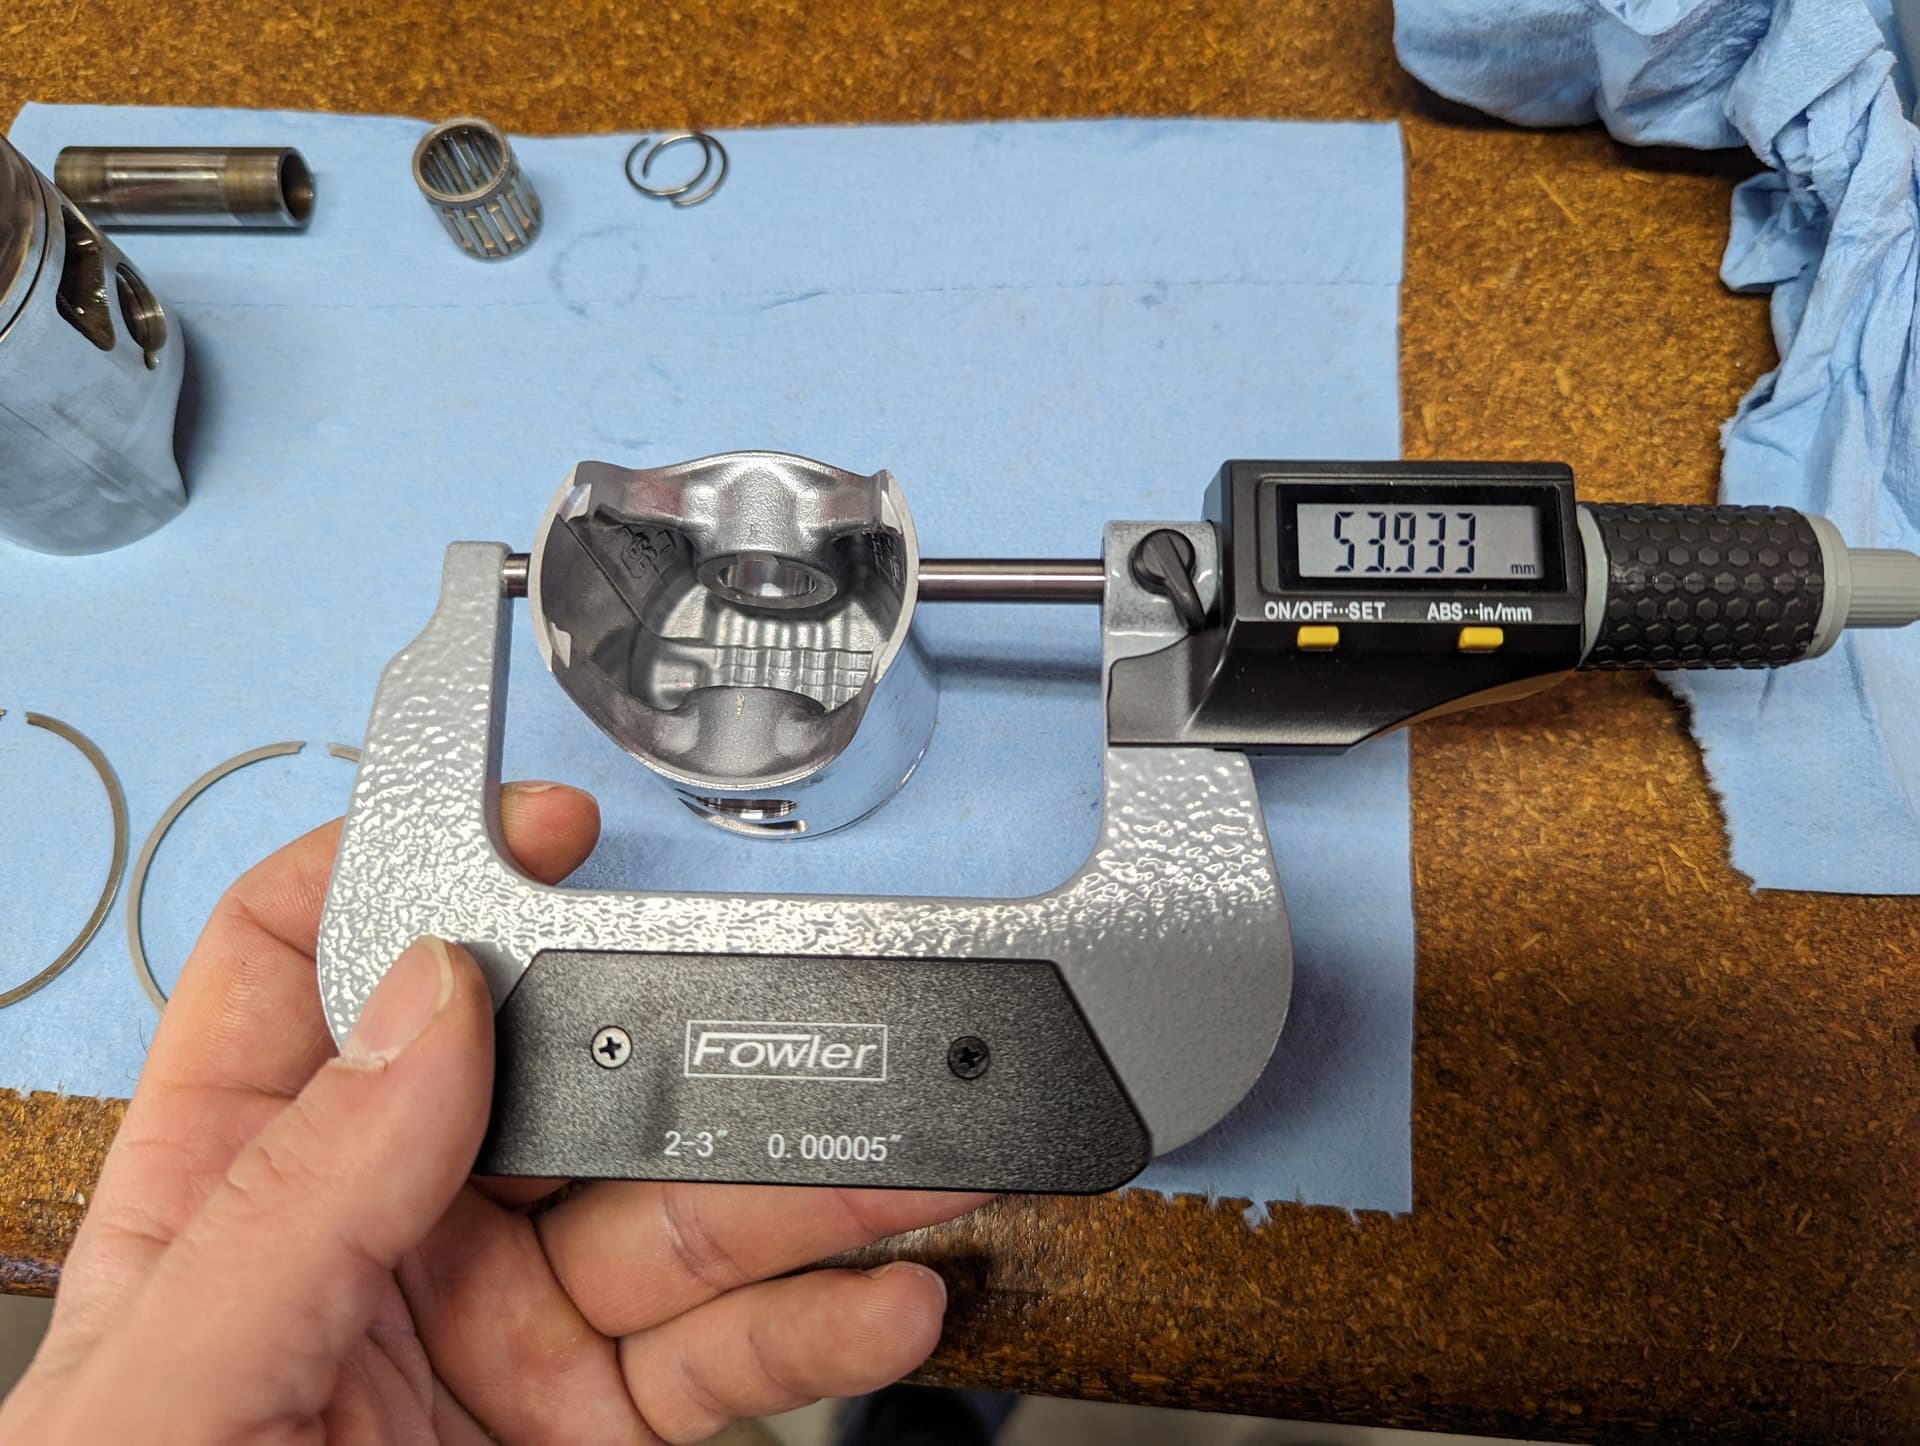
Bottom: 53.93 / 53.90
Top (parallel to exhaust): 53.76 / 53.75
Top (across, right above the pin: 53.67 / 53.67
Ring gap: the old piston measured 0.48, I assume it started at 0.40
So all in all this tells me I could potentially push it to 8 hours given the low wear on the piston, but with a 4 hour interval for a new ring and a needle bearing for safety. But I won’t, pistons are cheap enough that is not really worth it
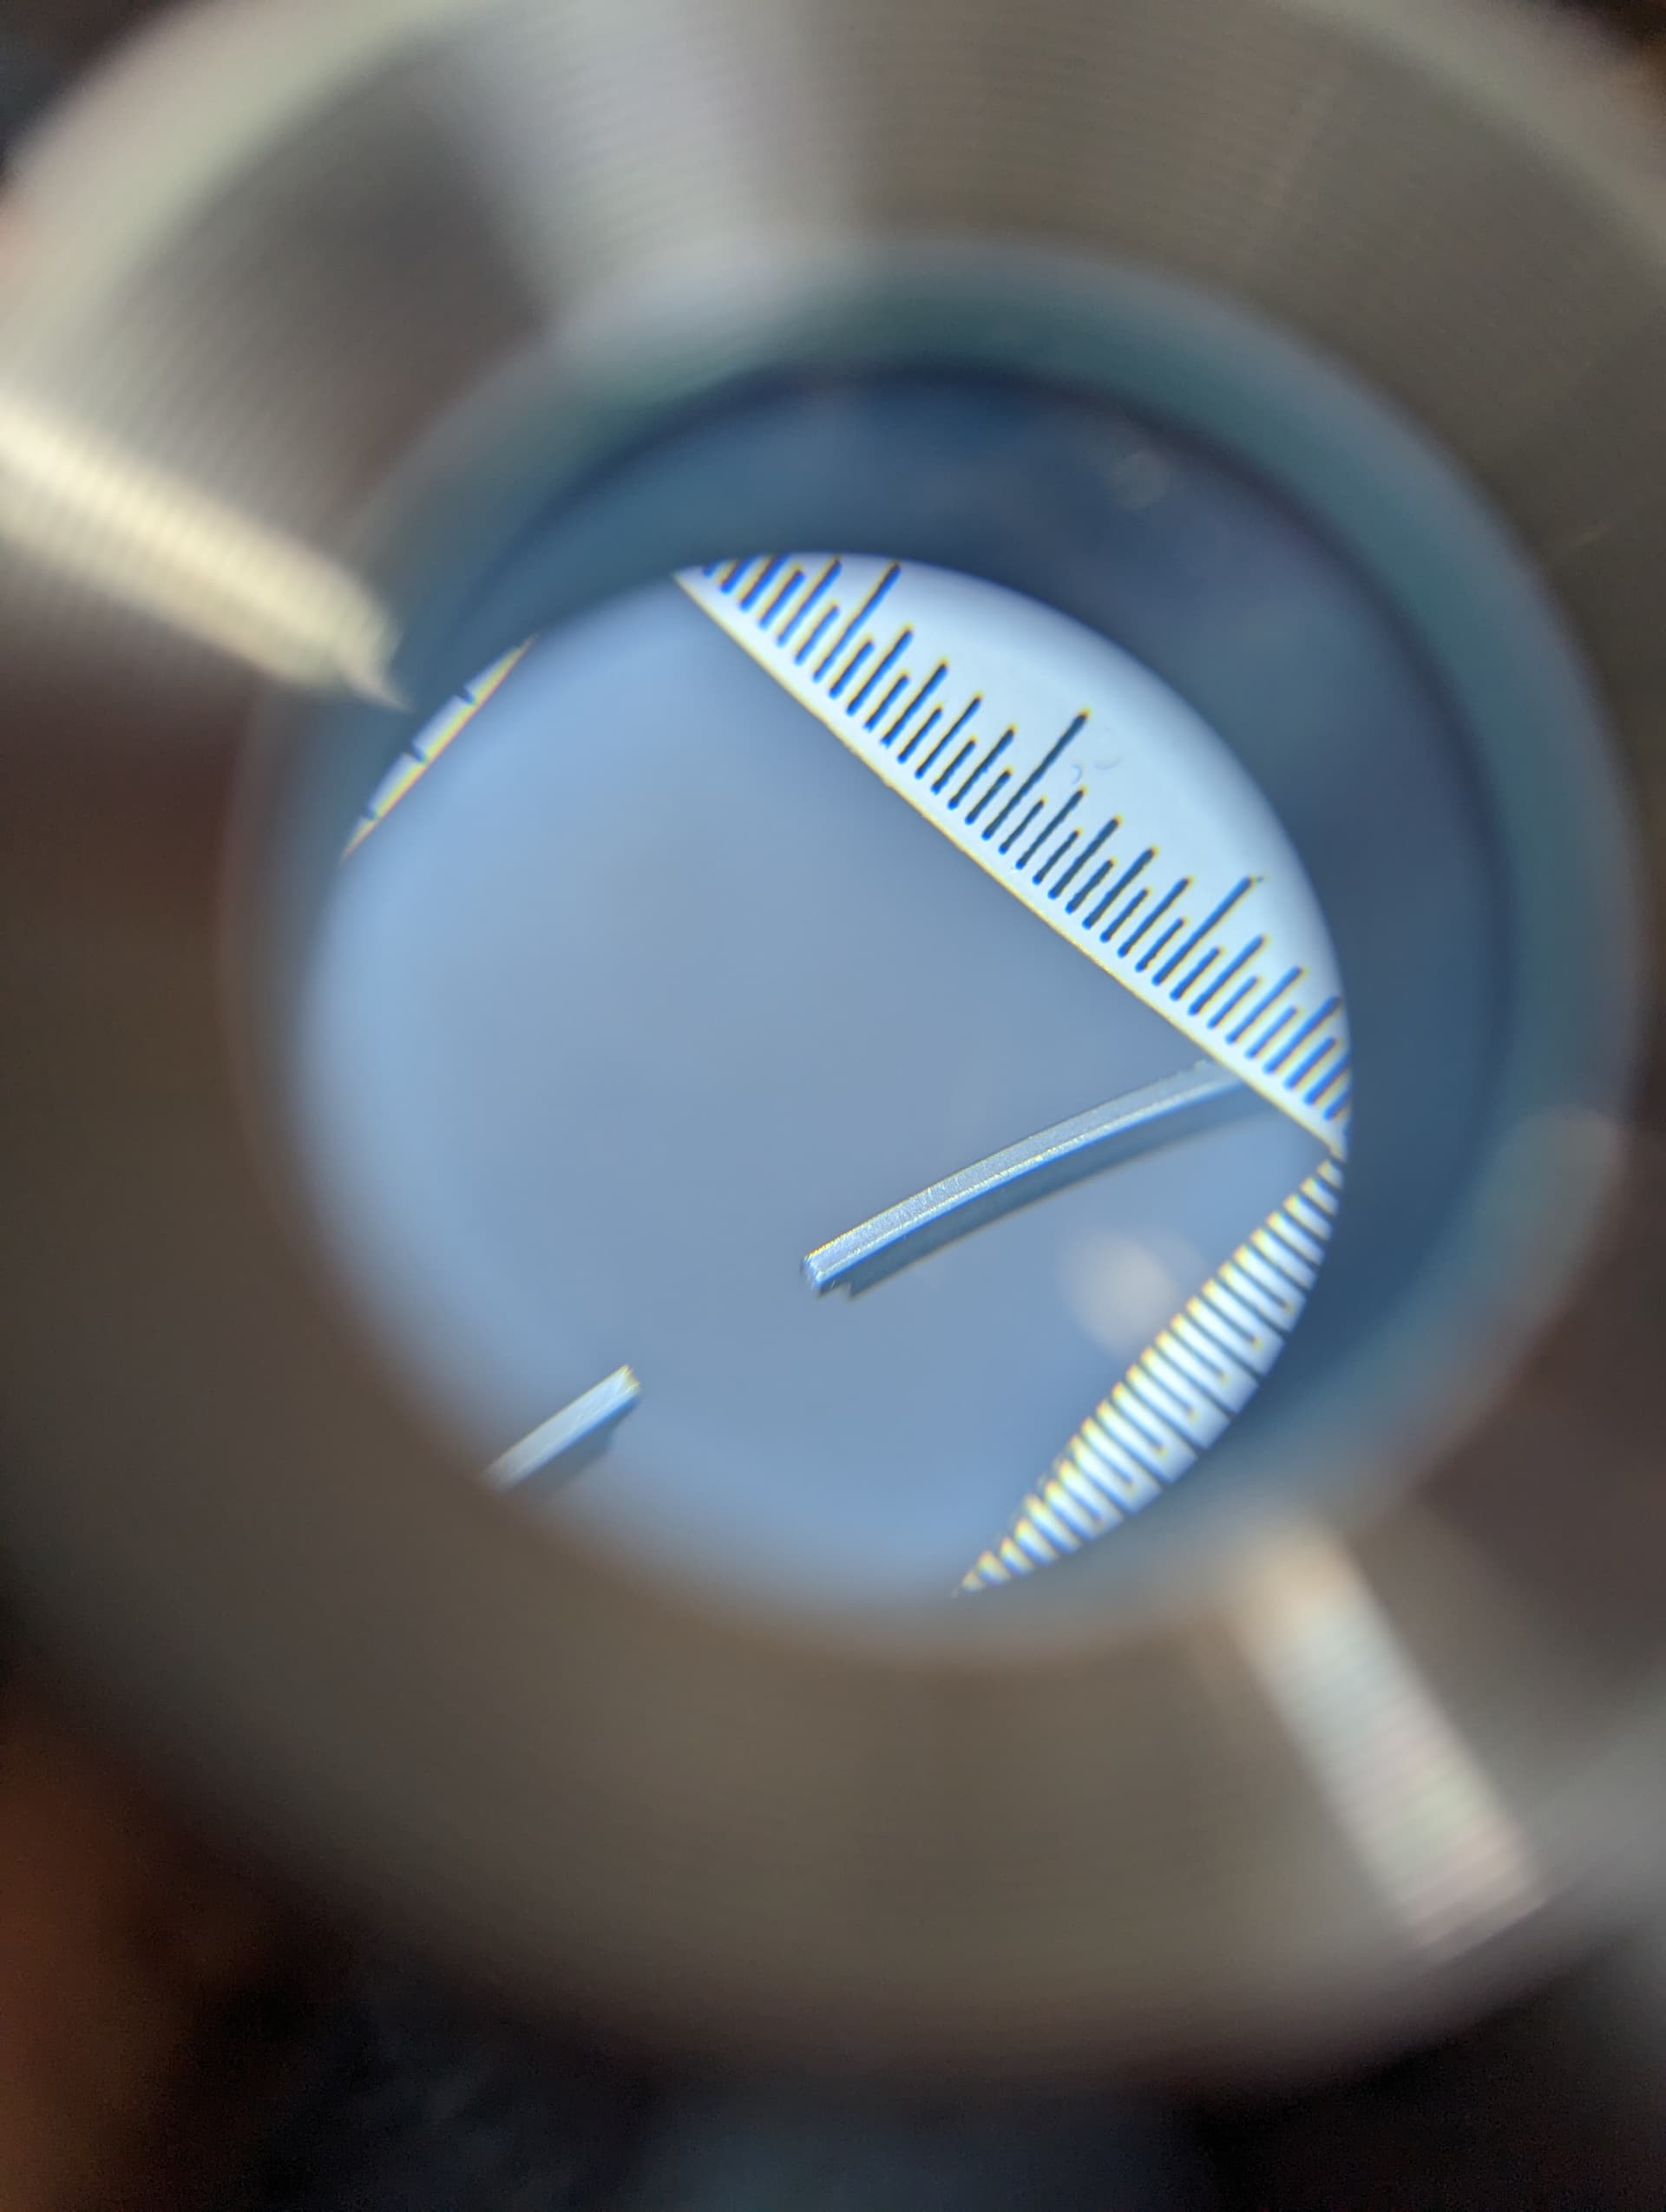
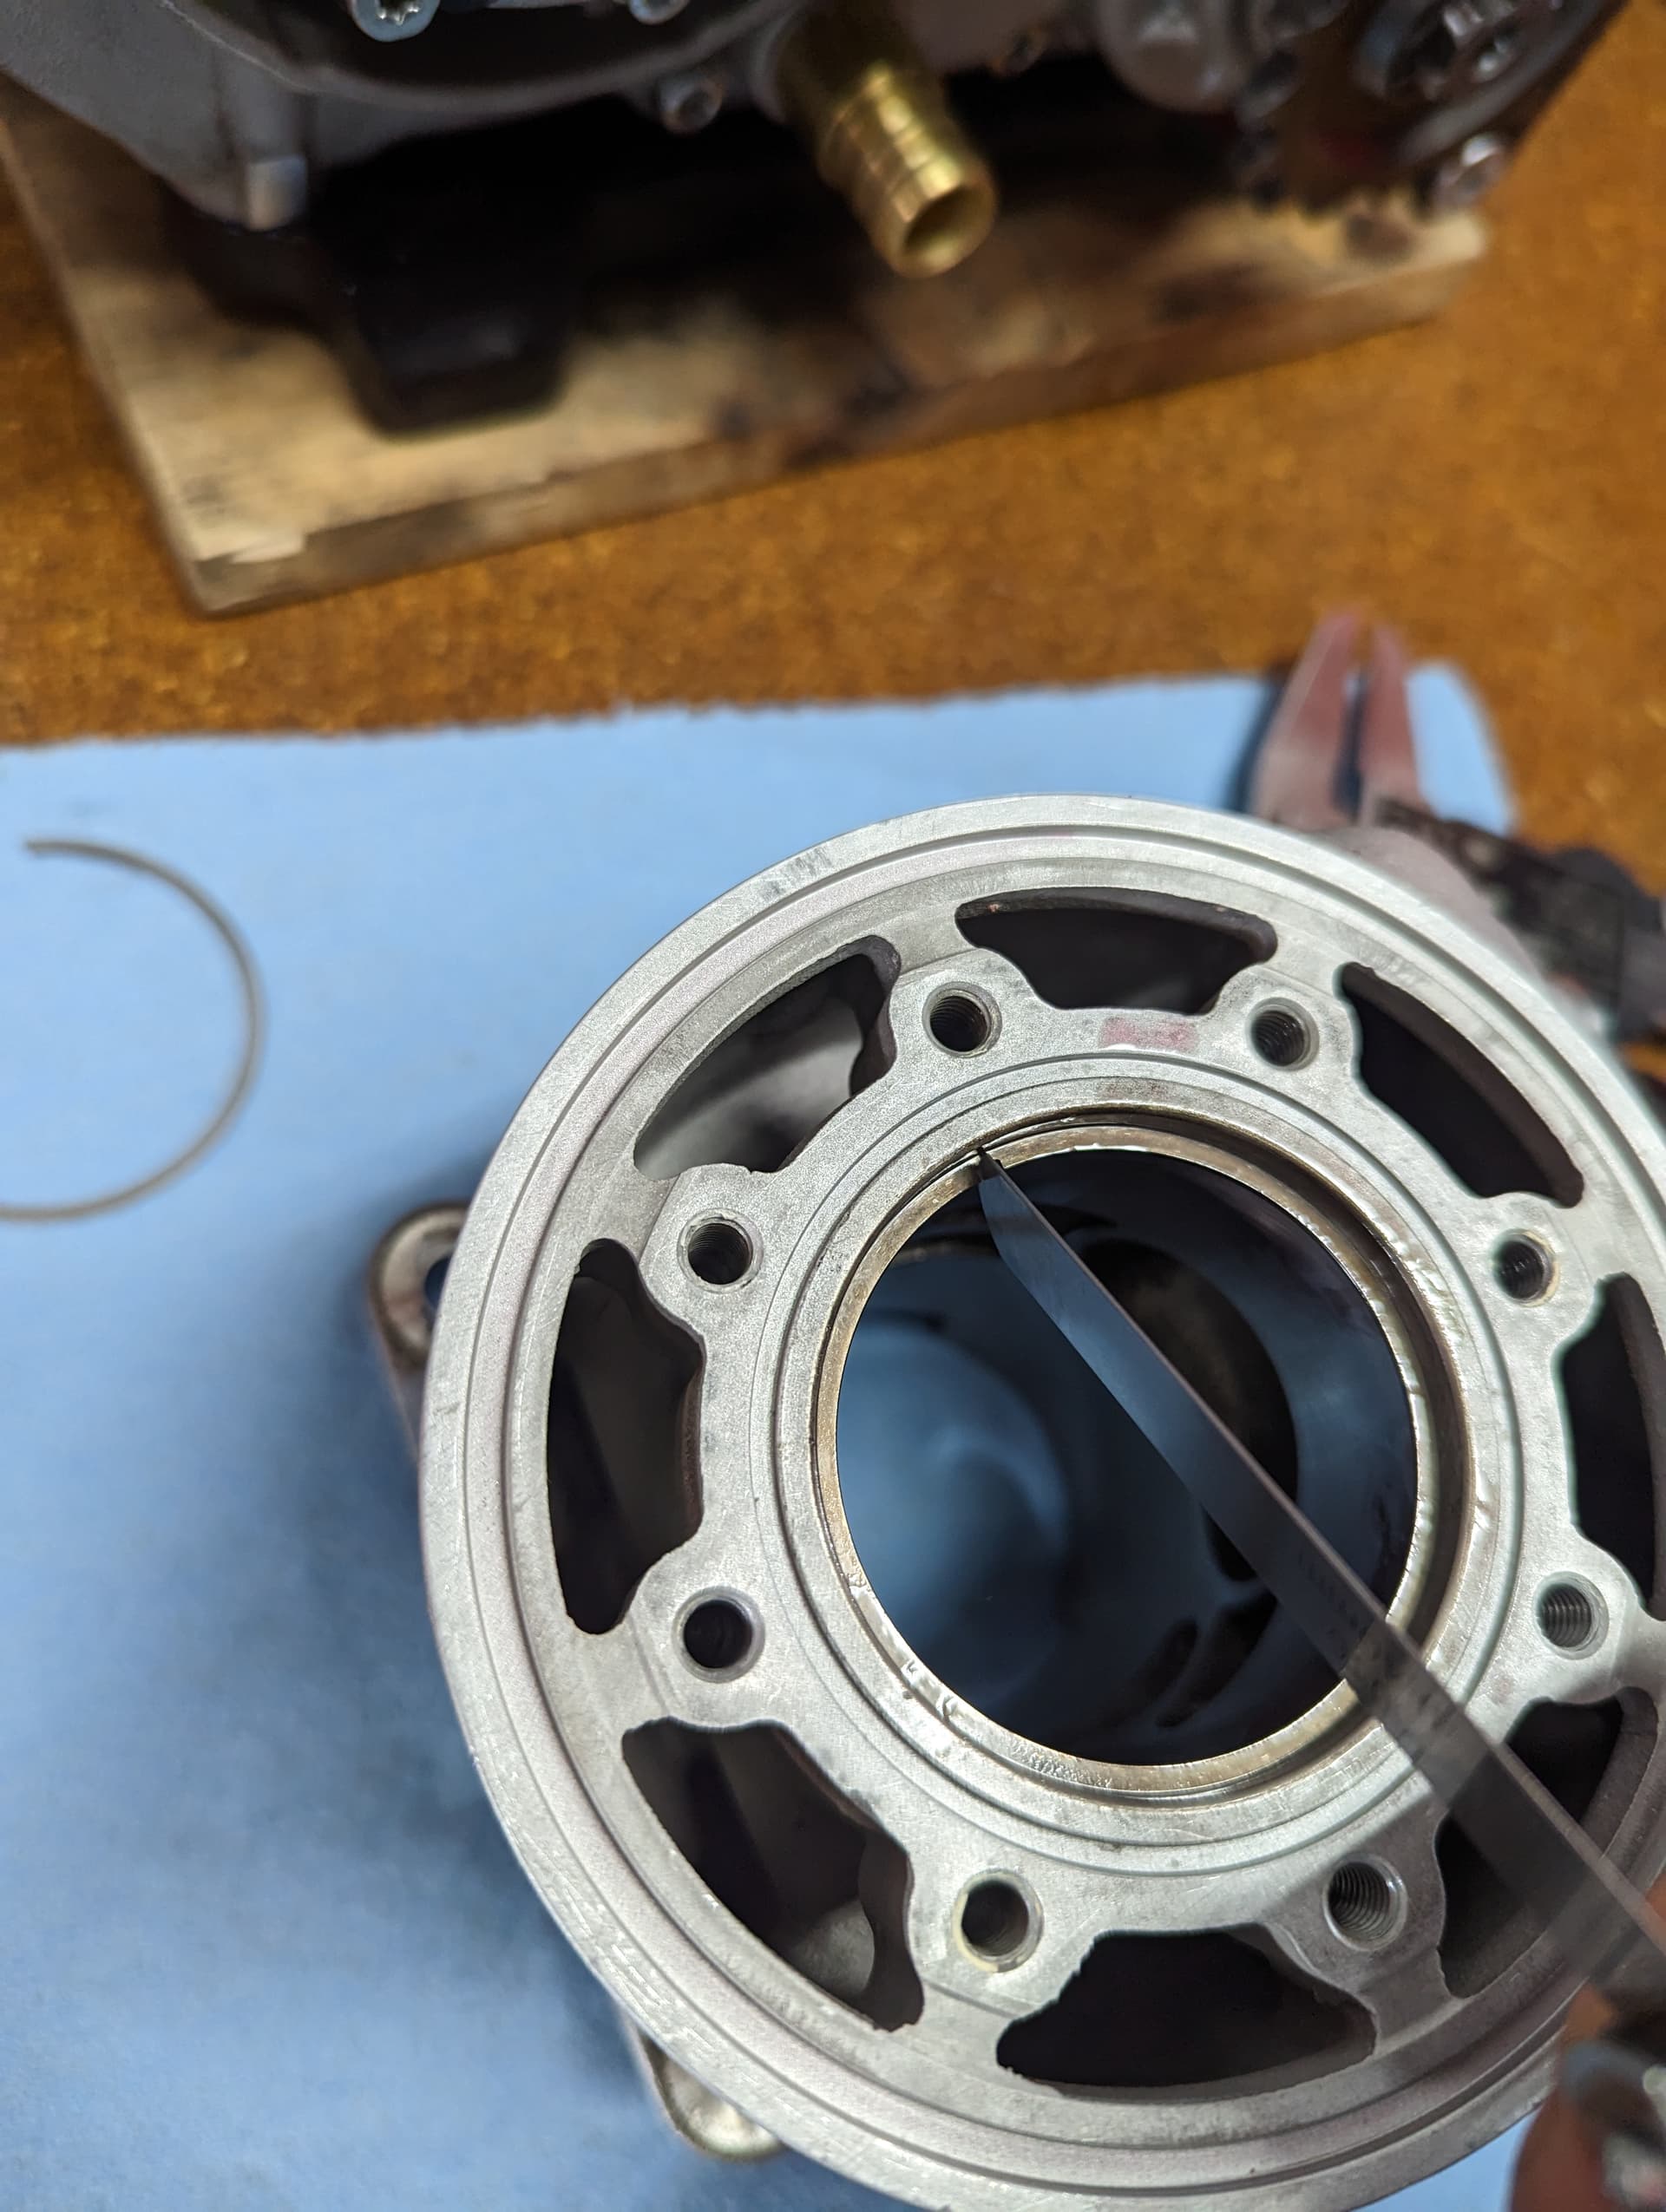
When putting everything back, a very critical part is ring gap. Out of the box it measured 0.23mm, I took it to 0.40mm as per spec.
Filed it down, installed it about 1cm from the top (evenly) and measured gap. Rinse and repeat until I got to 0.40.
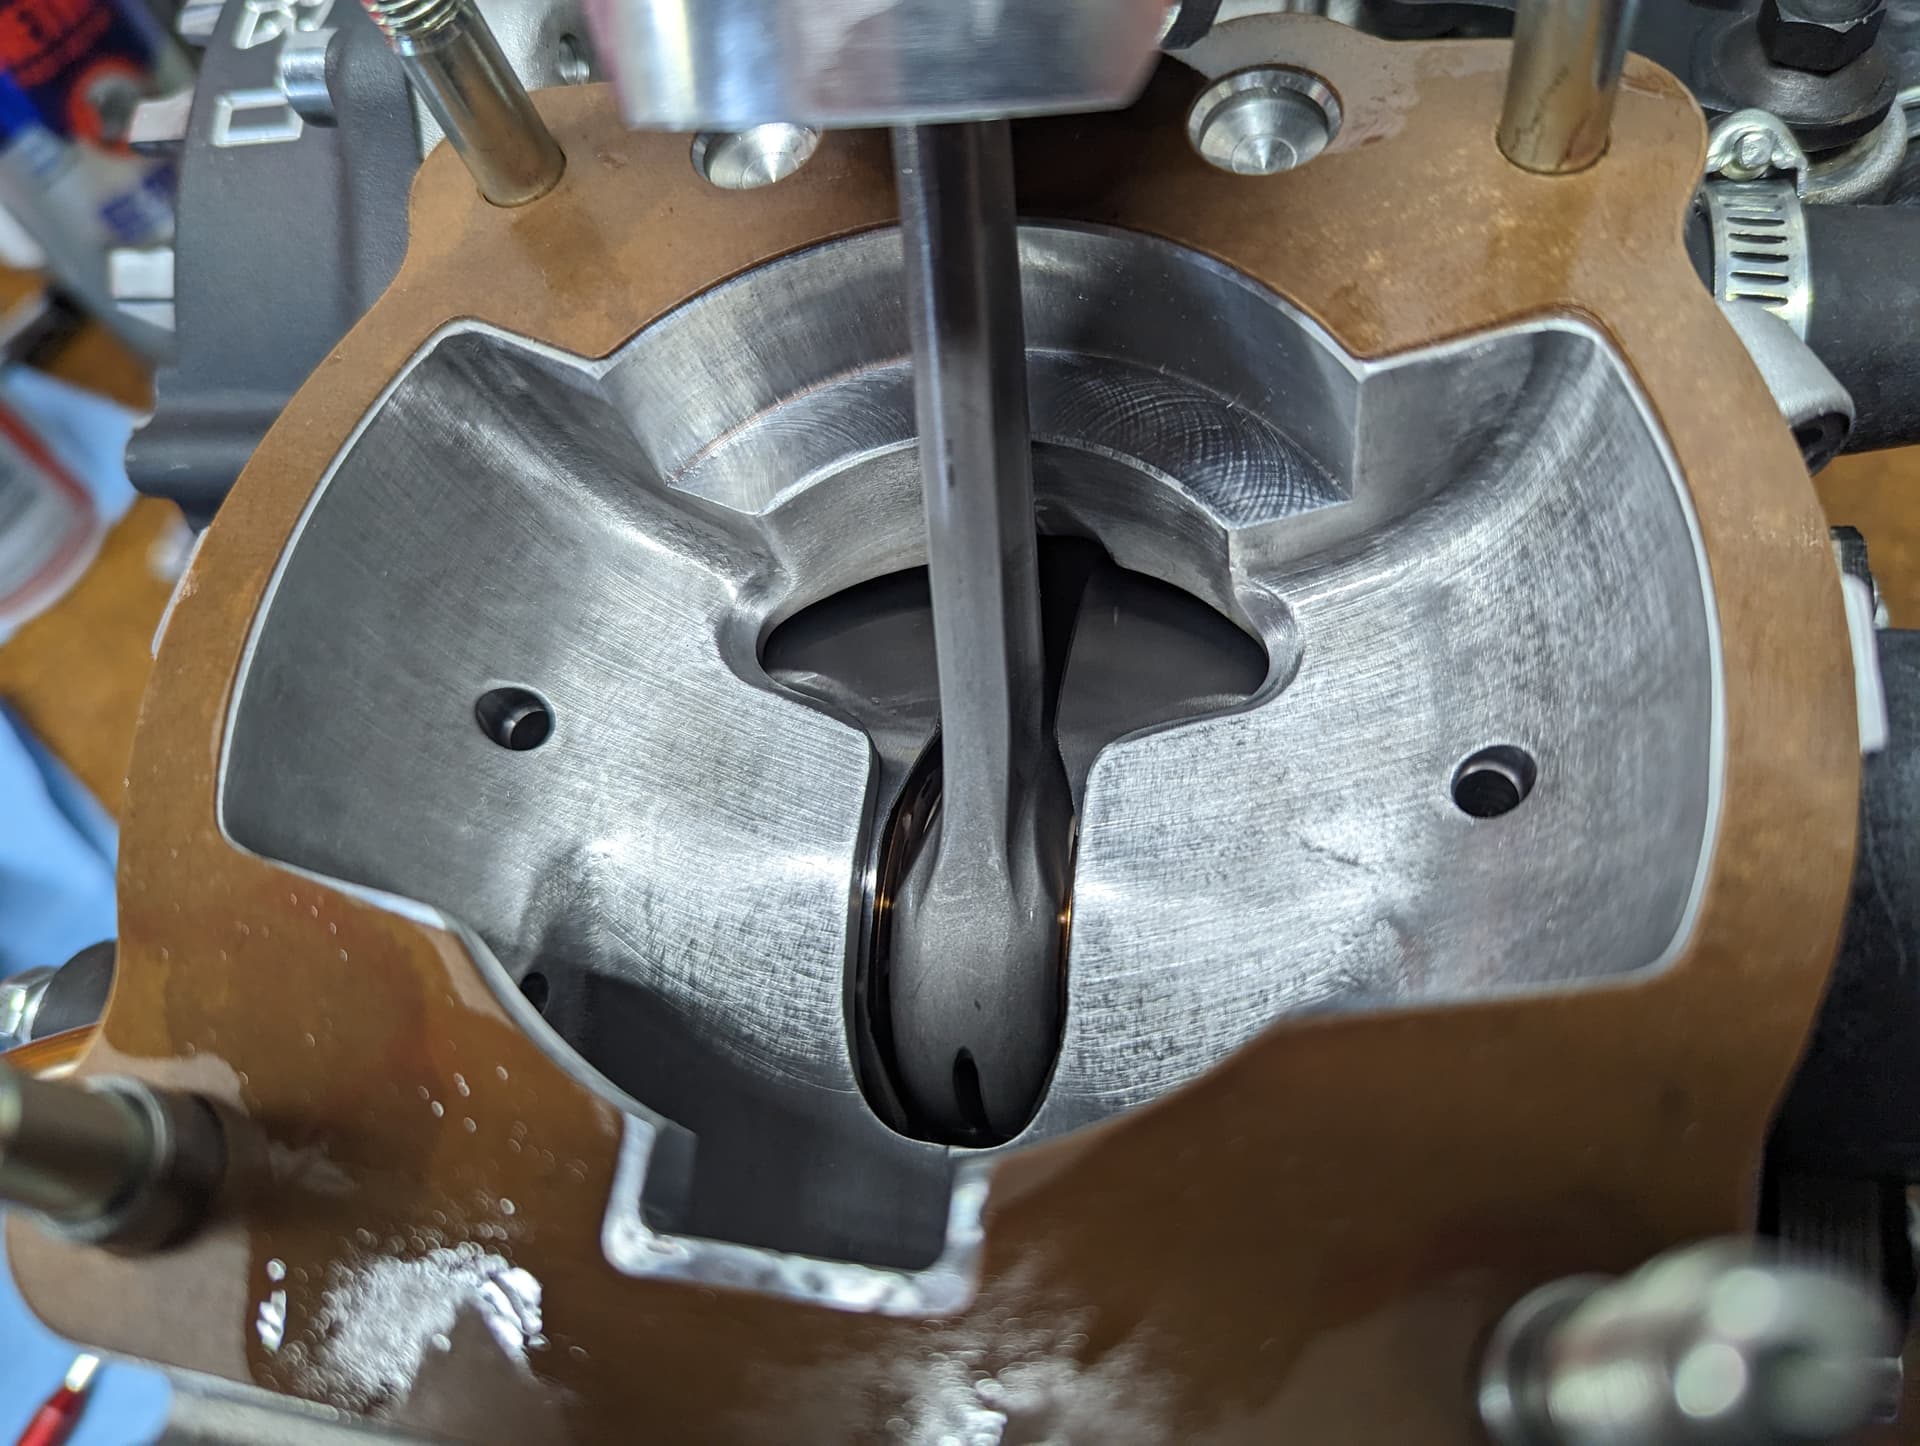
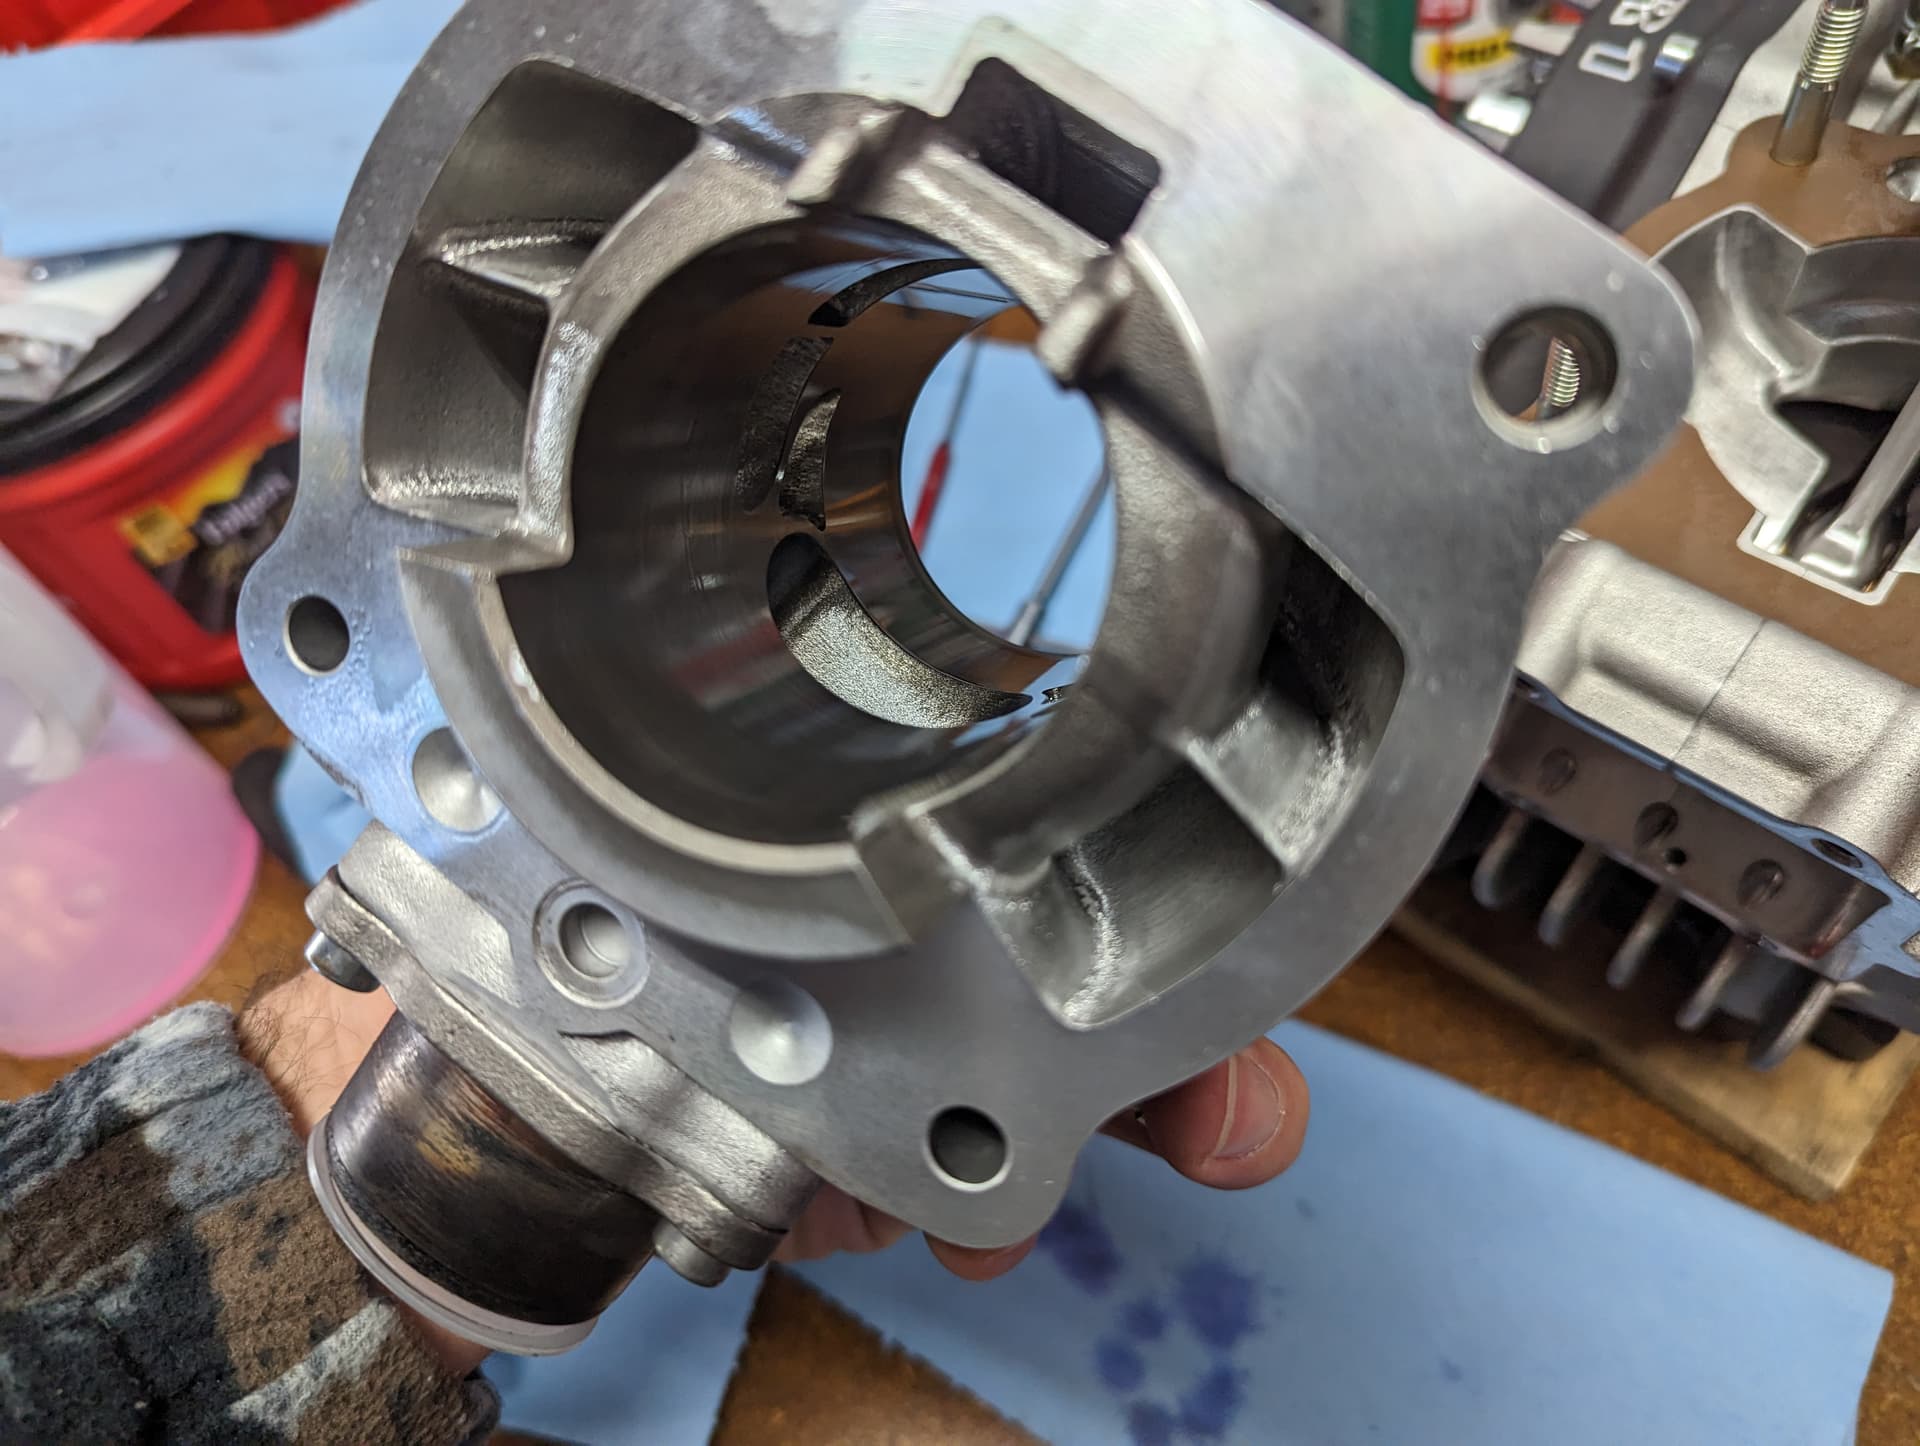
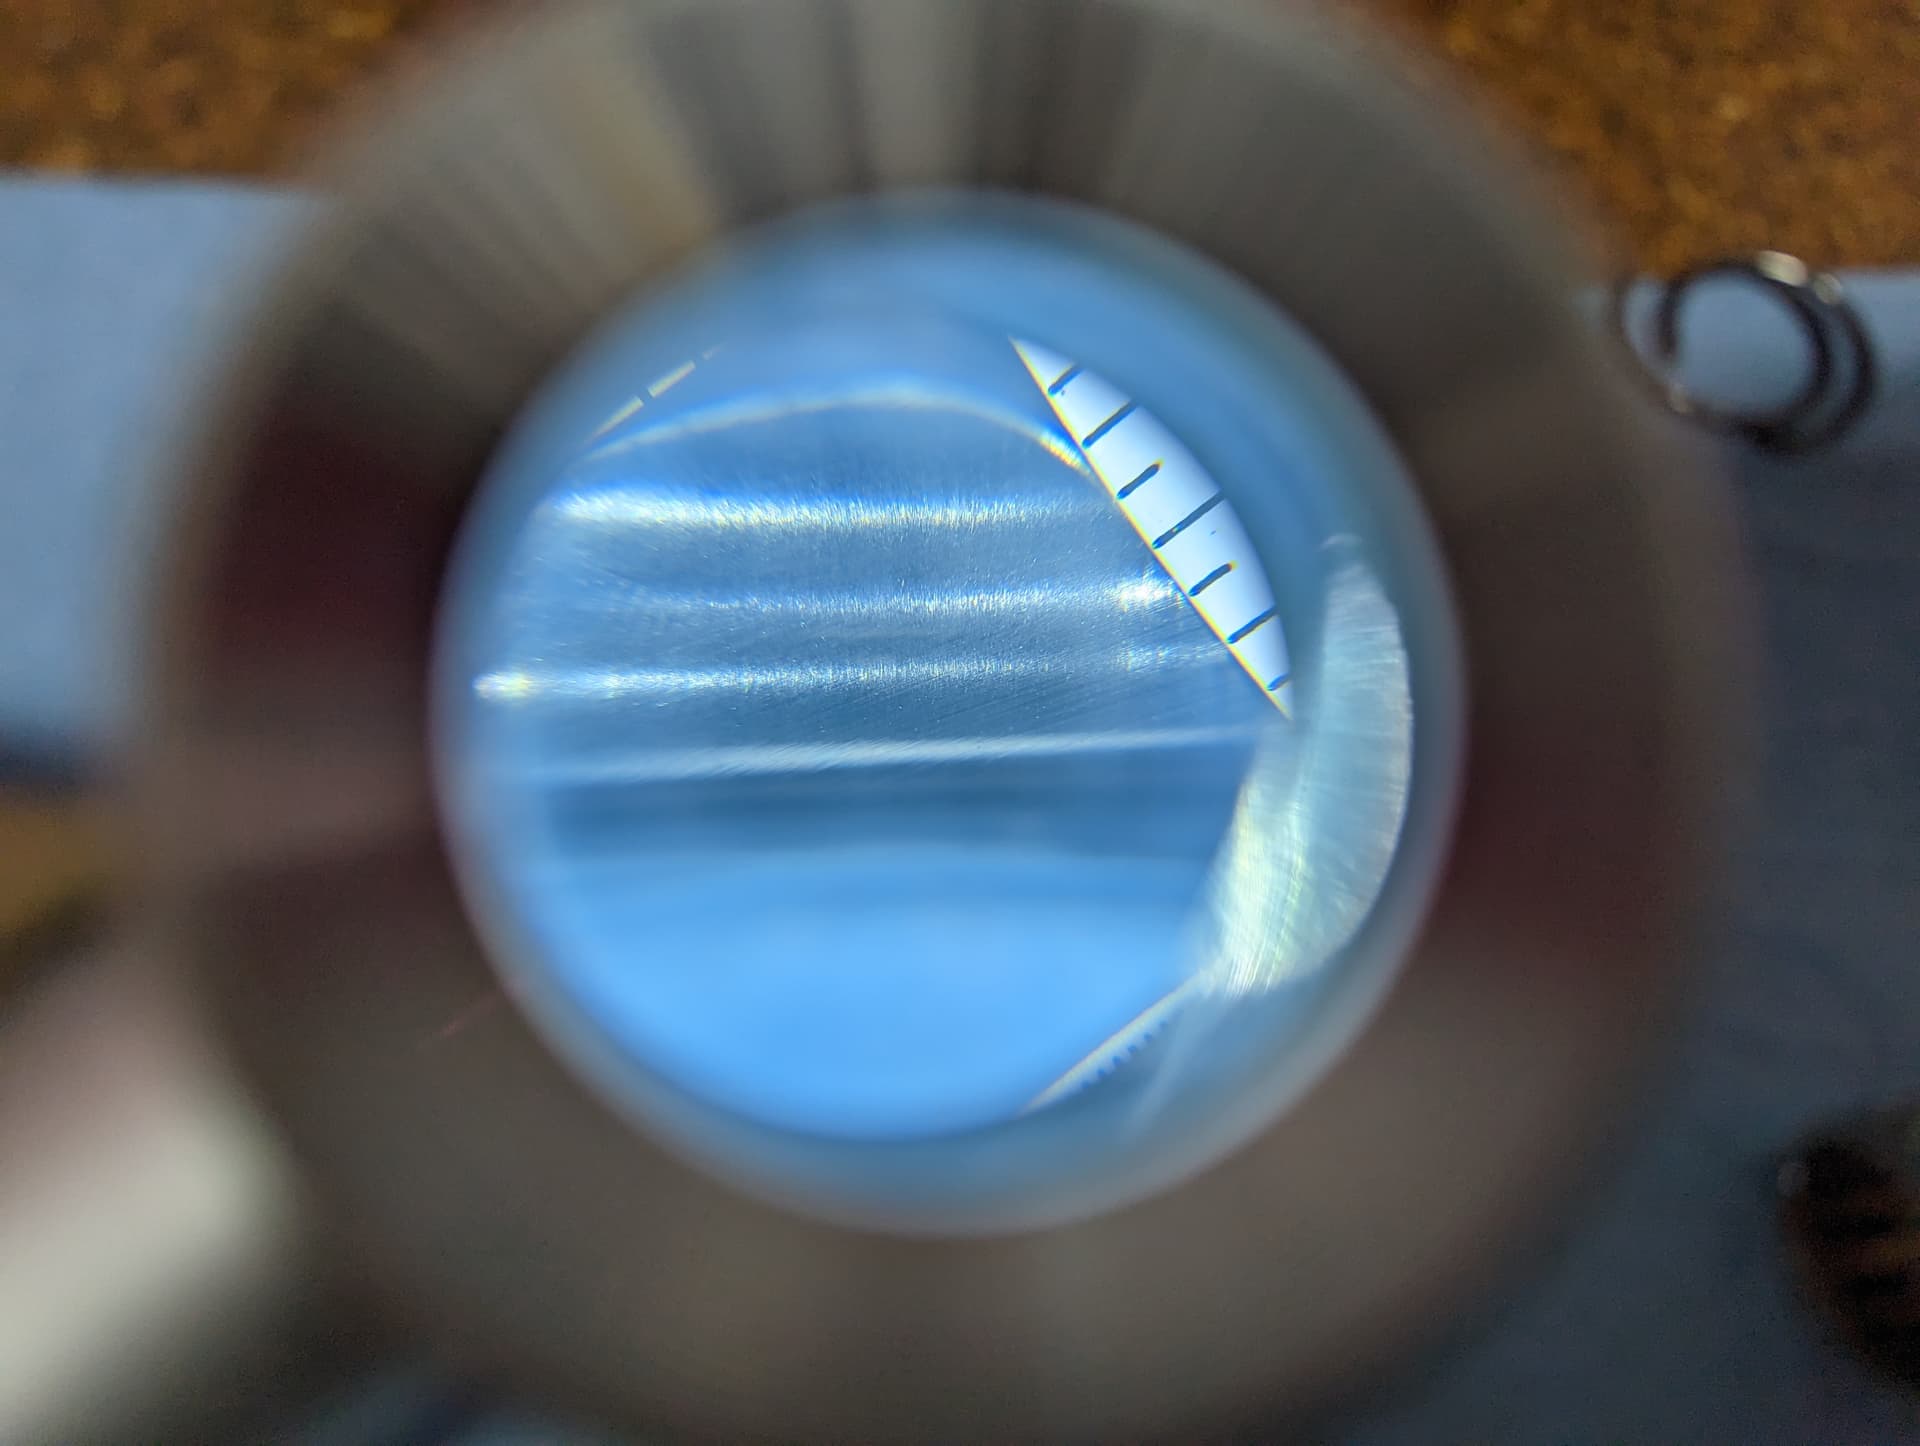
Also notice the water jackets. I’m running distilled water with 10% Maxima Cool Aide and the inside is as good as new. I also never drain the system until I have to take the cylinder out
You can run tighter, but in my opinion is just adding risk for no reason. A good approach would be to get 0.05 less, run it, then observe the end tips. When you see signs of heavy banging together, you know you did too much and you have to back off a little. I know you can get to 0.35 relatively safely, I know of people running as low as 0.30. Not worth it in my opinion.
Once I got to the right measure, I made sure to file down every sharp edge, with a pass of 400 and then 600 grit paper.
Tips should look smooth, without any sharp or protruding bit from filing