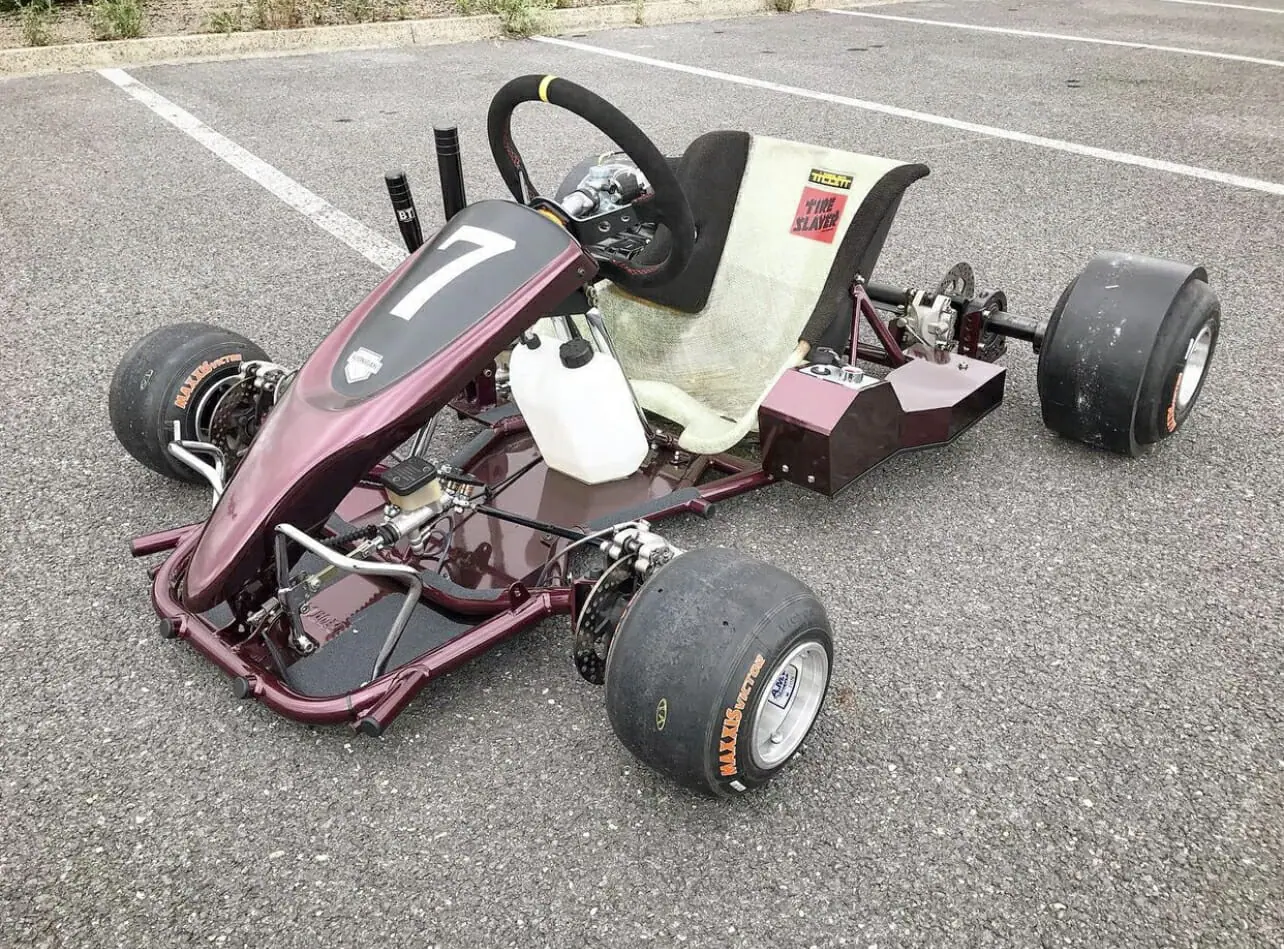
Came across this today and thought it was cool. Translated from French: Drift kart 🤟🏼 - WD-40 FRANCE

STEP 1
WE ALL KNOW HOW IT GOES!
– Presentation of the project – We buy a crate, we want to make a rocket out of it, we spend the few deniers we have in our pocket to buy parts. We install everything and we end up with a machine that no longer passes the technical control which becomes illegal and which will never win a race on circuits, or even elsewhere… And the regrets come! Don’t say no, we’re all there!! The idea of this project was to bring together all that is cool on a racing car, sequential gearbox, hydraulic handbrake… without the disadvantages and above all without breaking the bank. We’re going on a go-kart, that’s it!

2ND STEP
STARTING POINT
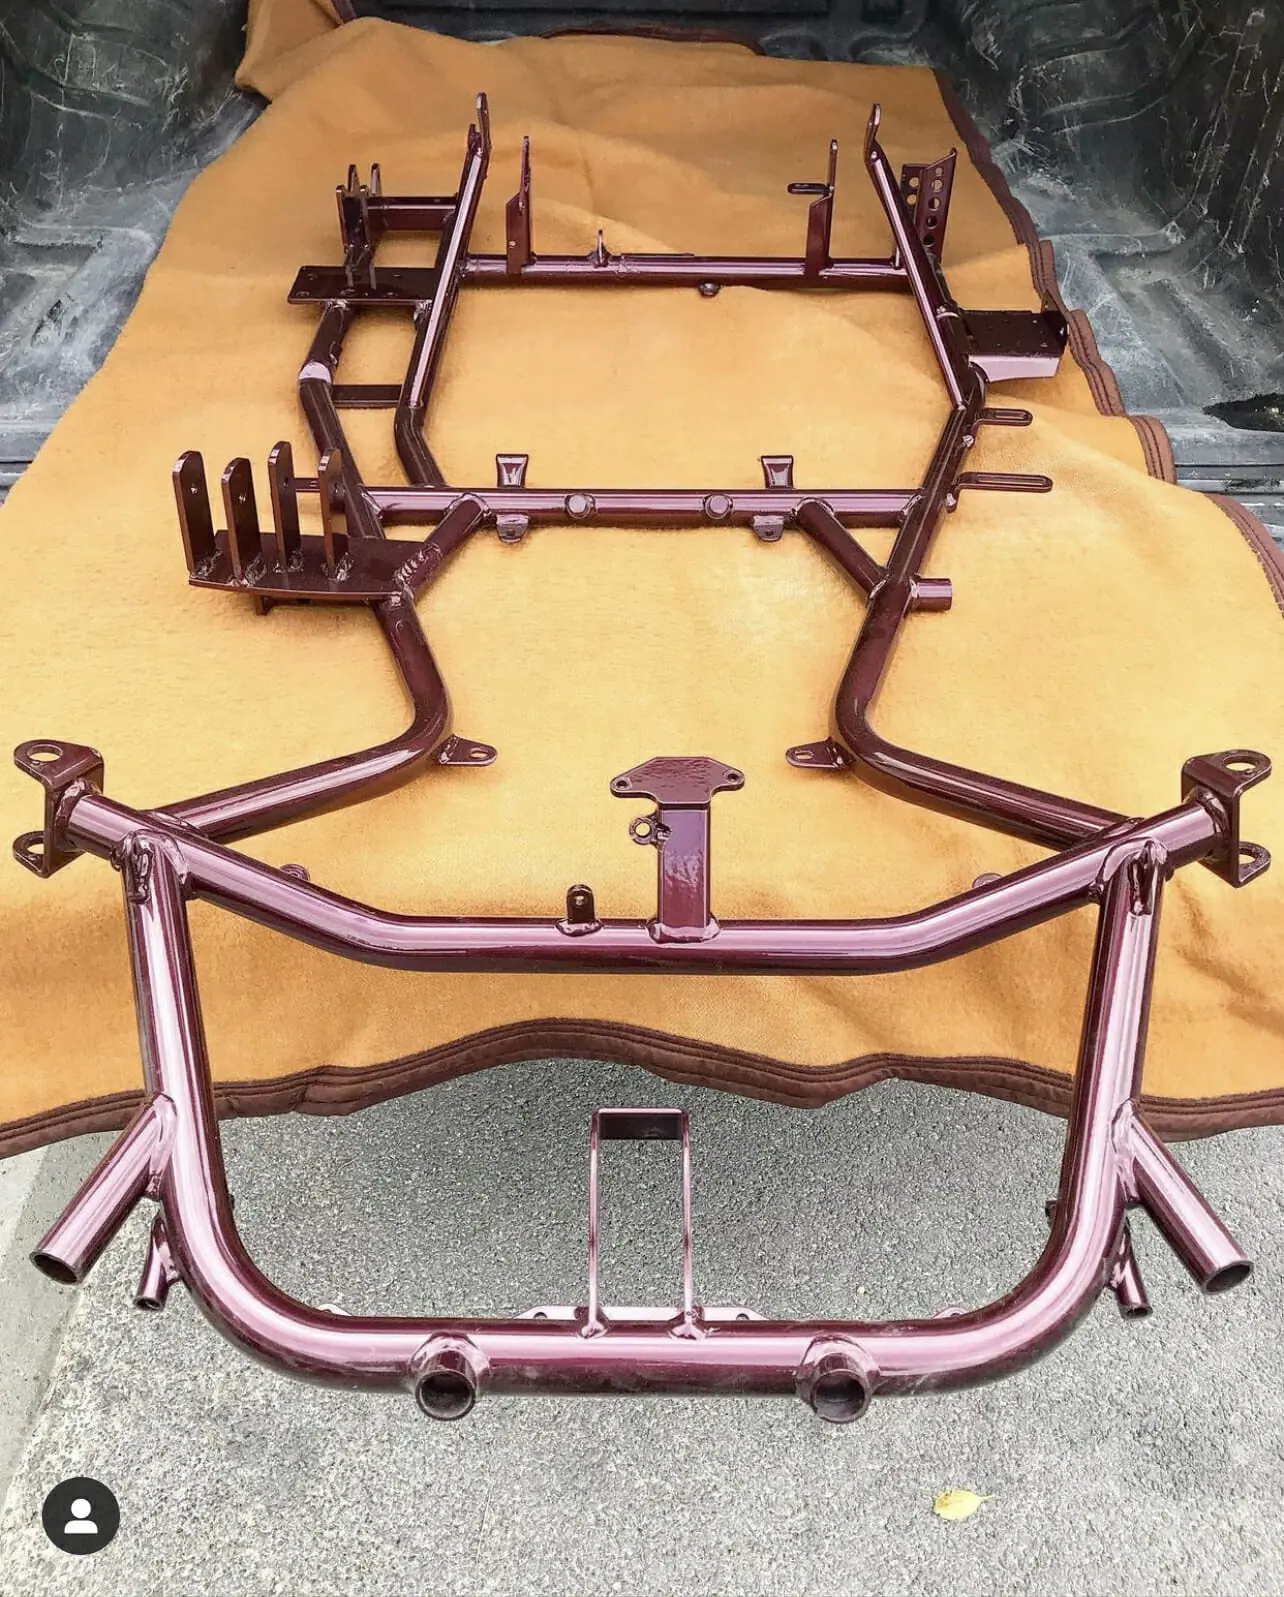
The base, Rotax karting, why? Just because my only requirement was to have front brakes. We will come back…

STEP 3
THE ENGINE
How constraints are… Not for me! The 125cc 2-stroke which starts when it has time, which smokes, which stinks, which ruins your ears… gives way to a beautiful chinoiserie 140cc 4-stroke with automatic clutch, we will come back to this later. So, we blow we weld for the new engine and tree supports!

STEP 4
THE ENGINE PT2
The logical continuation, everything related to the engine. Carburettor with cable adaptations, new fuel supply, wiring harness and exhaust fabrication…

STEP 5
LIKE THE BIG ONES
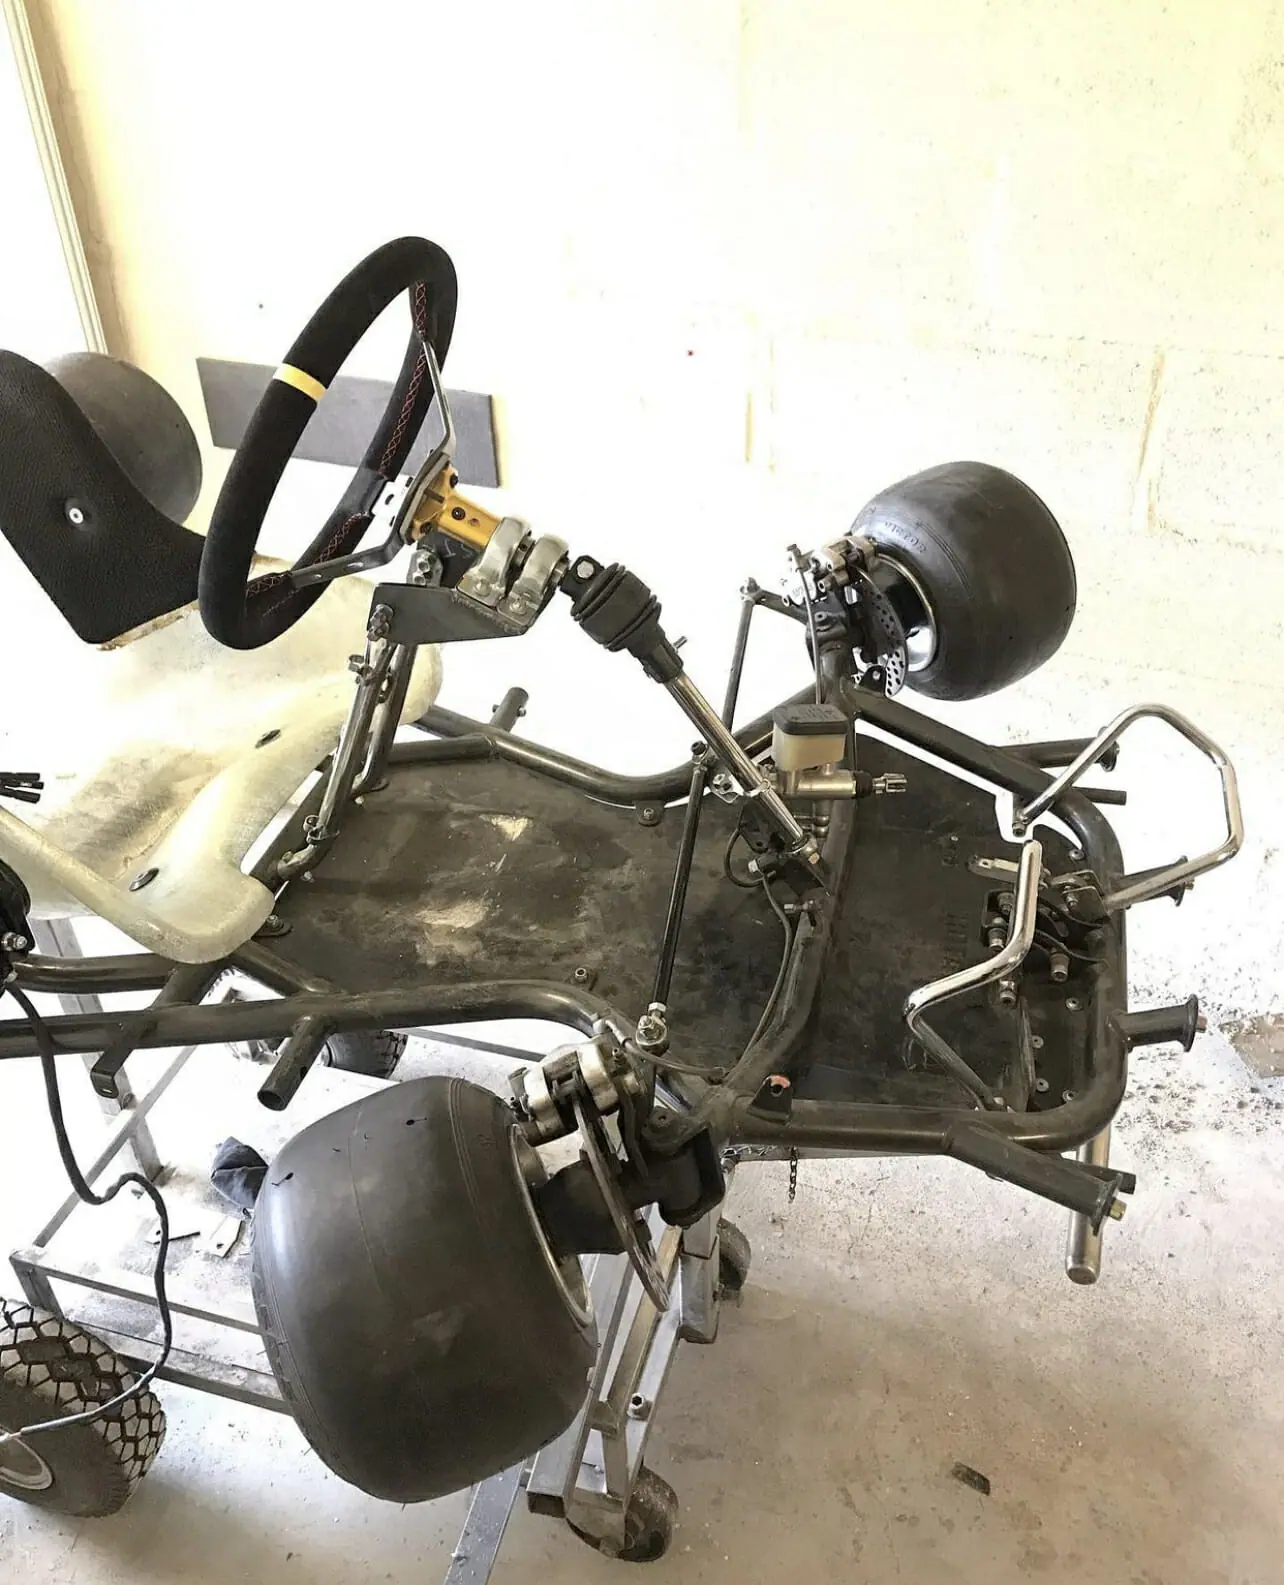
Like buying a sequential gearbox it costs more than your car and even if you manage to have one, it’s unbearable on the road. The idea is to make one here, hence the automatic clutch! We add a hydraulic handbrake on the rear brakes and that’s why we needed the front brake which remains on the left pedal. Here you understand! We manufacture the levers, the axles, the linkages…

STEP 6
WHO DRIVES LIKE THAT?
To ensure a correct “steering” position and a true steering angle, there are a few modifications to make! We modify the steering column and its supports to include a cardant and have a steering wheel in front of either when seated, who drives with a steering wheel up like in a pedal car?! Then modification of the tie rod supports to gain in steering angle. By the way, manufacture of a spacer to adapt a dished auto steering wheel.

STEP 7
PAINTING
Nothing to say, except that choosing the color took more time than the painting itself…

STEP 8
REASSEMBLY AND IT’S OVER!
I’m not going to lie to you, the reassembly and it’s over takes hours… - manufacturing of the starter station - installation of an F1 brake light (useless) - covering of the front hull - installation of an engaged speedometer - new tank – passage of wires, sheaths, hoses… – installation of pvc on the rear wheels – adjustment you want some here And so on But that’s it, it’s over, it rolls, it drifts and more!

STEP 9
A LAST
Everyone has their own philosophy, I chose mine and I hope you like it
