Sooo…here we are, into the deep end. Starting a build thread on how to build a 100 ICA/FA/SA.
I’ve marked it US specific as there are some big differences. Of course rebuilding one here or somewhere else is technically the same, but availability of certain parts is wildly different so there are some shortcuts you need to take.
Chassis selection
On this side of the ocean, you have two options. Either you go Trackmagic (Dragon) or you go the European route. I decided to go the European route for few reasons:
1)Parts are available globally
2)Geometry and build was closer to what I’m used to
3)I won’t feel bad if I bin it, the trackmagics are more of a collector item in my mind
4)I wanted a world-championship replica (more on this later)
Having said that, the pre-2000 chassis are very difficult to find in US, as they are frequently used in backyards or streets. It’s a tough one. At the end, this one literally fell into my lap
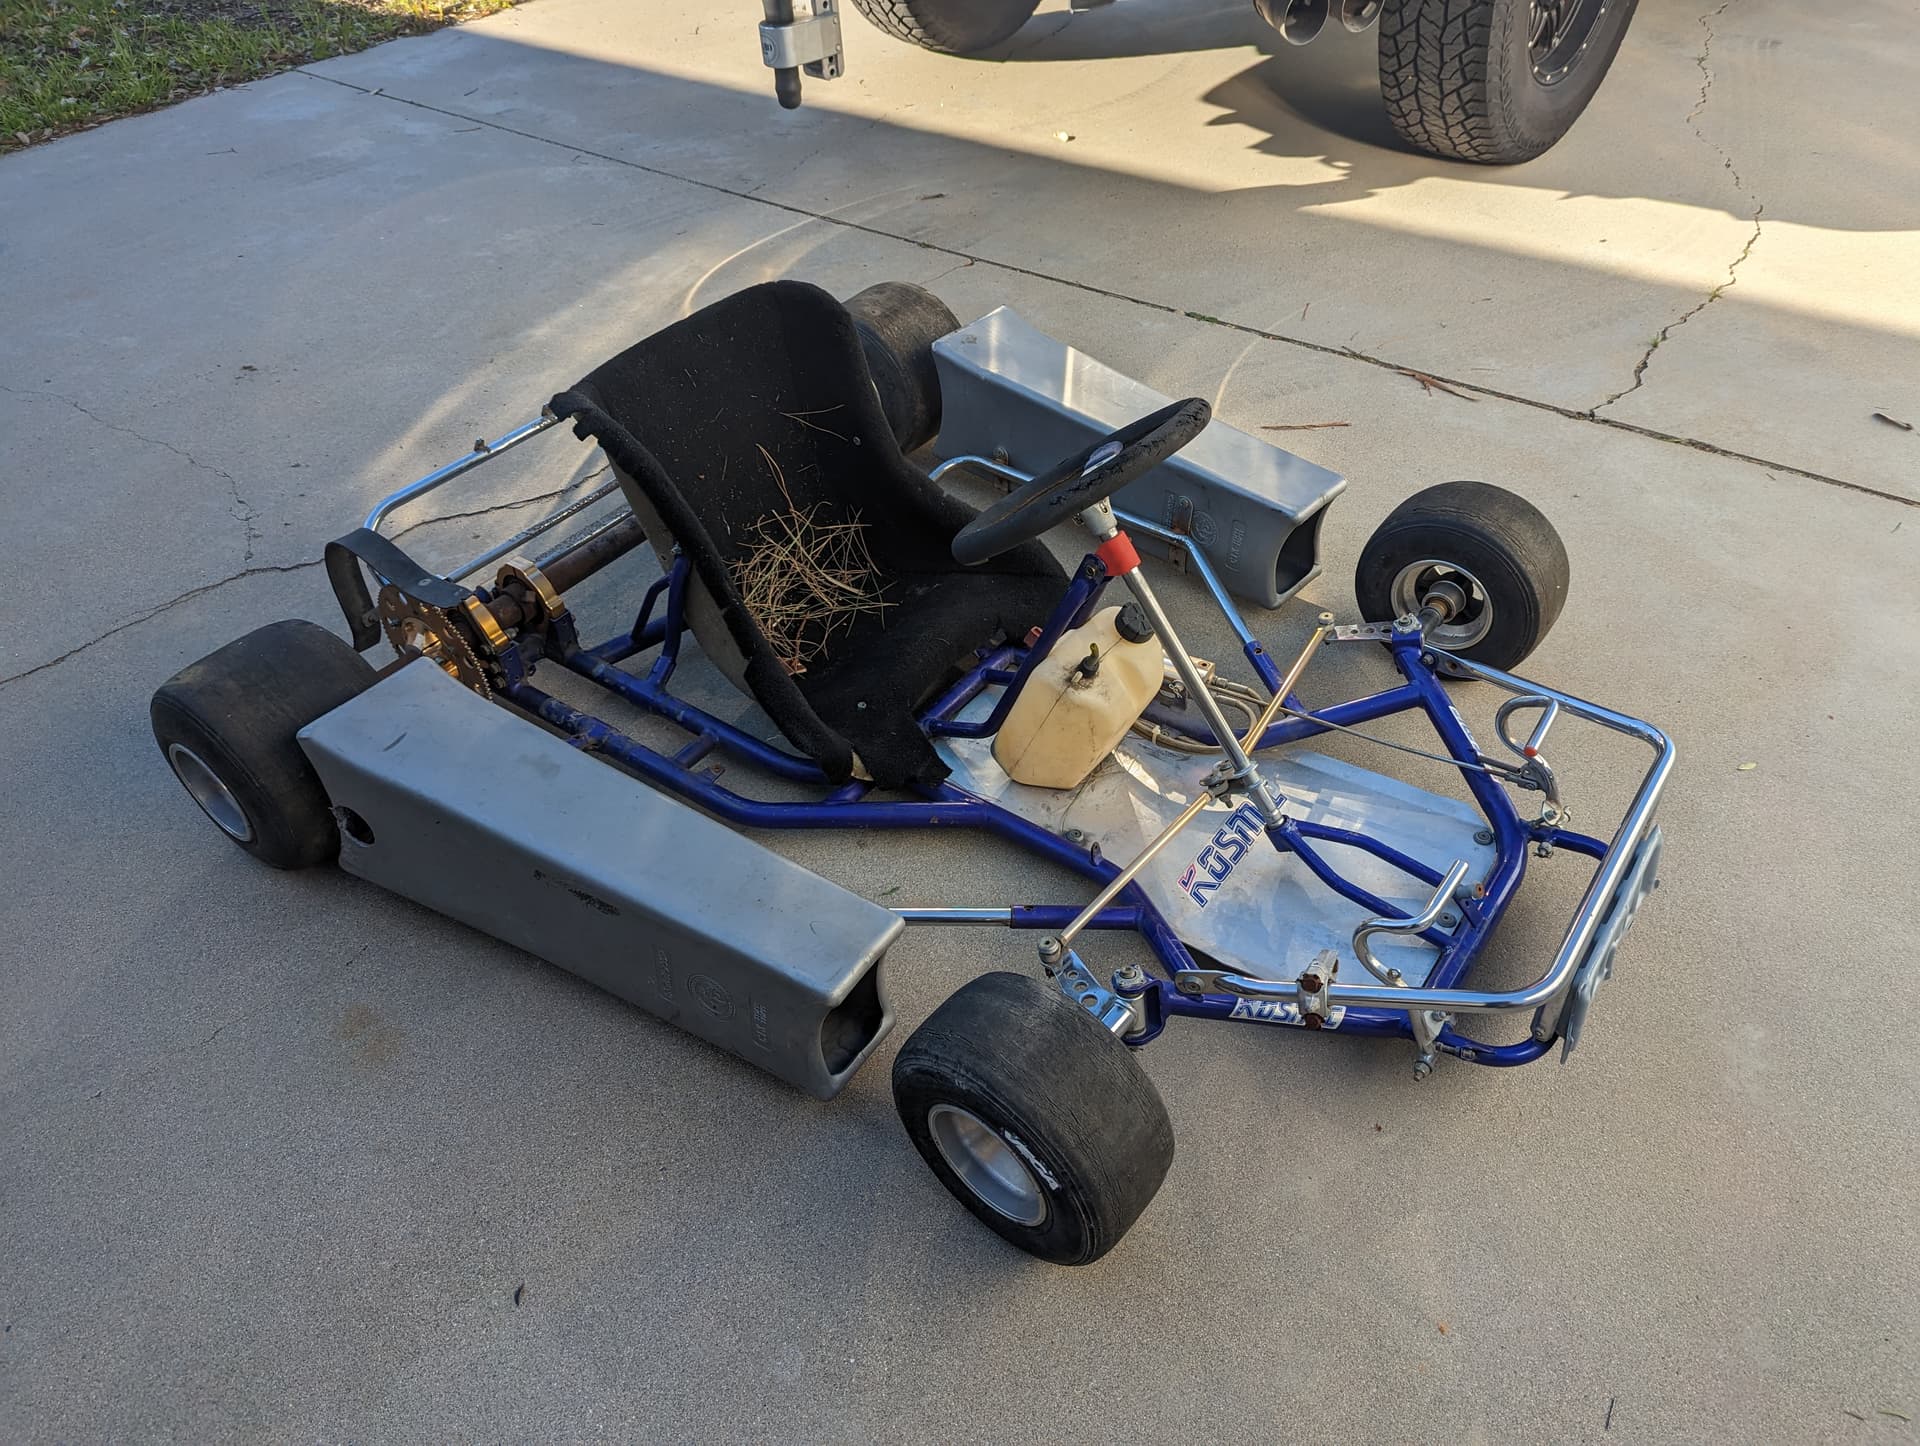
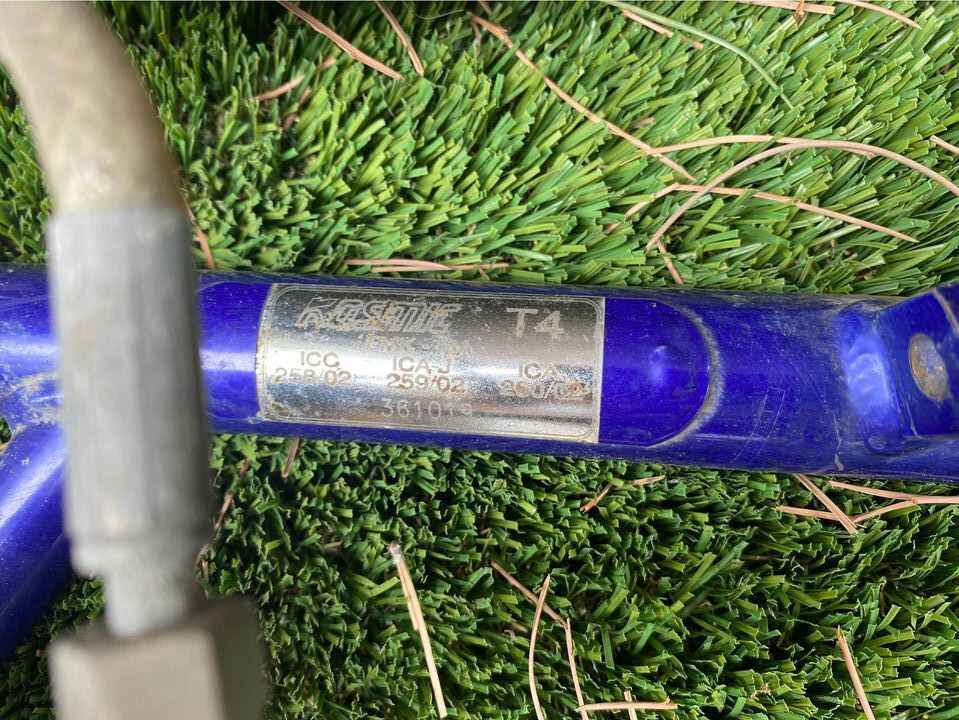
It’s a Kosmic T4, so technically it’s a '00-'02 homologation year, but otherwise very similar to the T2 I would have liked better.
It’s a 30/32 mixed with a 40mm axle and brakes with double pump/double piston.
This will become a '99 Sauro Cesetti NewTeam replica, with some small deviations from the original.
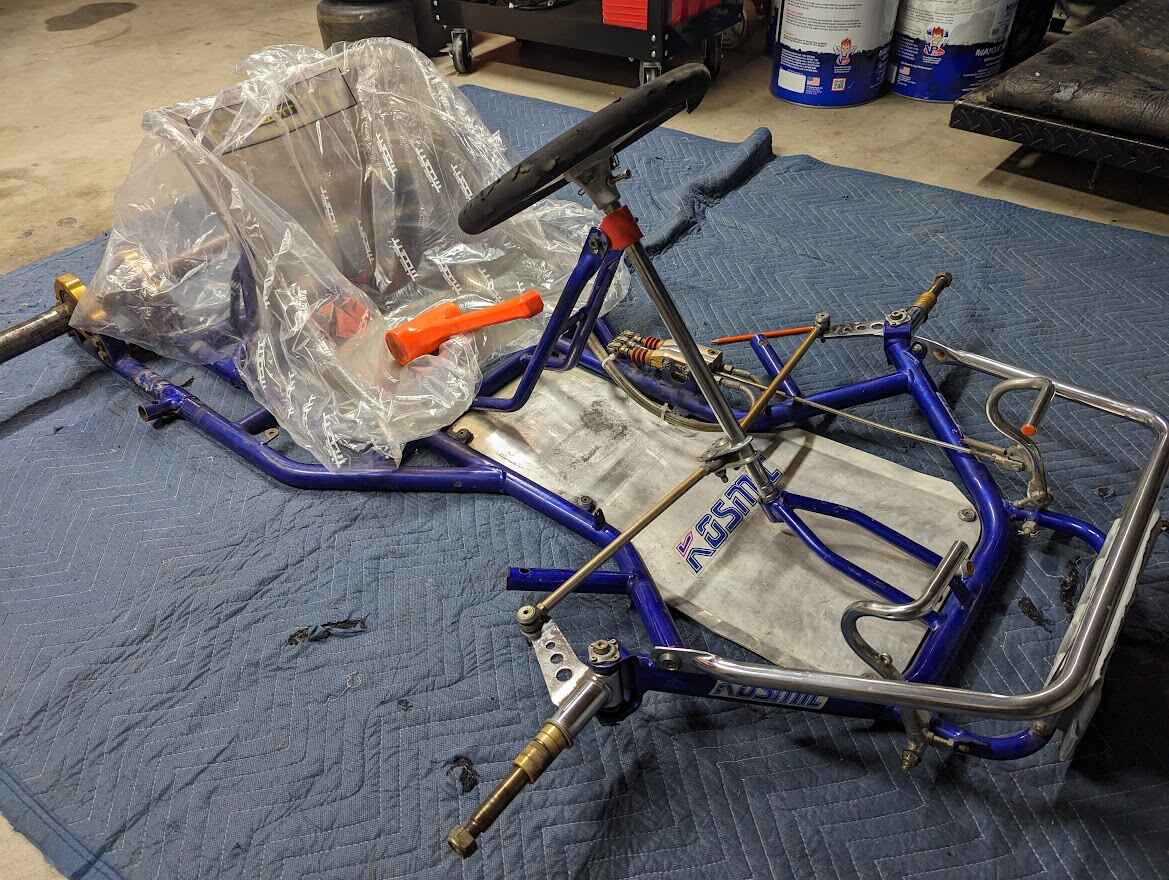
Next step, the most important, is taking it to a flat table. I brought it to Precision Works Racing in CA, they did a fantastic job. Chassis was straight, with just a bit of twist (2mm). There is also a fairly big dent on the front hoop, but no cracks. They brought it back to spec and now I have the green light to proceed.
You’d probably be safe assuming Cesetti was running a T4 by the middle end of 99. FSA didnt have homologation so it was effectively development for the future years kart.
Alot of the pre2000 series are allowing the 1999 homologated chassis in now, the Italian series has changed and is now allowing them. Whether it is right or not is a matter of opinion I guess. They likely would’ve been used un homologated in fsa in 99 but wouldn’t have been available to the public until 2000. Some people have very strong opinions on the subject
Also “kart stickers f100” out of Australia does great quality replica sticker kits
Ordered few parts today, I will have a major update soon. “It takes a village” for these projects.
One piece of advice - if you want to go through a similar project, stick with black bodywork, as it’s still in production (and also very cheap). I’m going down the difficult route and create an exact replica, so I’m dealing with a lot of hard to find parts.
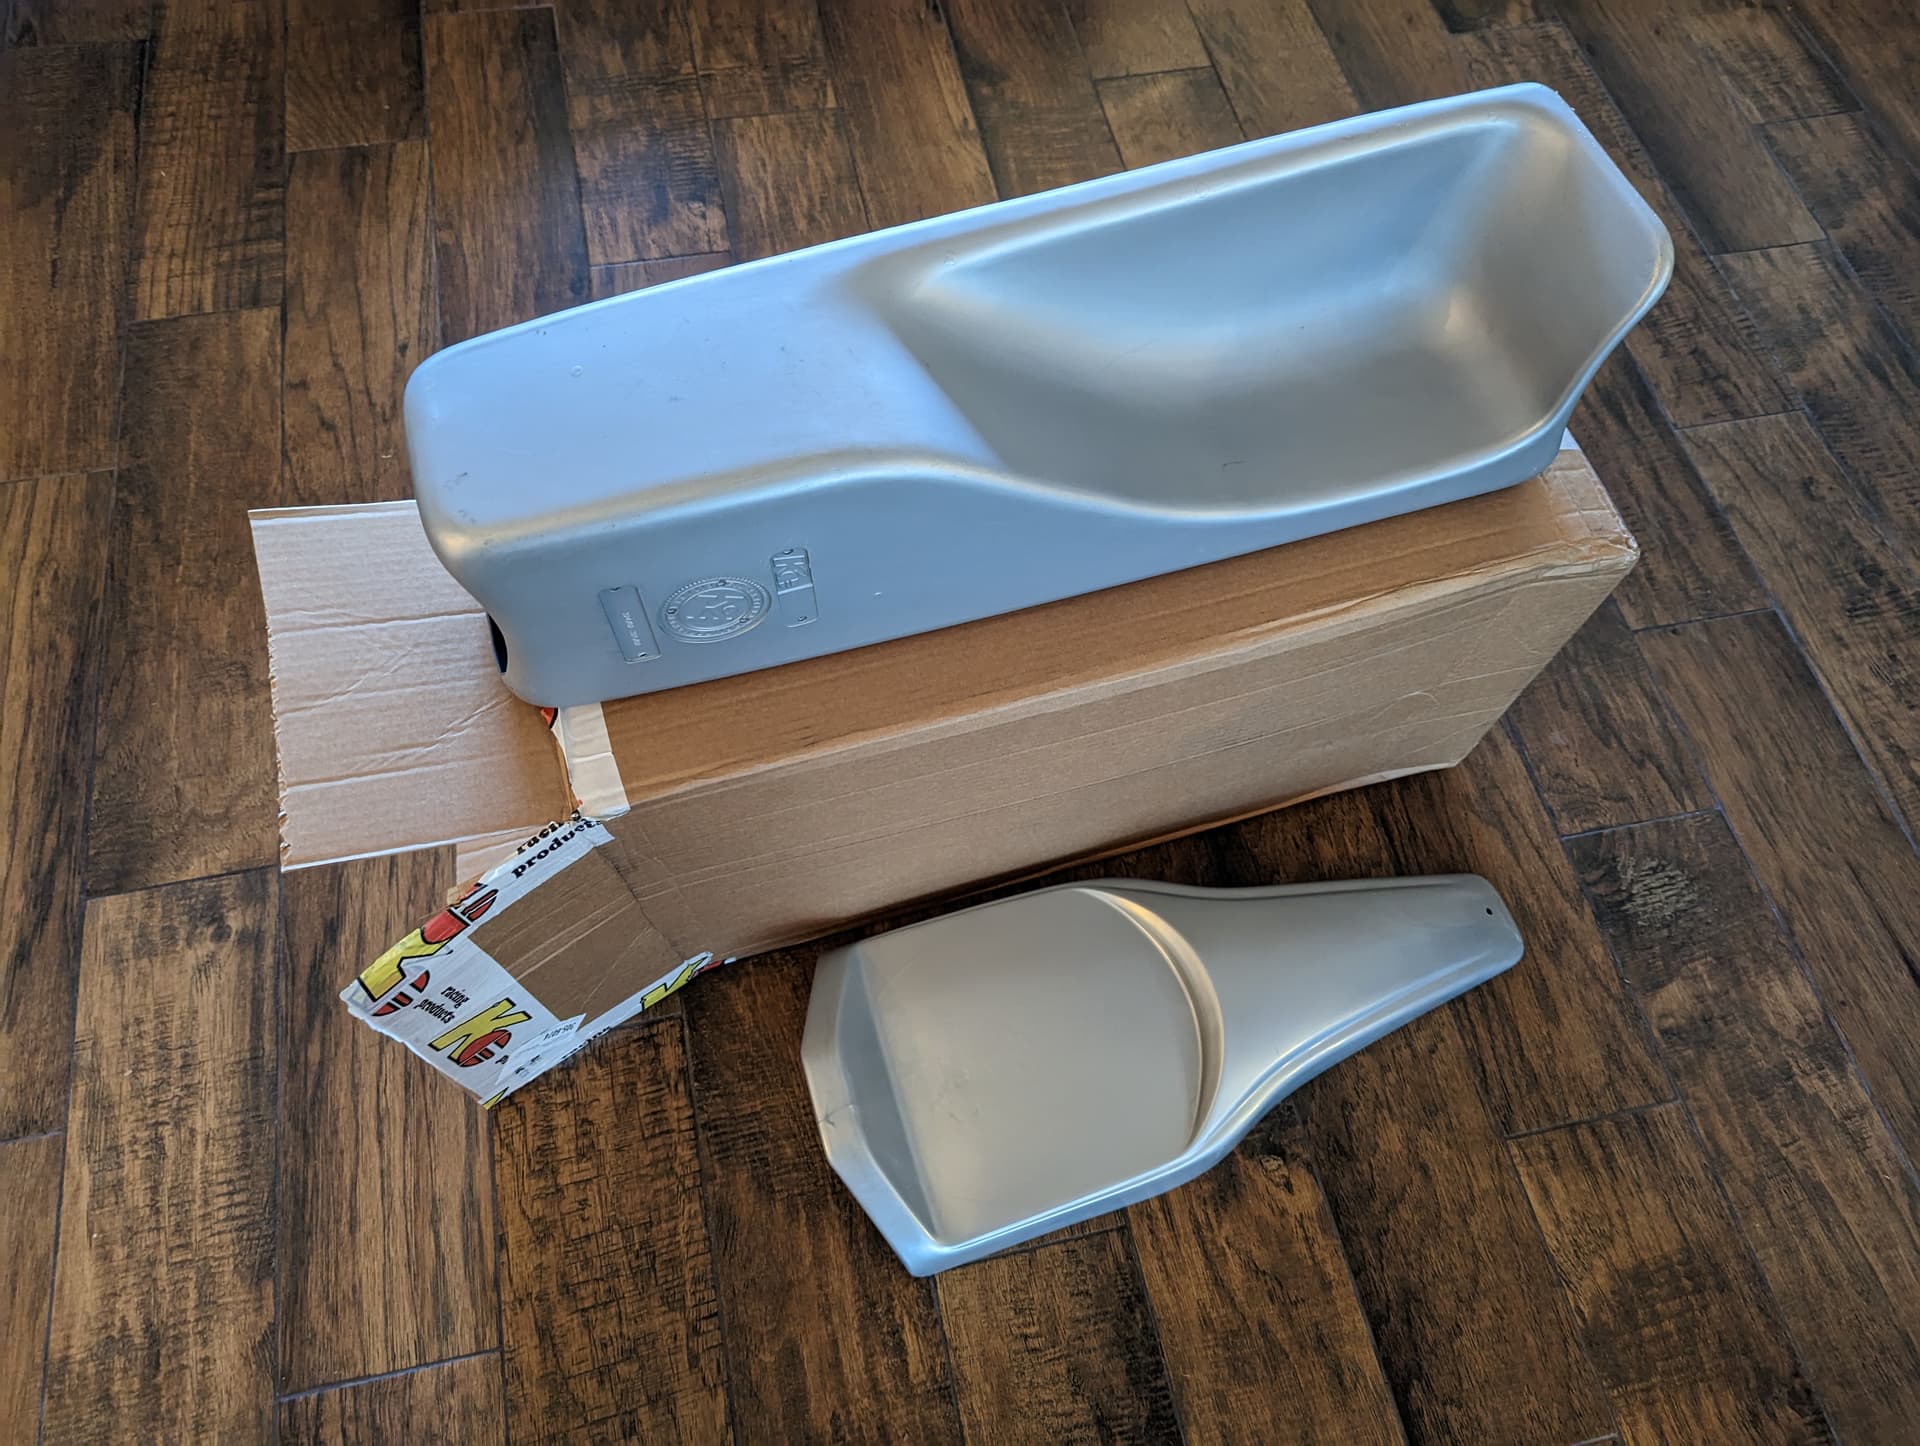
About that, huge shout-out to KG North America/ALLECORSE, the official importer of KG bodywork. The owner Manuel stepped in and was able to find few crucial parts. Here is the uber-rare rotary sidepod, in silver, apparently the last one available in US. No crashing allowed on that side of the kart!
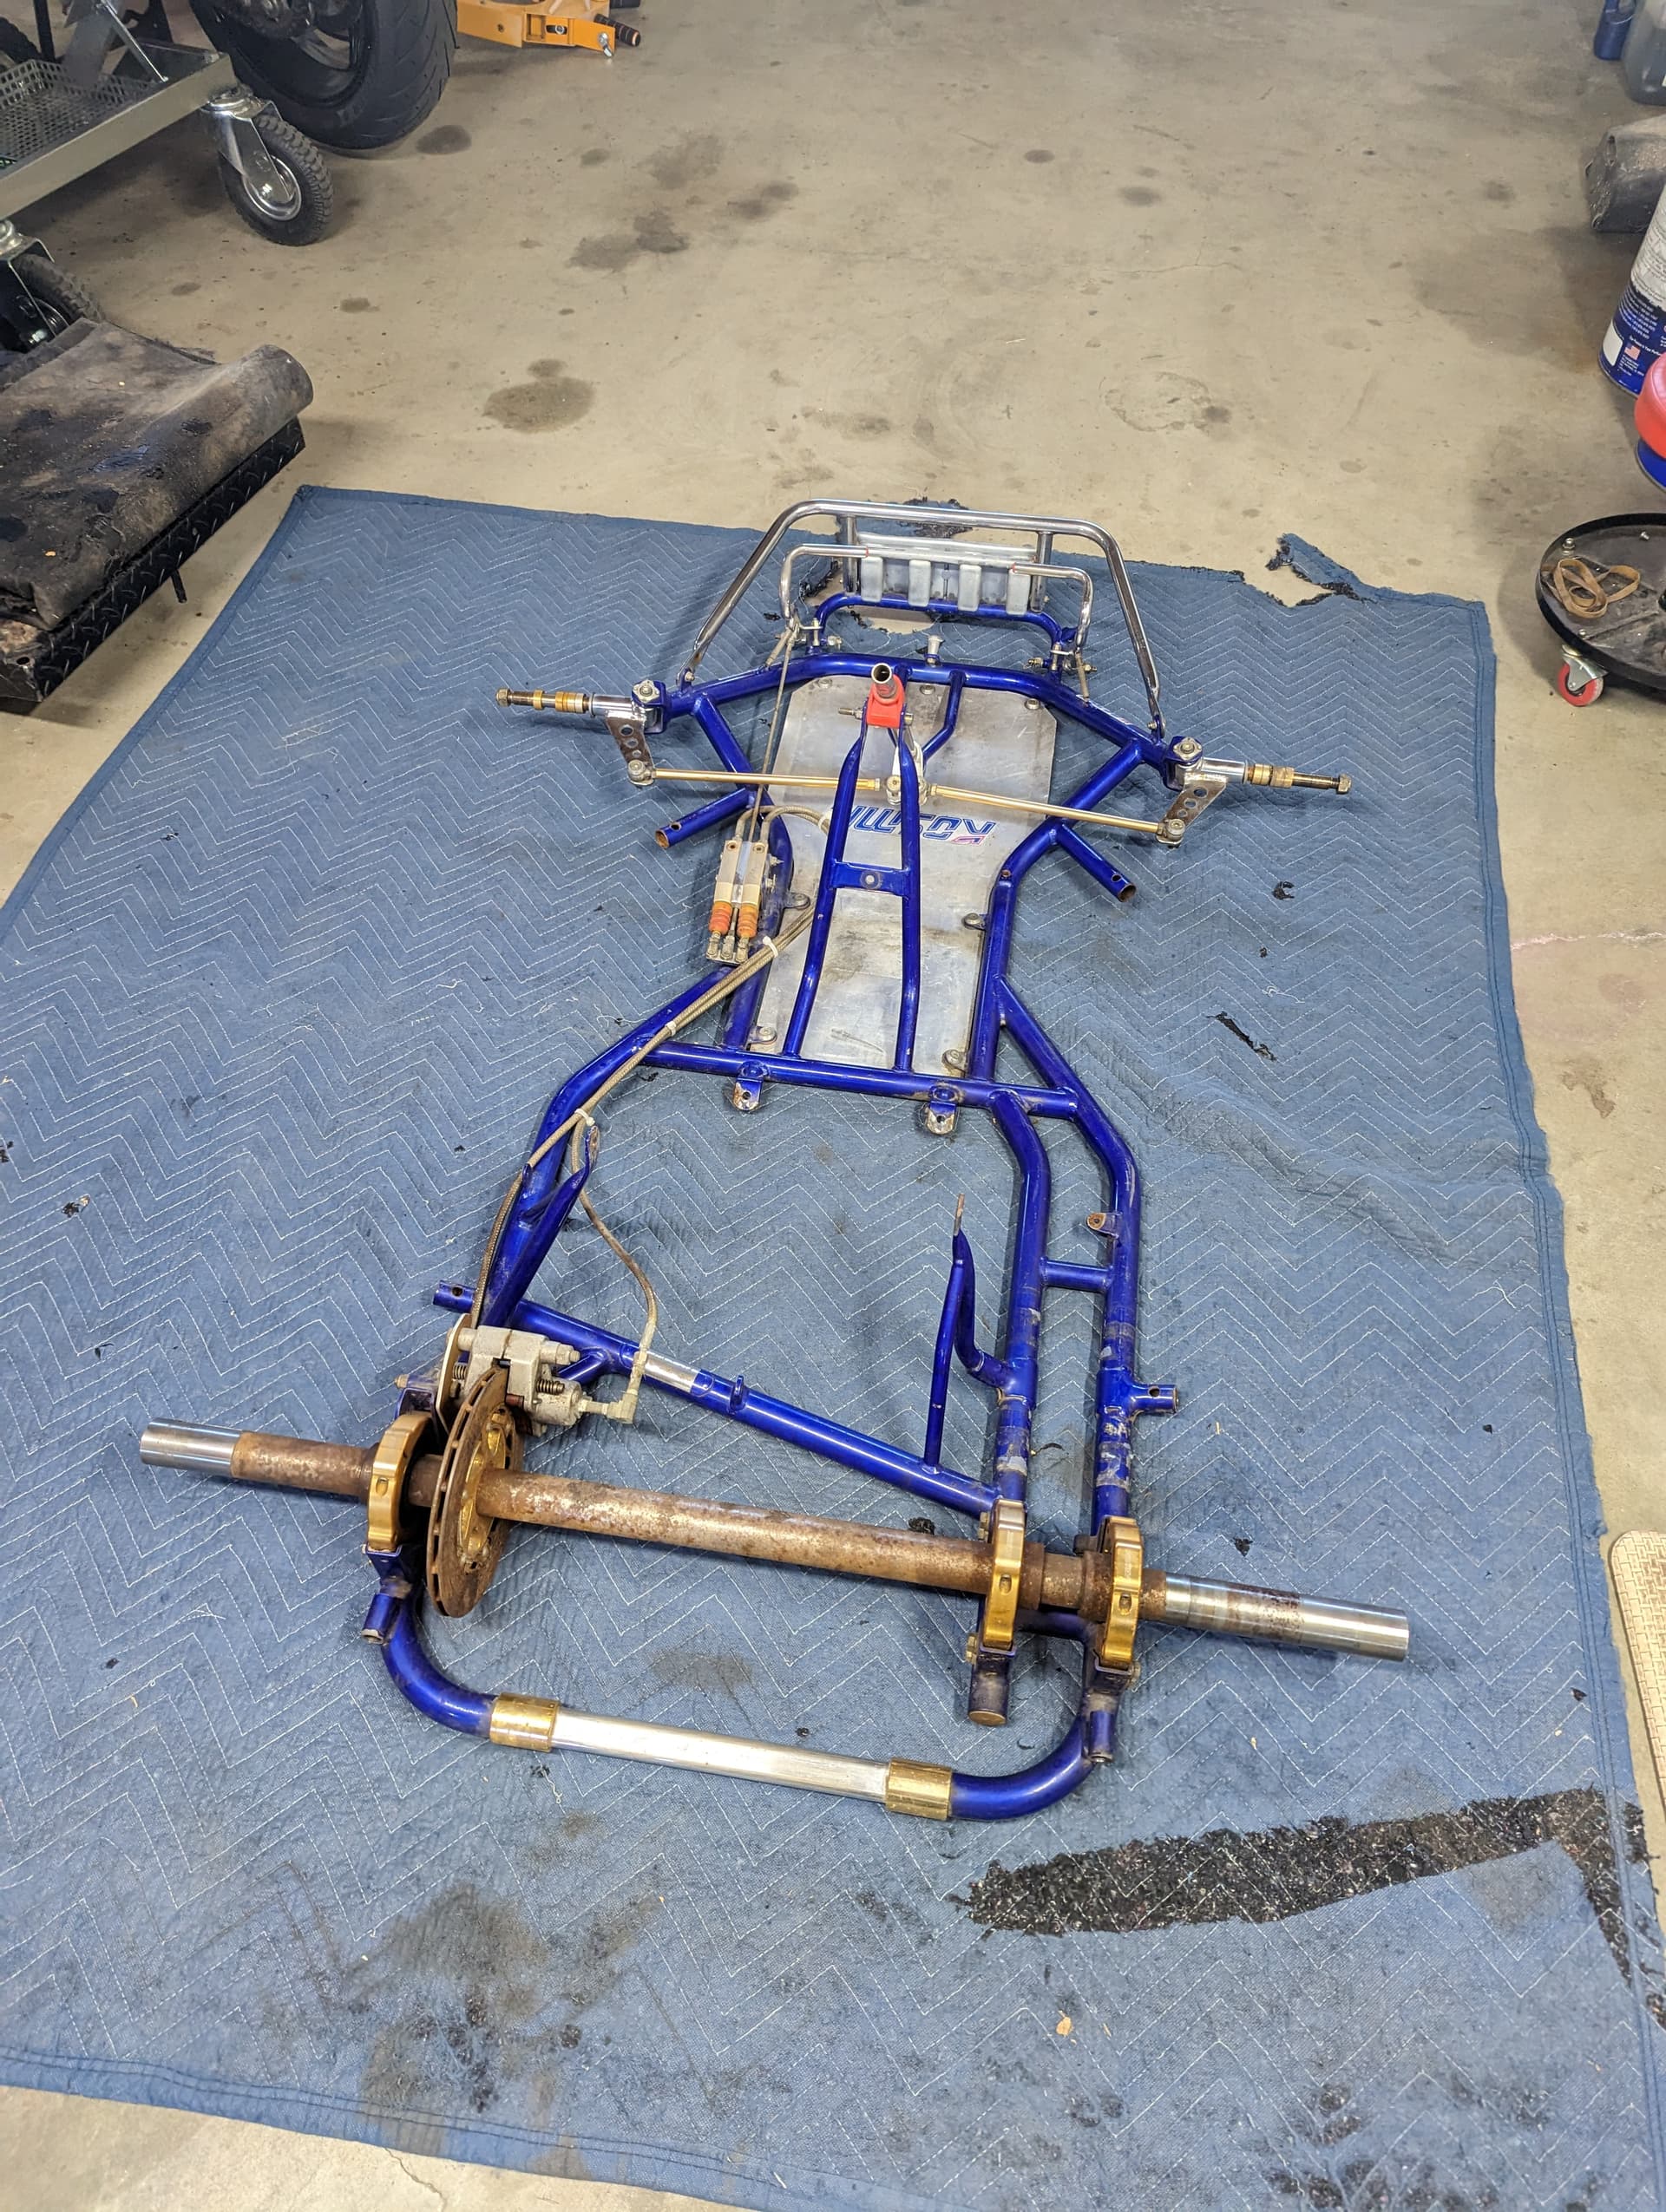
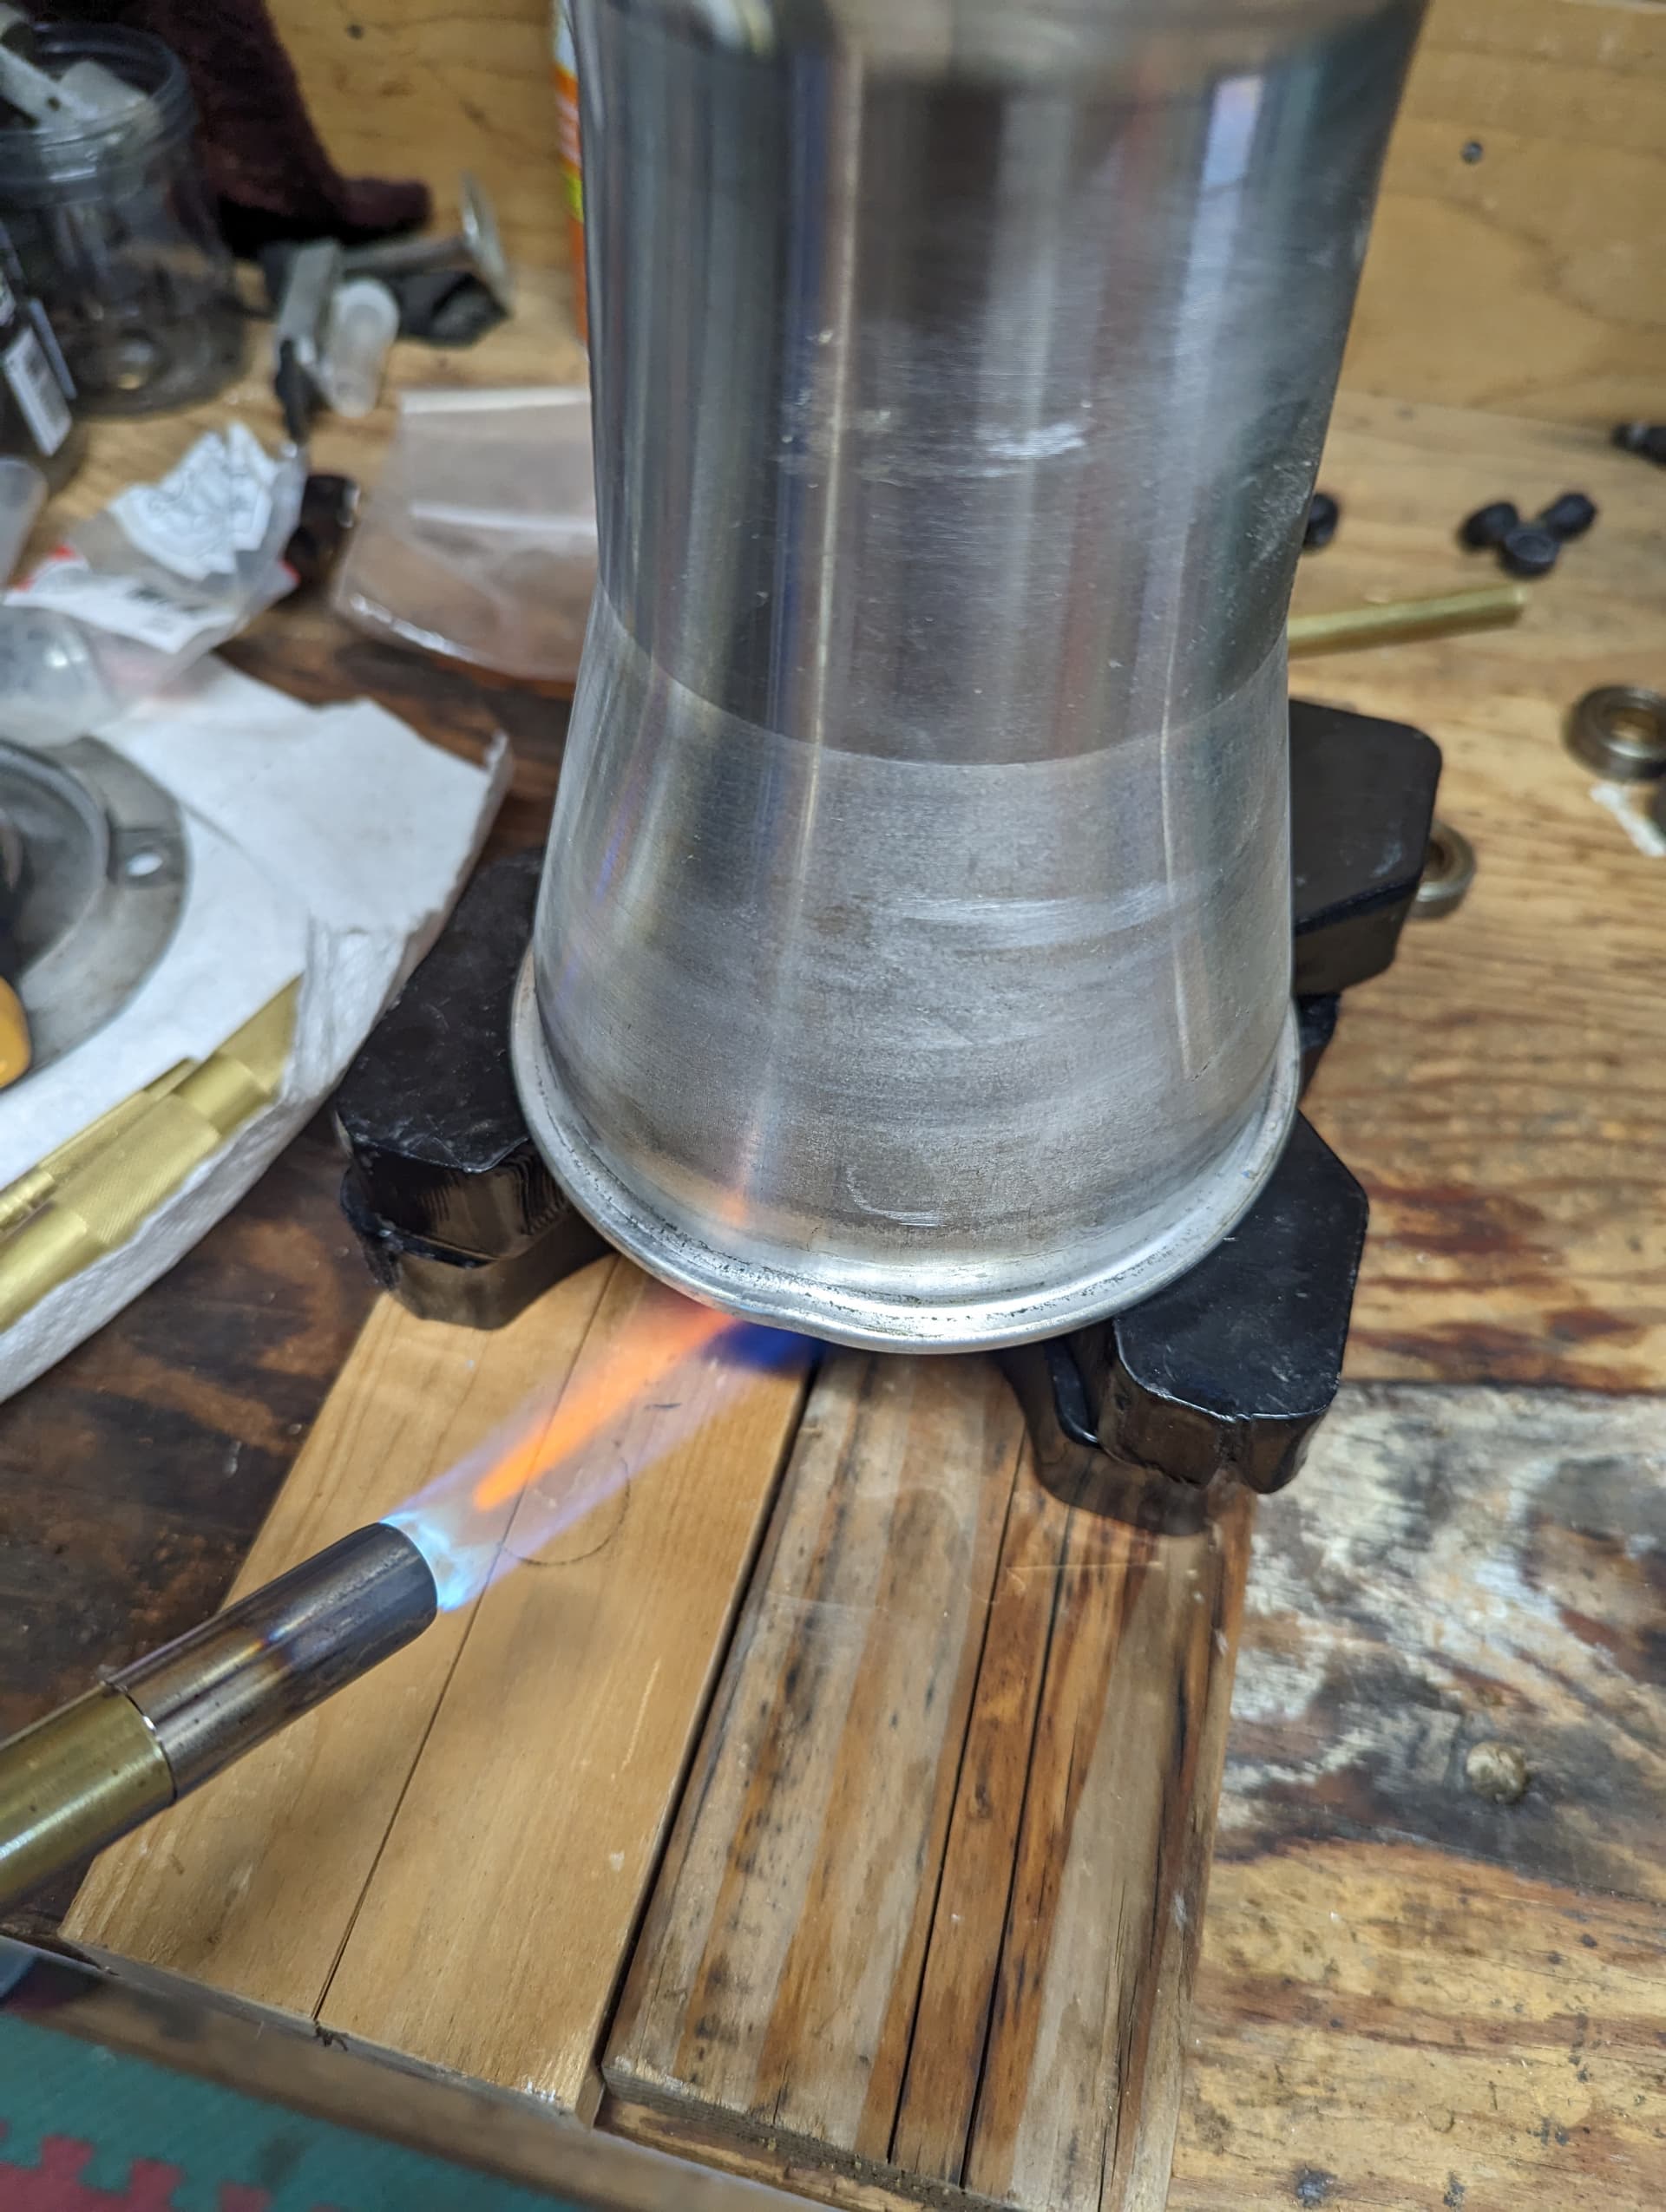
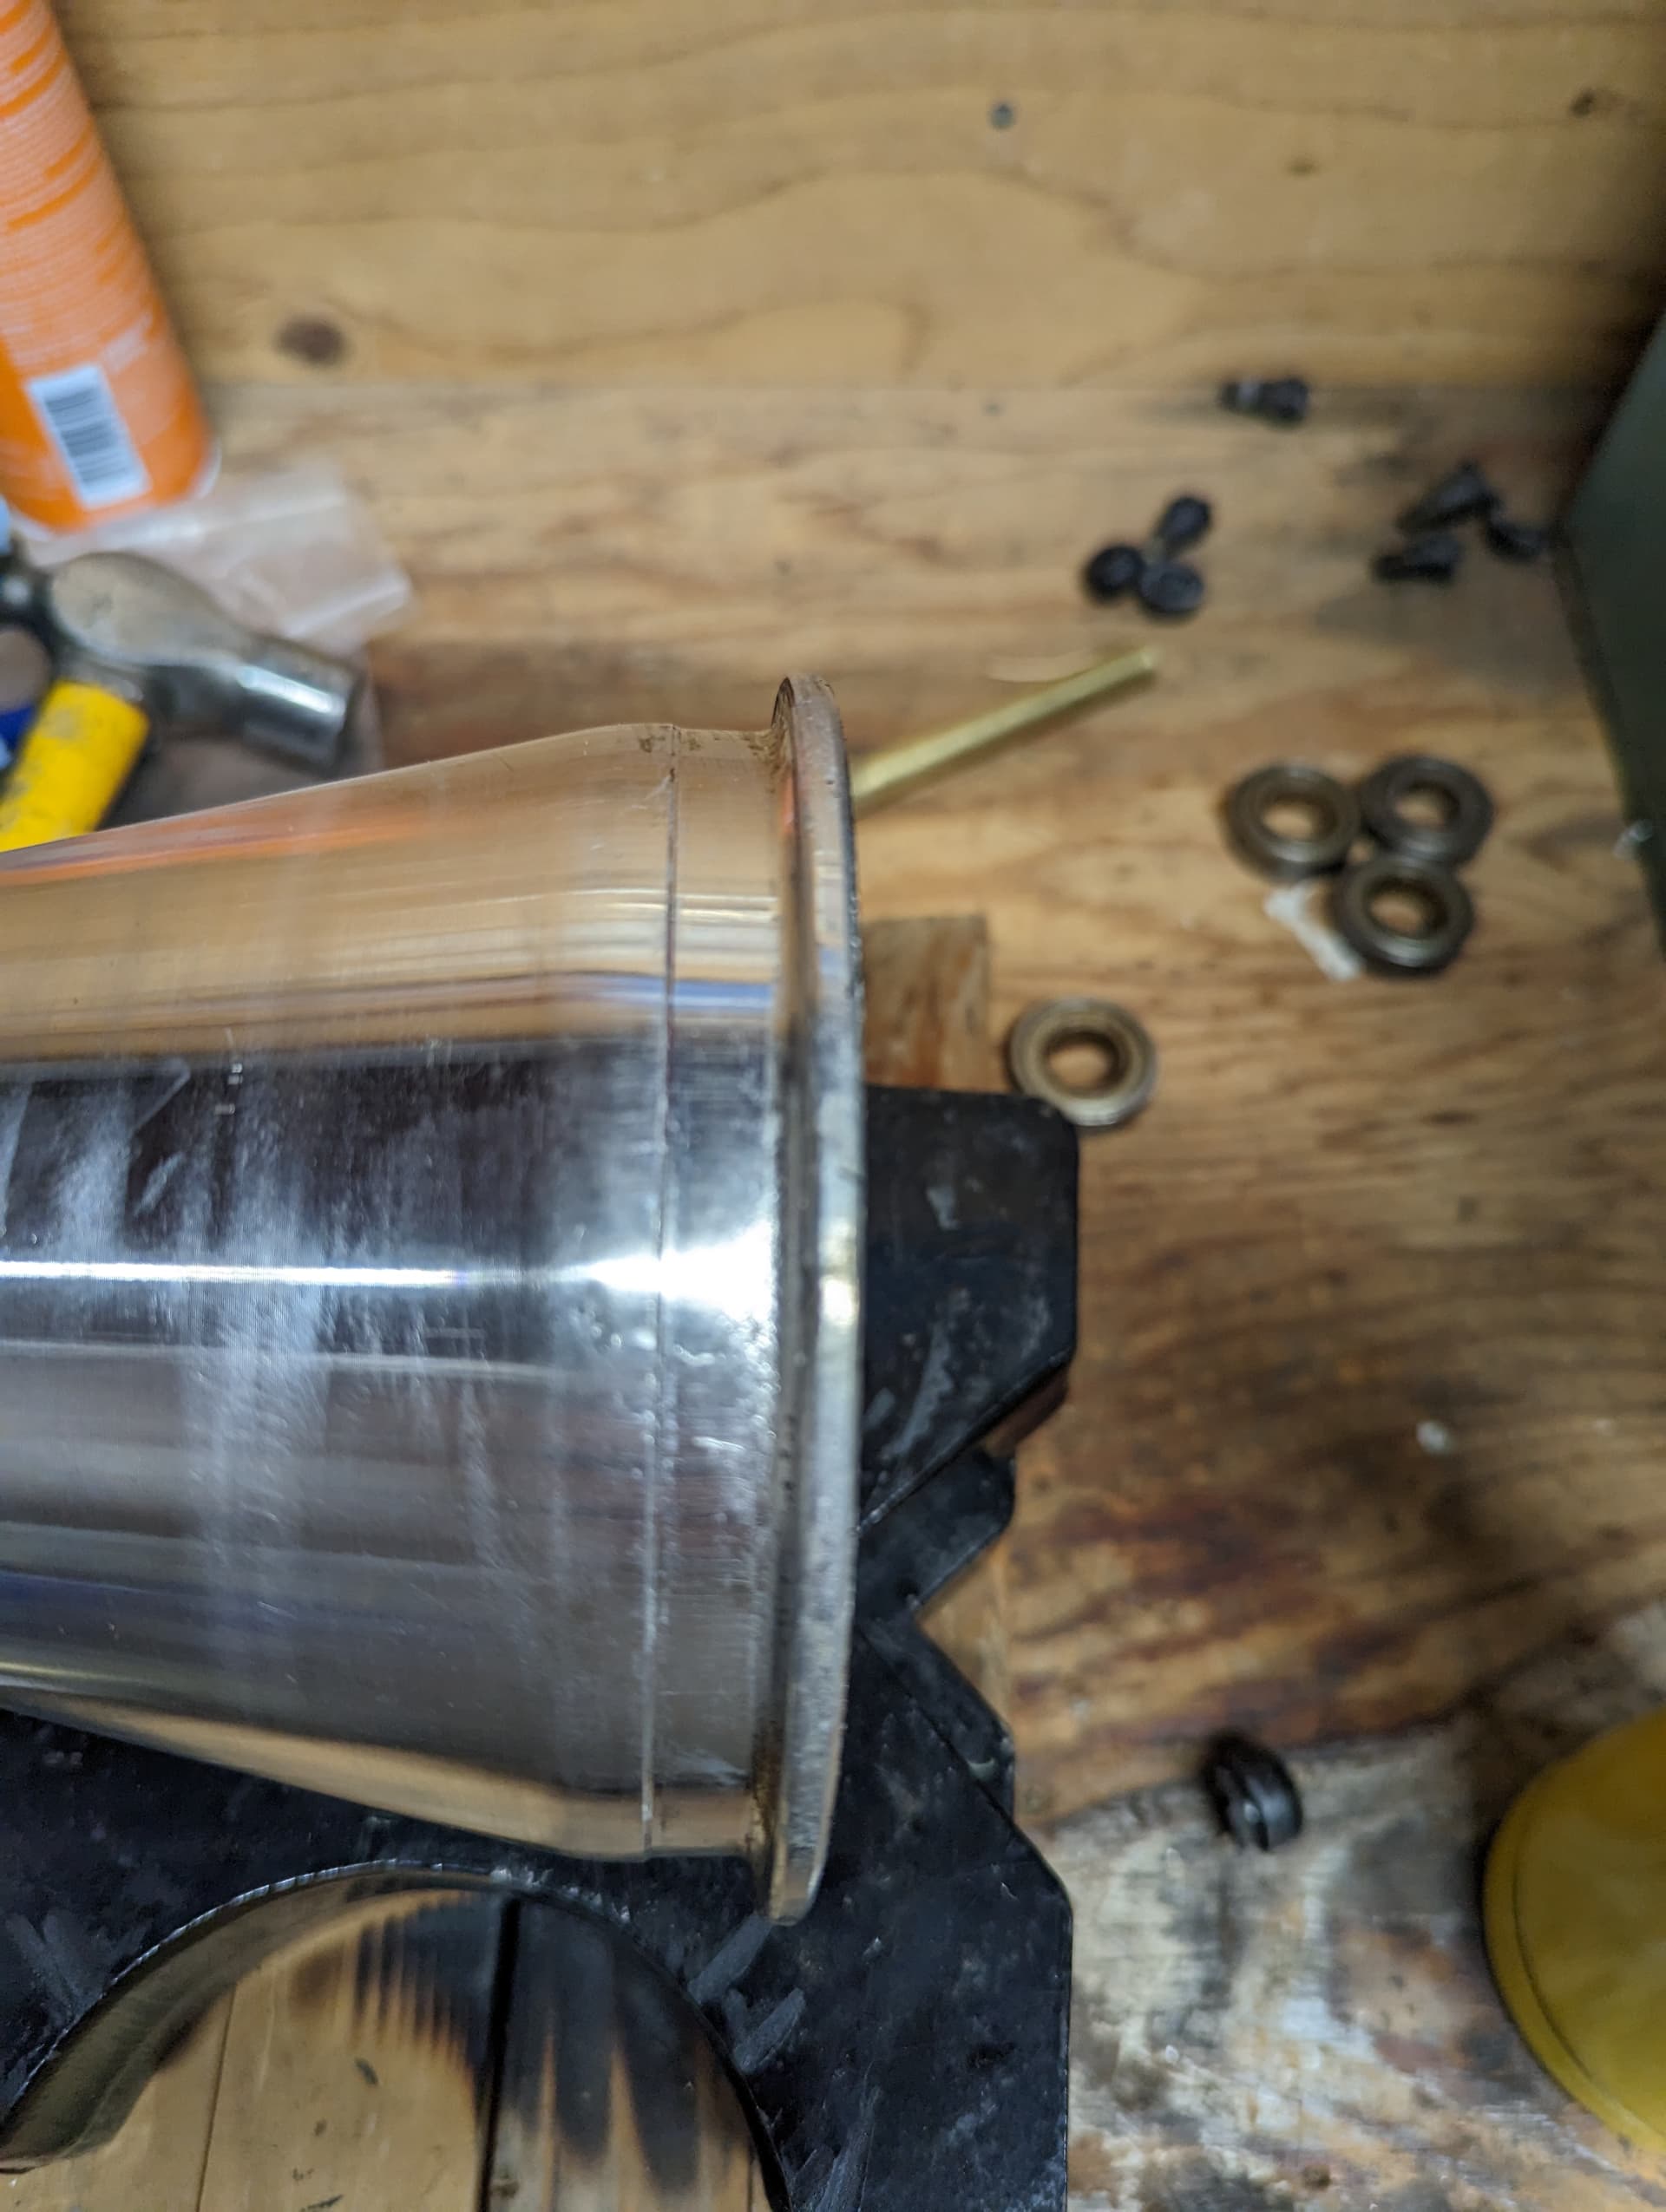
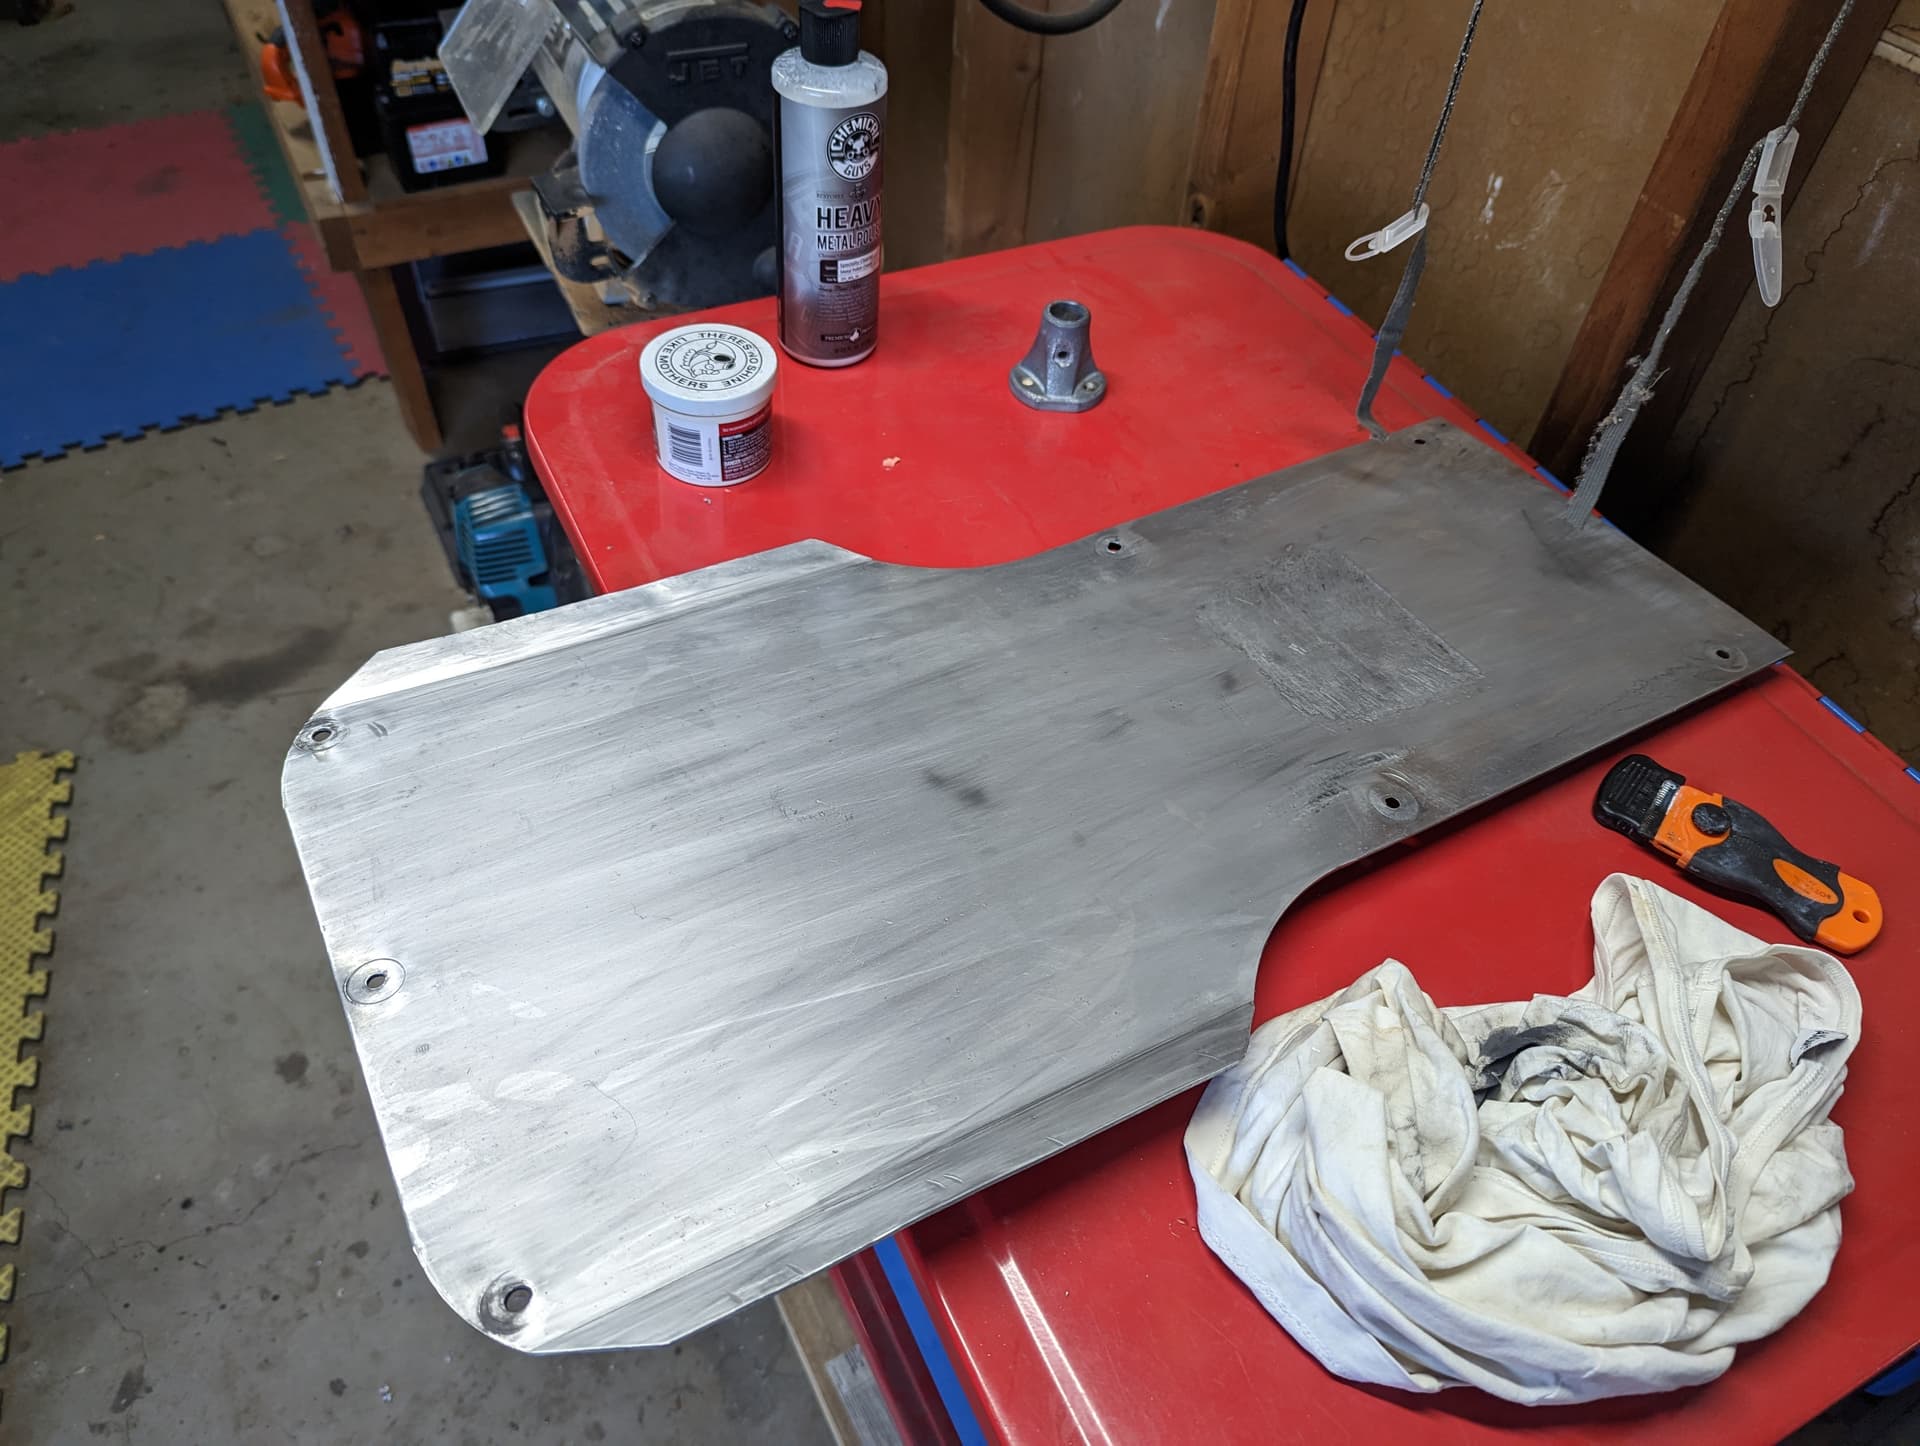
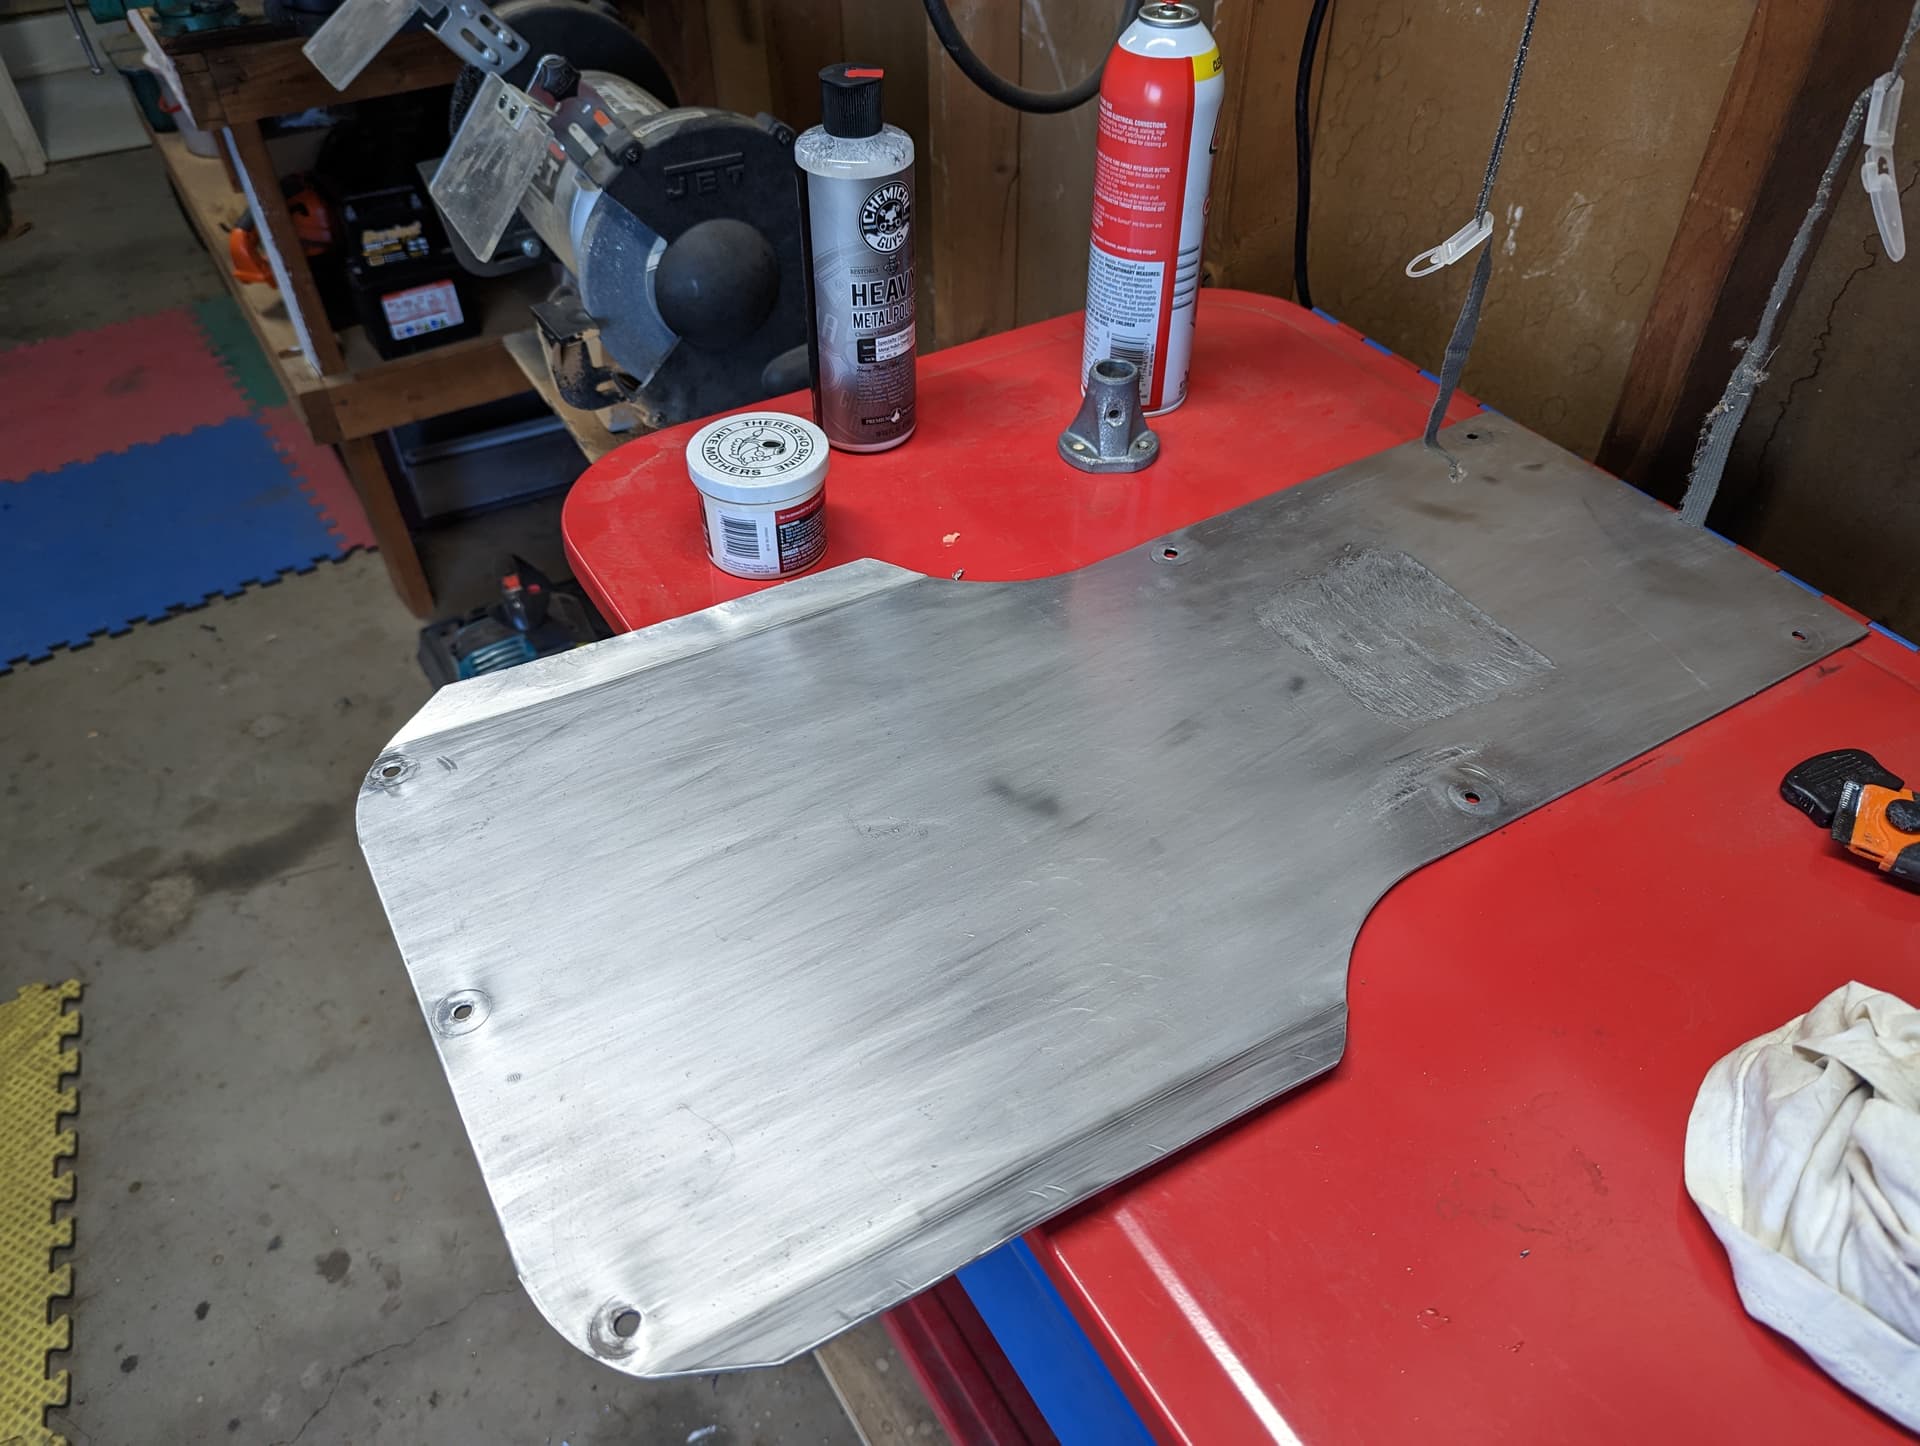
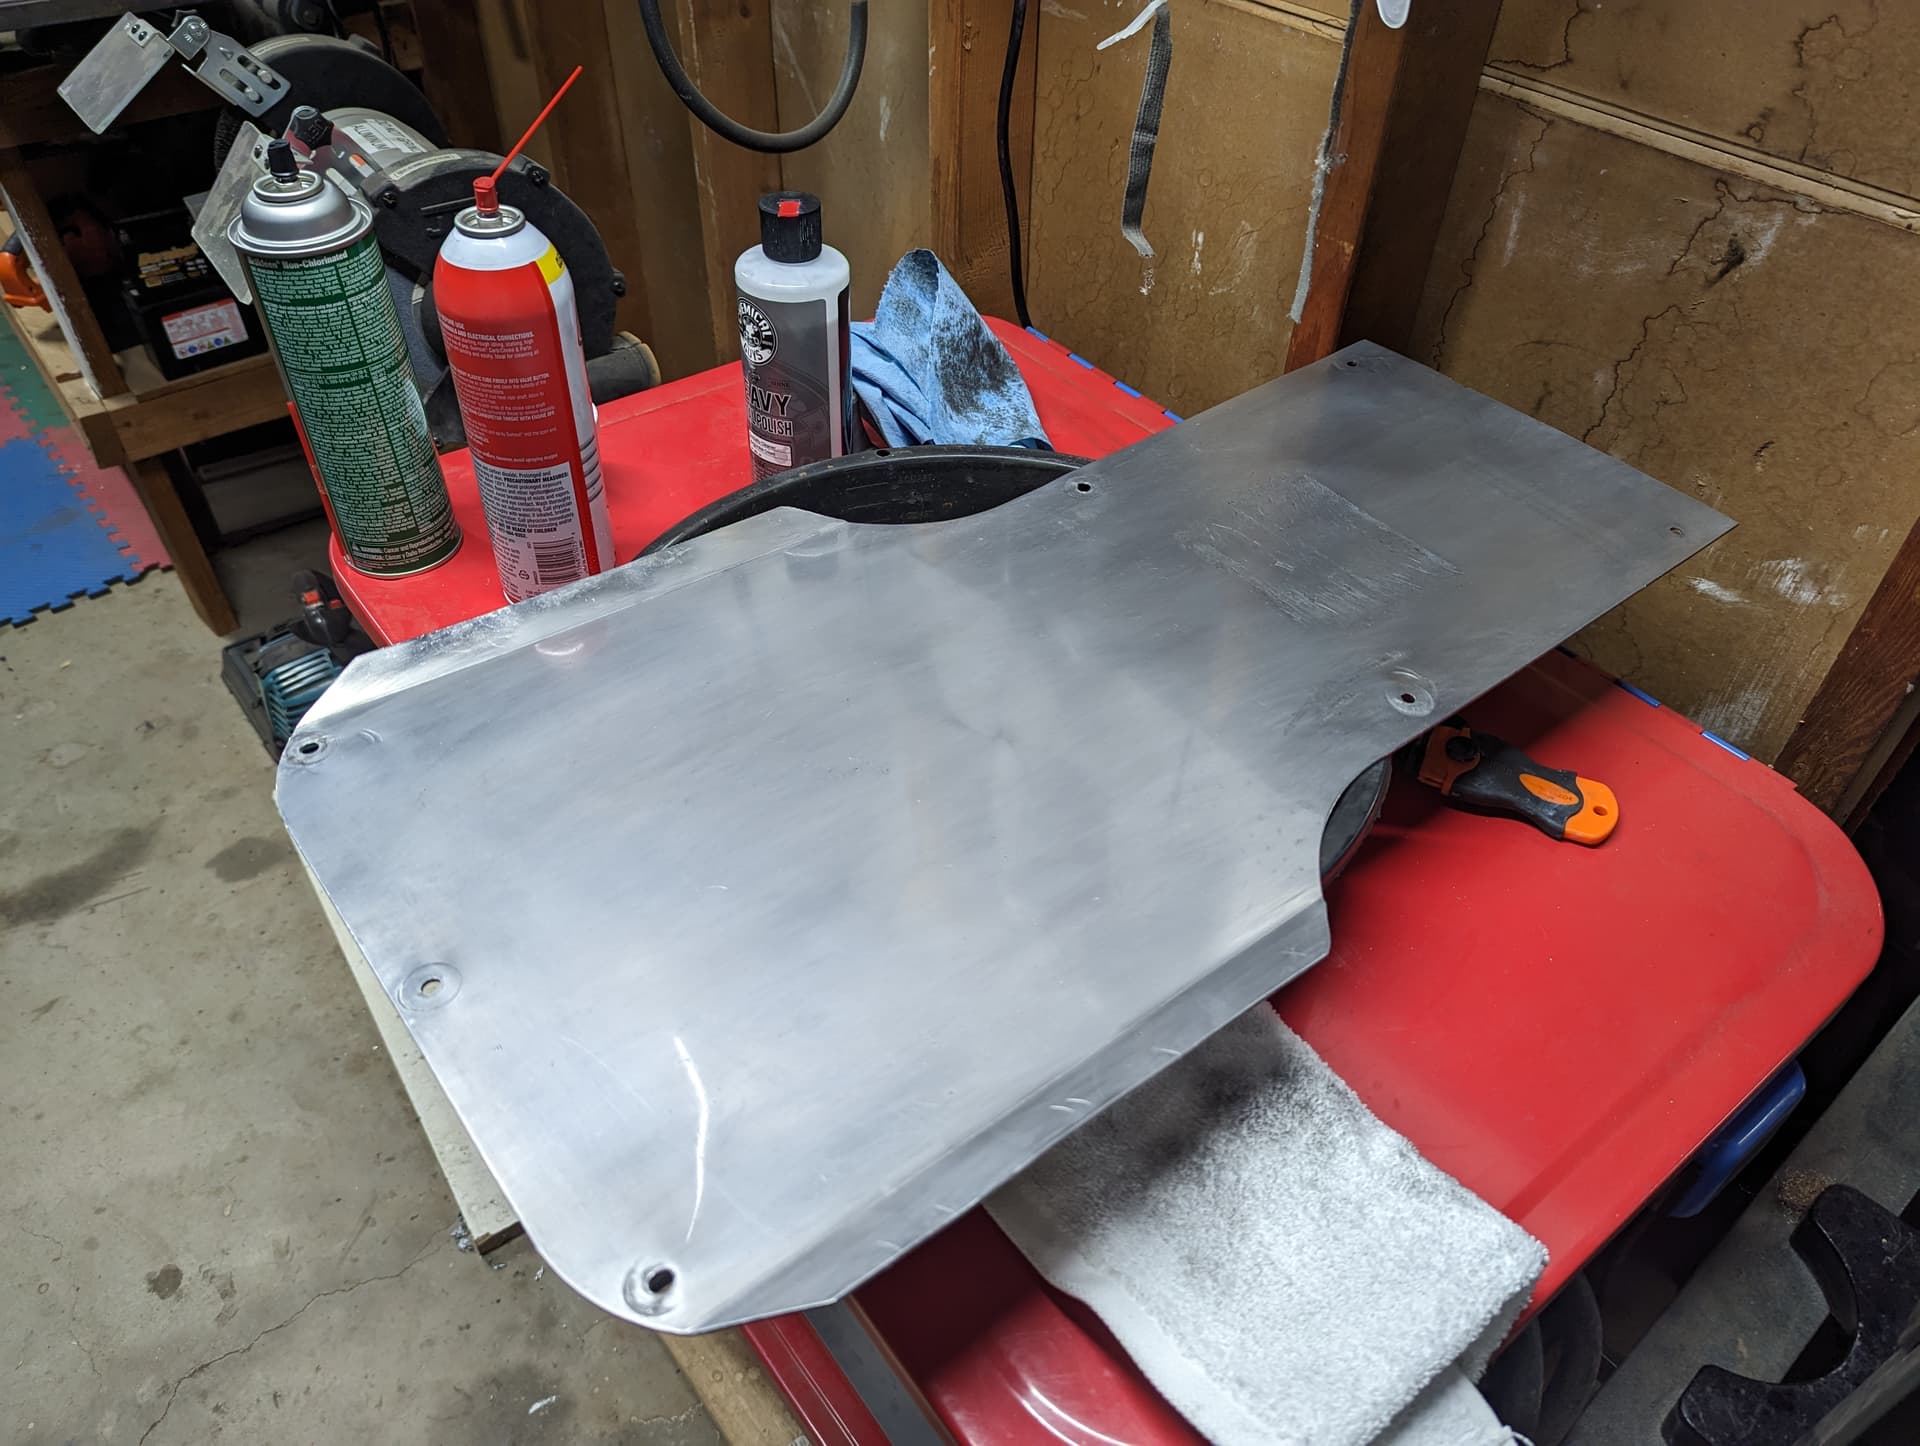
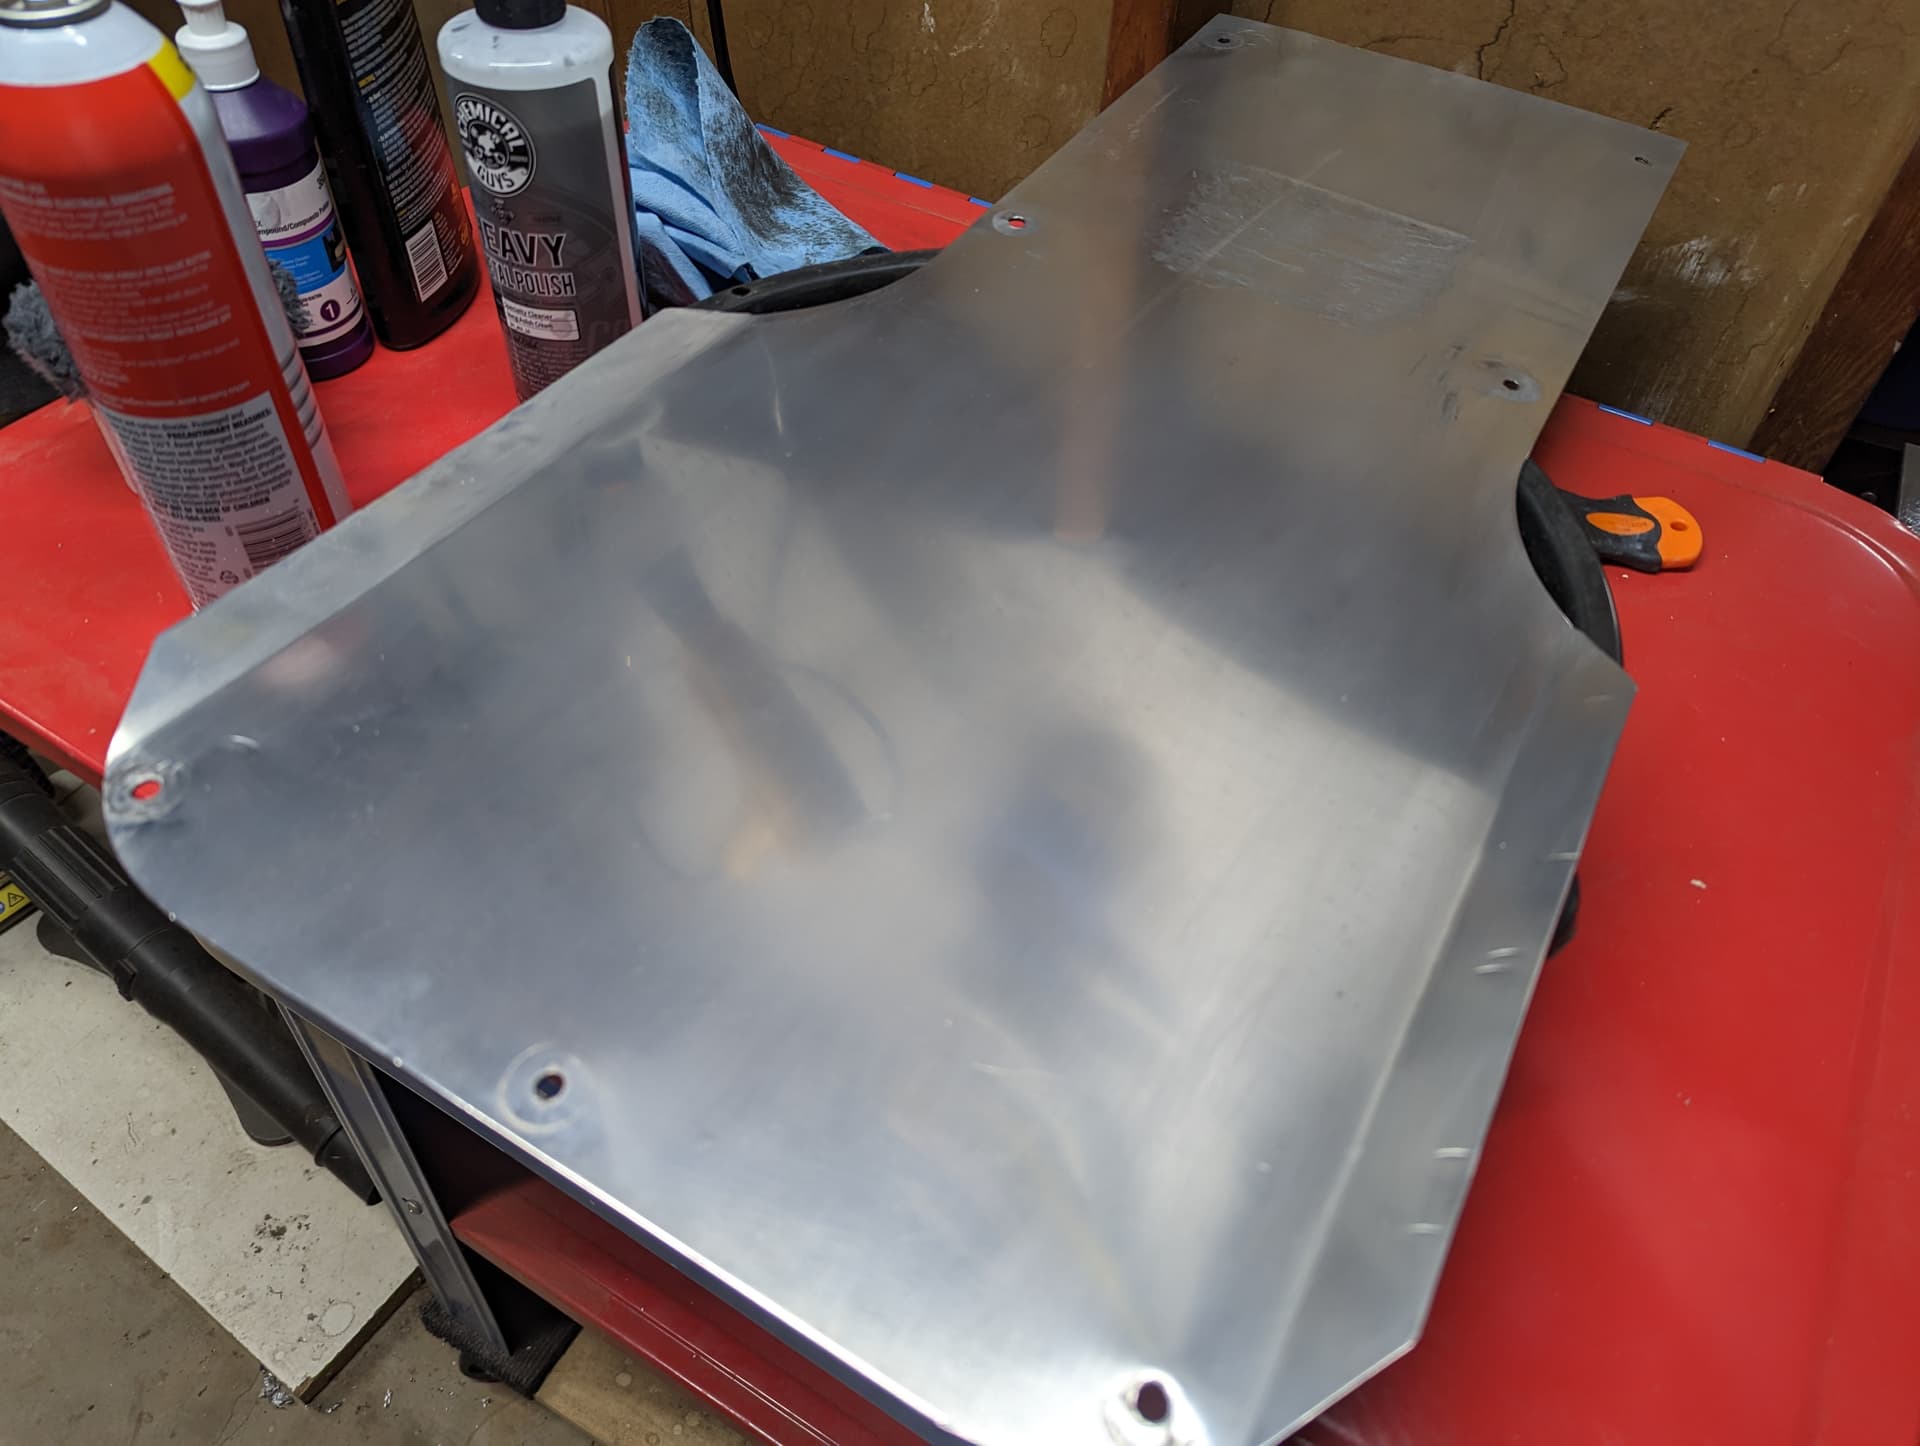
Ok worst part is now almost over. Cleaning up the rusty bits and straightening metal.
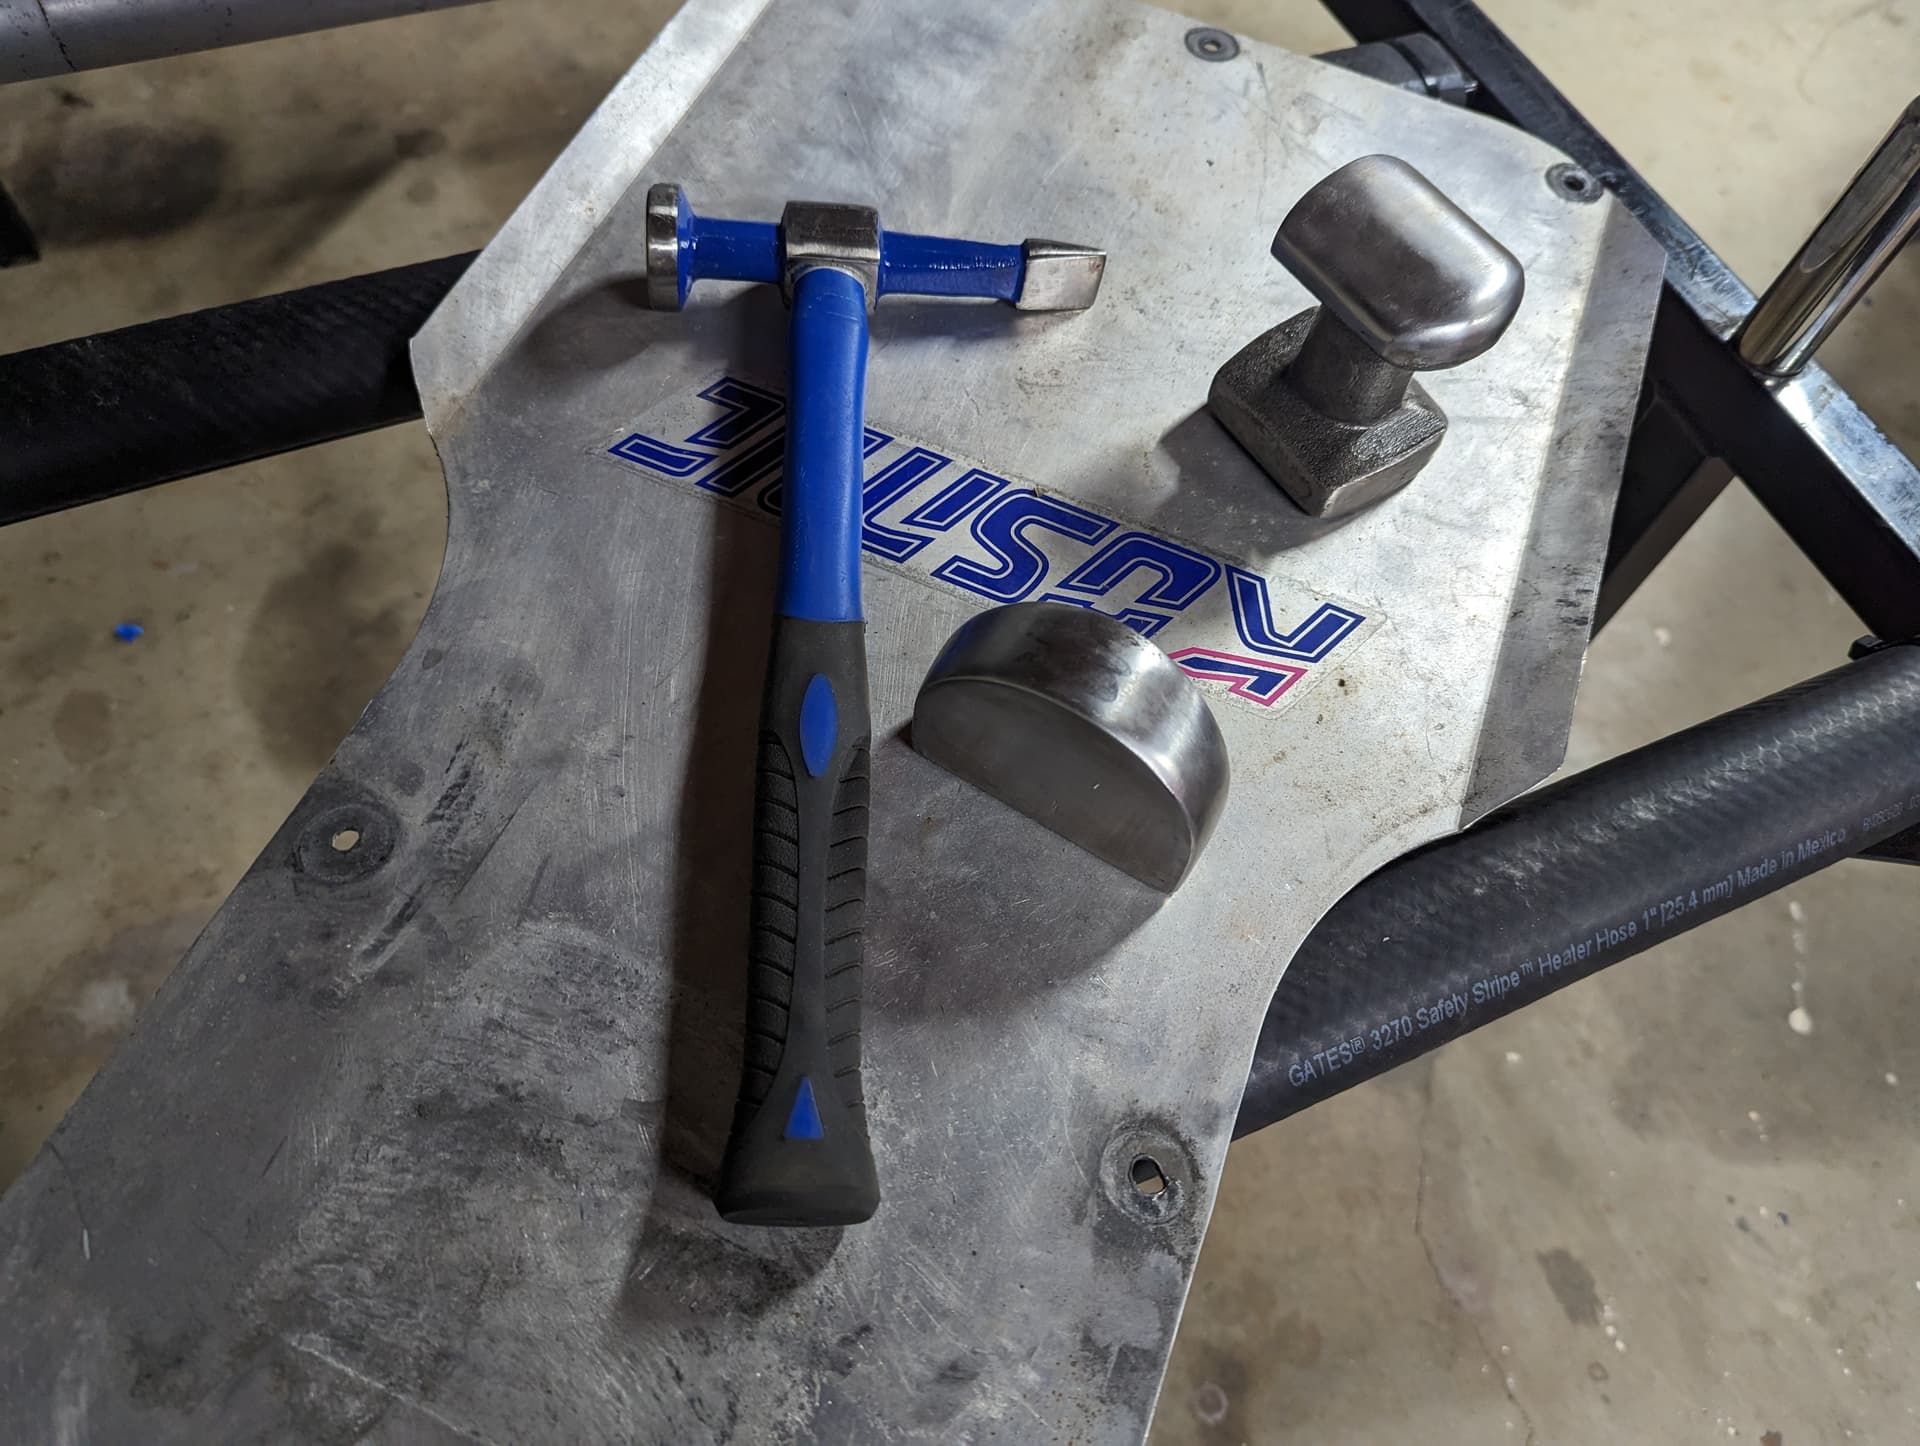
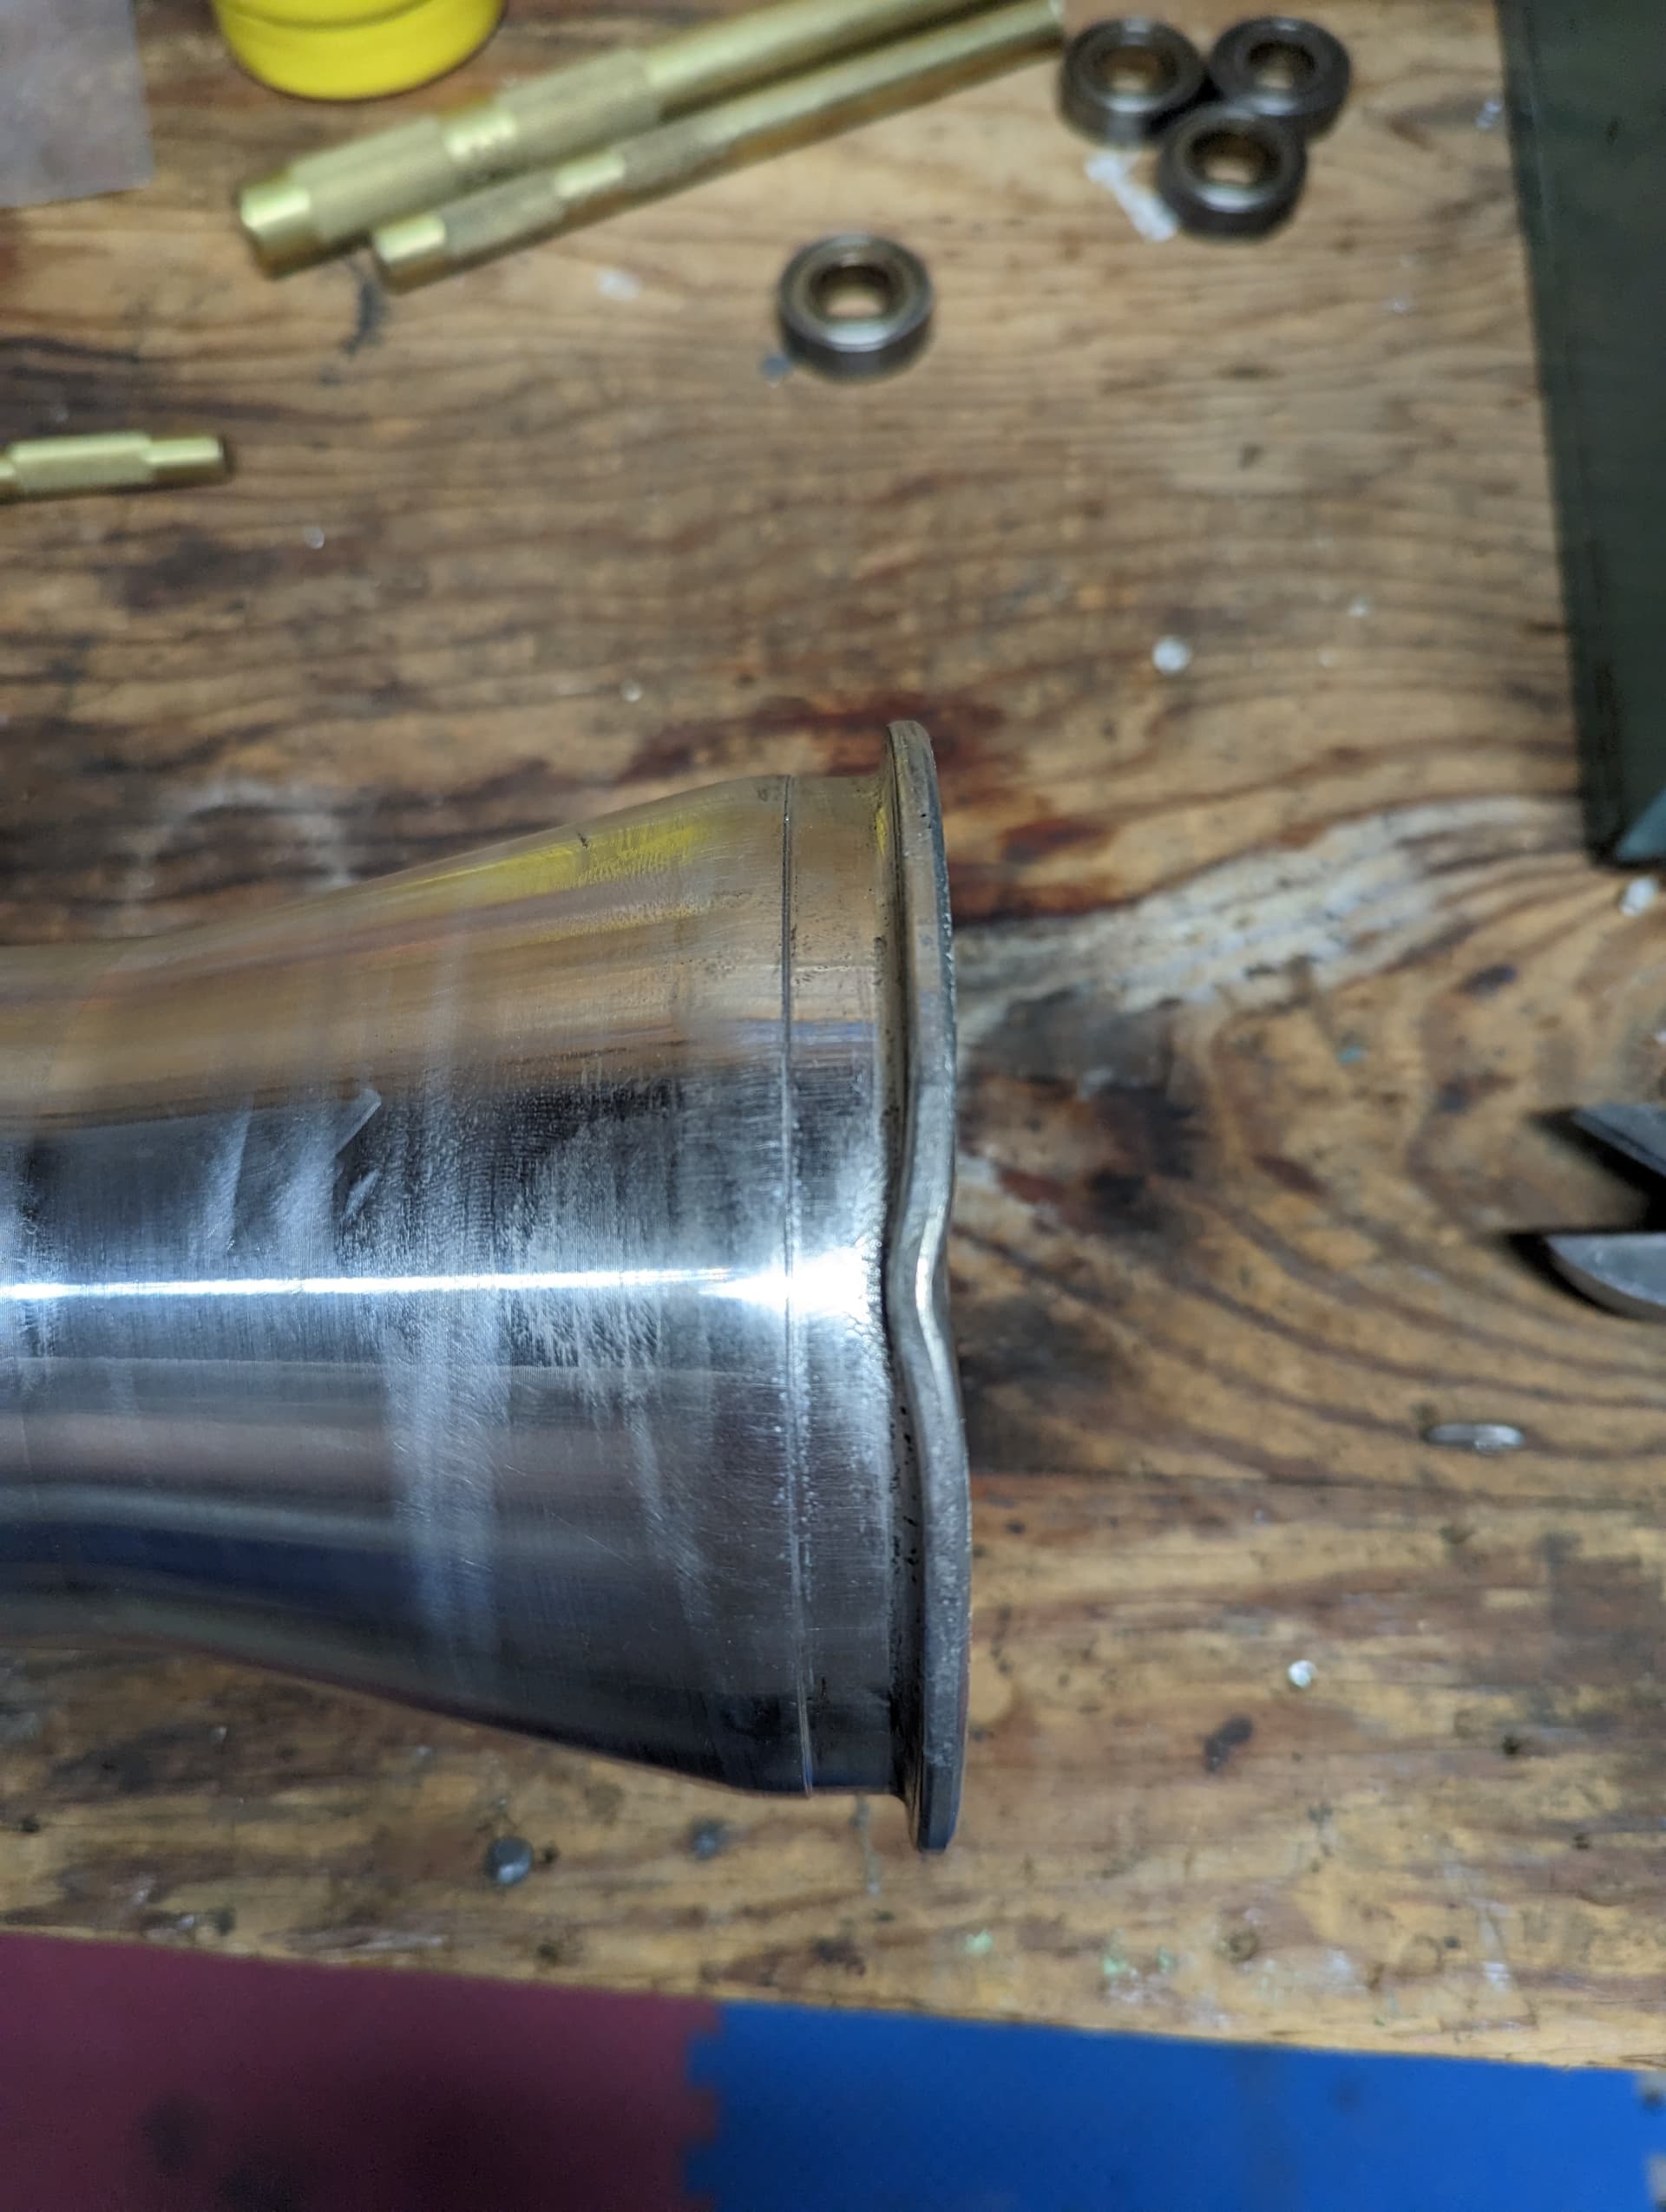
From my motorcycle restoration days, I took out the metal bumping kit and fixed the aluminum floor tray.
If you don’t know how to, buy the book “The Key to Metal Bumping”, it’s an awesome skill to learn. In addition, the dollies you get in any kit are also the secret to professional looking, smoothly curved seat stays (see my other thread on the KZ build)
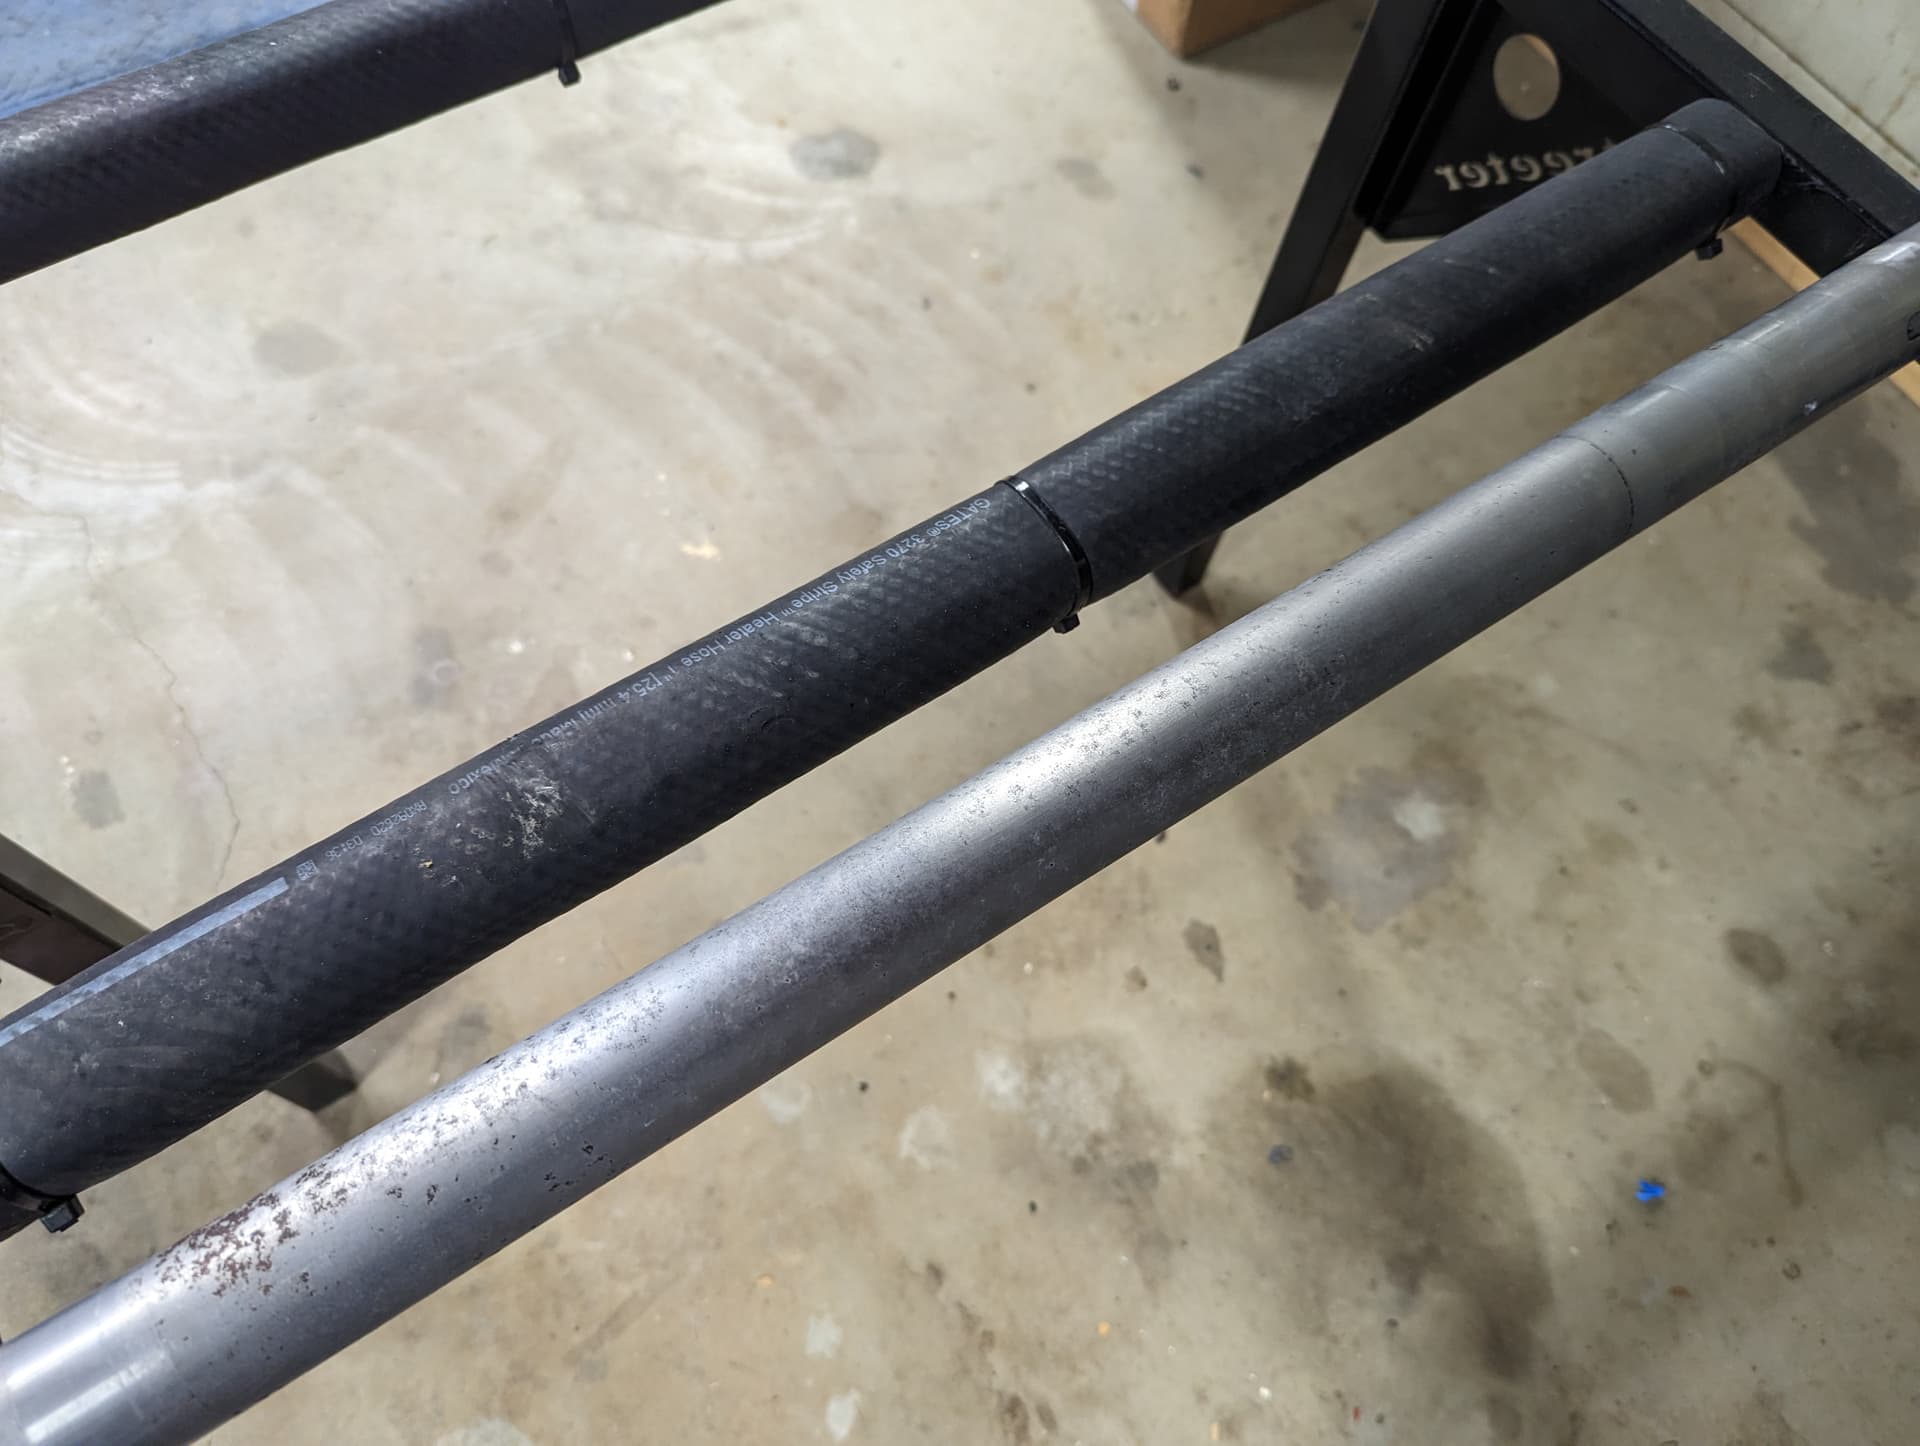
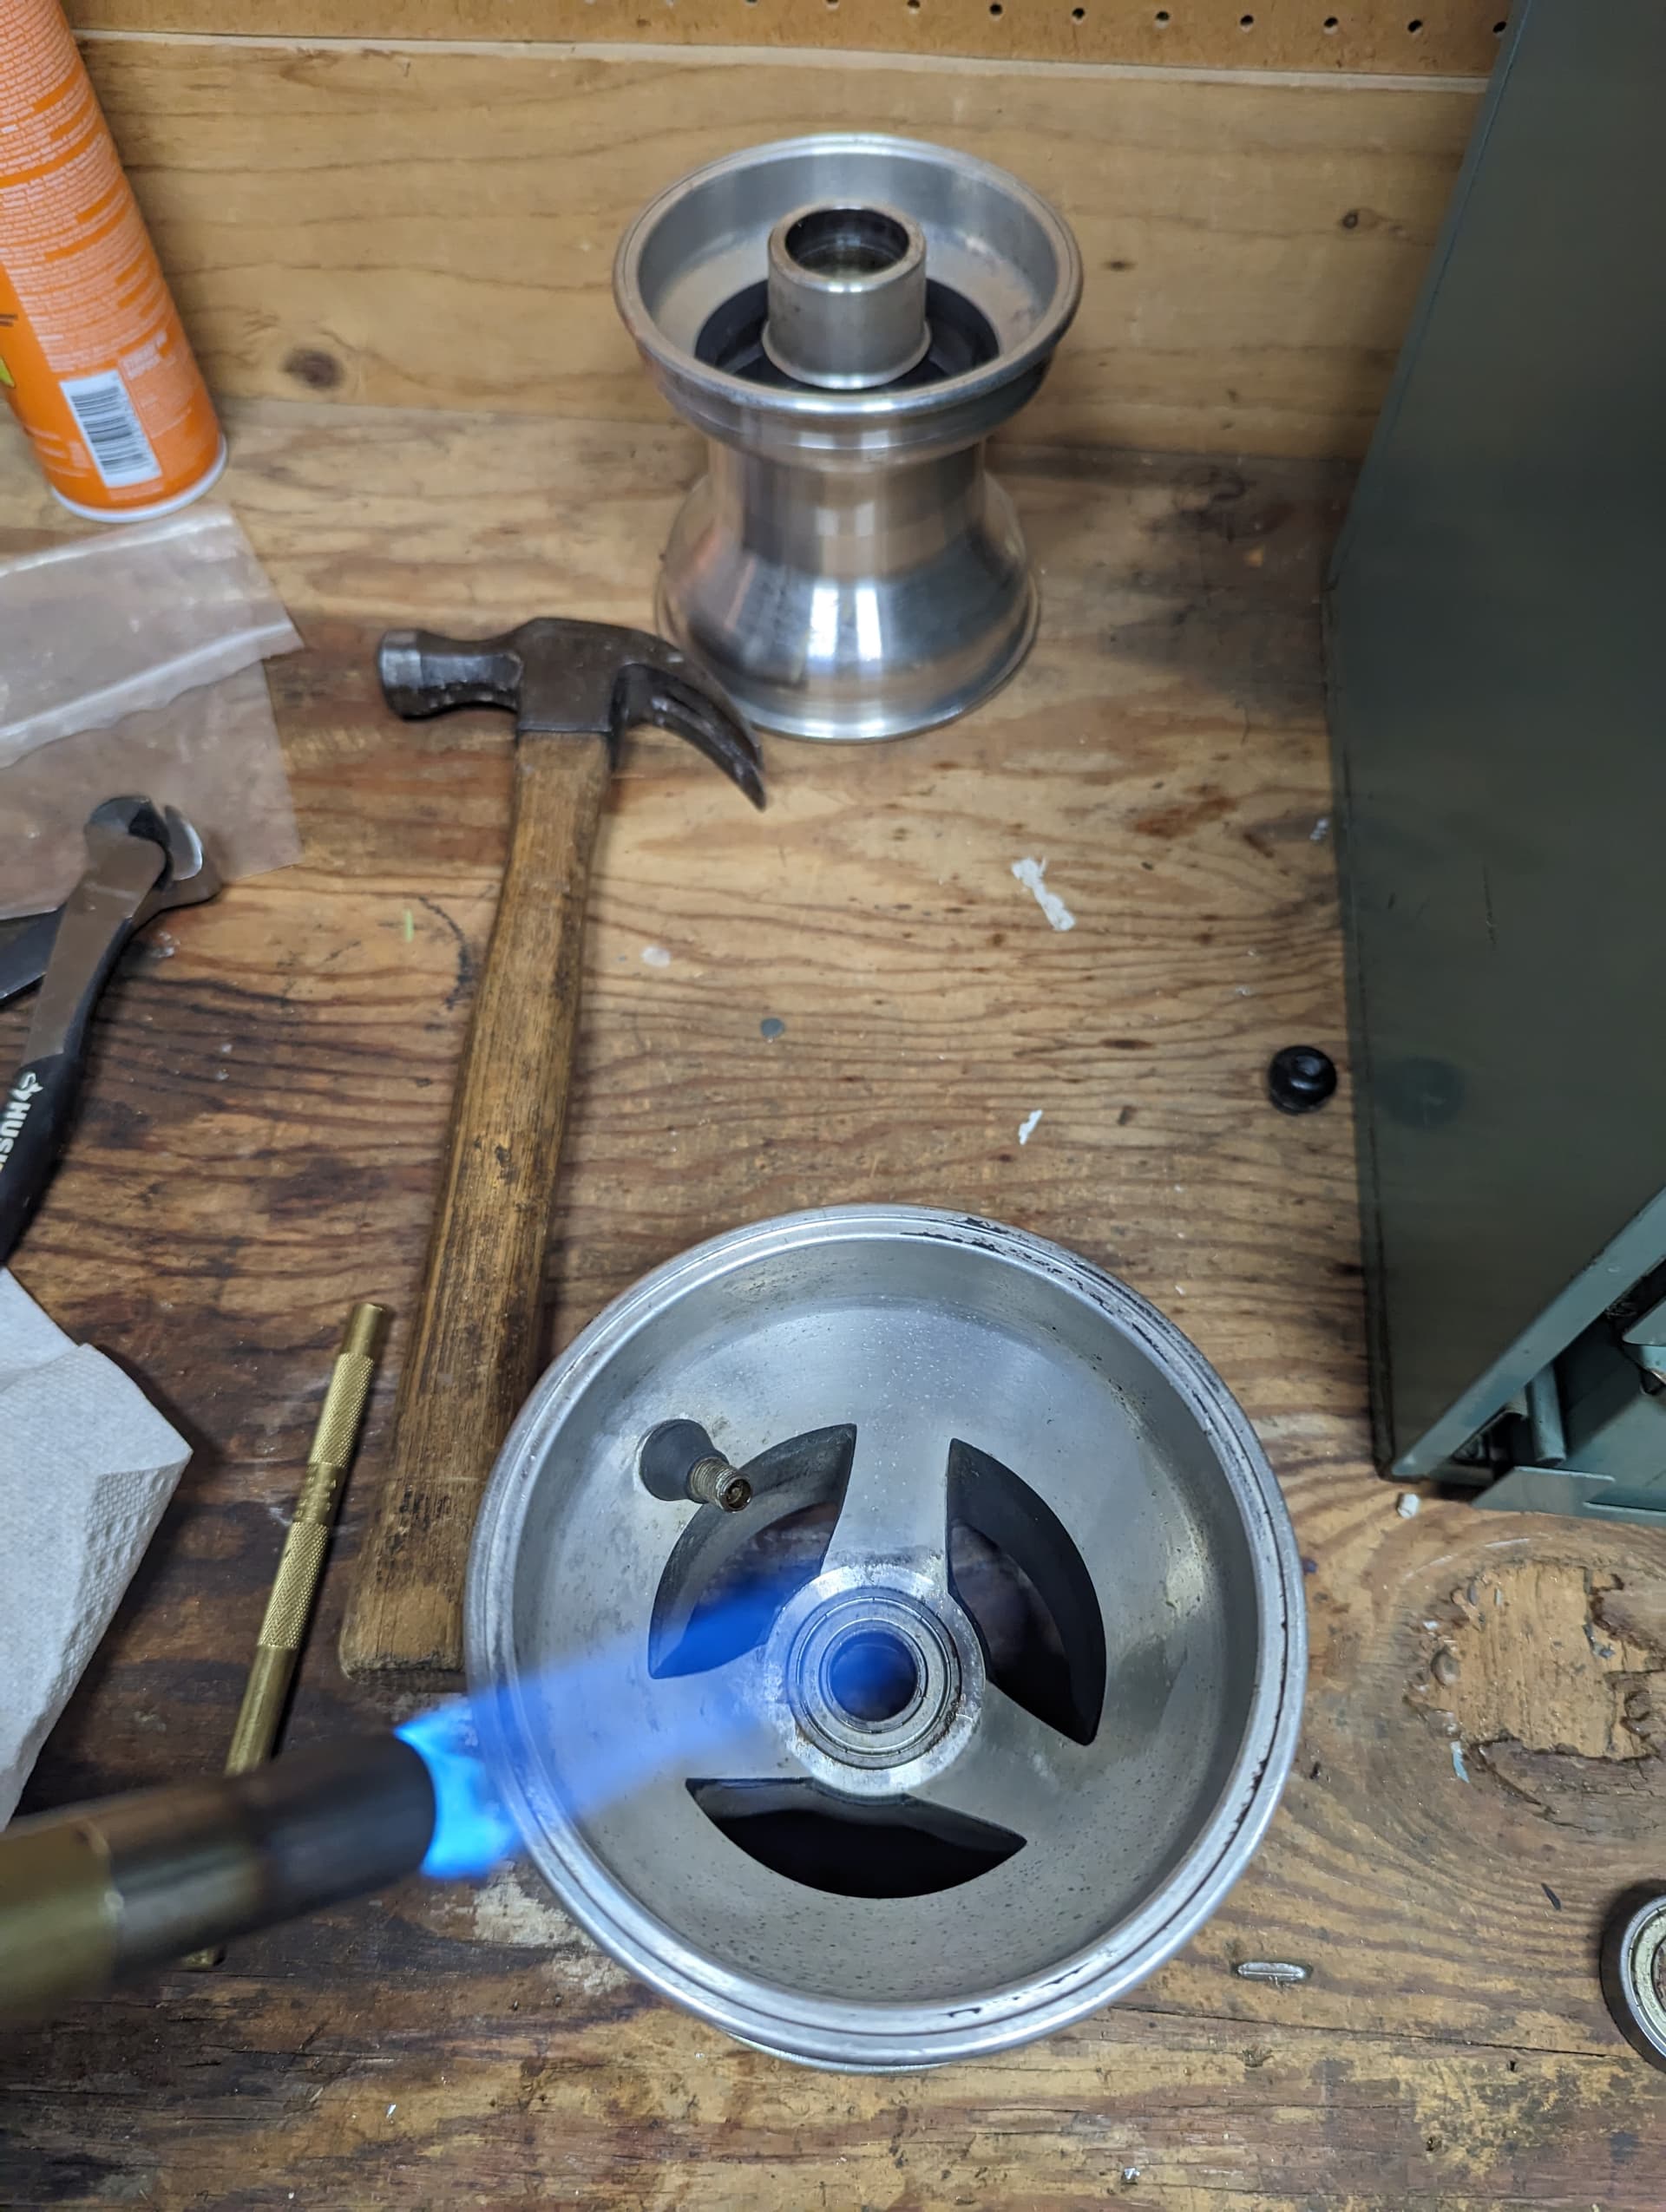
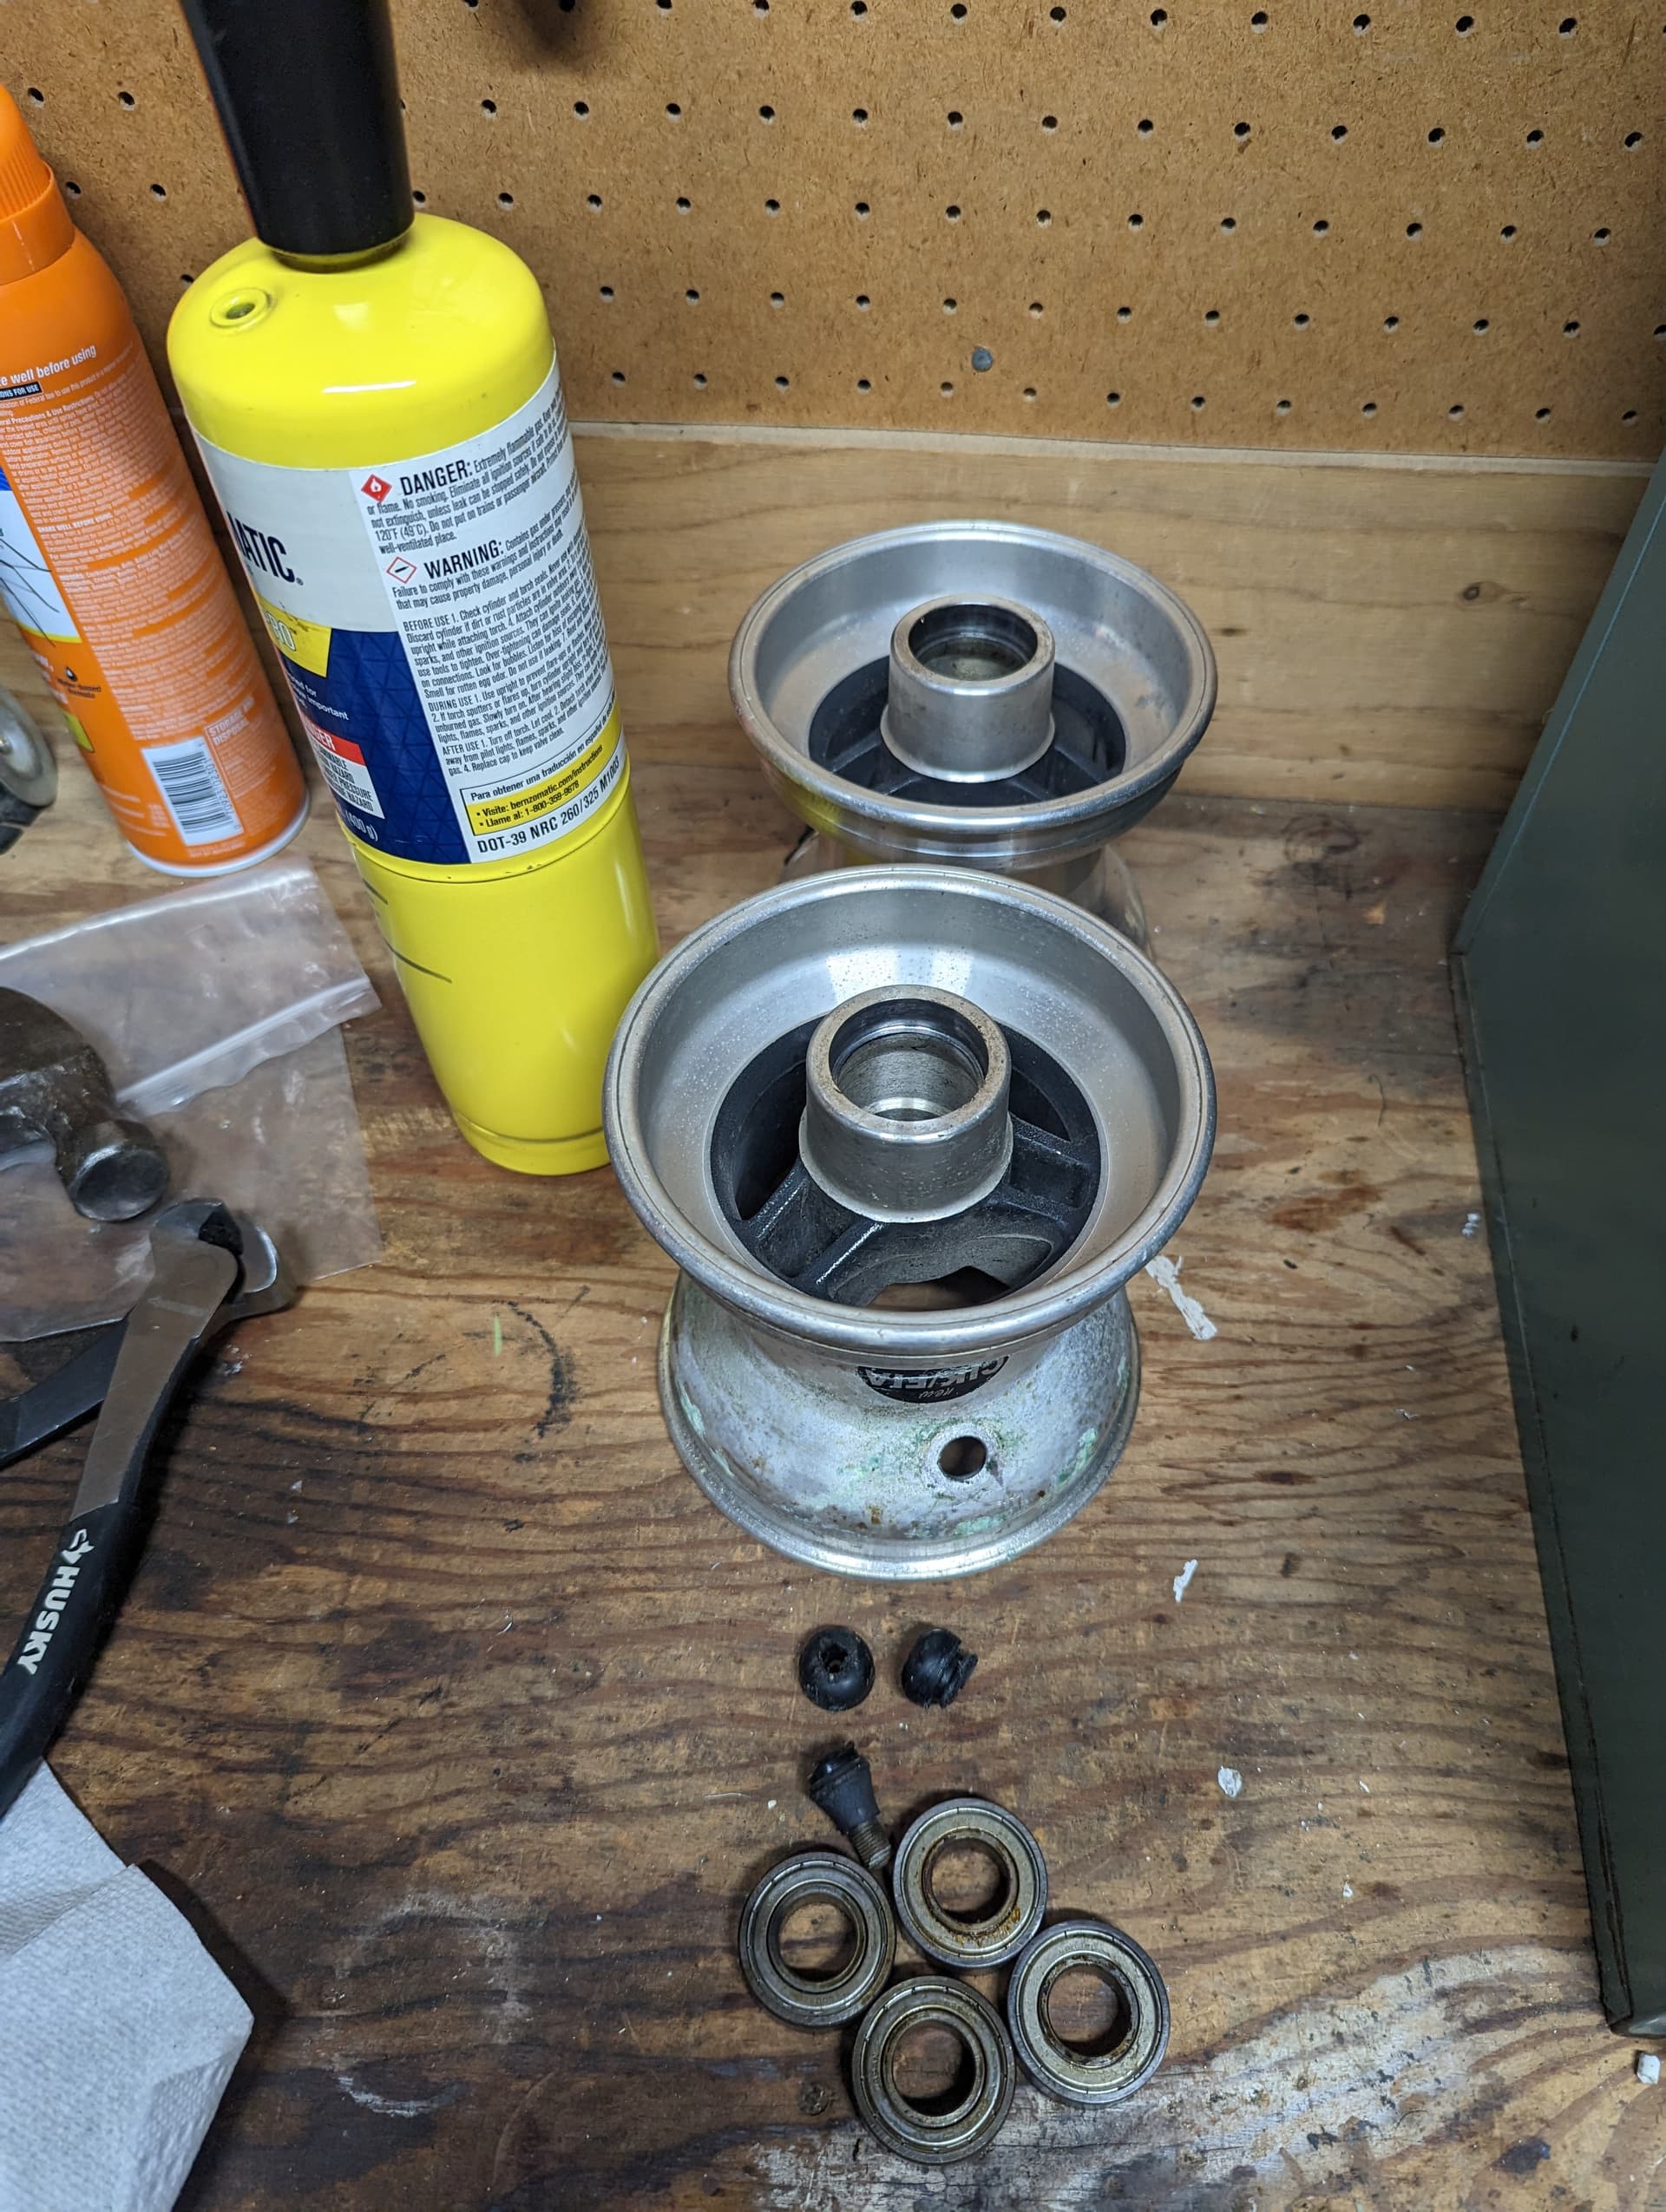
Then I’ll use vinegar and scotch brite from here onwards. These 40mm axles are hard enough, so unless you are using sandpaper, you won’t really risk to remove metal
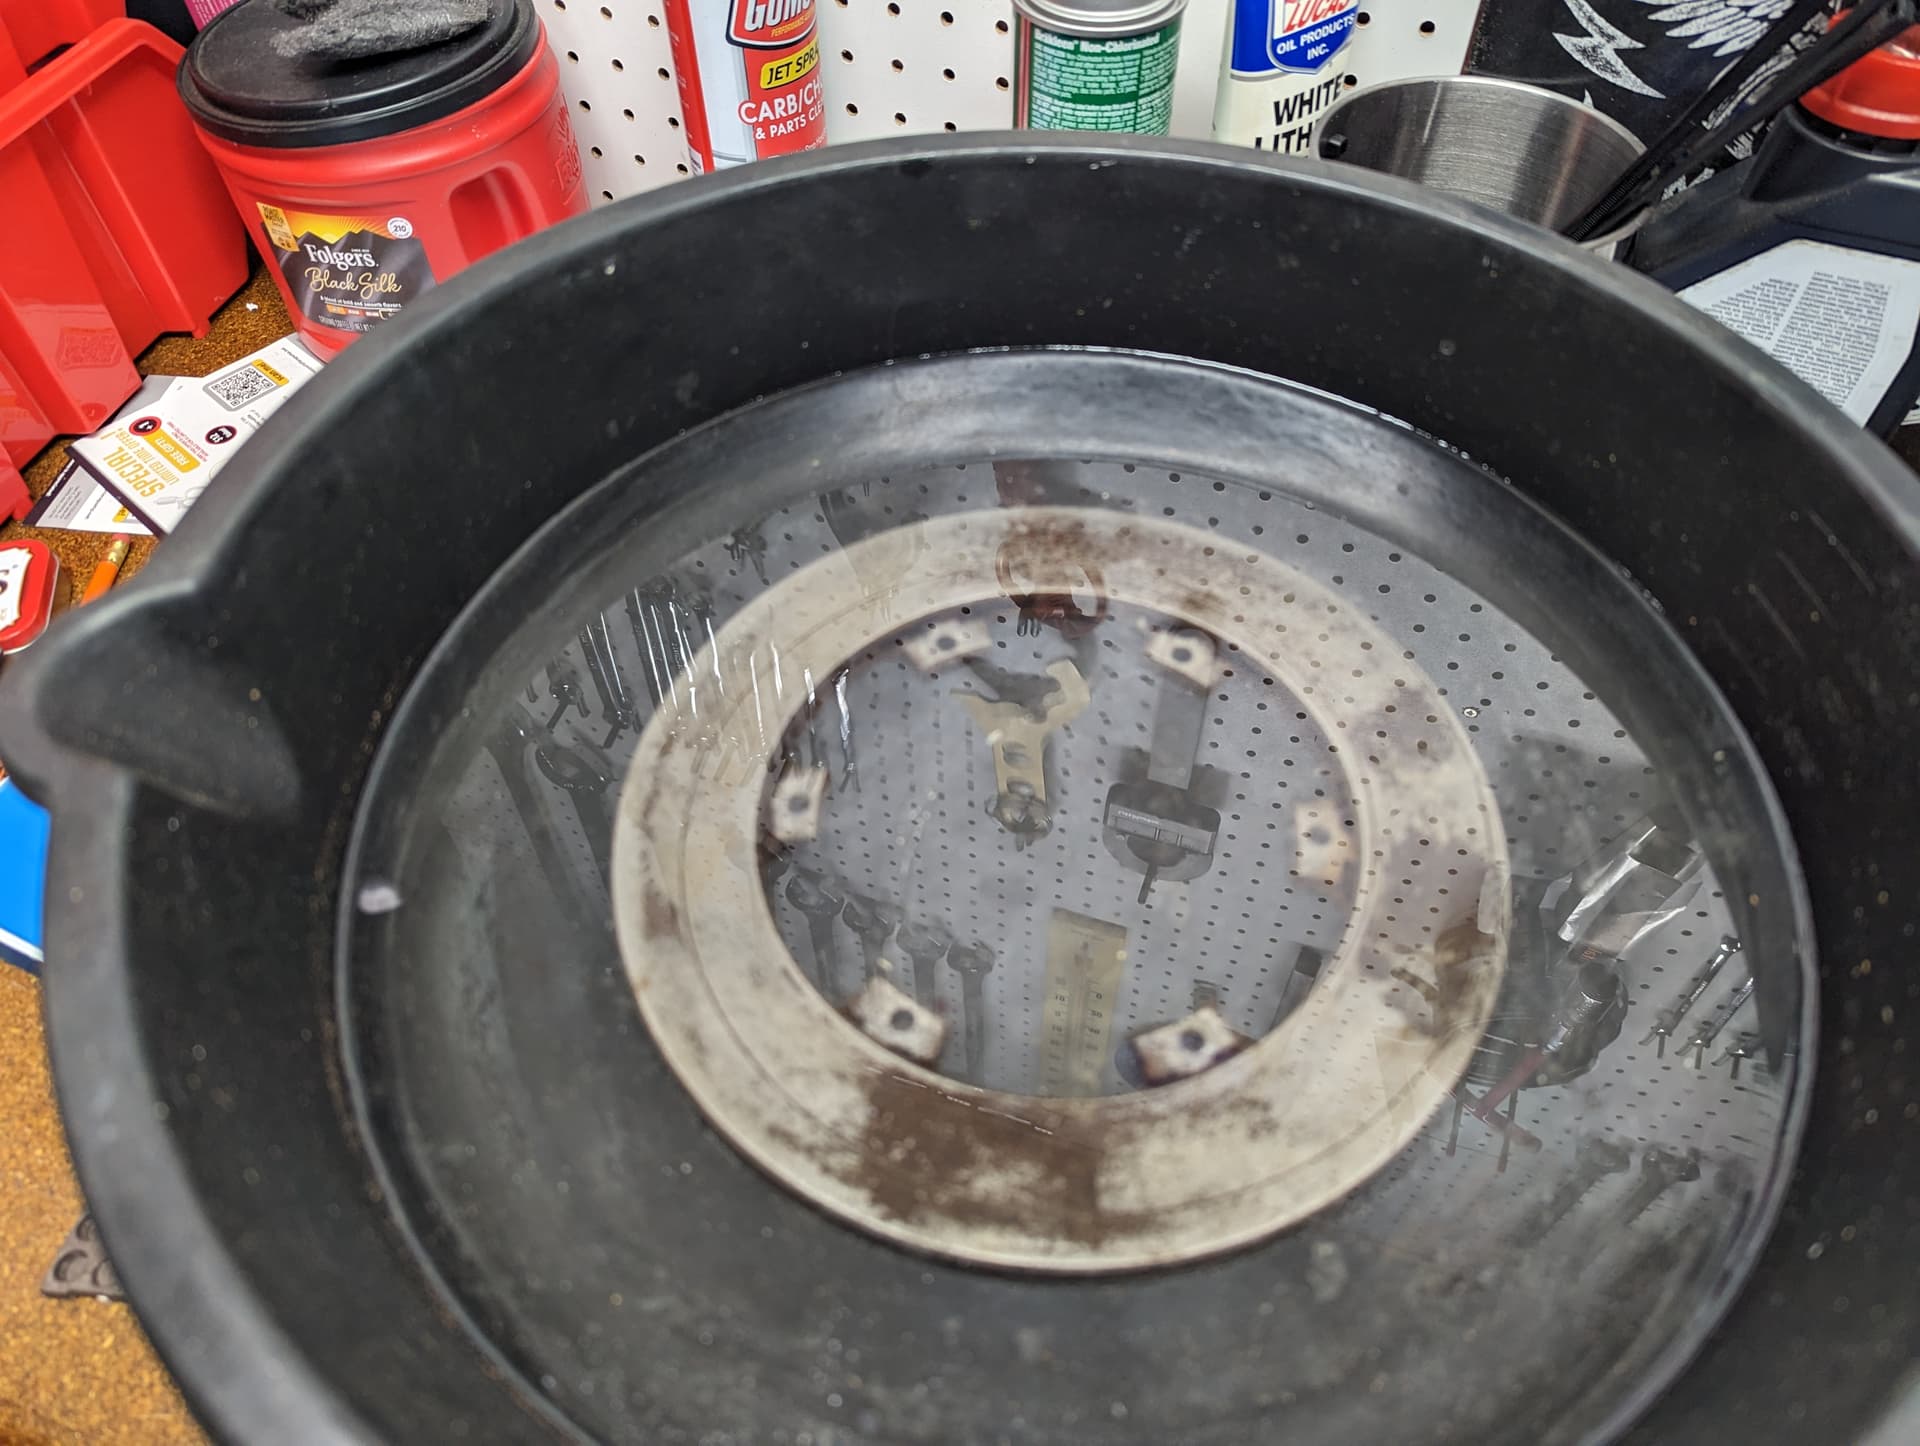
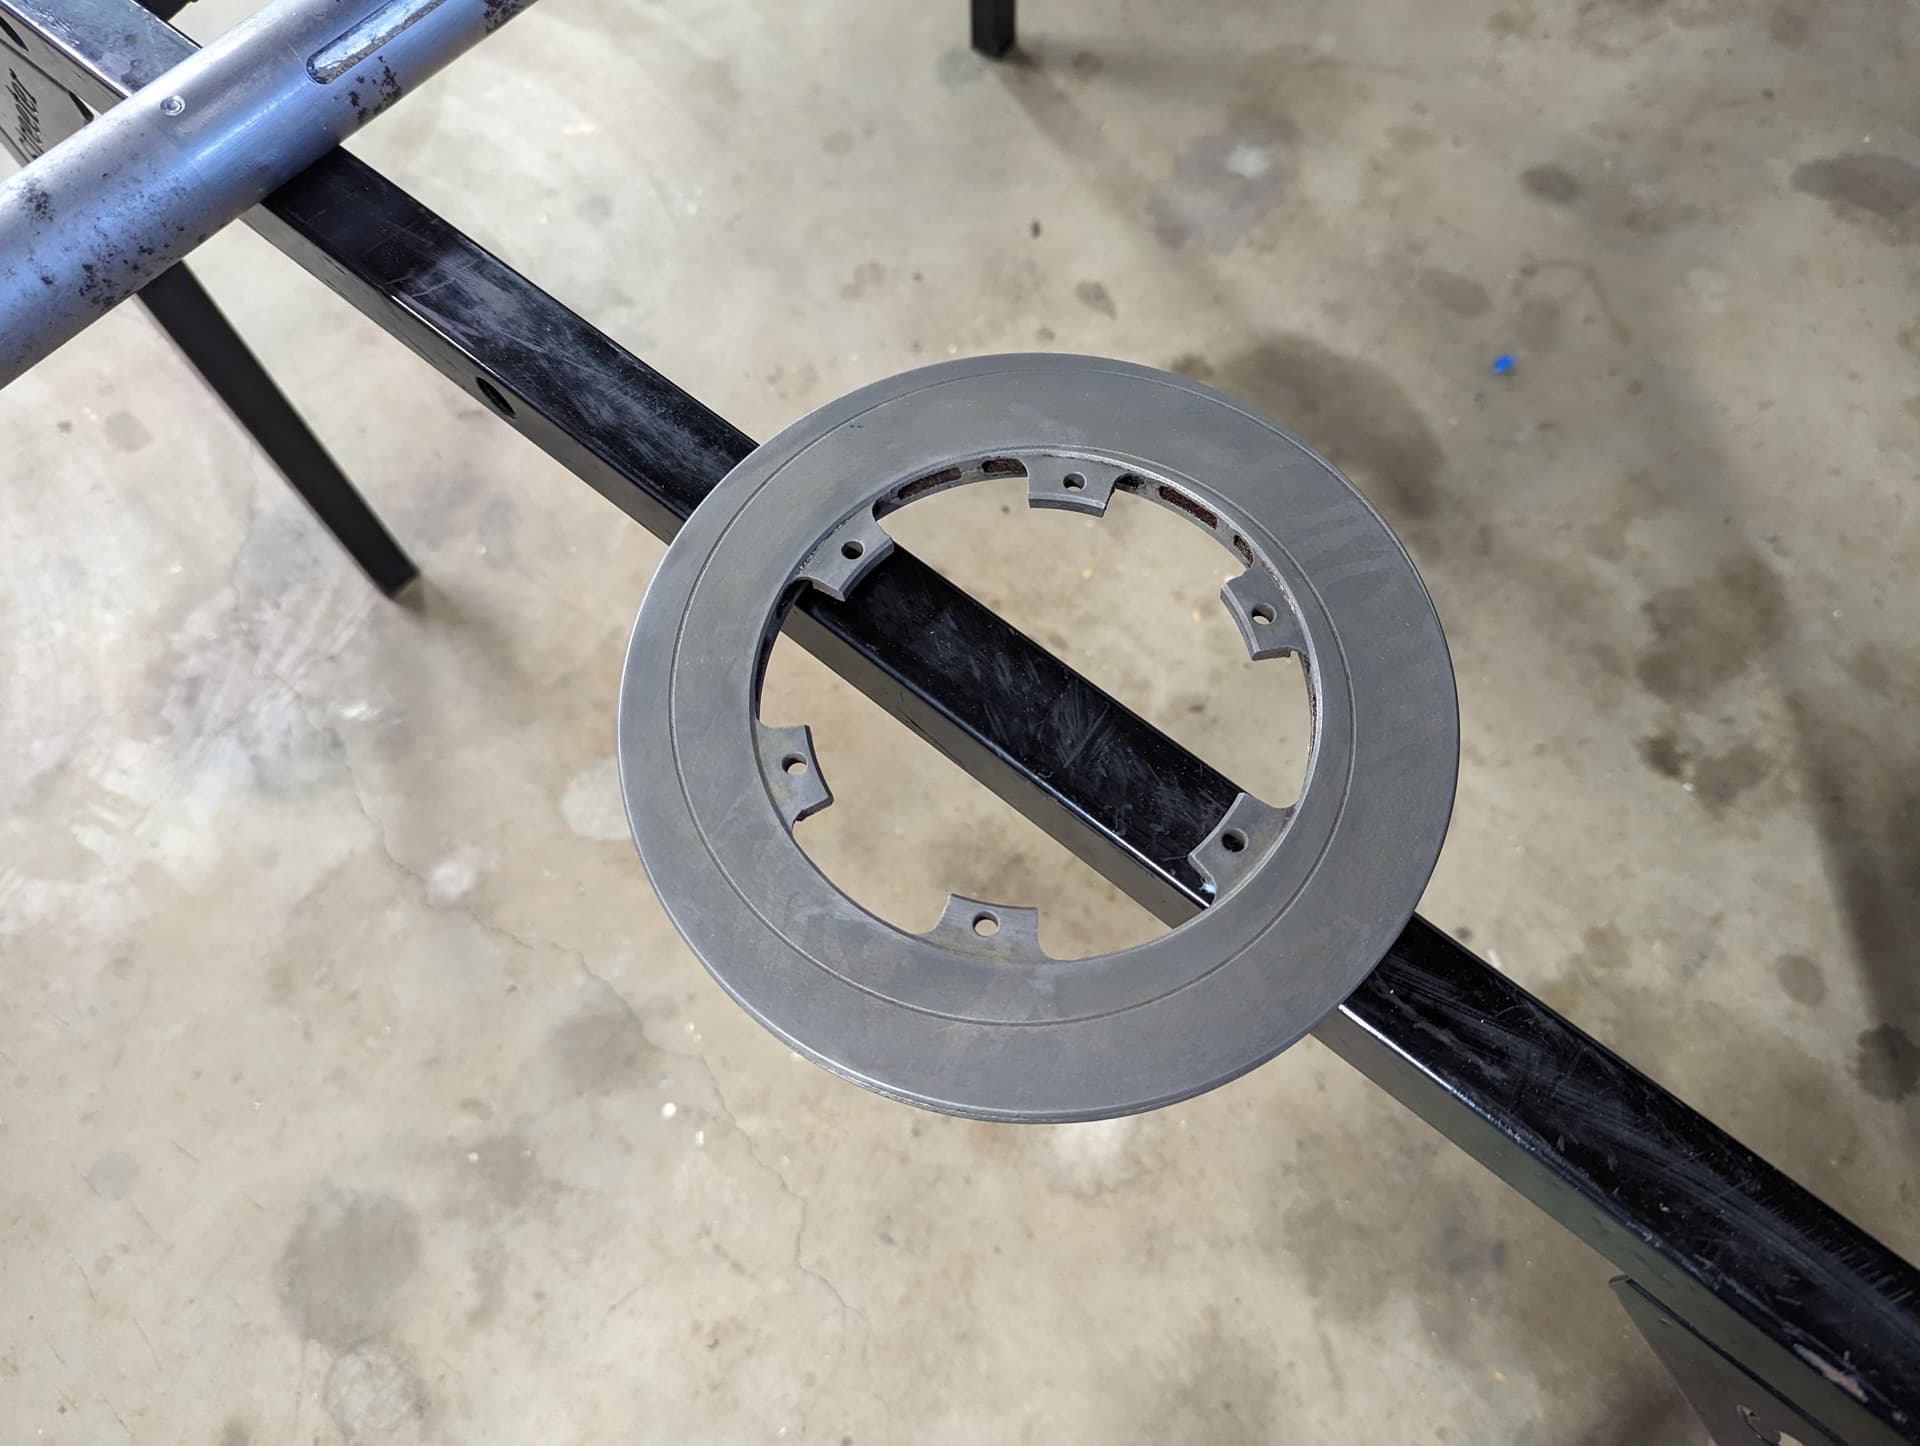
The brake disc, equally rusted, got several baths in white vinegar. 2 hours, scotch brite, 4 hours, scotch brite, then overnight and scotch brite again. Some more cycles needed but it’s getting there
Then hit it using a brass punch first, then flatten with metal bumping hammer (lay the flat head on the lip, then hit with a second hammer) using a flat, rigid surface as backing.
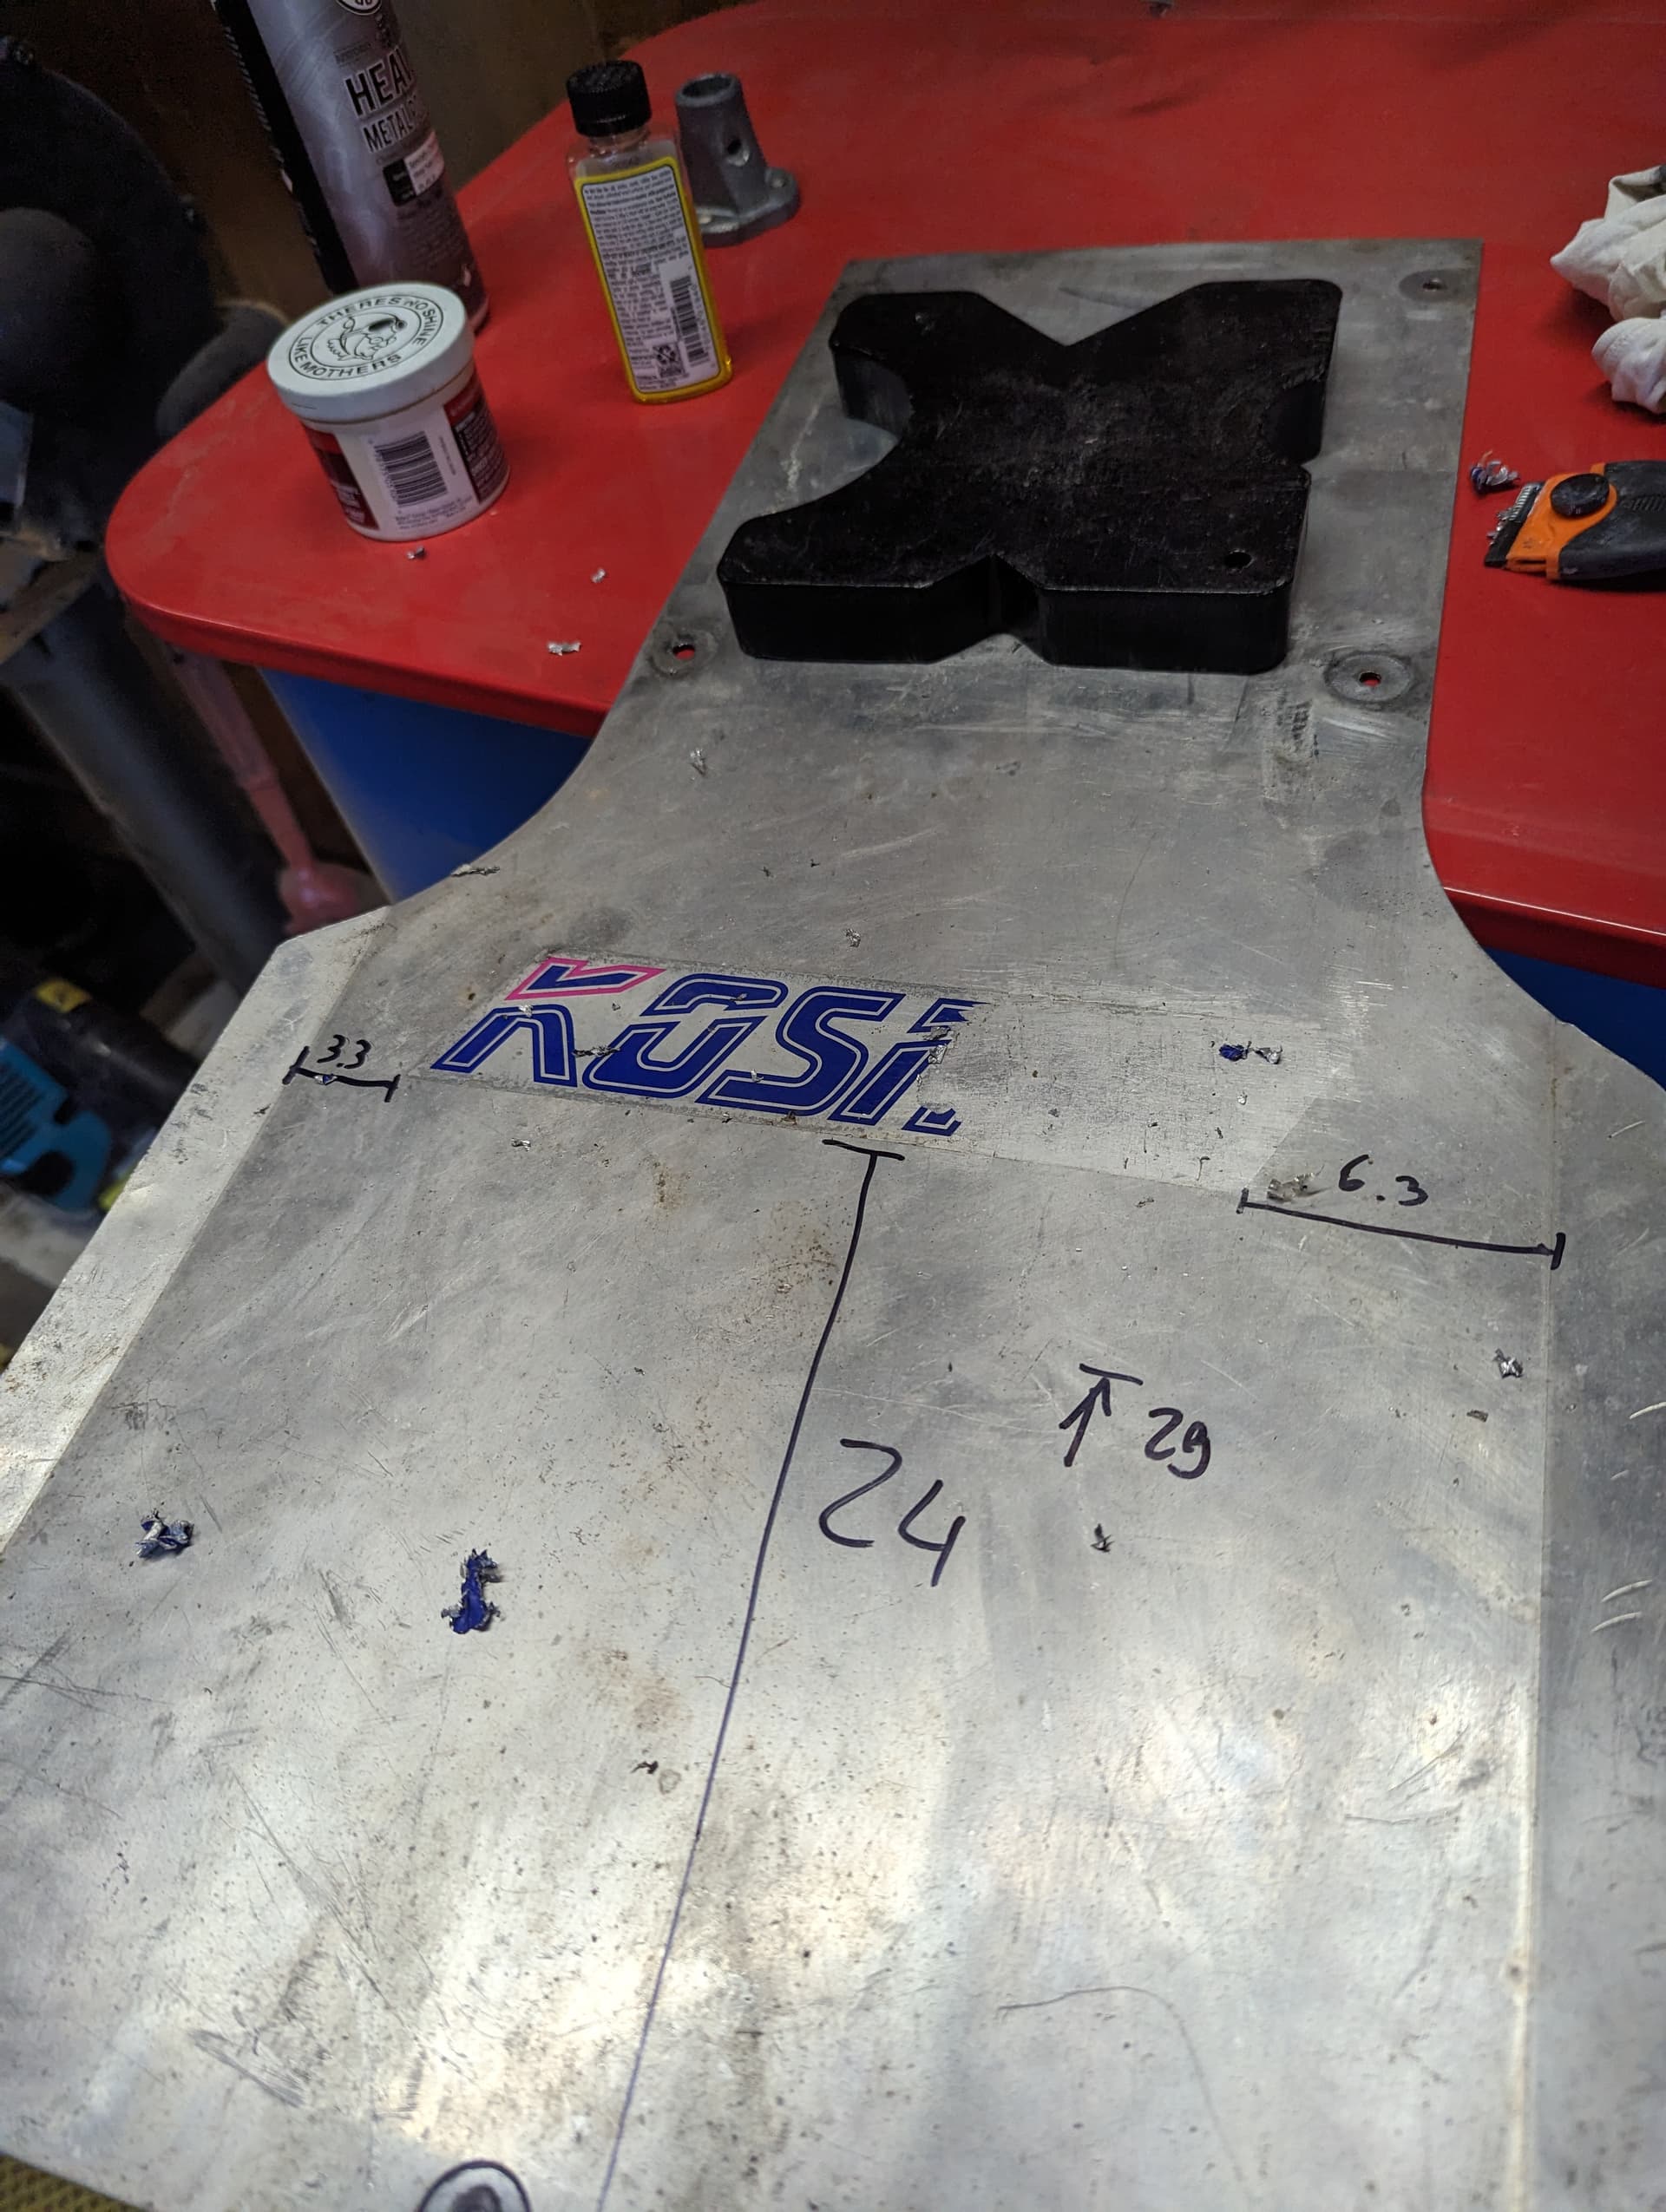
Today it was all about the floorpan…after straightening it, I’ve peeled off the old sticker. Tip: if you are doing a restoration, draw the position of the stickers with a marker and take a picture…super easy to replicate later
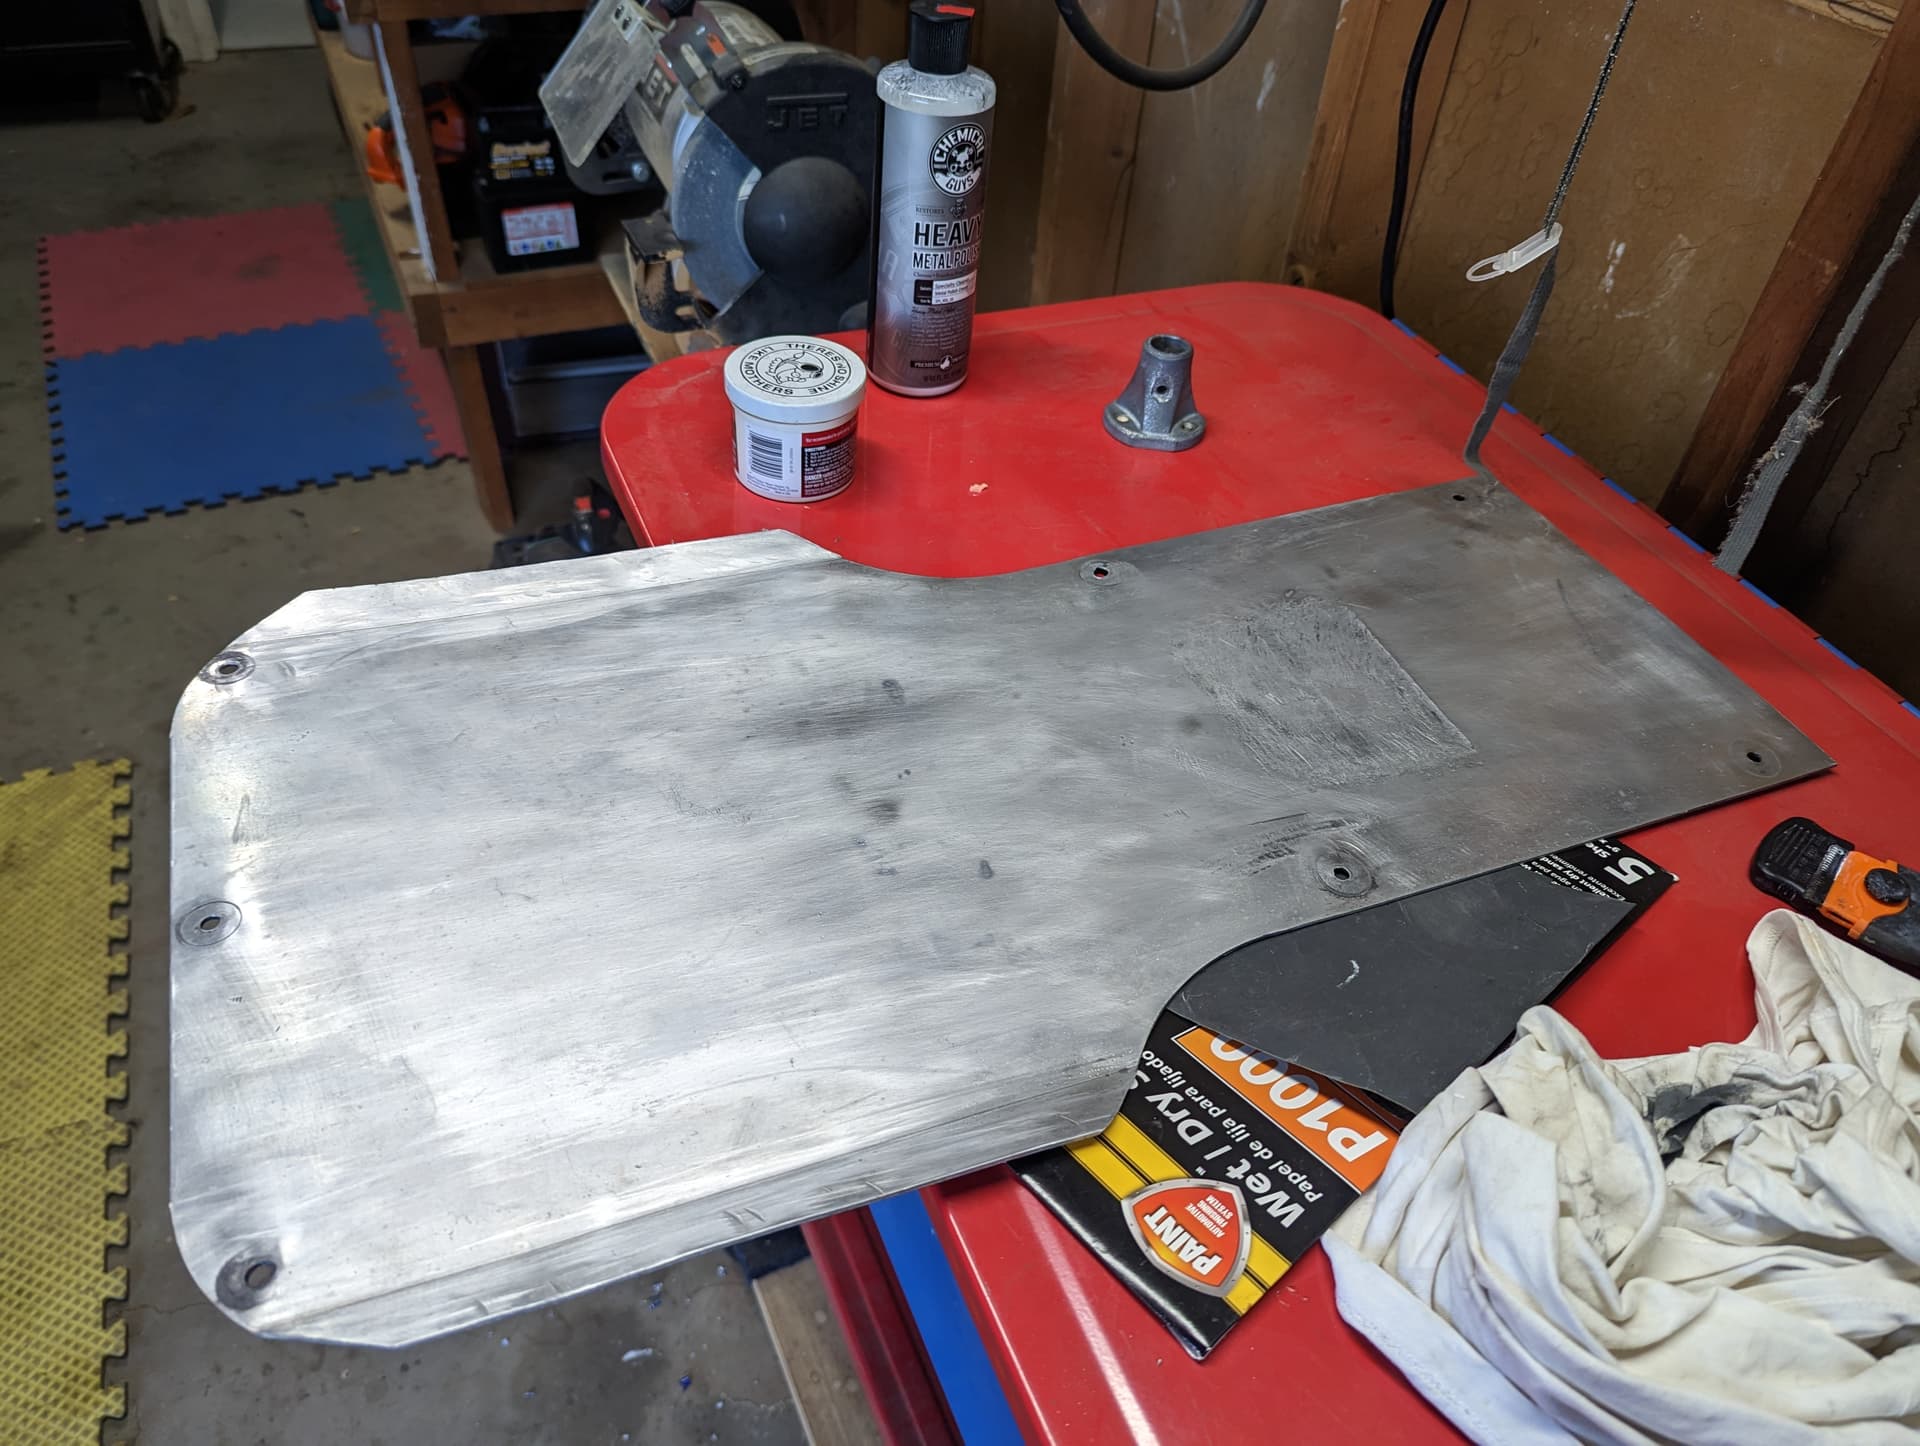
Then the polishing. I didn’t want it to be too polished as this kart will be used so I kept it to a minimum. The more steps you add (and the coarser you start), the more mirror-like effect you will get in the end.
What I did to keep it quick and not too shiny: blocked with 600 wet, then 800, 1,000 and 1,500. Followed by cutting compound and polishing compound on a small hand buffer.