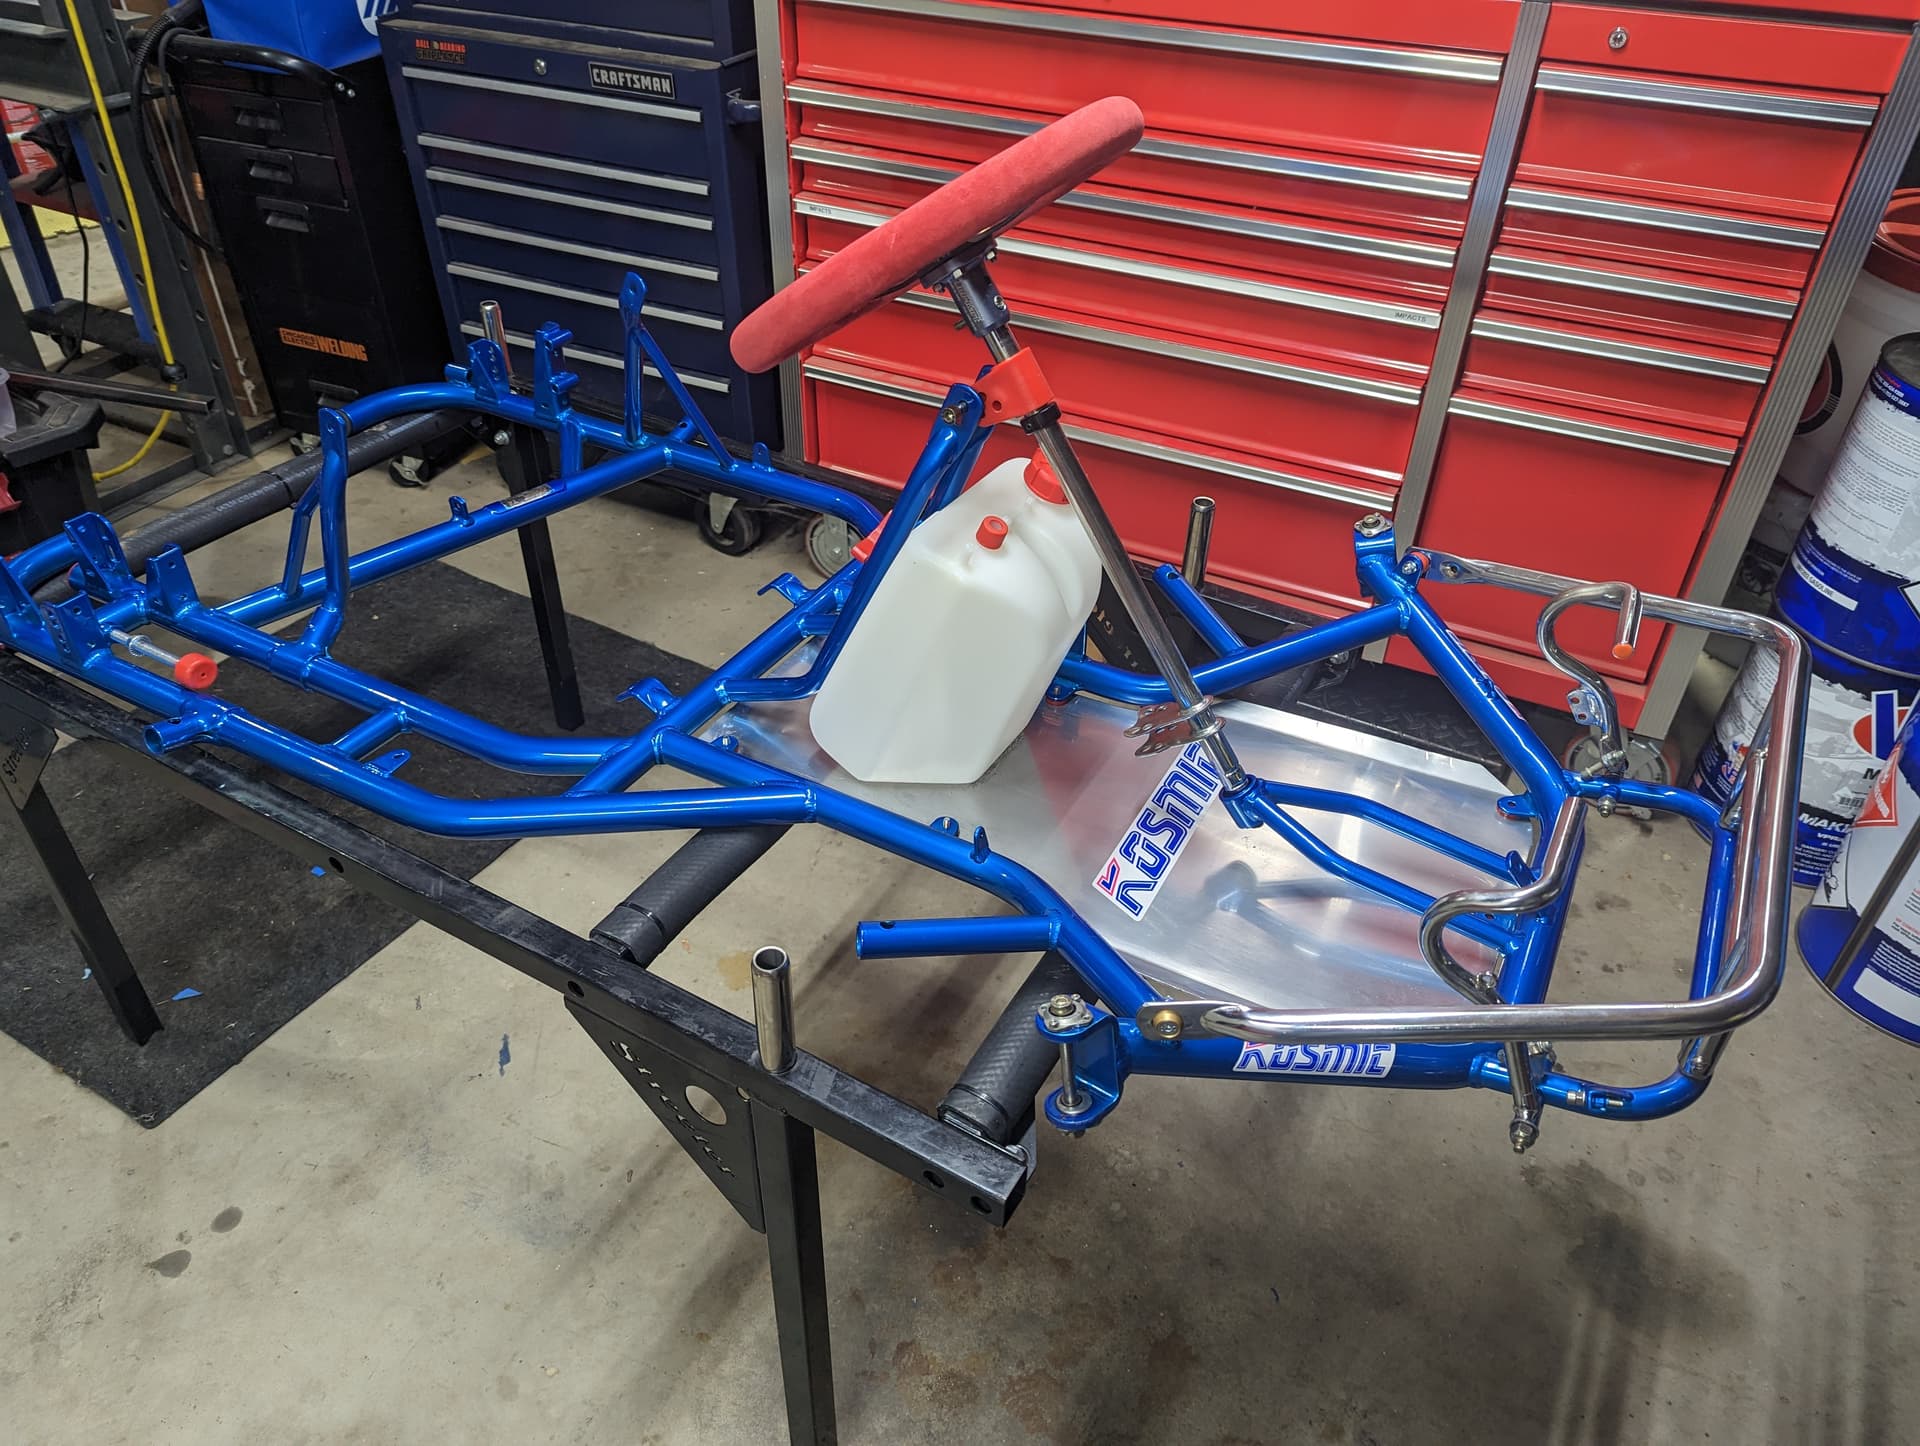
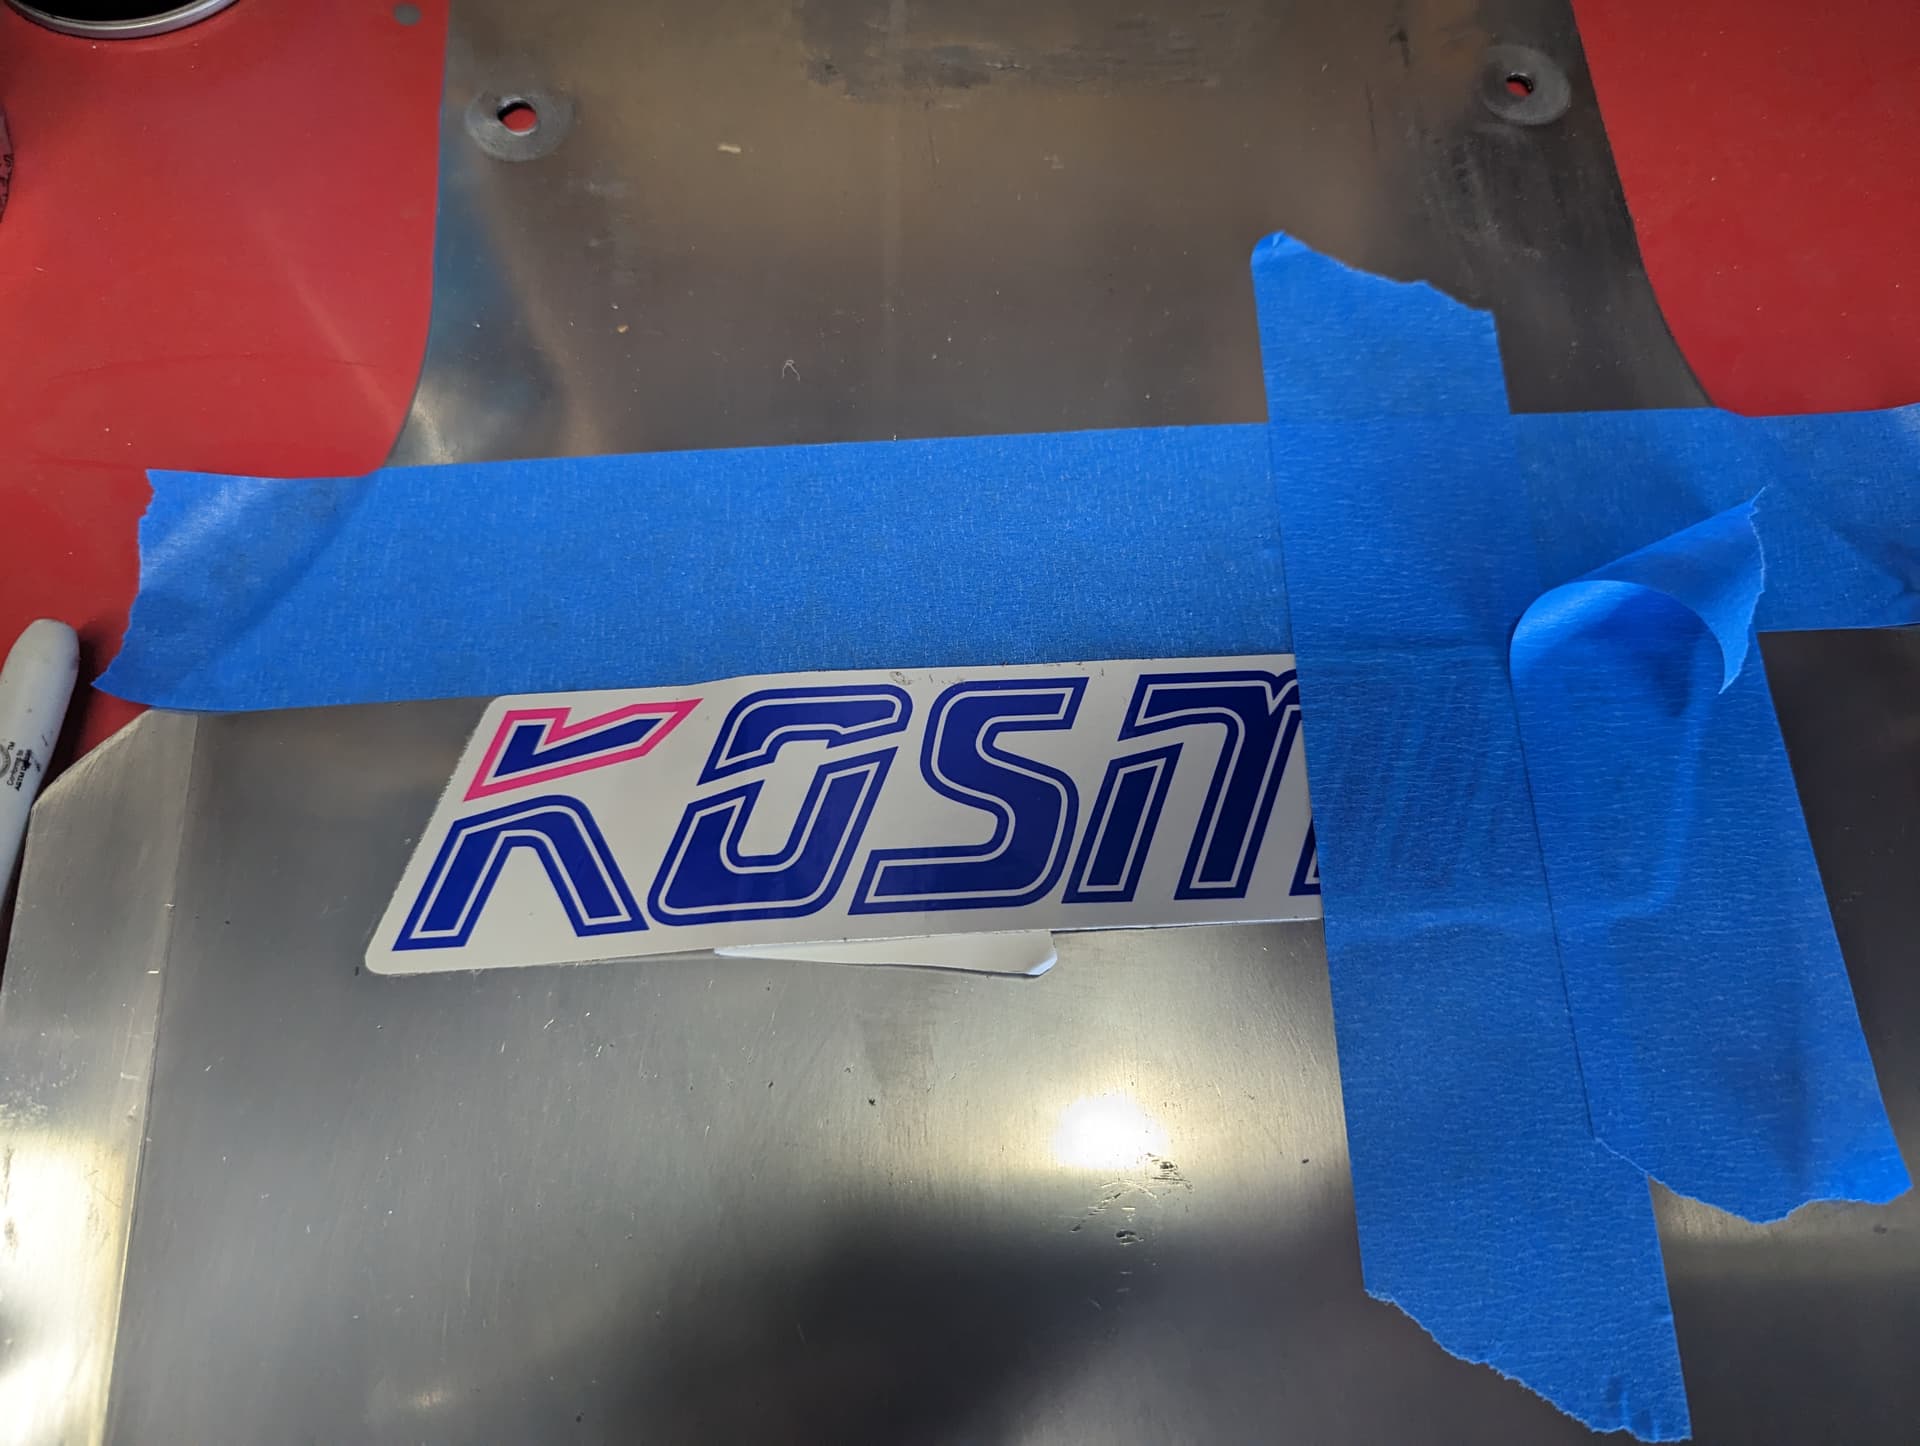
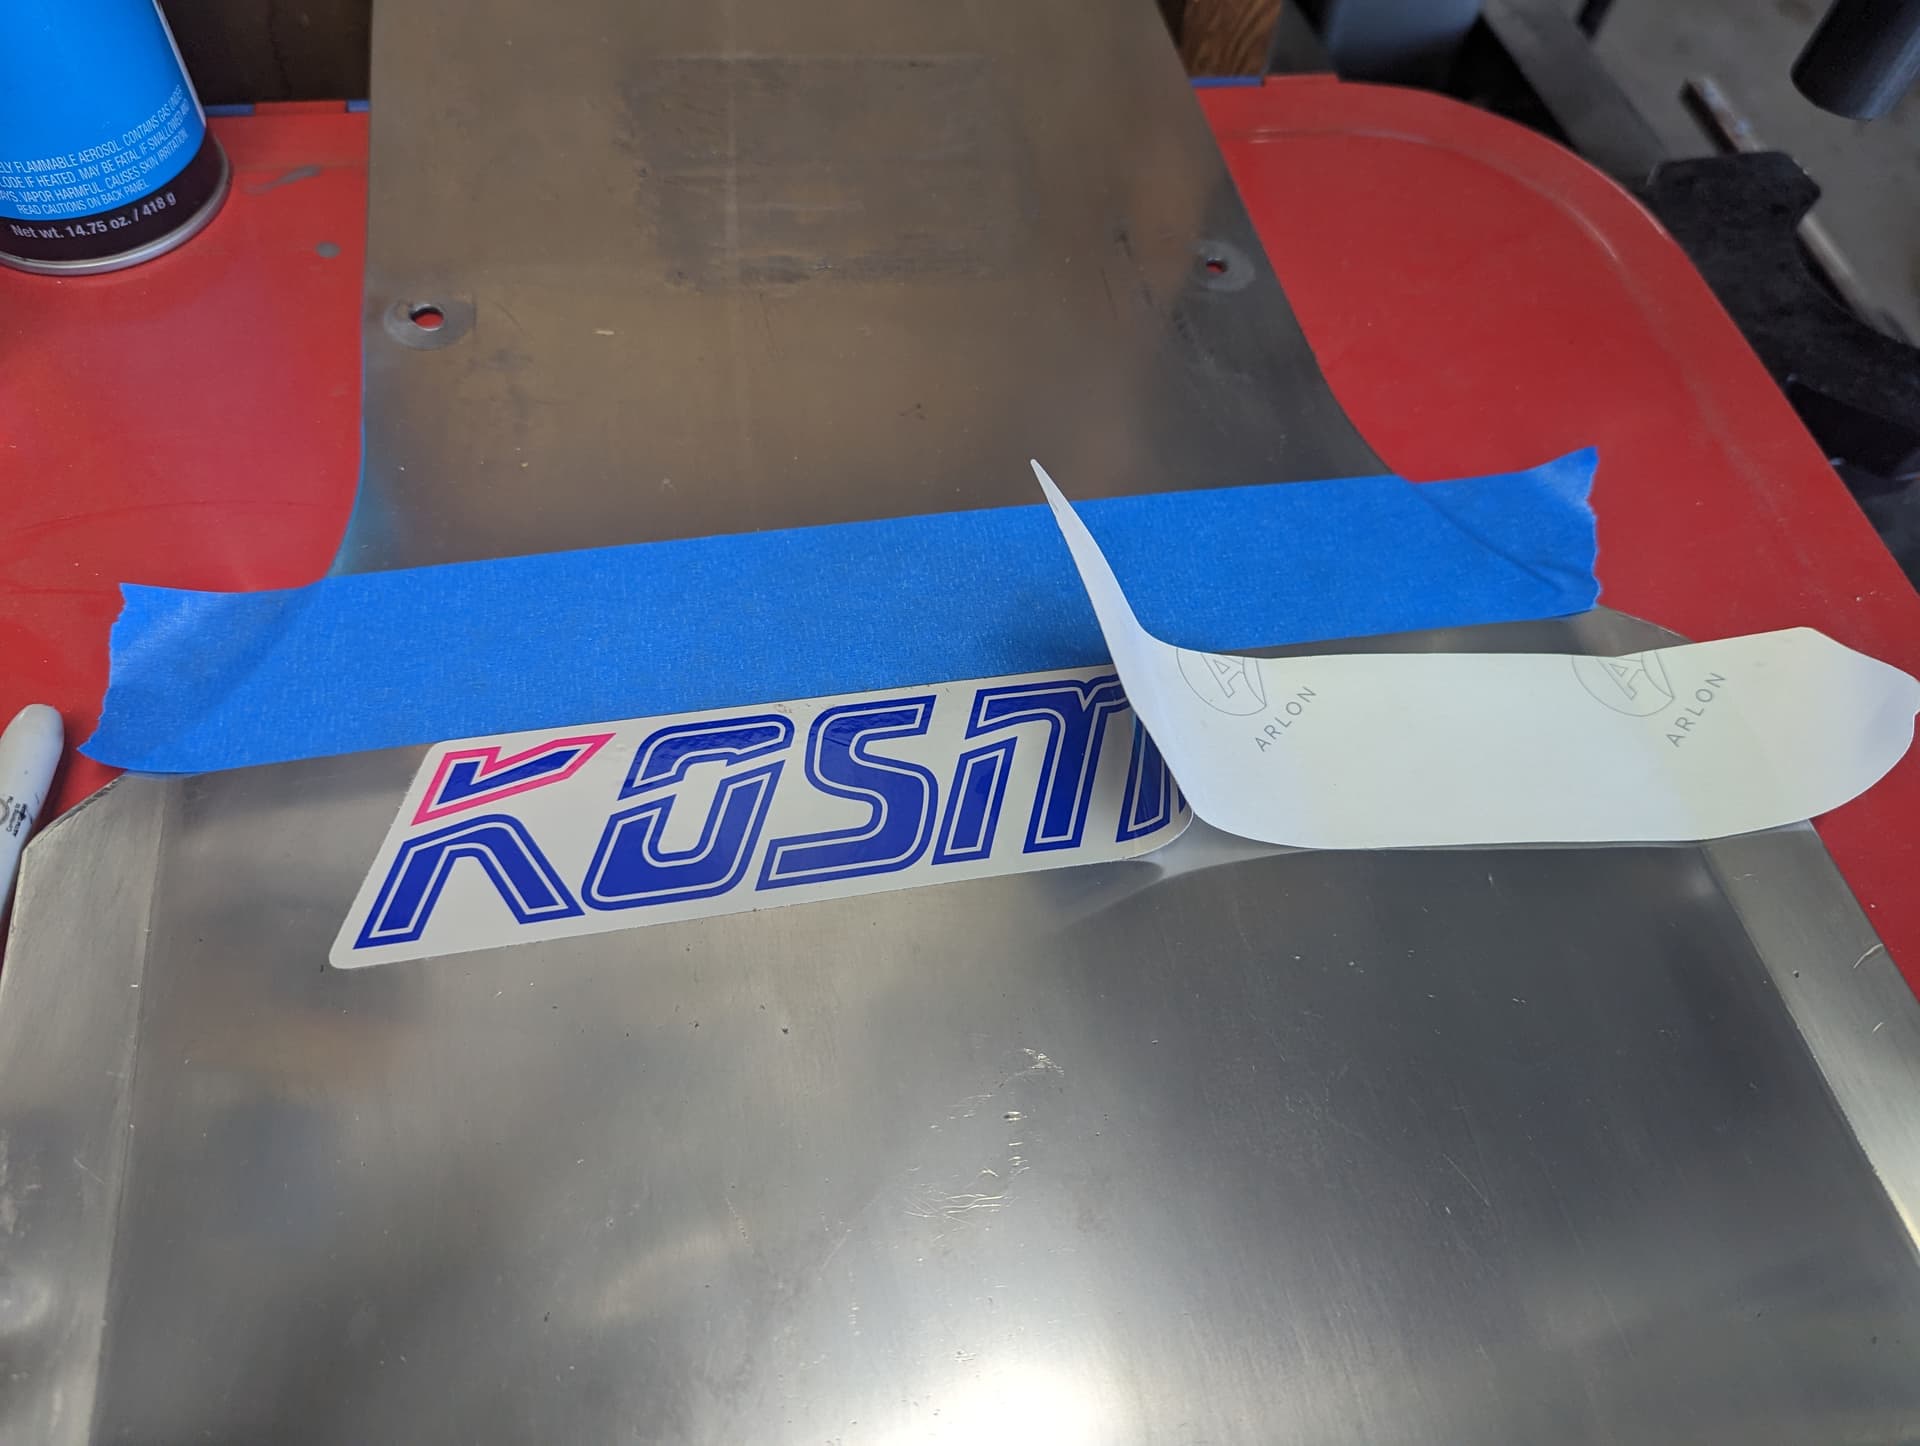
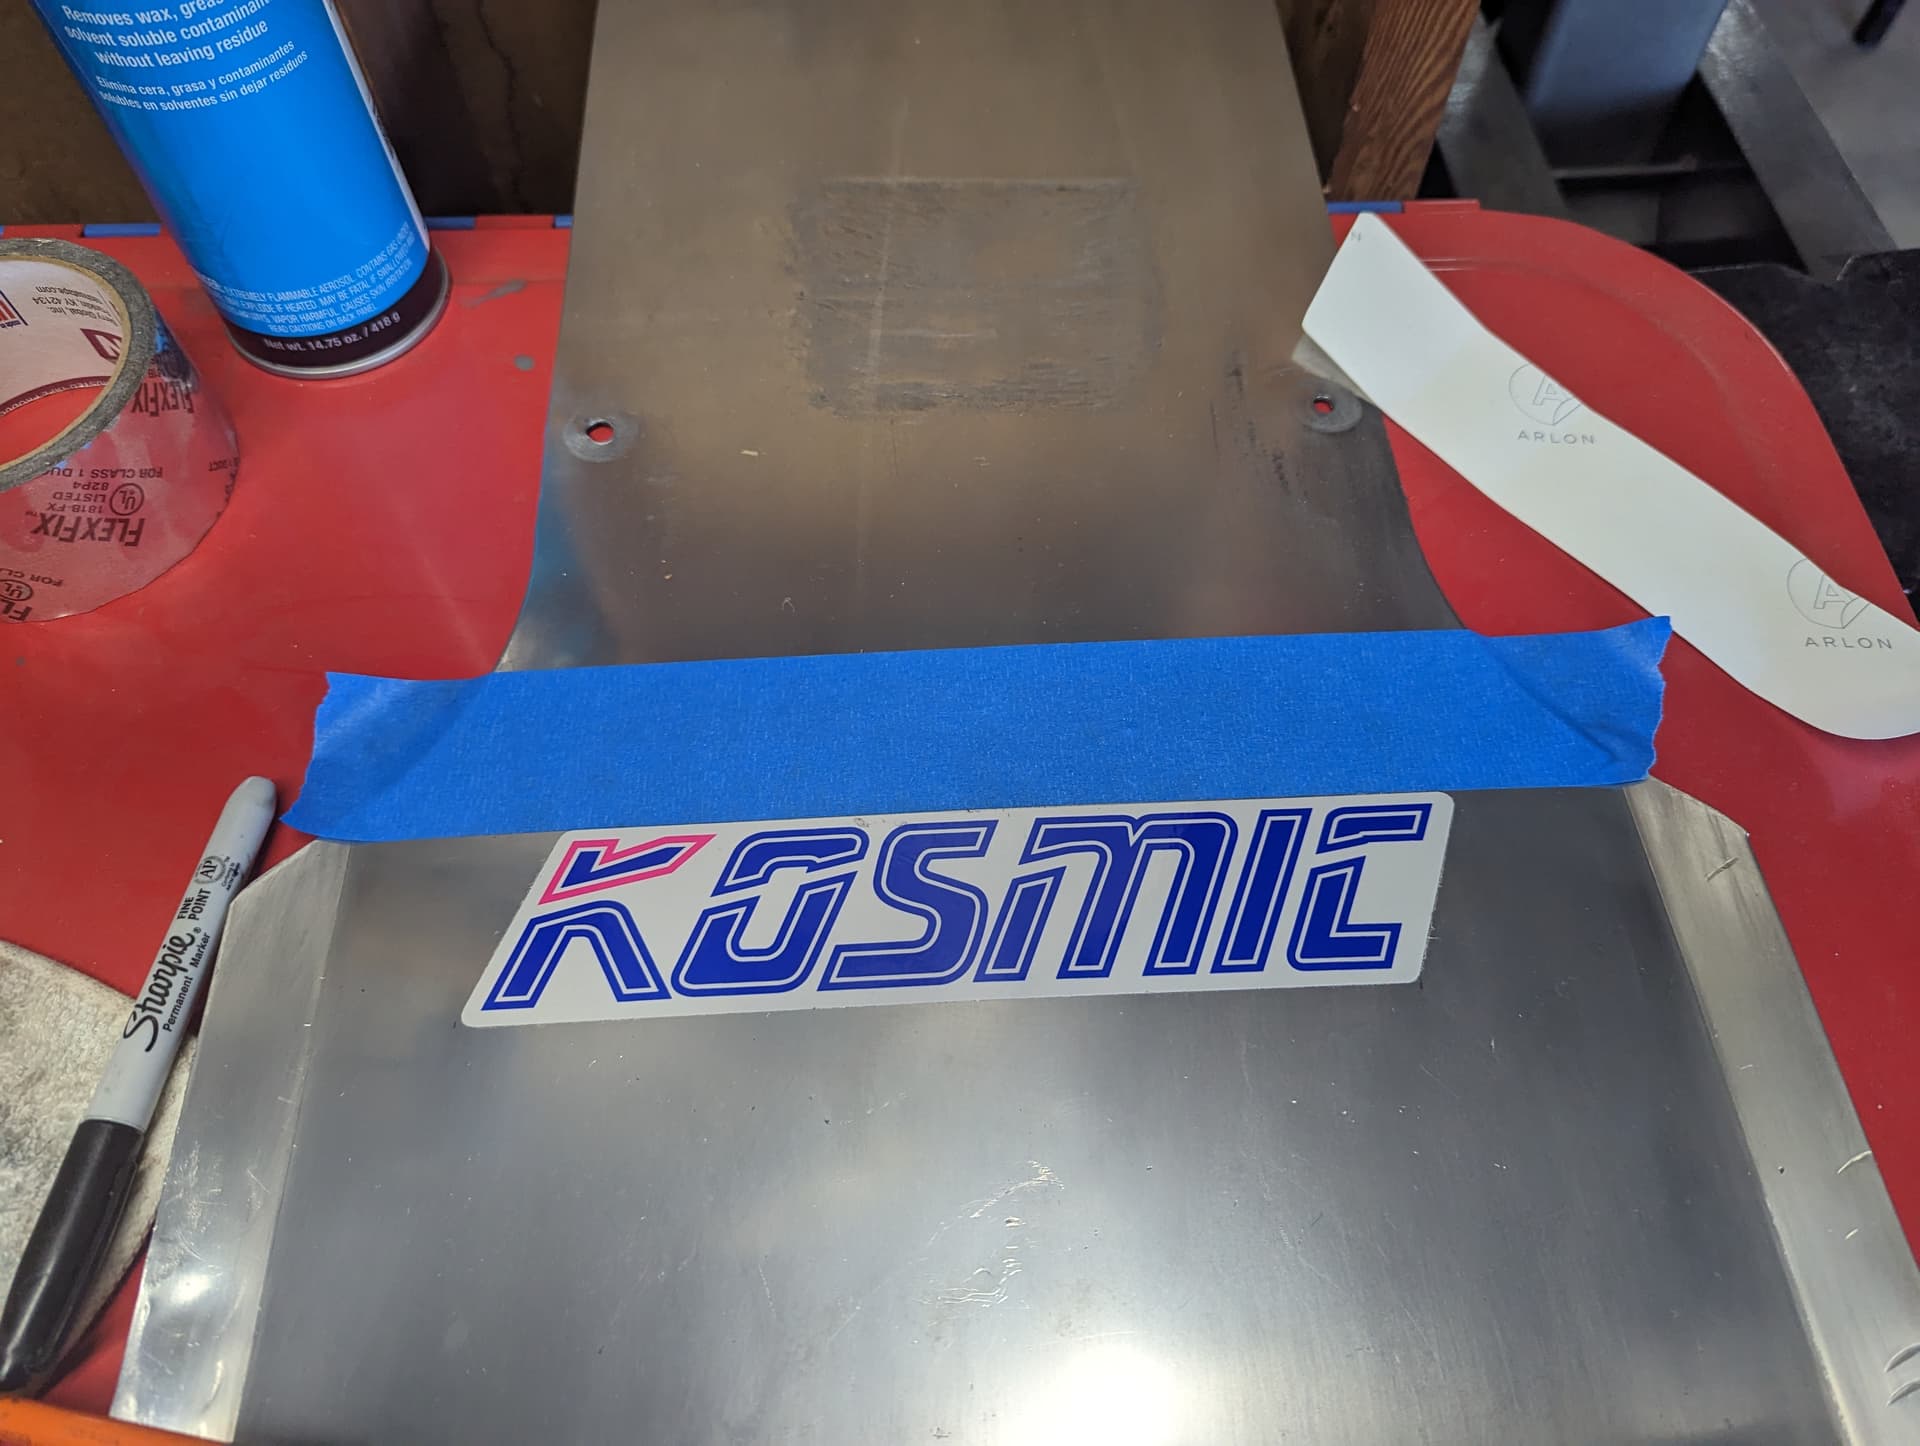
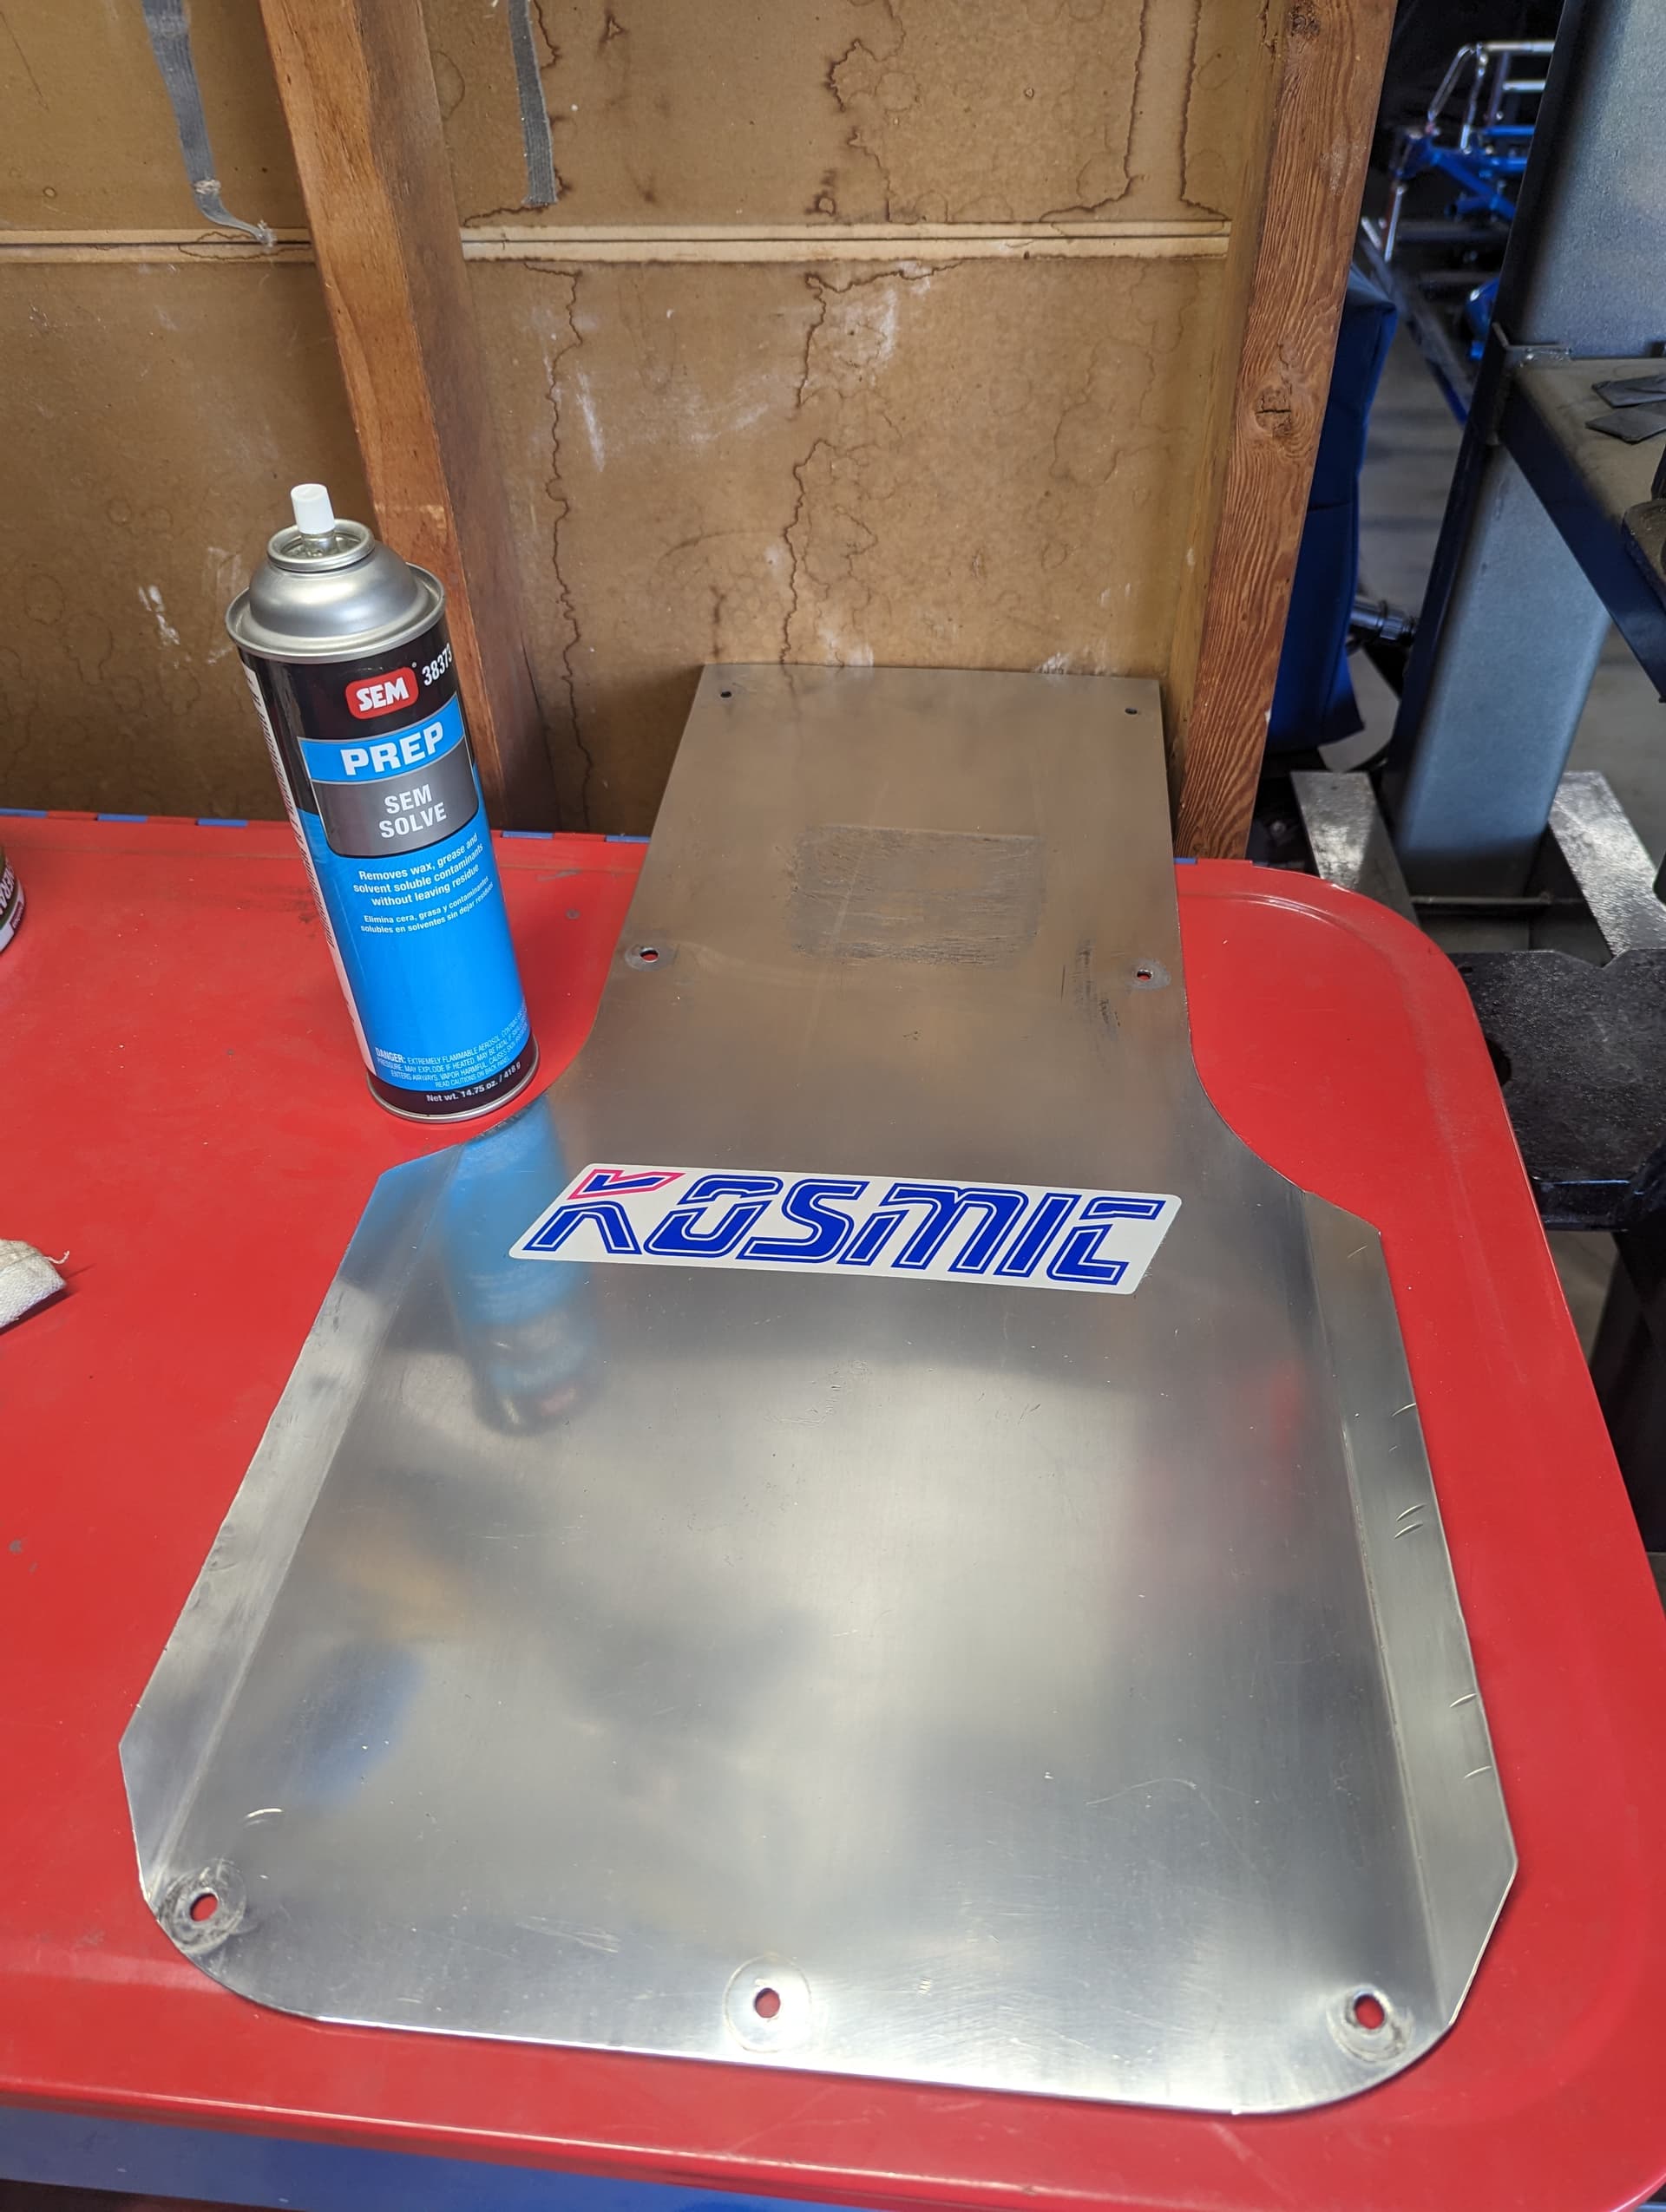
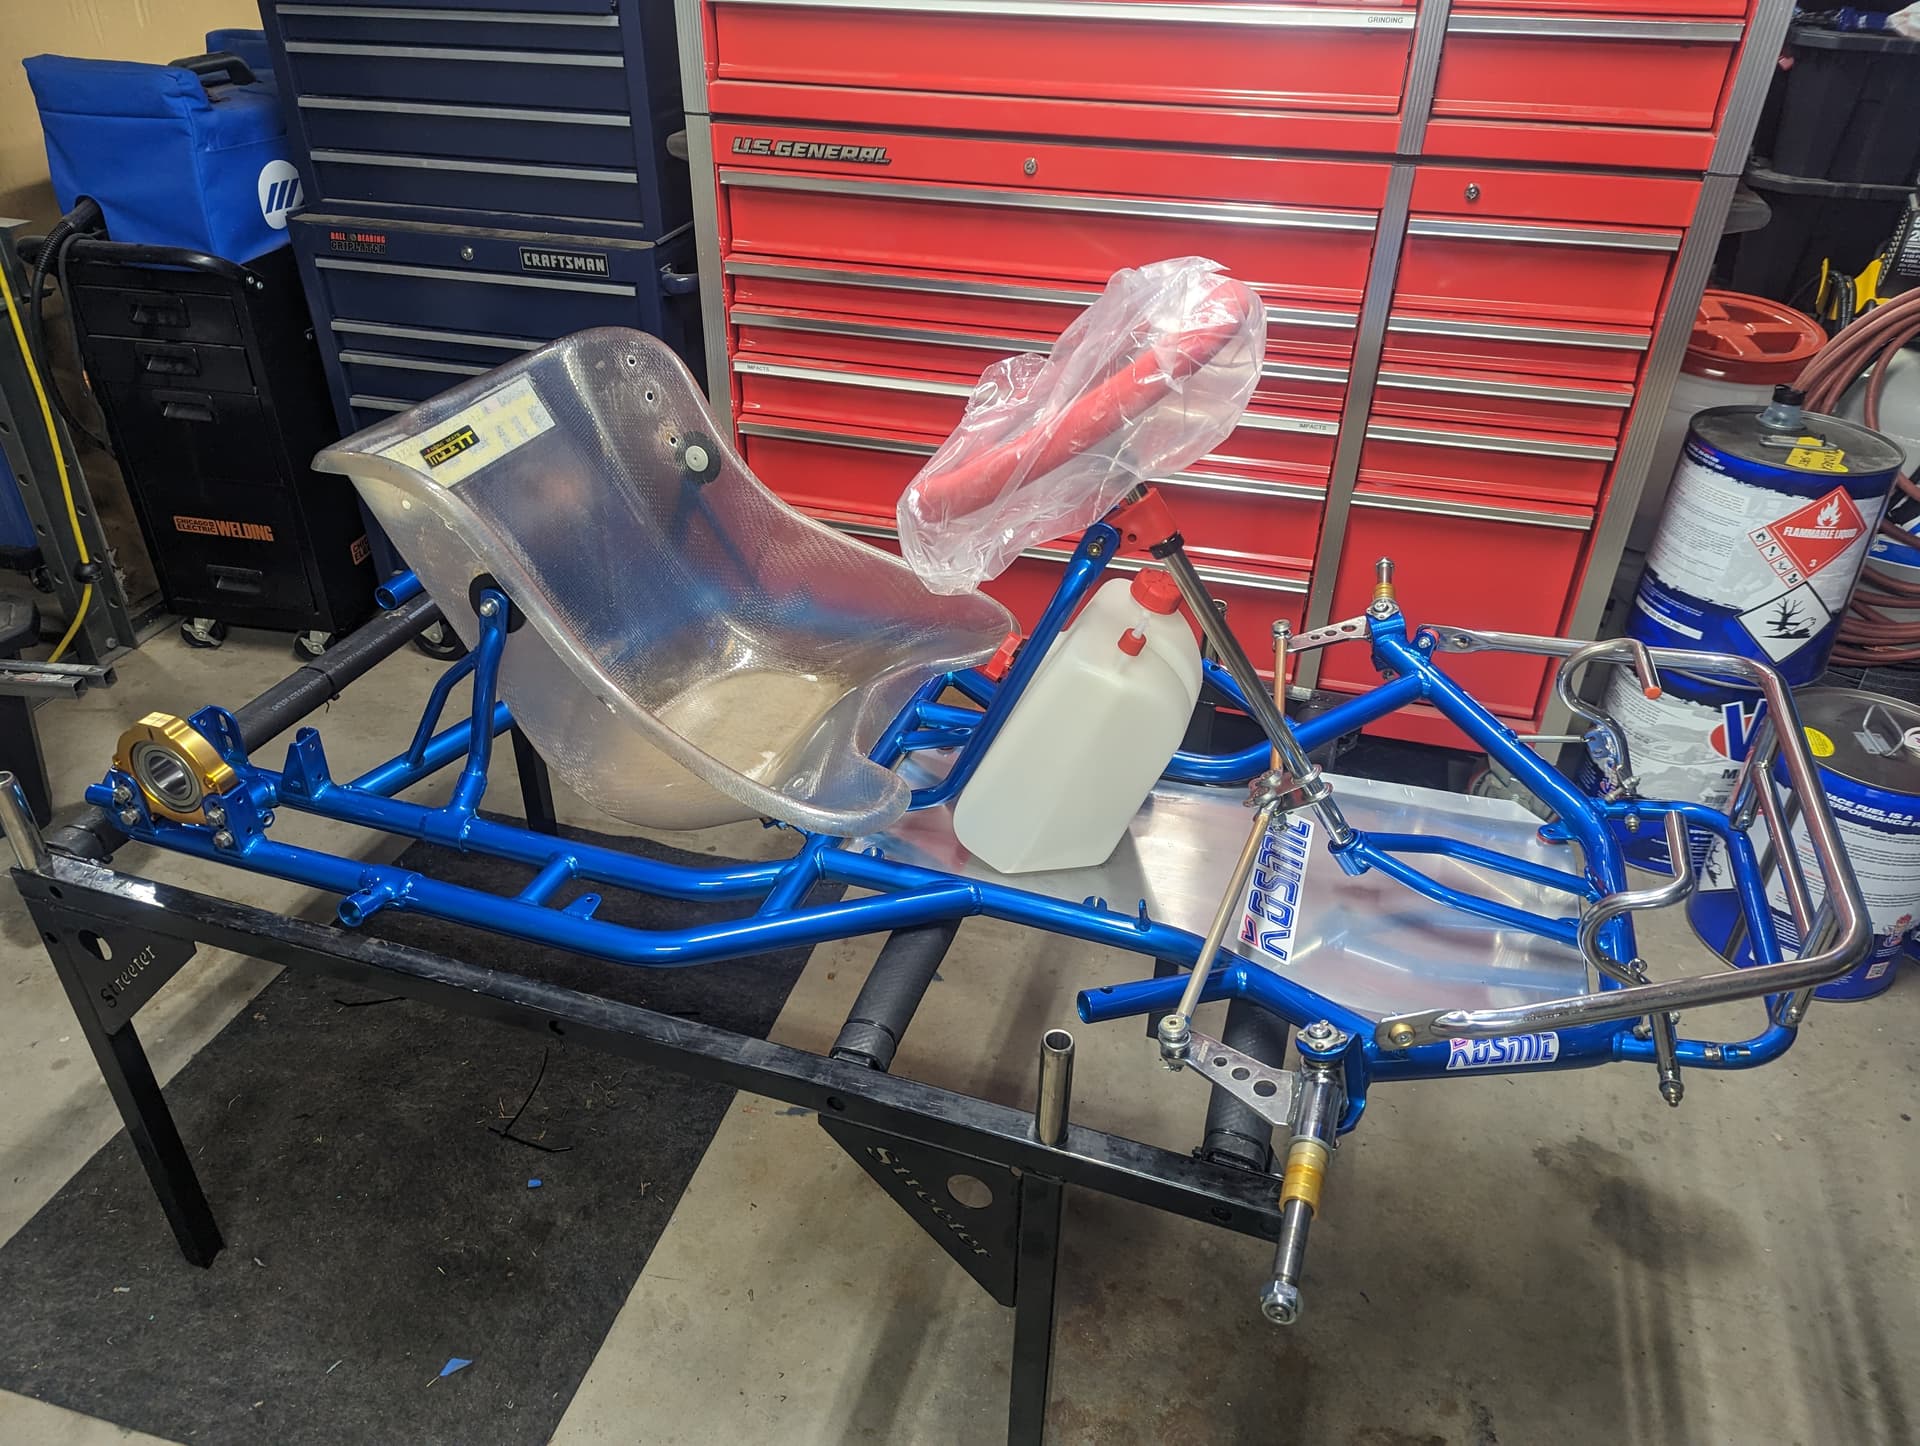
Sticker kit arrived! Super cool, more progress made!
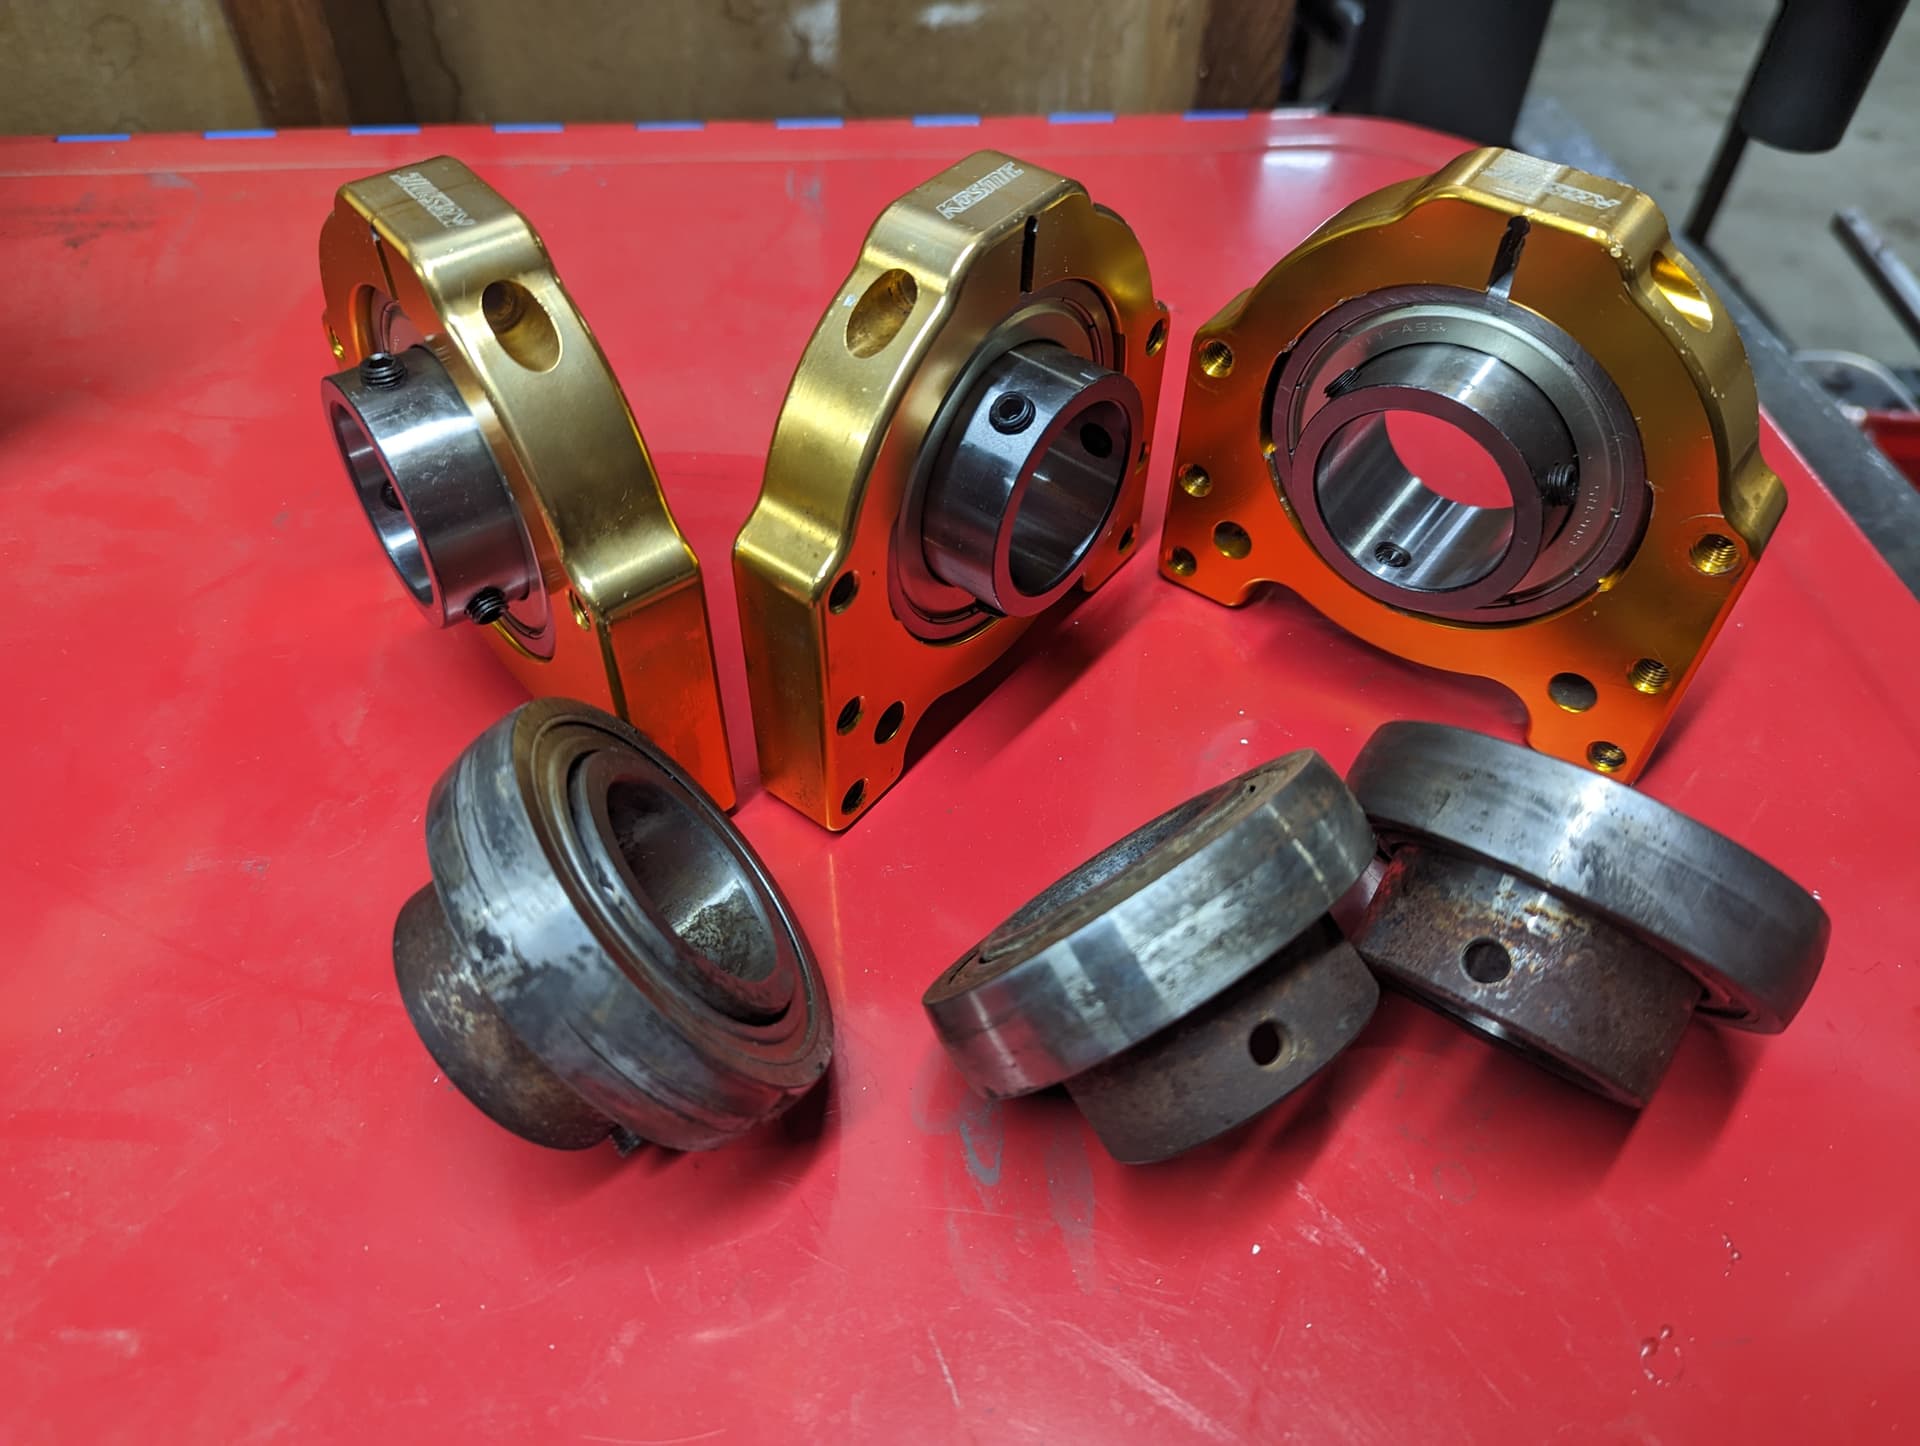
A real credit to you to get things as authentic as you have done, if after track testing you decide to ‘pimp your ride’ the 1999 Kosmic team ran MXC magnesium wheels with mag front hubs ( I think 95mm long - harder to find these days) as opposed to the aluminium rims you have here. When I get some photos I will post my 94-96 era Birel 100cc kart that my fiancee races here in Australia
Thank you! You are actually right on the front hubs! I did some measuring and I was going to use the 53mm, then I saw your post, looked up a few screenshots and I think you are right! They seem to be the long 95mm version!
Looks like this category has quite a following in Australia!
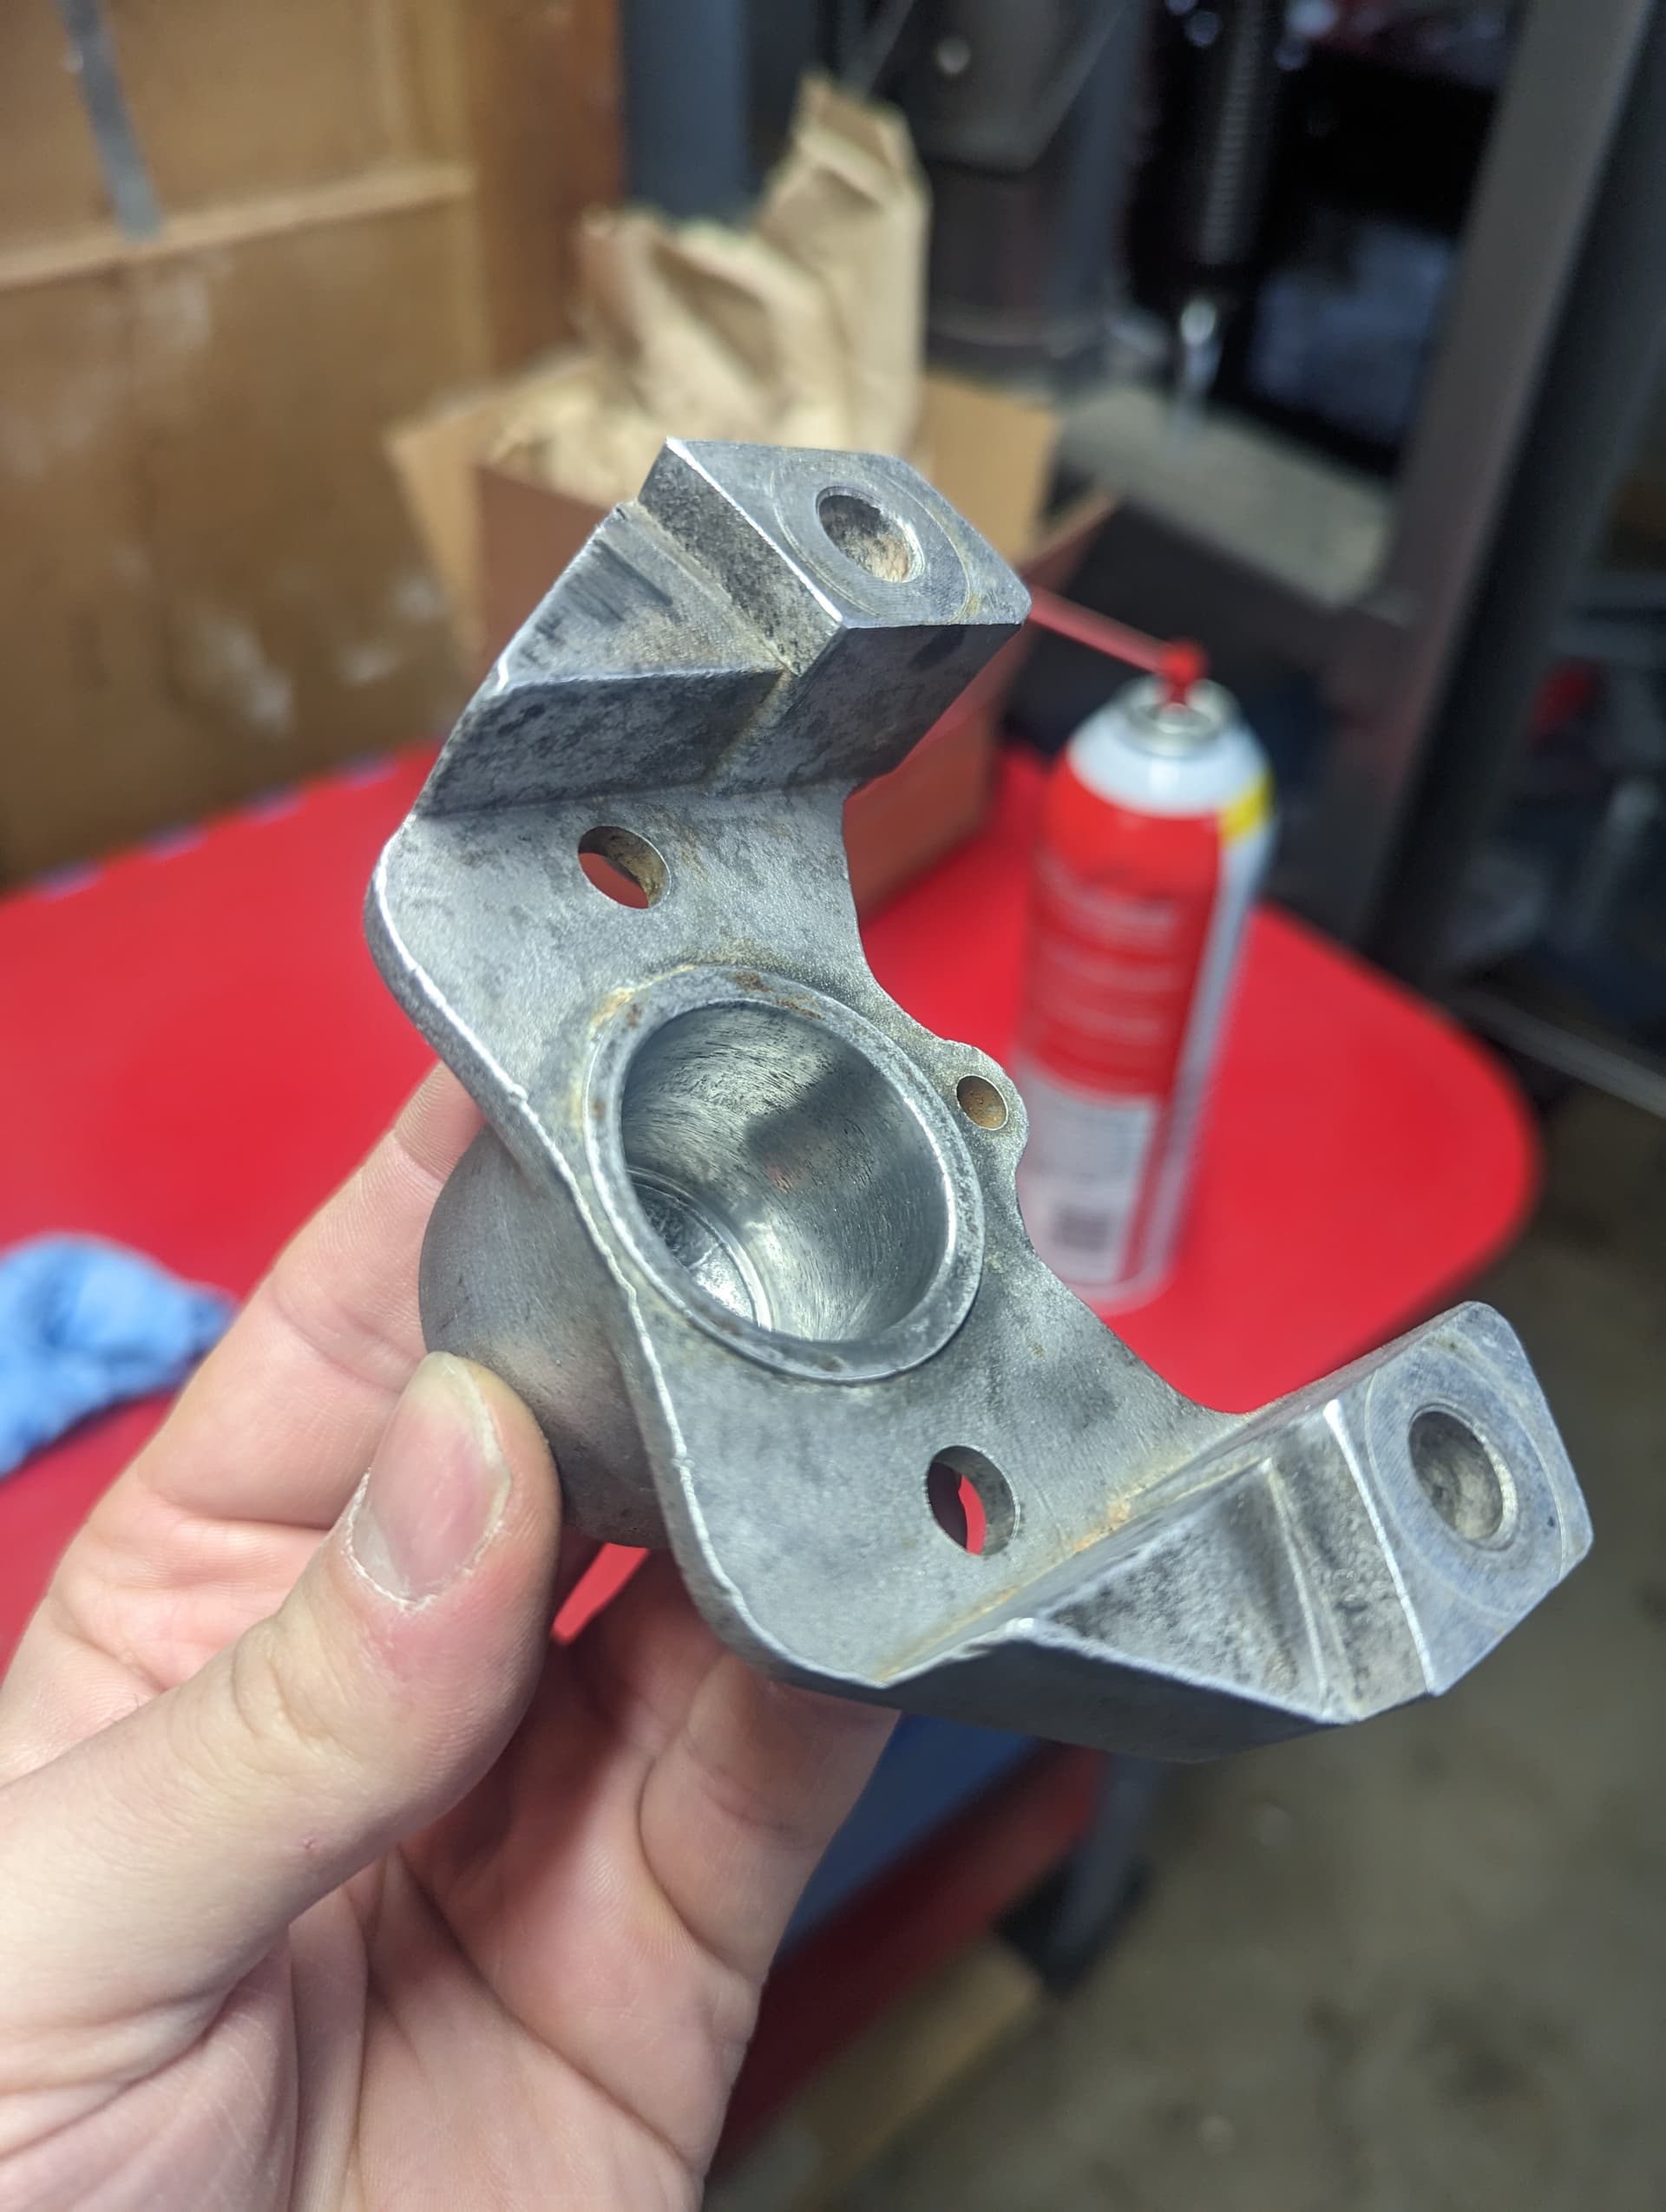
I’ve followed up with wet sandpaper, 600, 800, 1,000, 1,200 and polishing compound
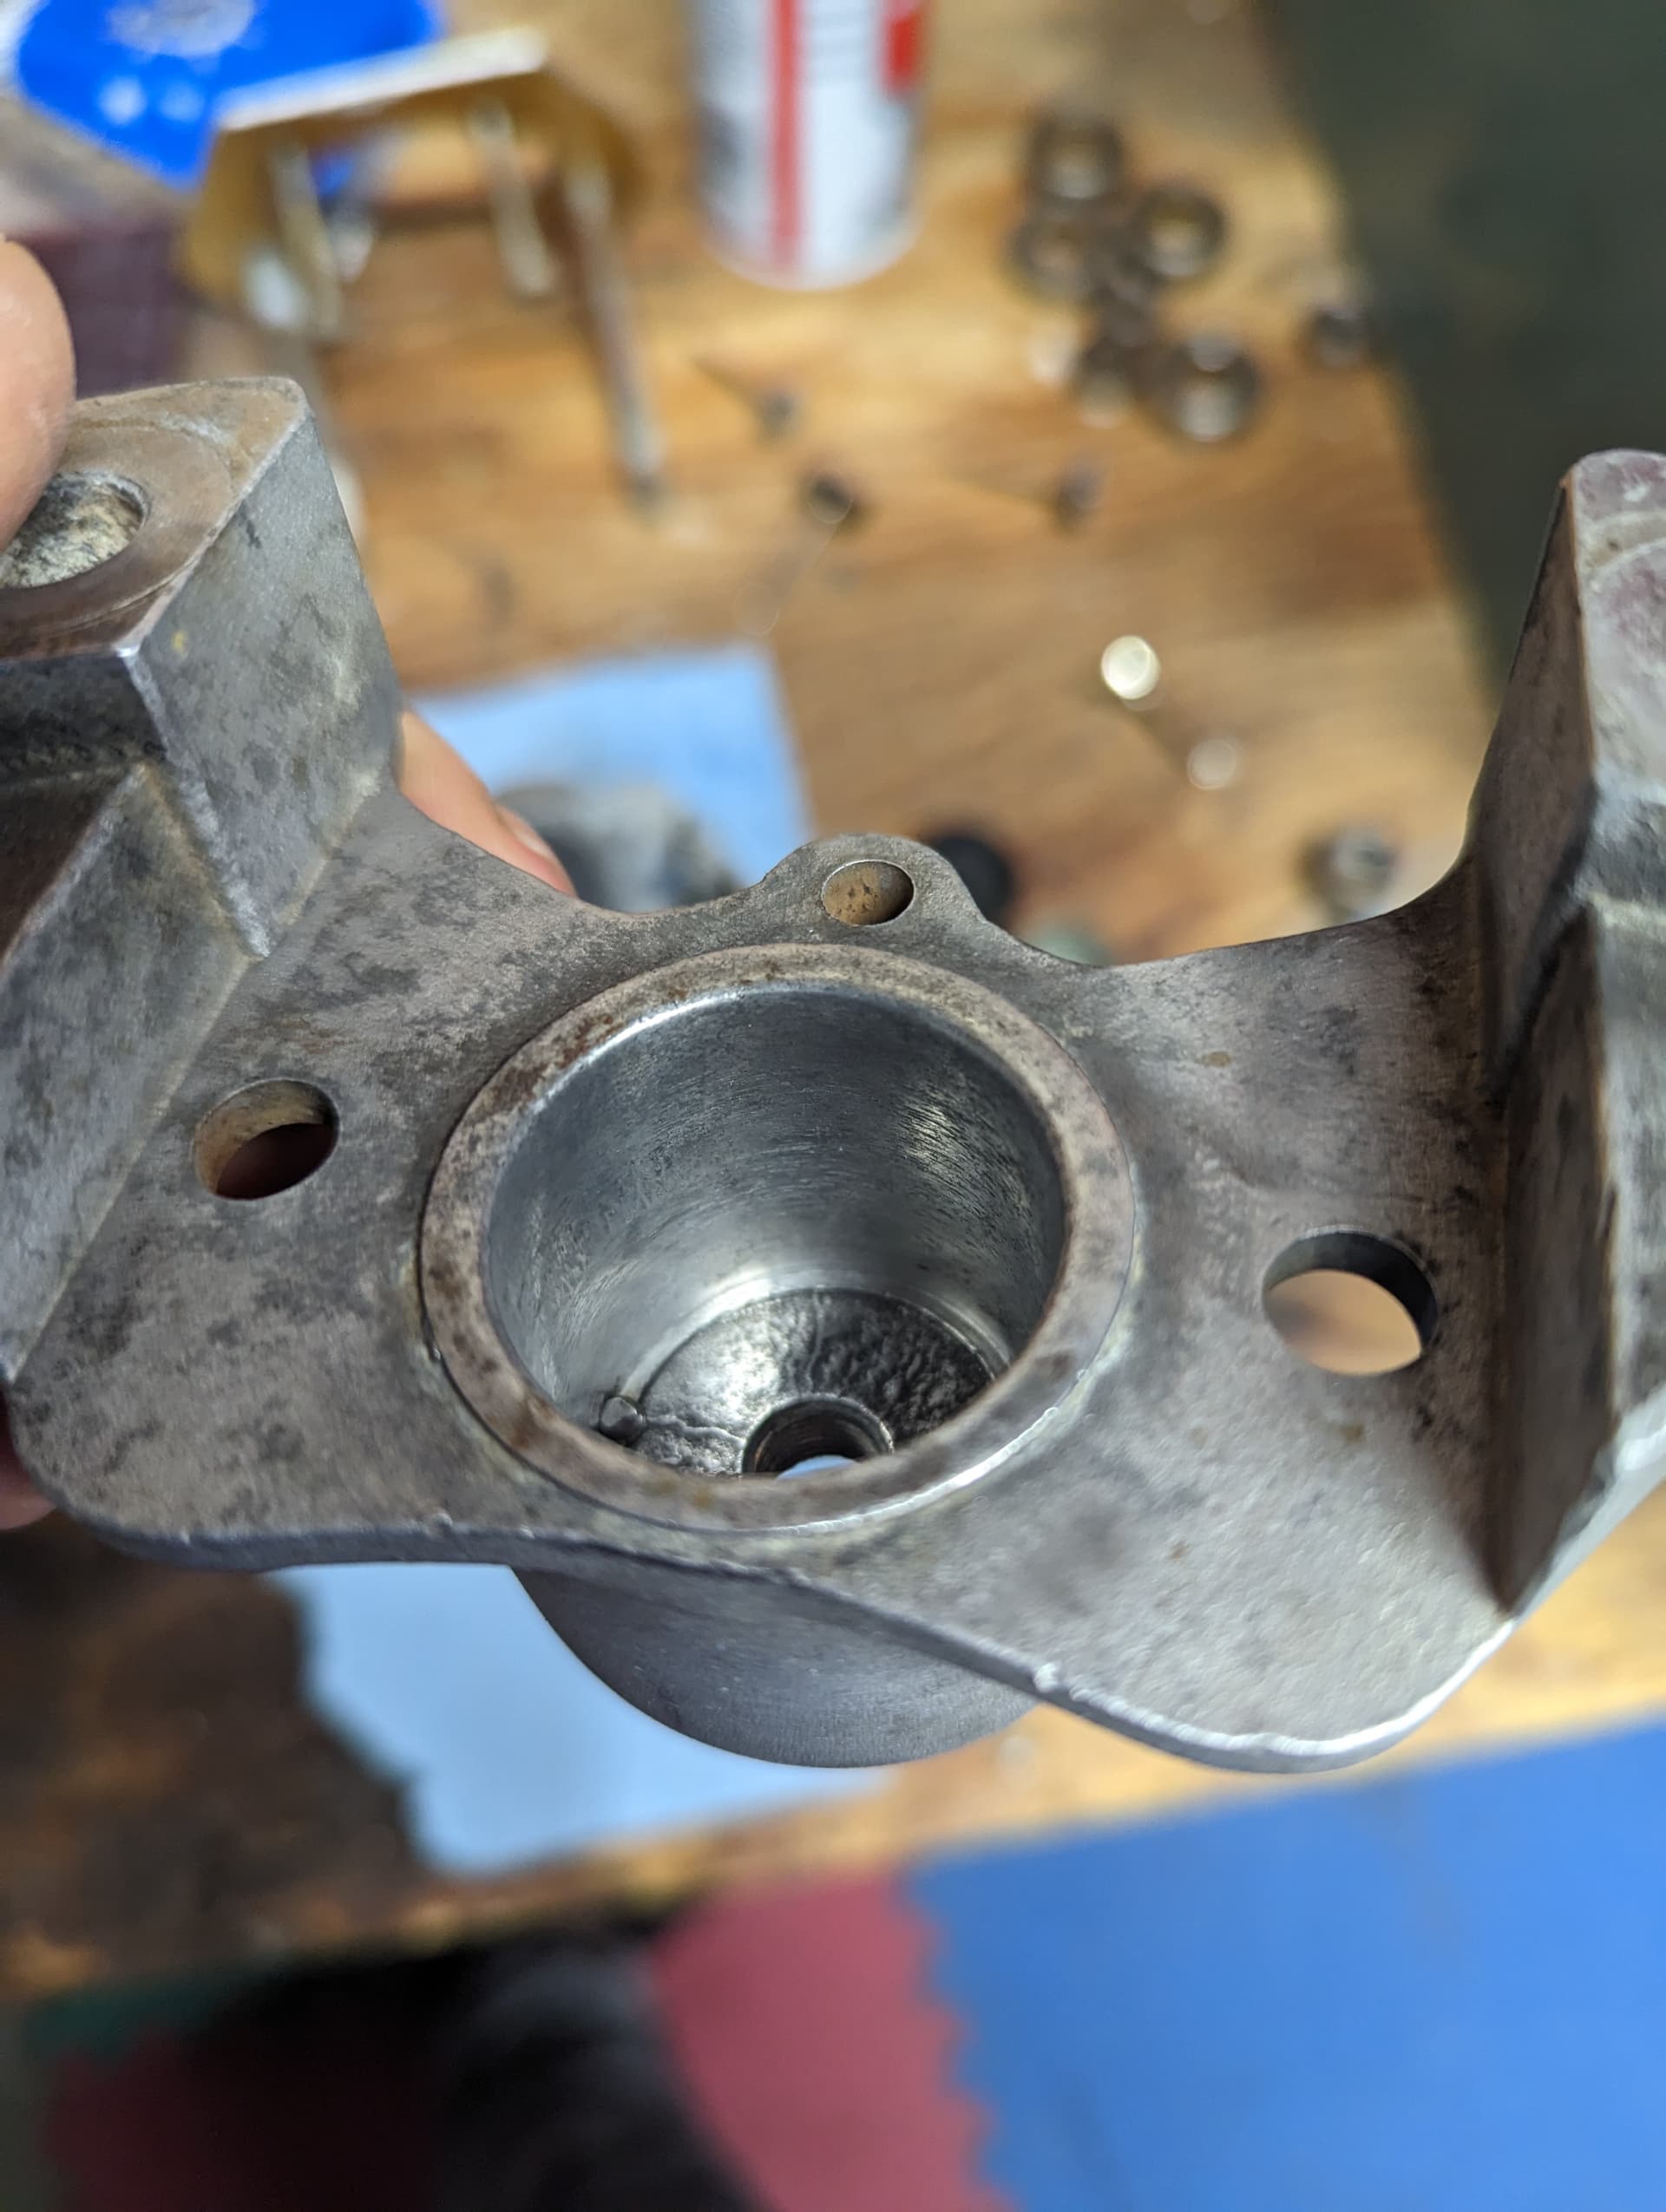
Unfortunately, there is nothing I can do for the remaining pitting, I think I got it to a good compromise.
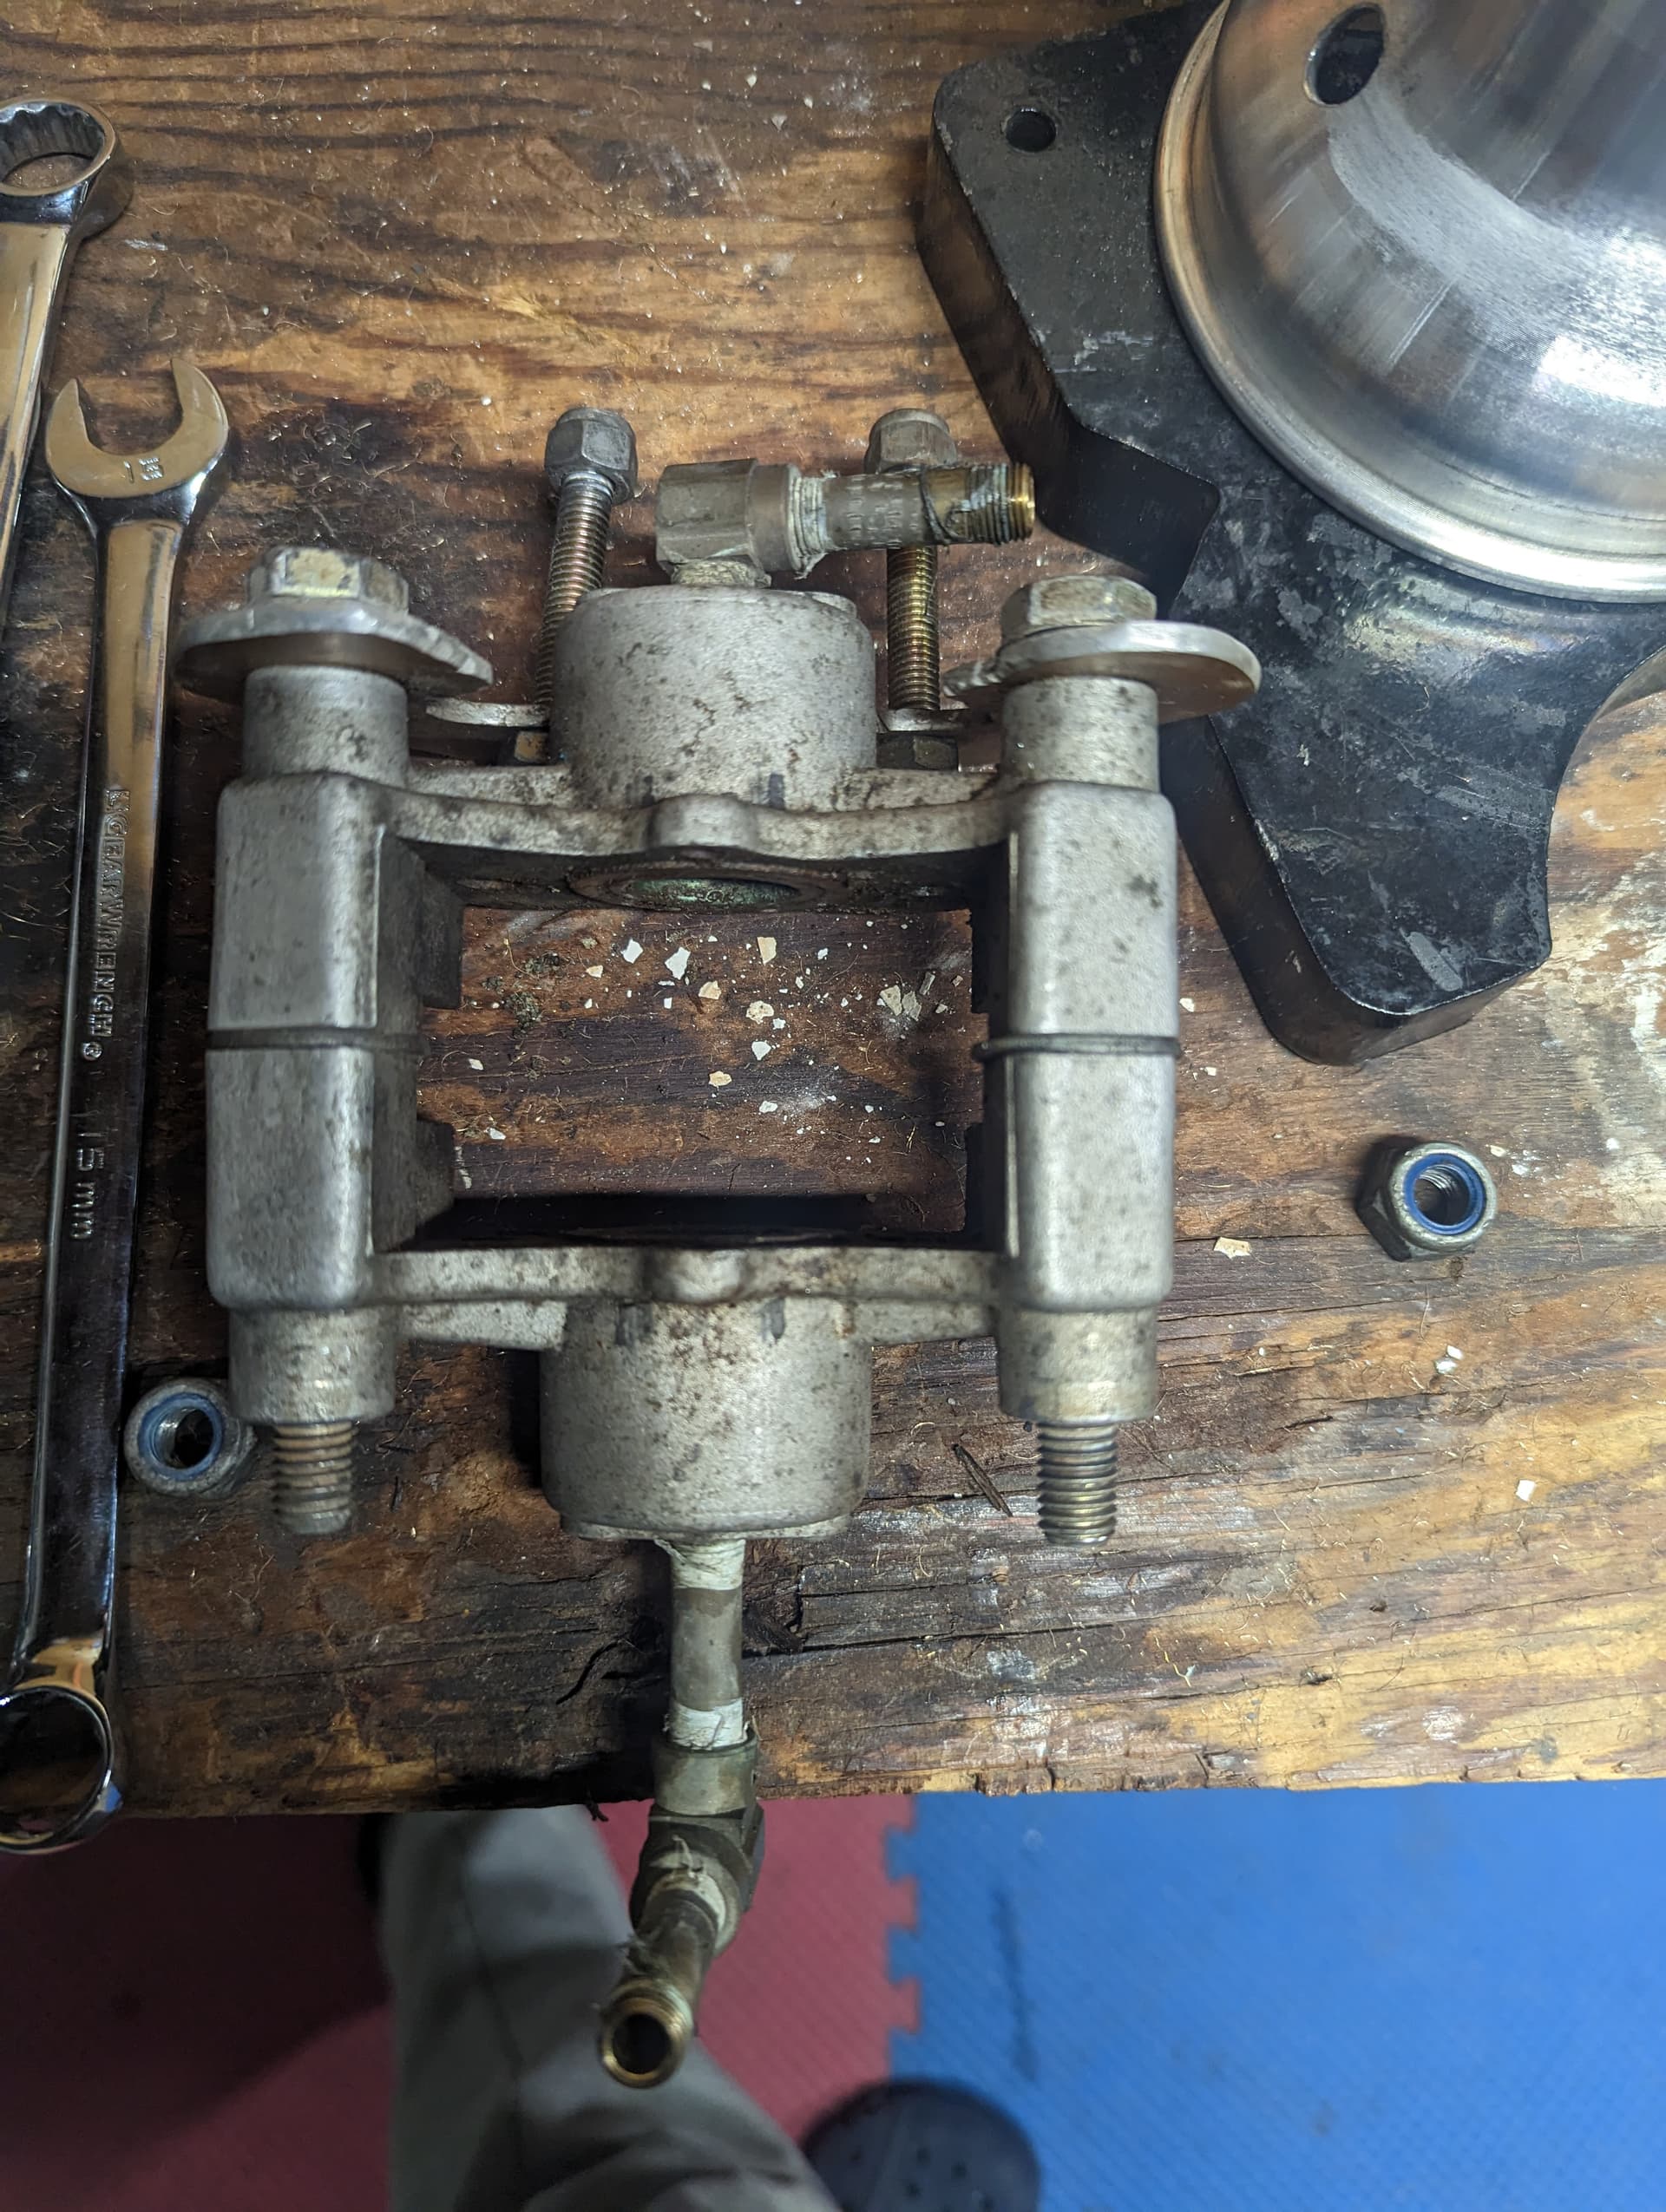
I’ll test tomorrow, if it leaks with the new piston & seal kit it means I need a new caliper.
A lesson from all this: if you are storing your kart long term, you need to either fill it up with good brake fluid, or completely flush the system, take it apart, clean it and reassemble dry. Simply draining the fluid will cause trouble as air gets mixed in…note for the prior owner ![]()
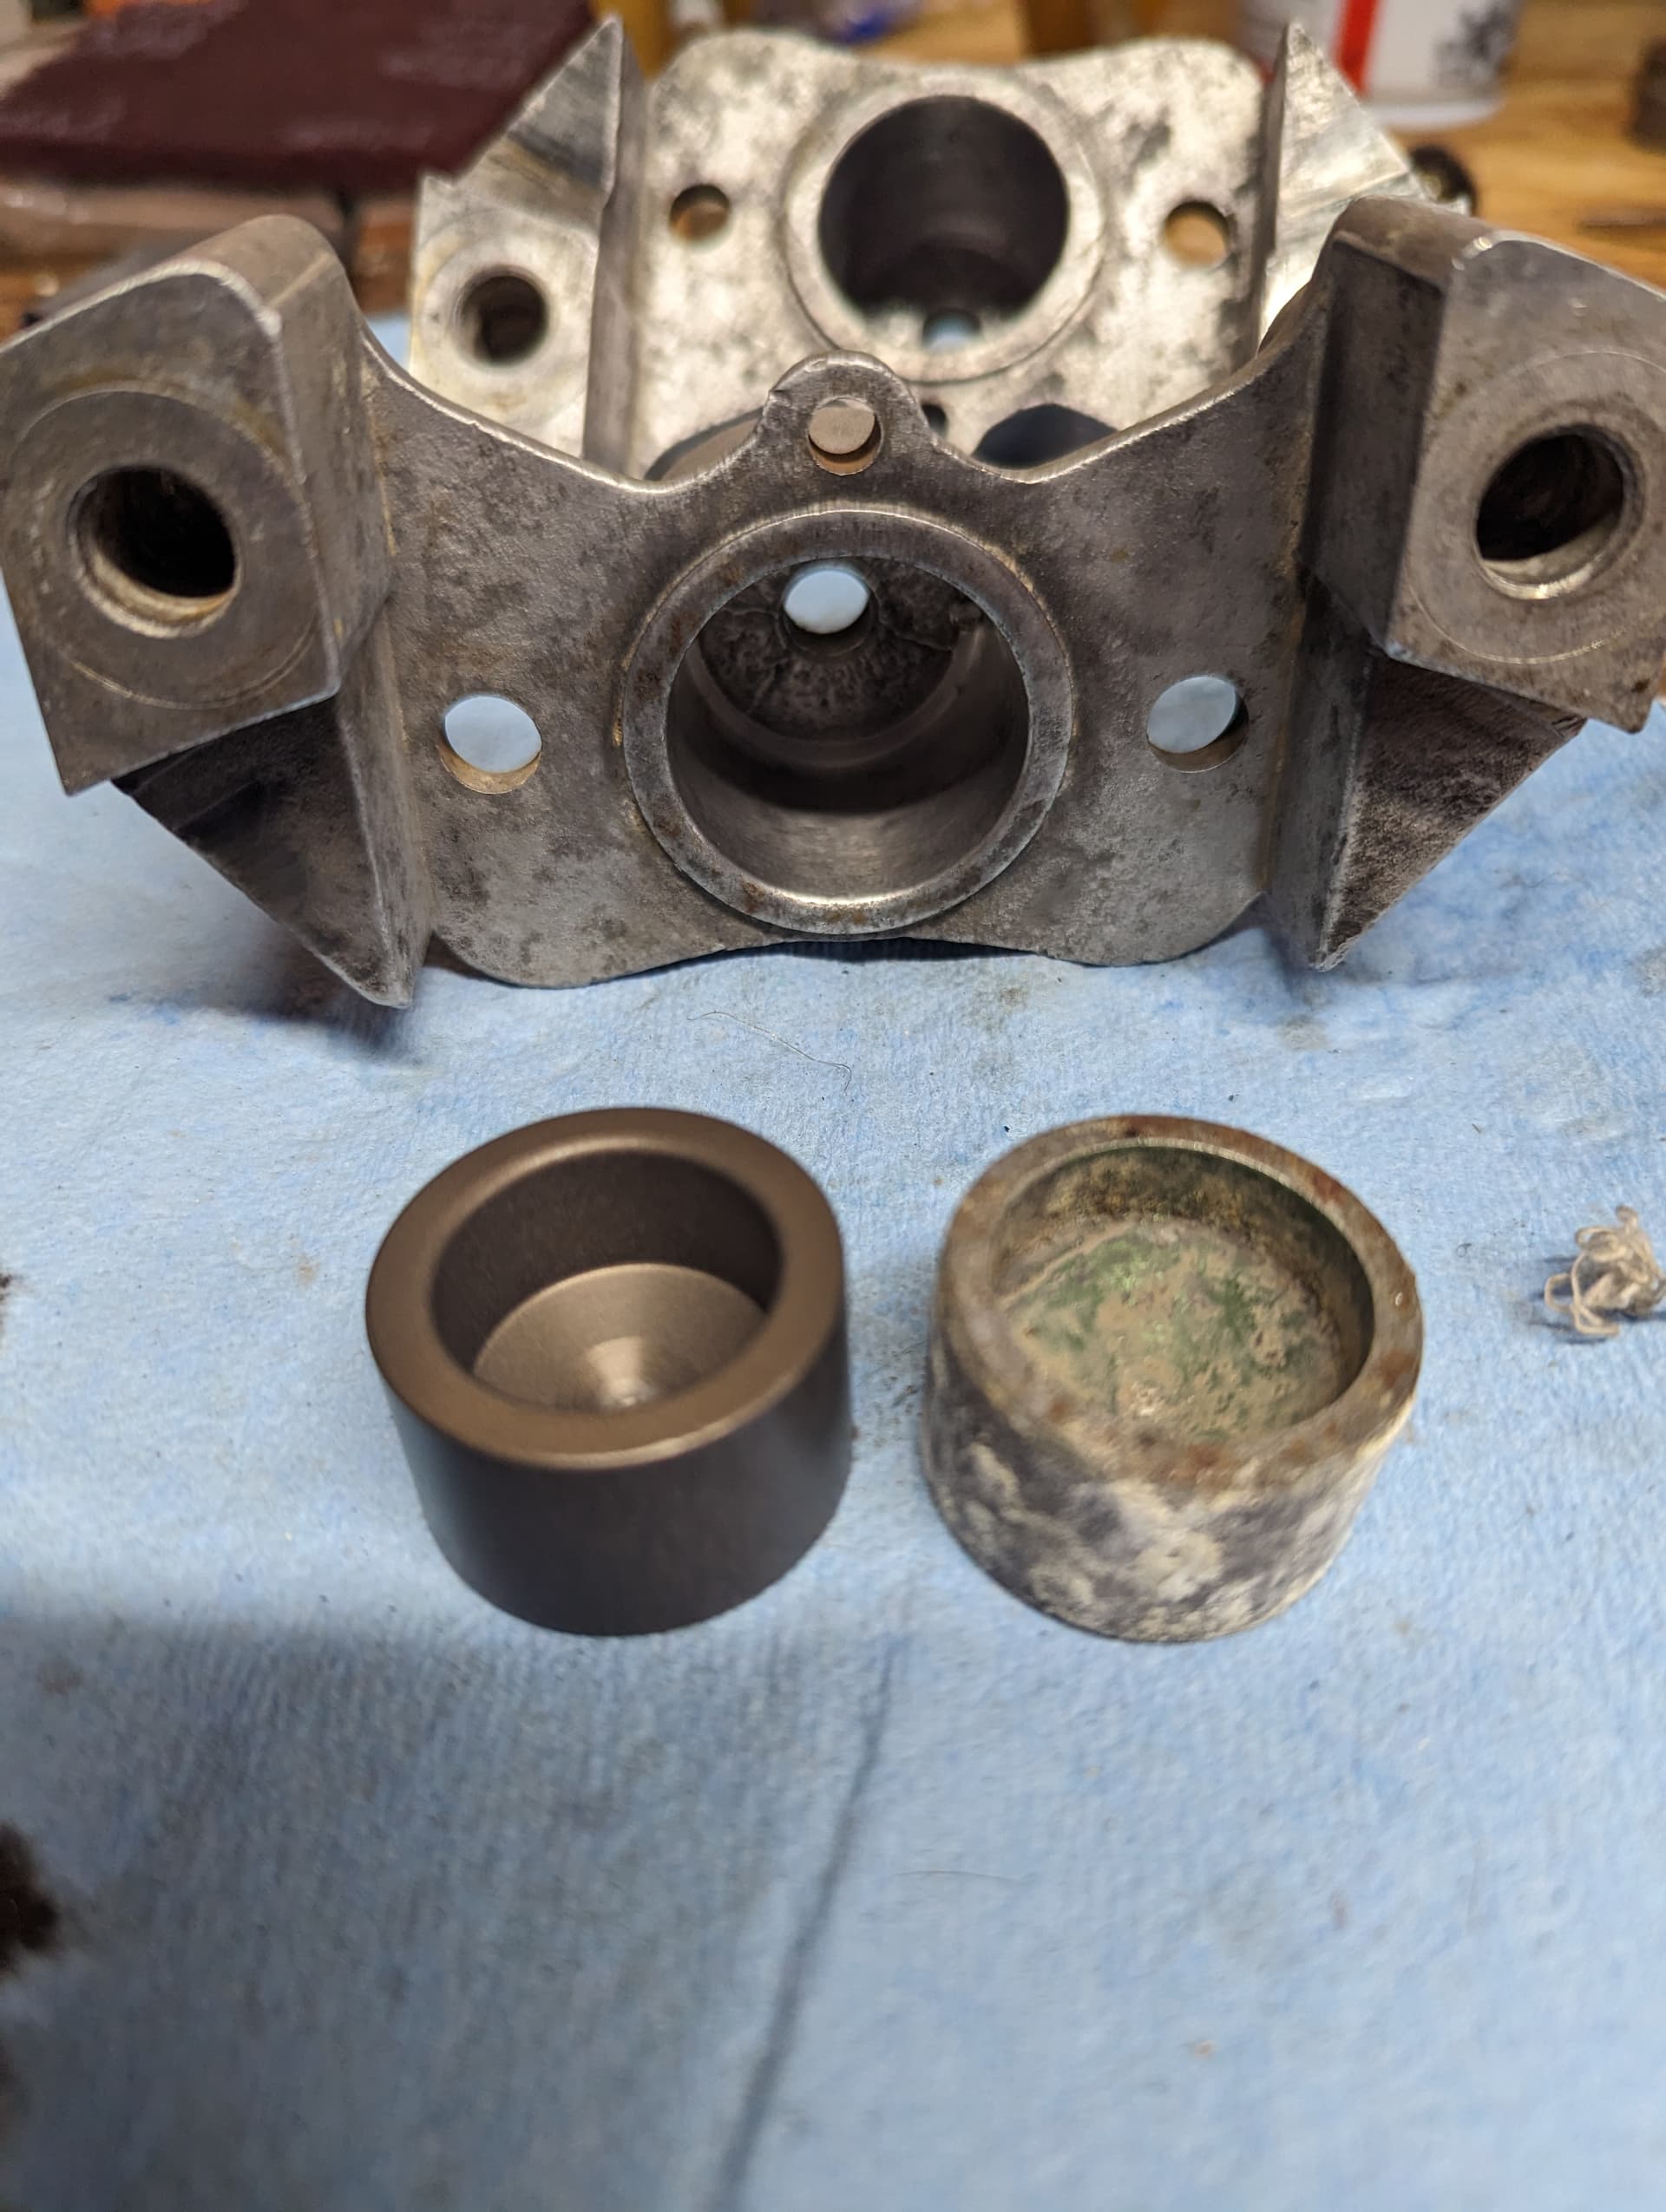
That should be able to be repaired, I had to do my PCR caliper, take it to an automotive brake repair shop and they can machine the pited bores, and install a stainless steel sleeve in it’s place
Ideally, yes. I have few more quotes out, some came back at 2X the cost of a new modern caliper. I may be able to get a good used unit from Europe, will see what shakes out
As a reference, lowest quote is $220…each half. I wonder if I can simply put a new generation caliper in there, much more cost effective, while I search for a NOS core from Europe
This is a thing of beauty. Keep the photos coming.
Well done sir ! Fantastic effort .
Cheers from greece .
Hey, did you finish making the kart? Last I recall it was being assembled.
If the question goes on me dom ,
No i stop the project almost 3 years now .
But im on the works for a small workshop with one friend of mine and i will continue when we finish the place . Also bought one more tony chassis but with an iame x30 super engine . So we have plenty to do when we get back on wrenching
Seems like just yesterday. Good luck with new project.
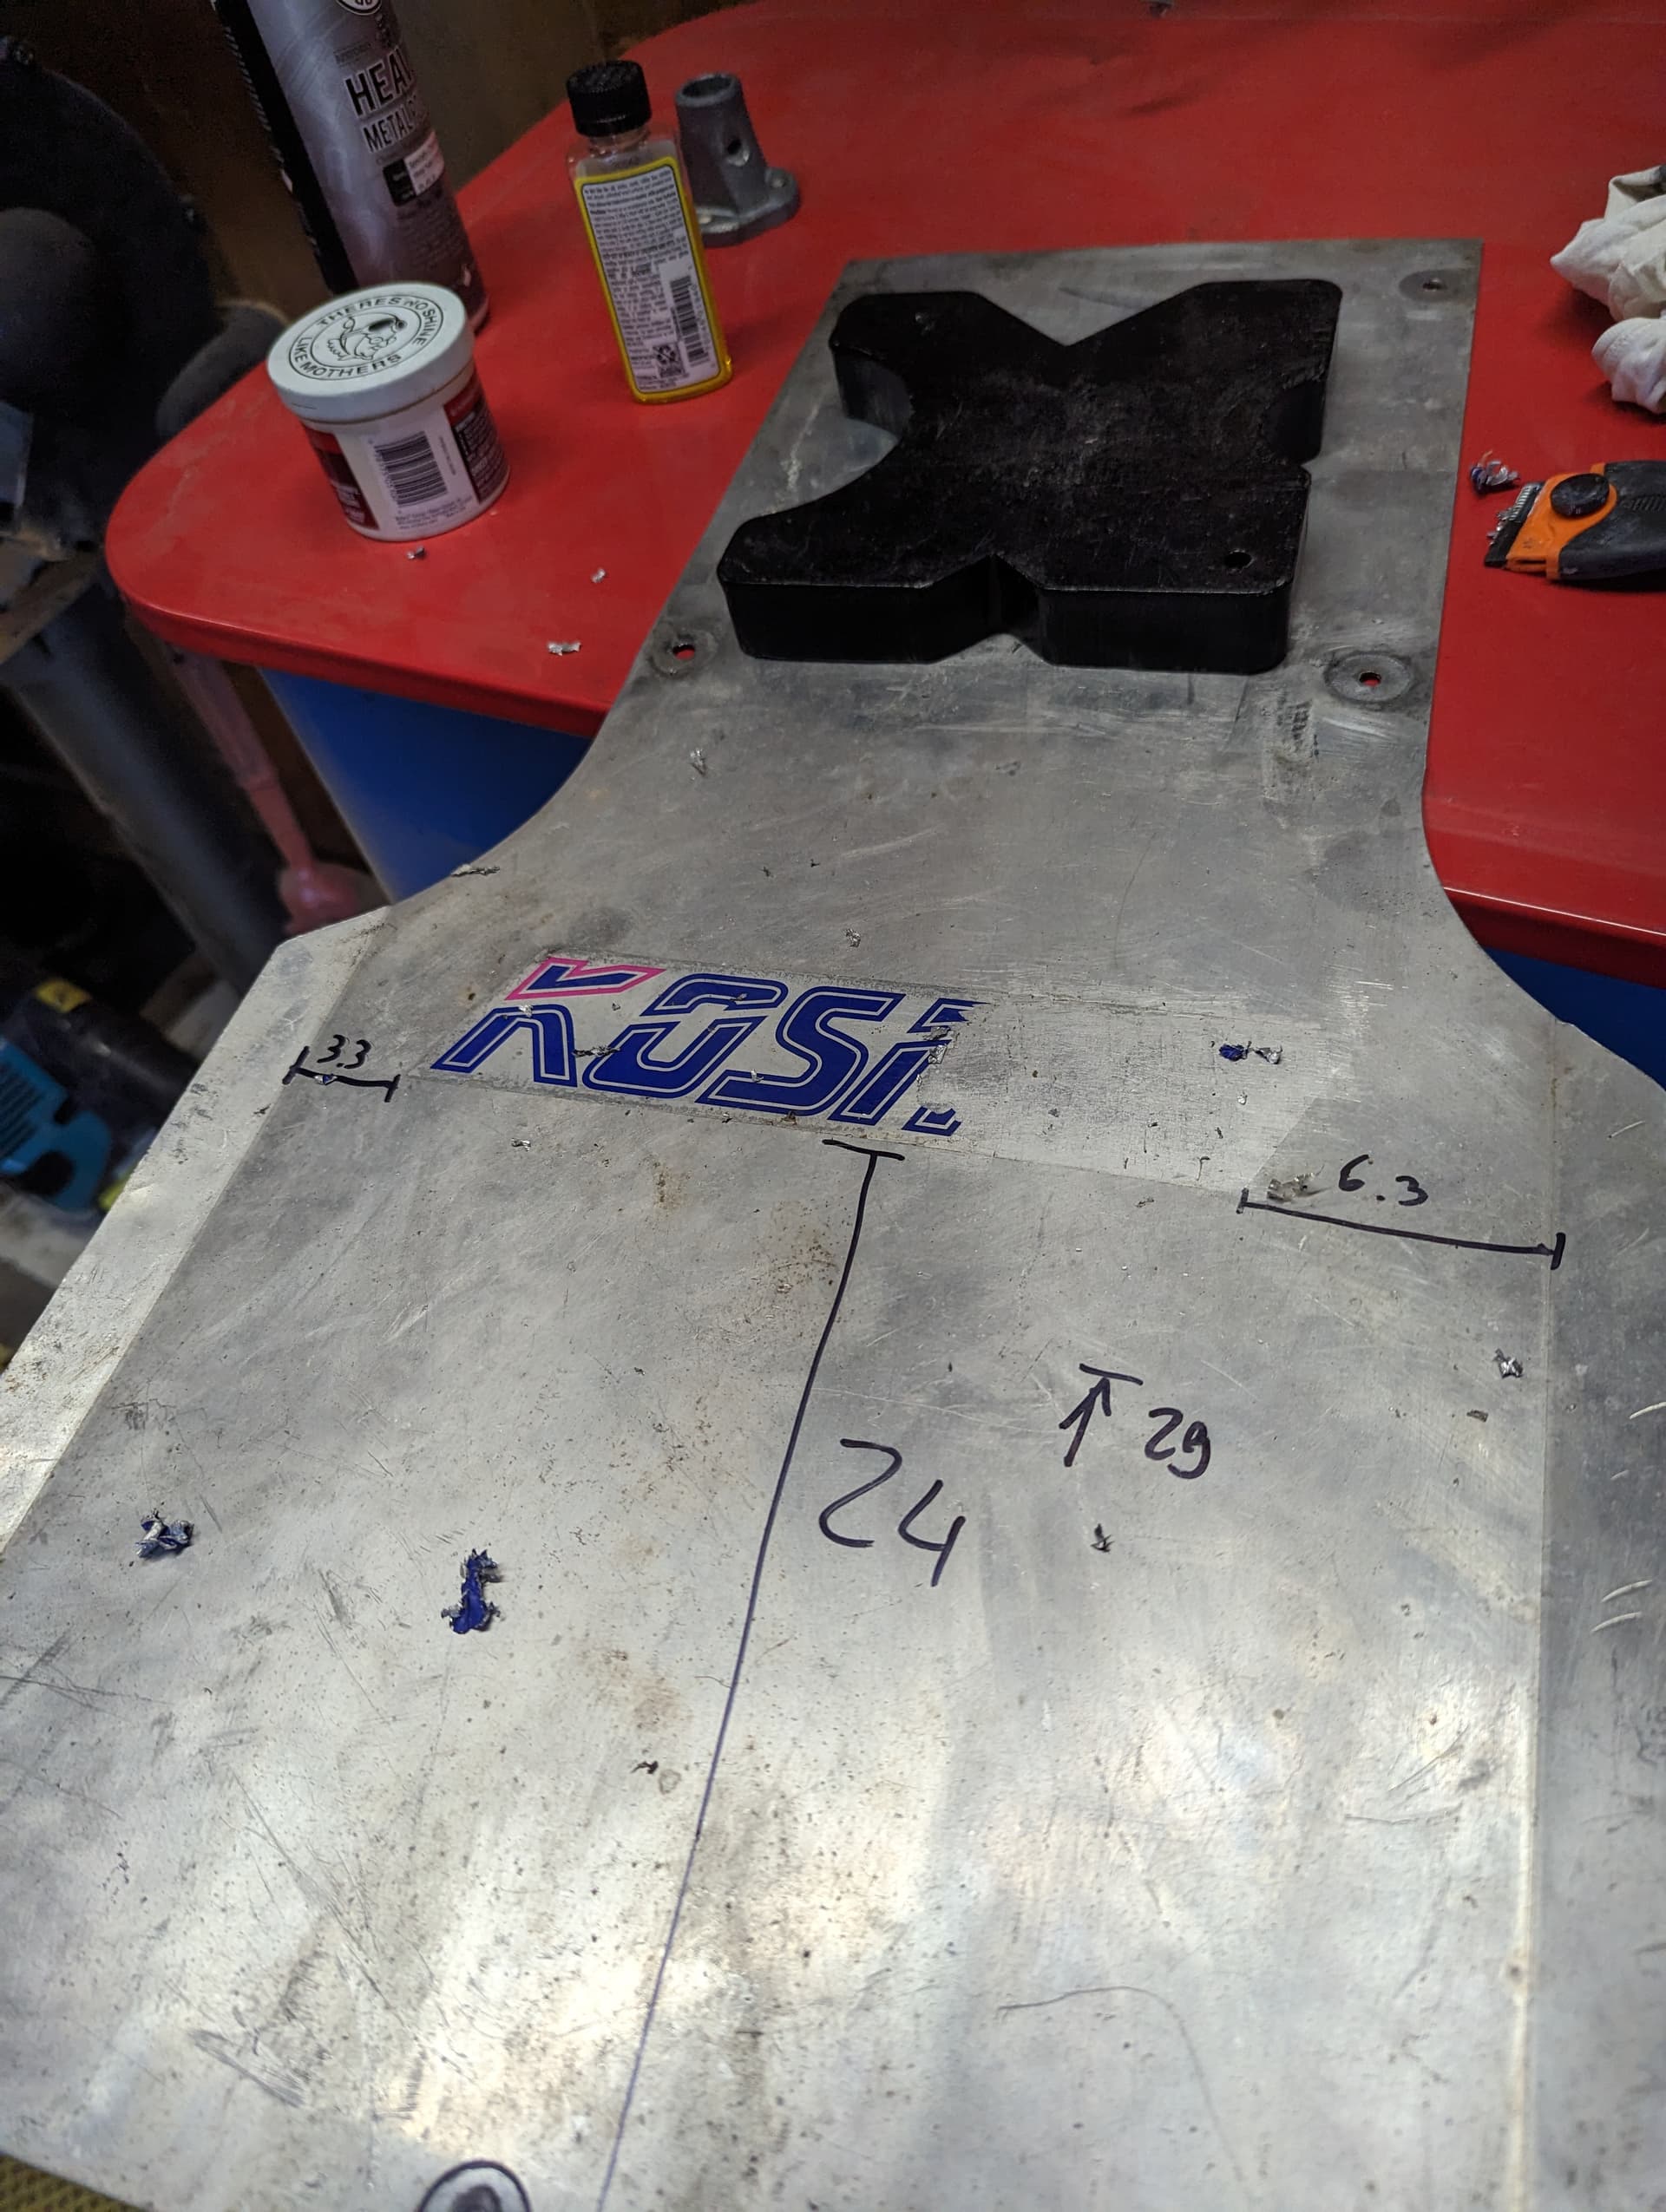
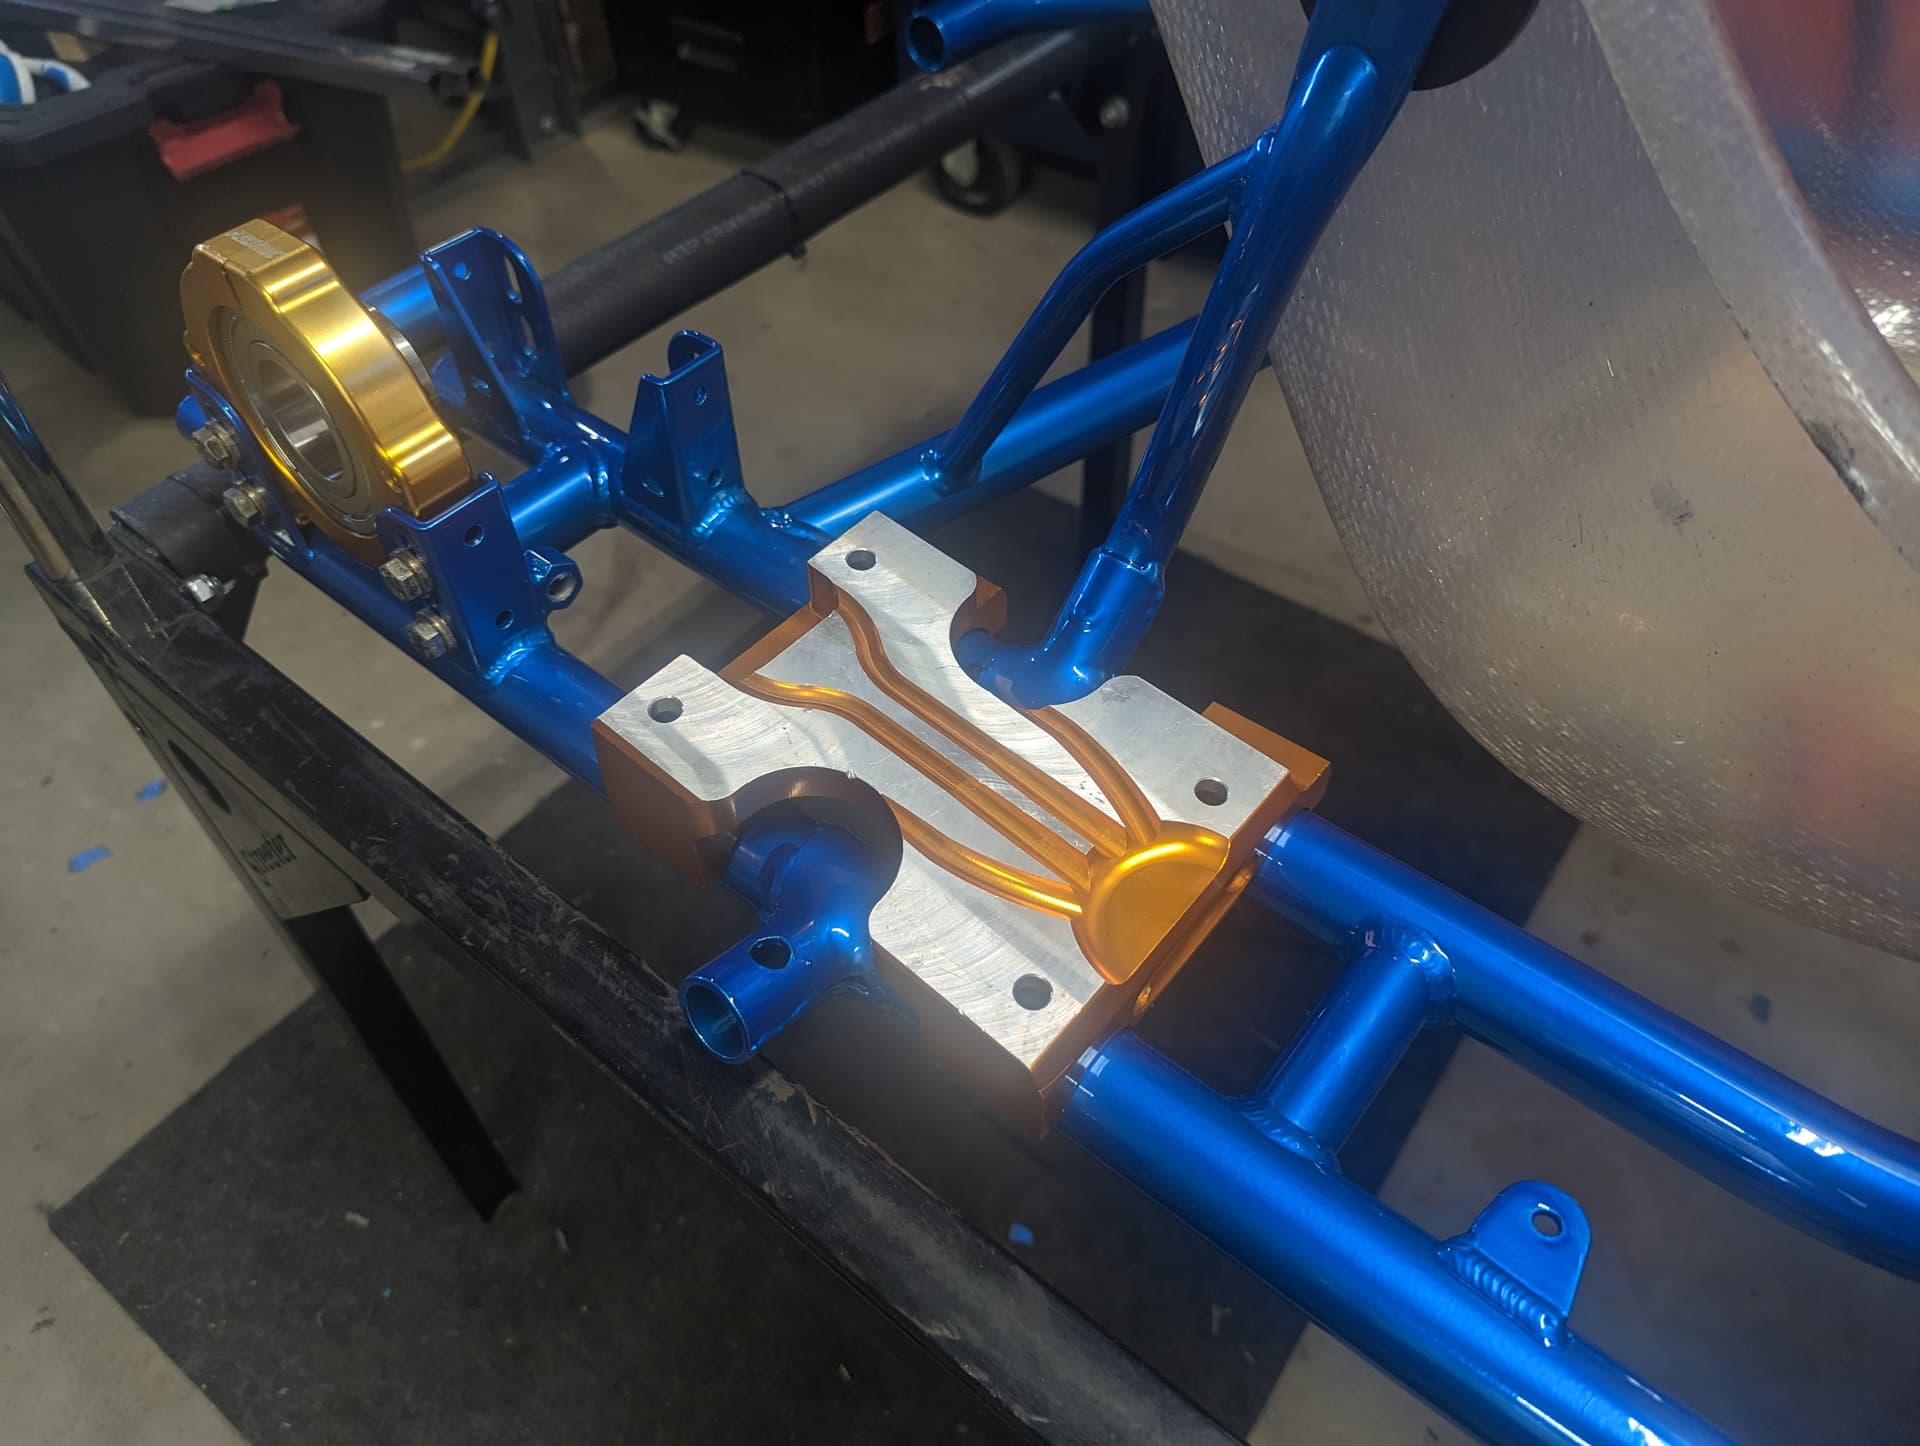
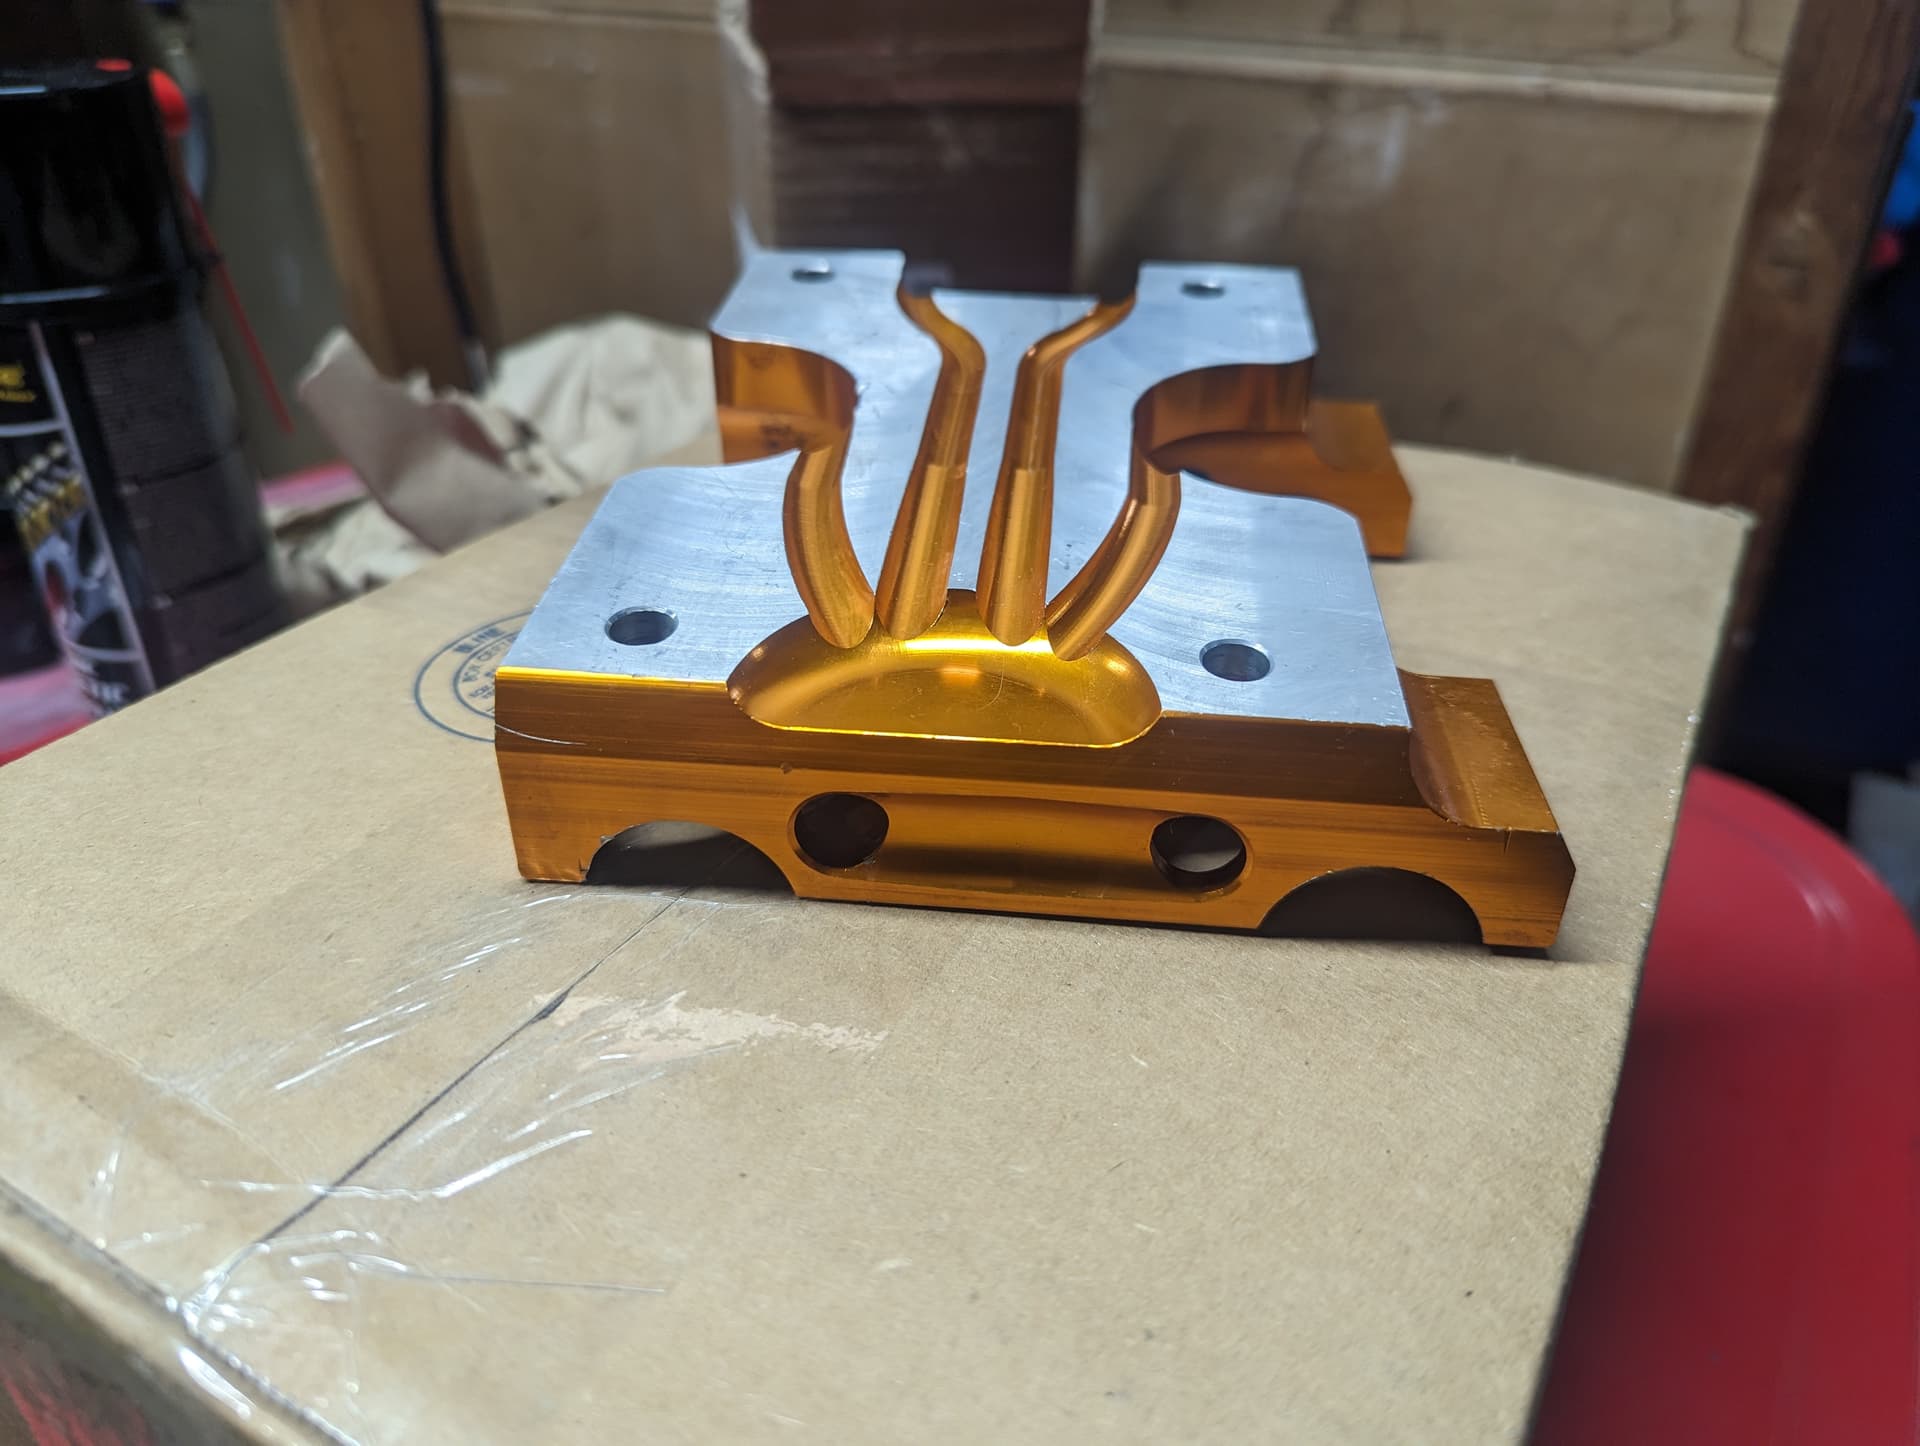
Some more eye candy for you…Italianmotors (great Company to work with BTW) came through and found a period-correct motor mount with the right pattern for the engine (they were different back then, longer than current x30/ka/rotax patterns). Unfortunately it was for a 30x92 railing so I had a local CNC shop machine it out 32mm.
As for the tech part, I’m not sure if the cooling channels actually do anything, but for sure they look cool!
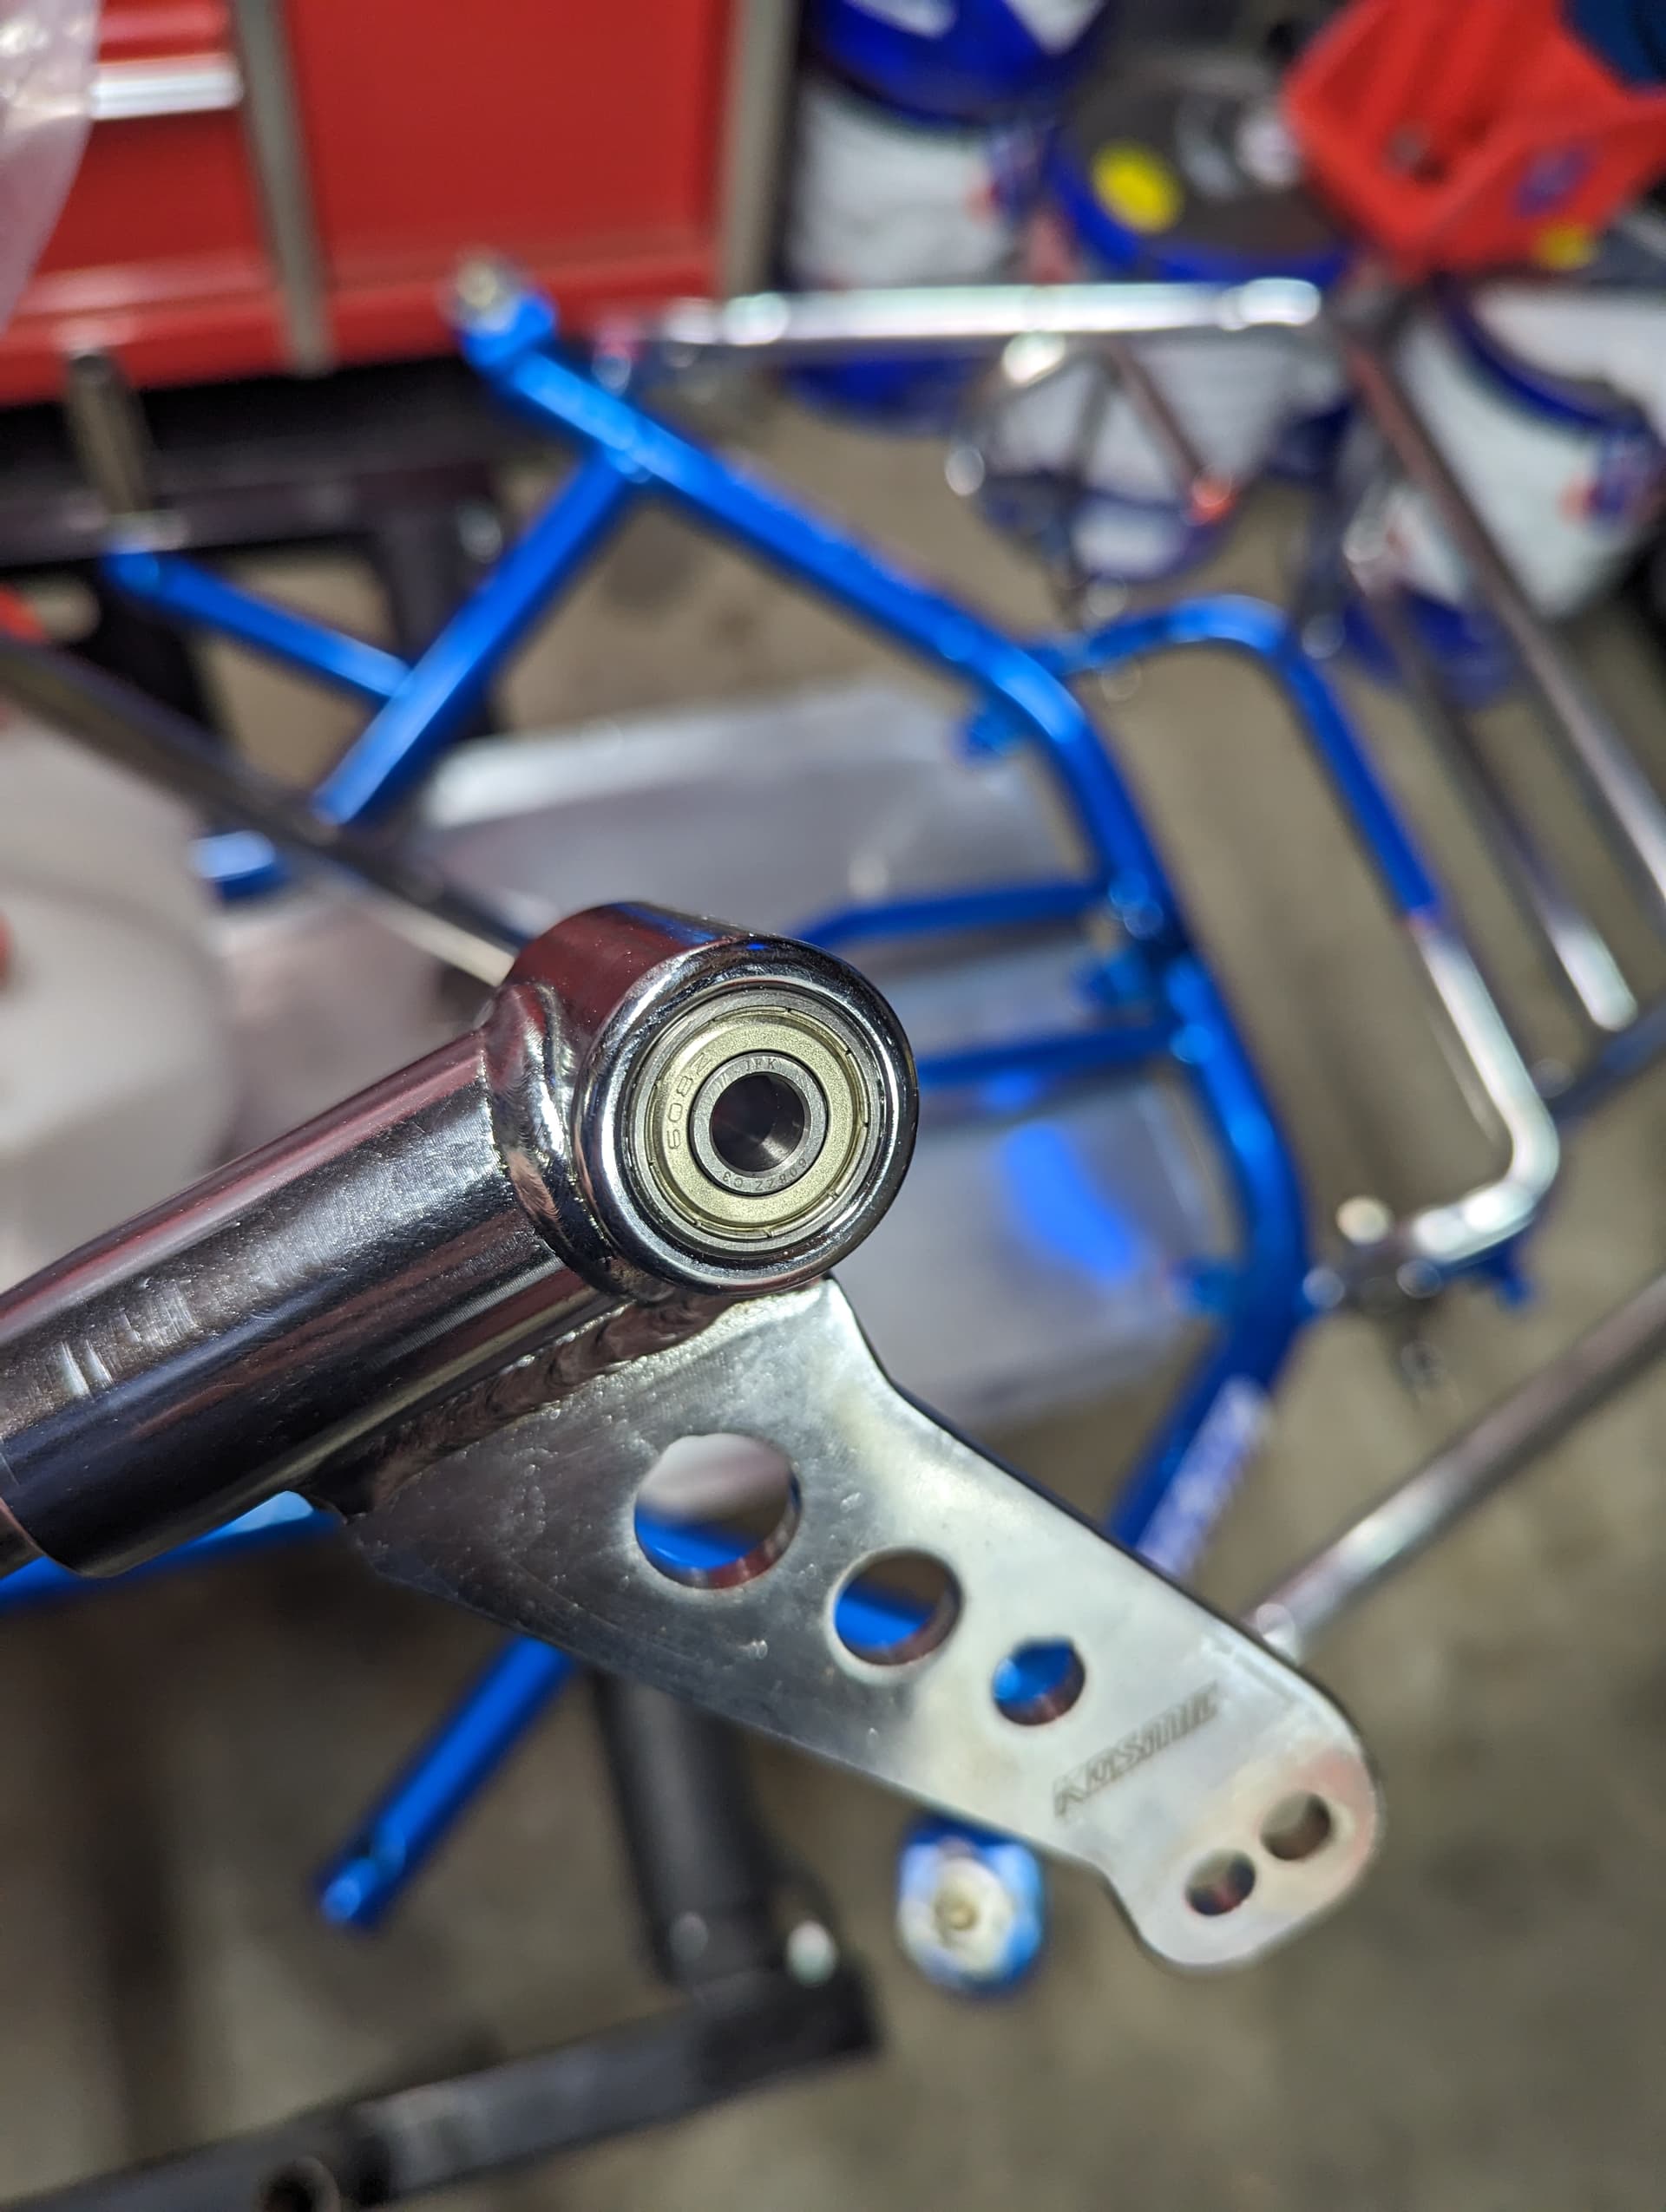
With the good also comes the bad: I just hit a major setback (timeline-wise) with the axle…once I cleaned it and installed it with the new bearings, I could see one end moving when spinning it. Not visible with the crummy old bearings and bent rim. Not good, these axles are difficult to source in US and next to impossible to hammer back like you would do with a 50. So I shipped it off to PKT for straightening it professionally. May take an extra week I don’t really have, but let’s hope!
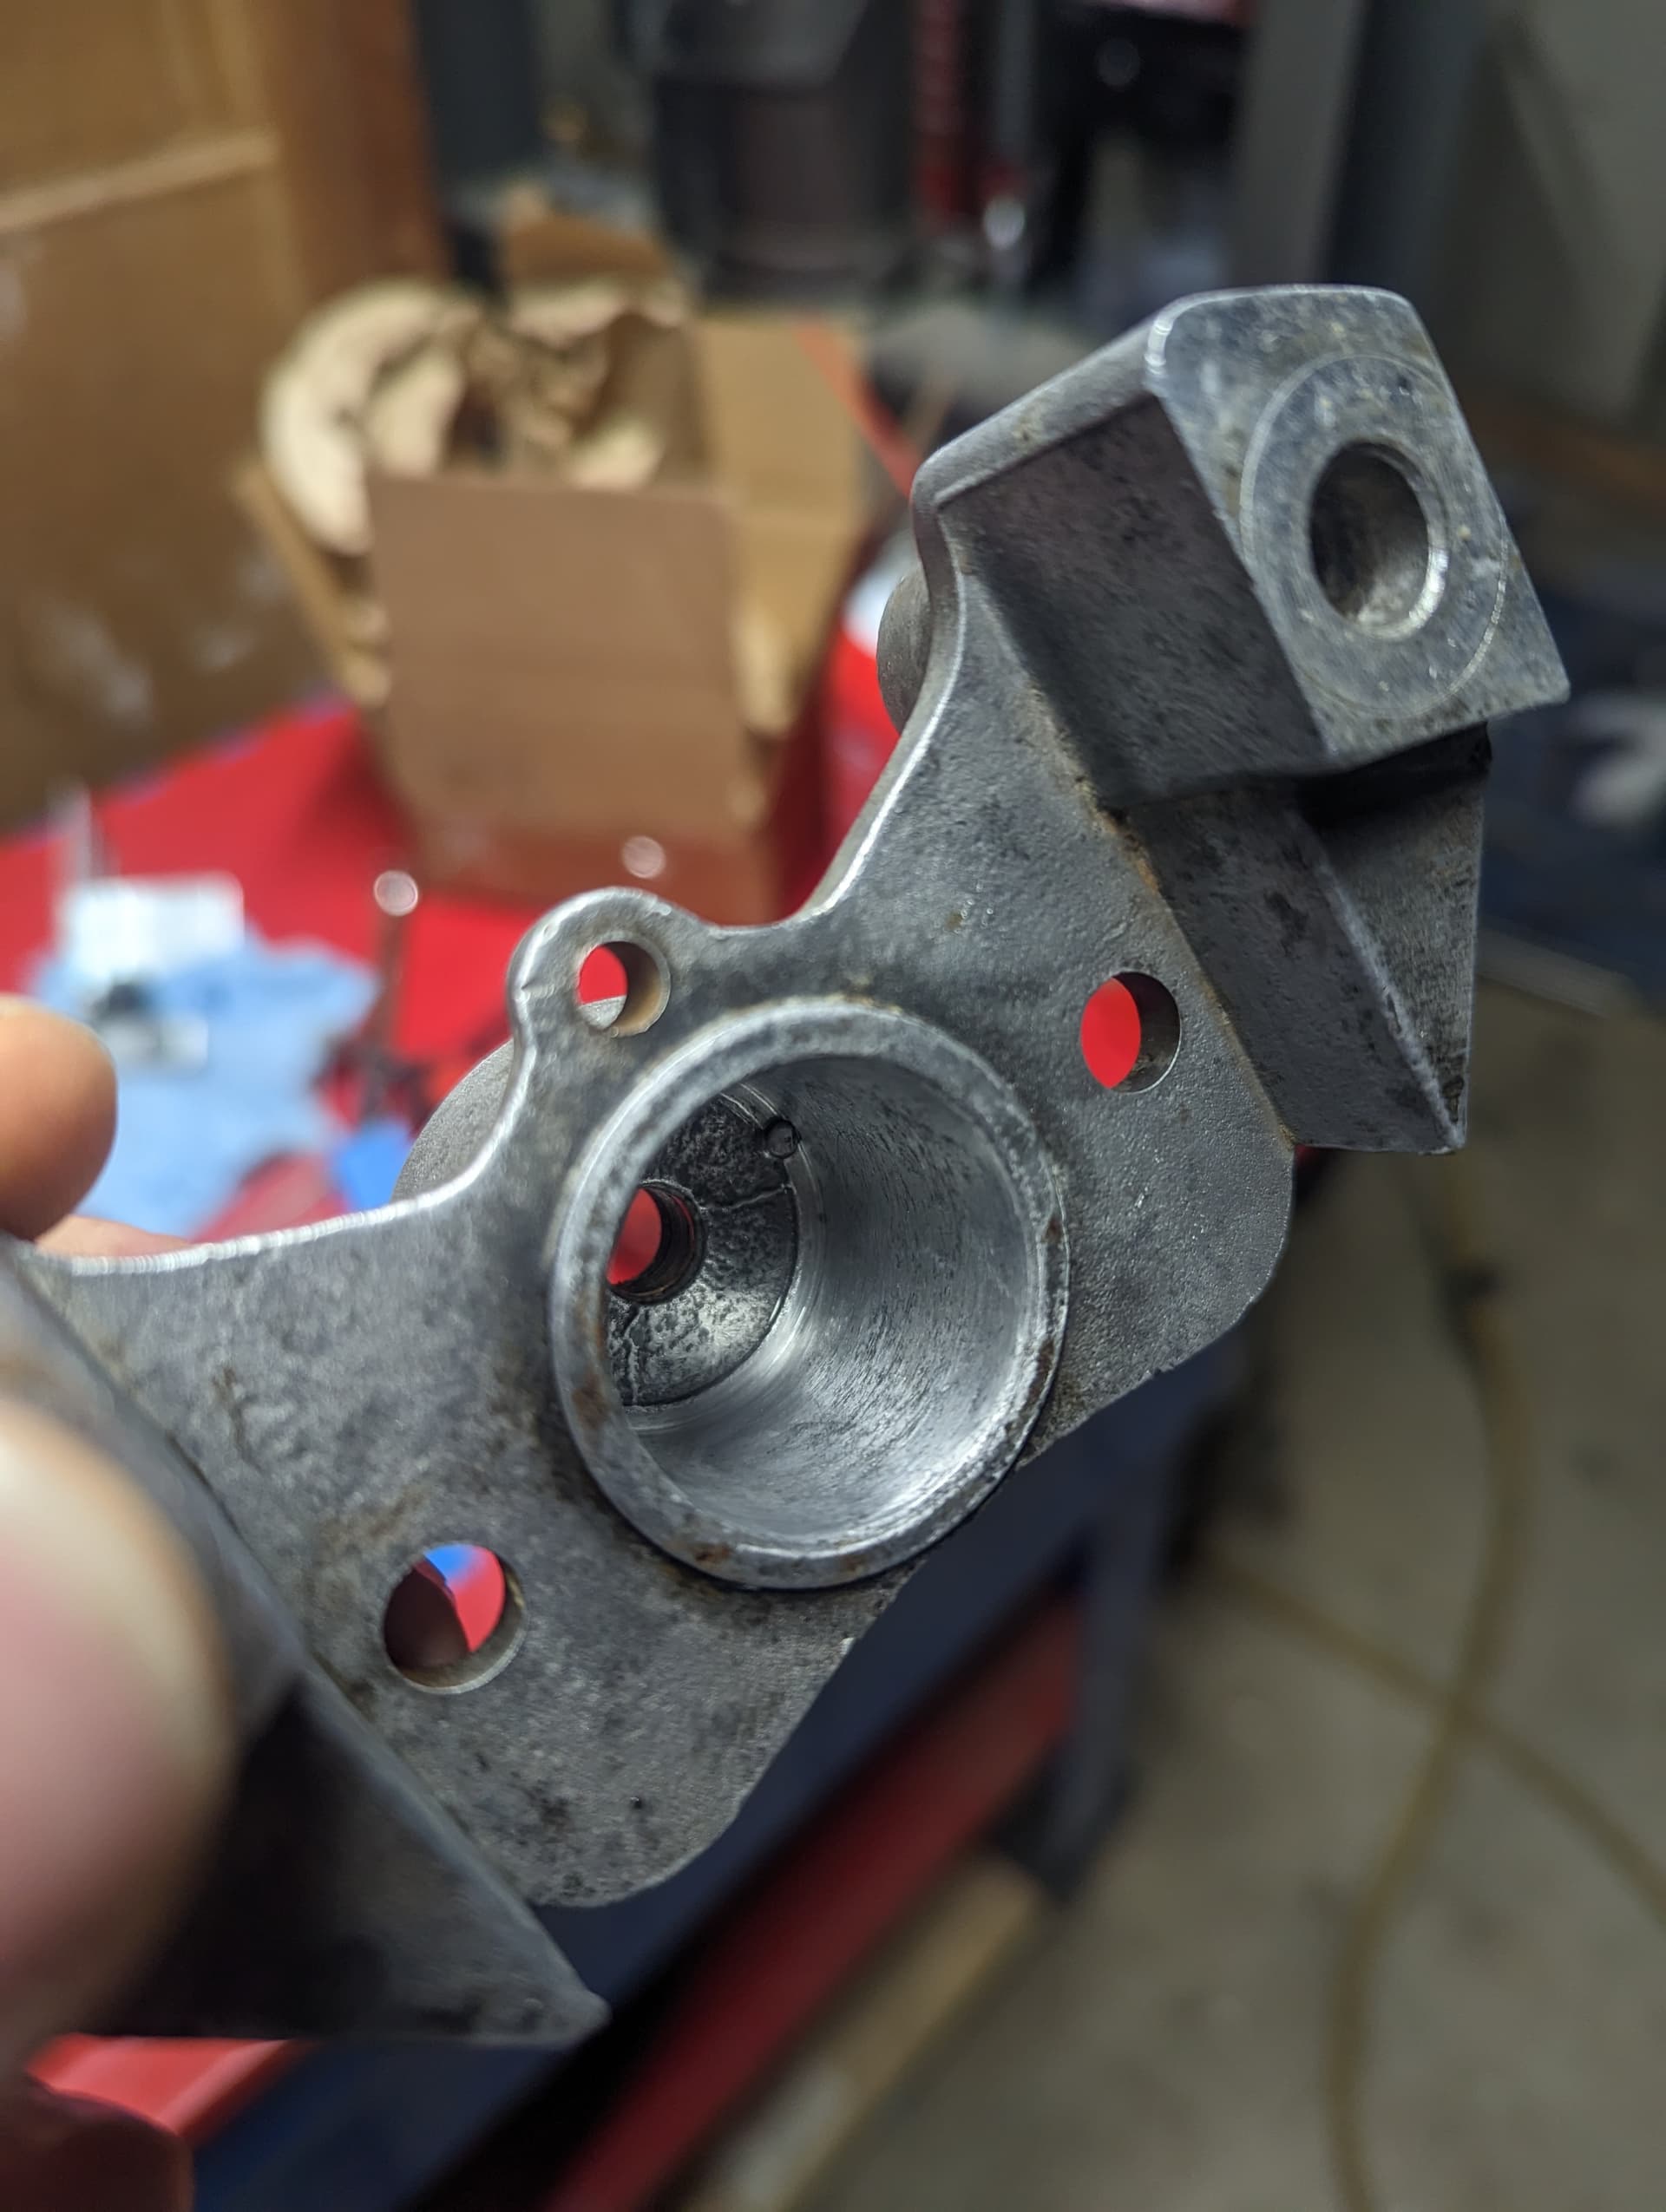
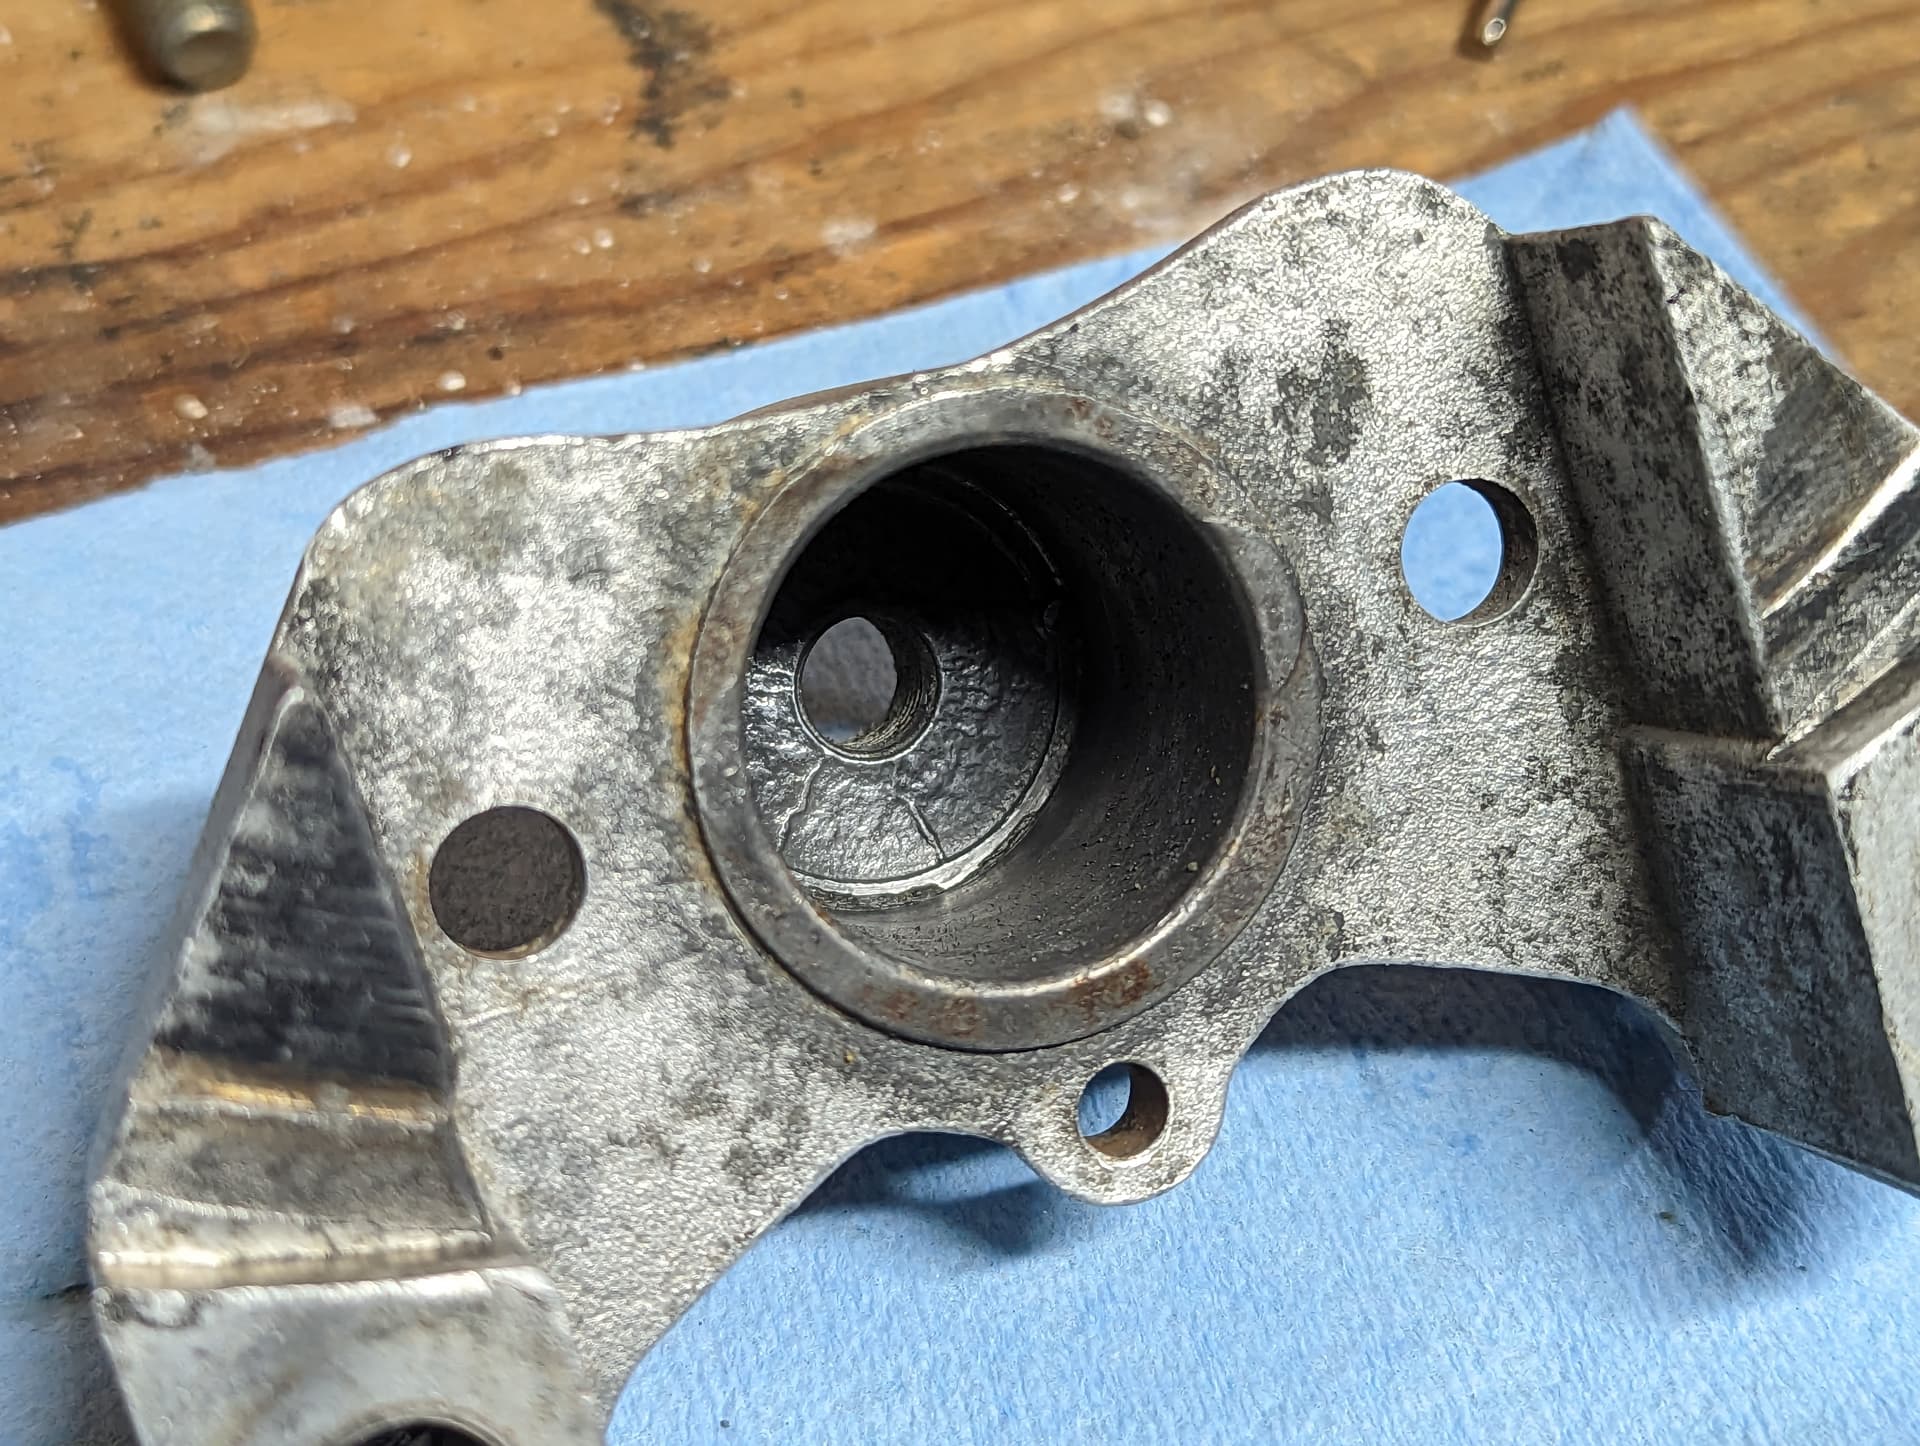
Update on brakes. After polishing the bore by hand I could still feel some pitting, so I went a different way.
Disclaimer: don’t do this unless it’s the last available option. Ideally, I would simply buy a new caliper. But, I cannot find a replacement, so I’m stuck in a corner. I will probably upgrade to a modern setup as soon as I get everything dialed in anyways.
So for the brave souls out there…if you are in a similar spot, you can try the following.
After the initial hand cleaning/sanding (see few post above), if you have some pitting, get one of these:
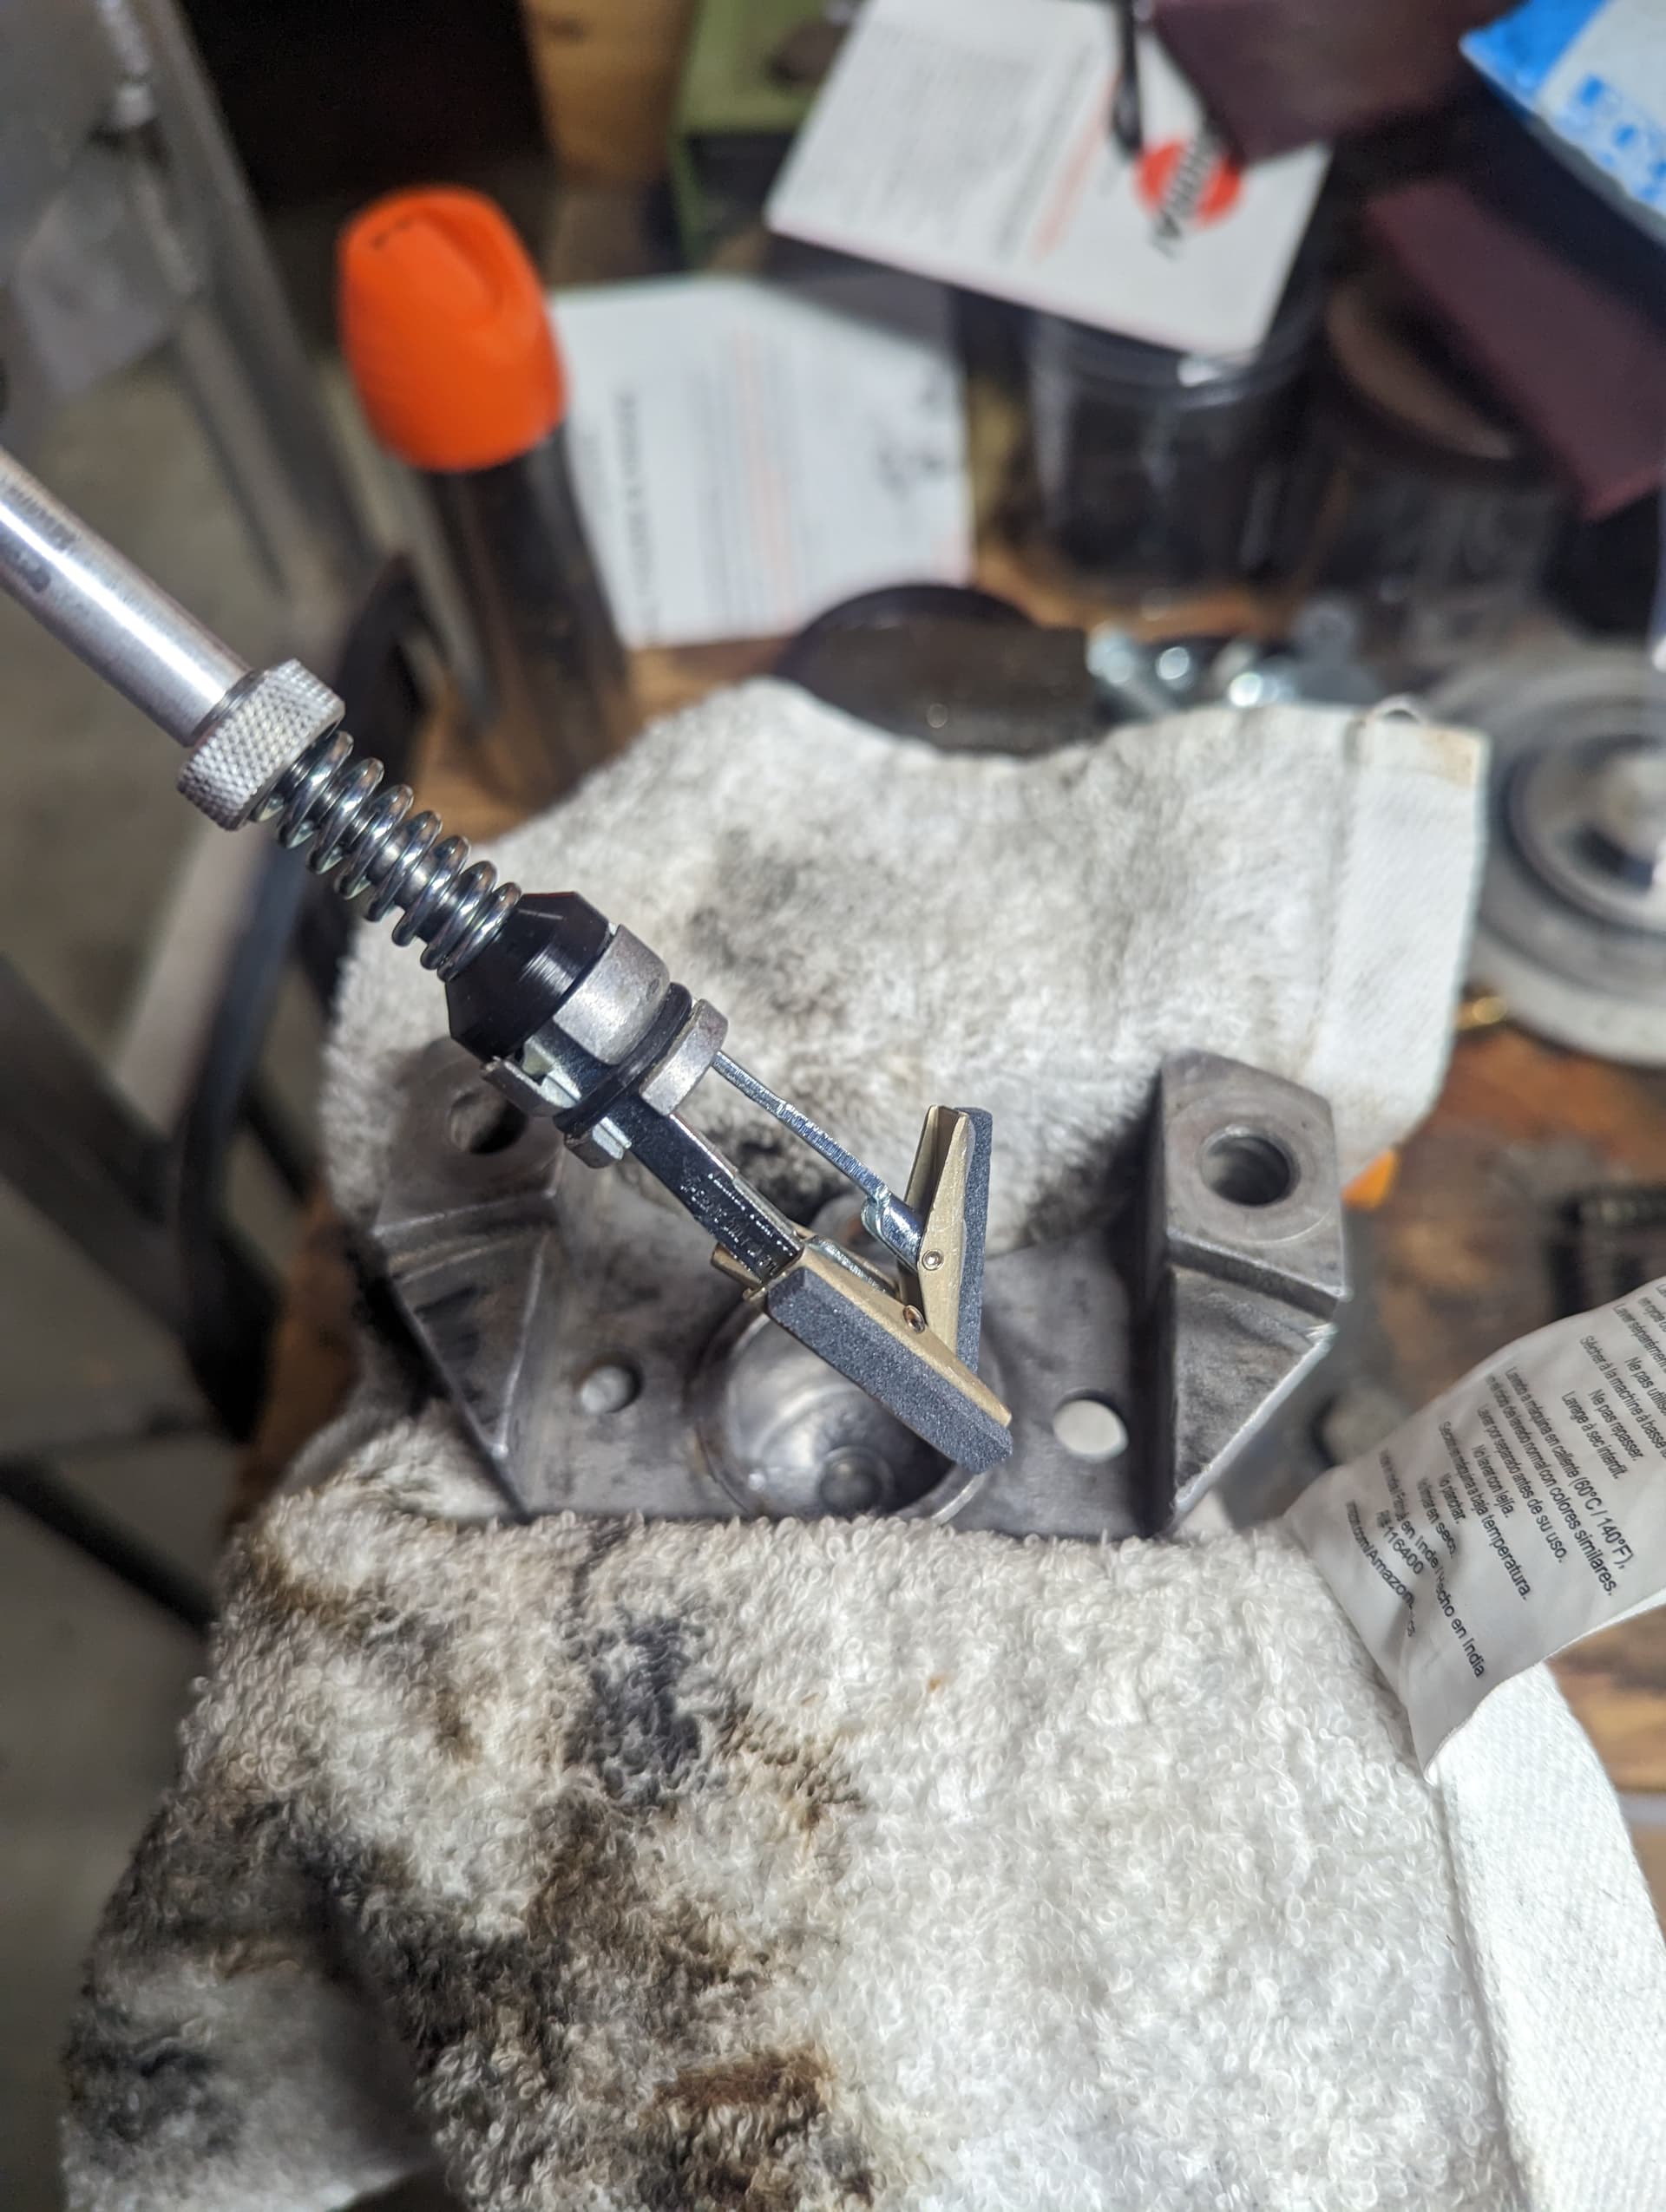
It’s a Lisle 10000 Brake Cylinder Hone. Soak the stones and the caliper in cutting oil and get to work.
In my case I did 10 seconds honing, clean, re-oil, then another 10 seconds